


Elevators 09-05 to 09-08
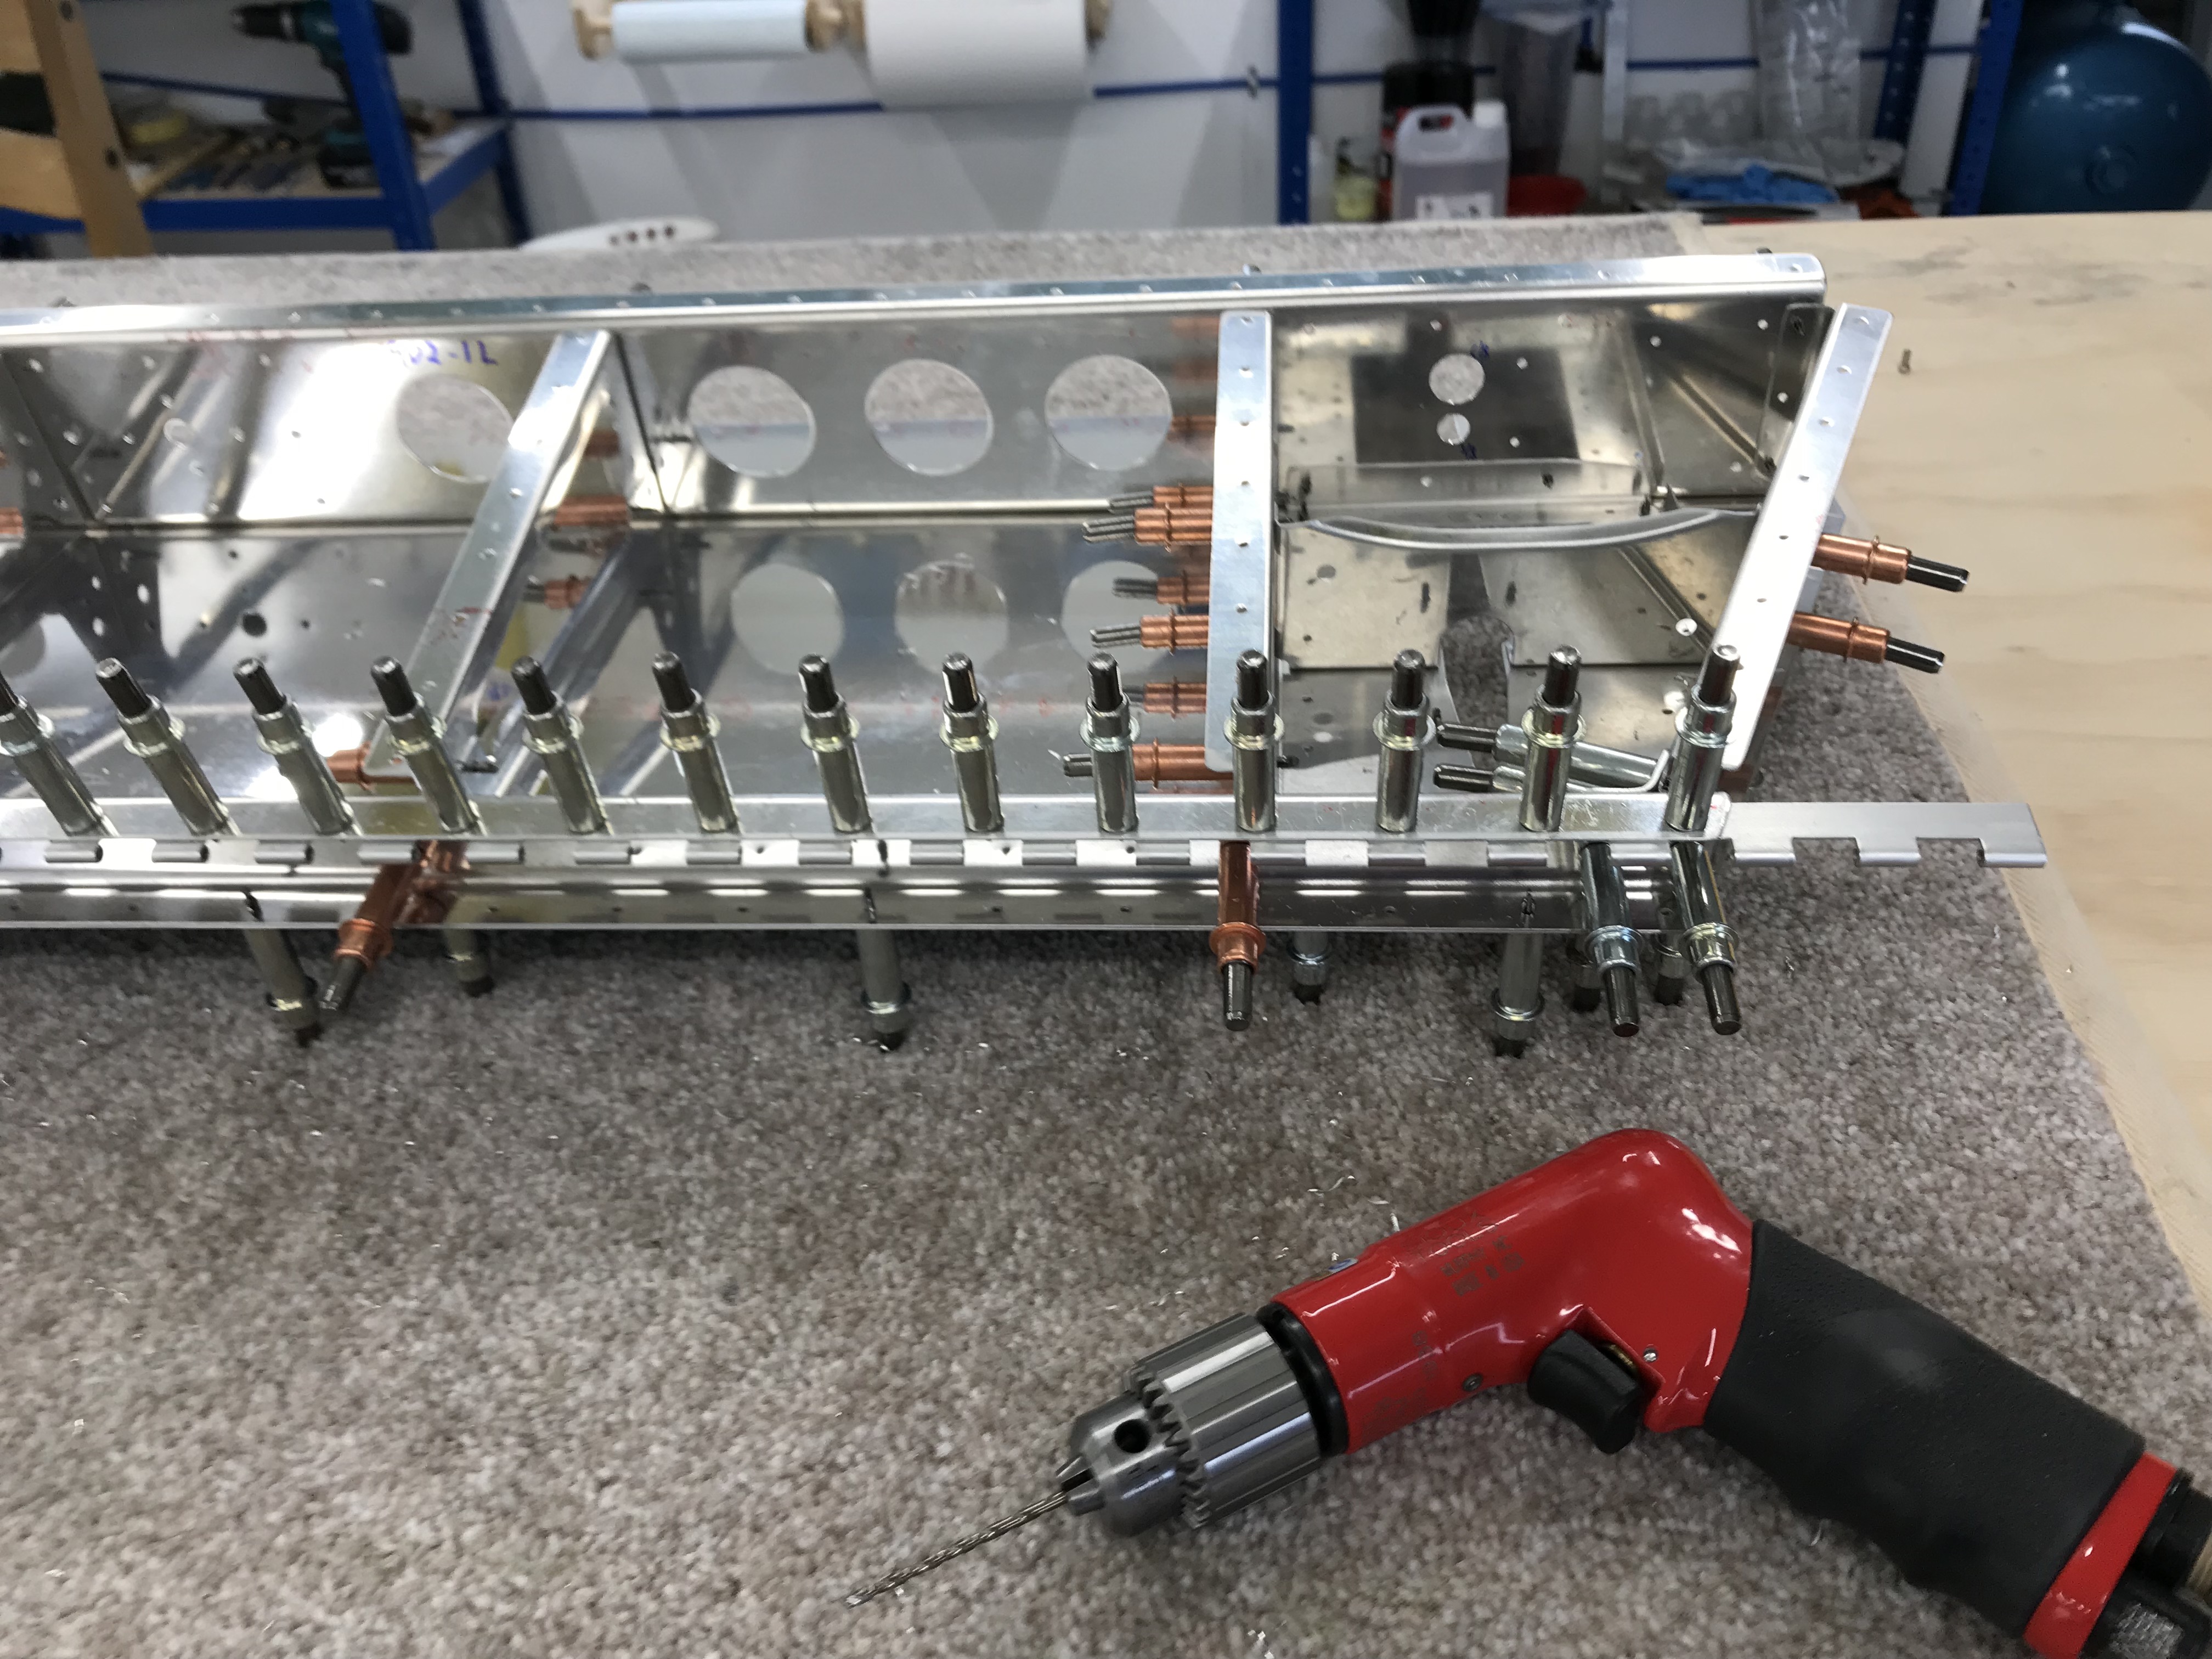
More interesting now as all the parts get clecoed together ready for final drilling various bits.
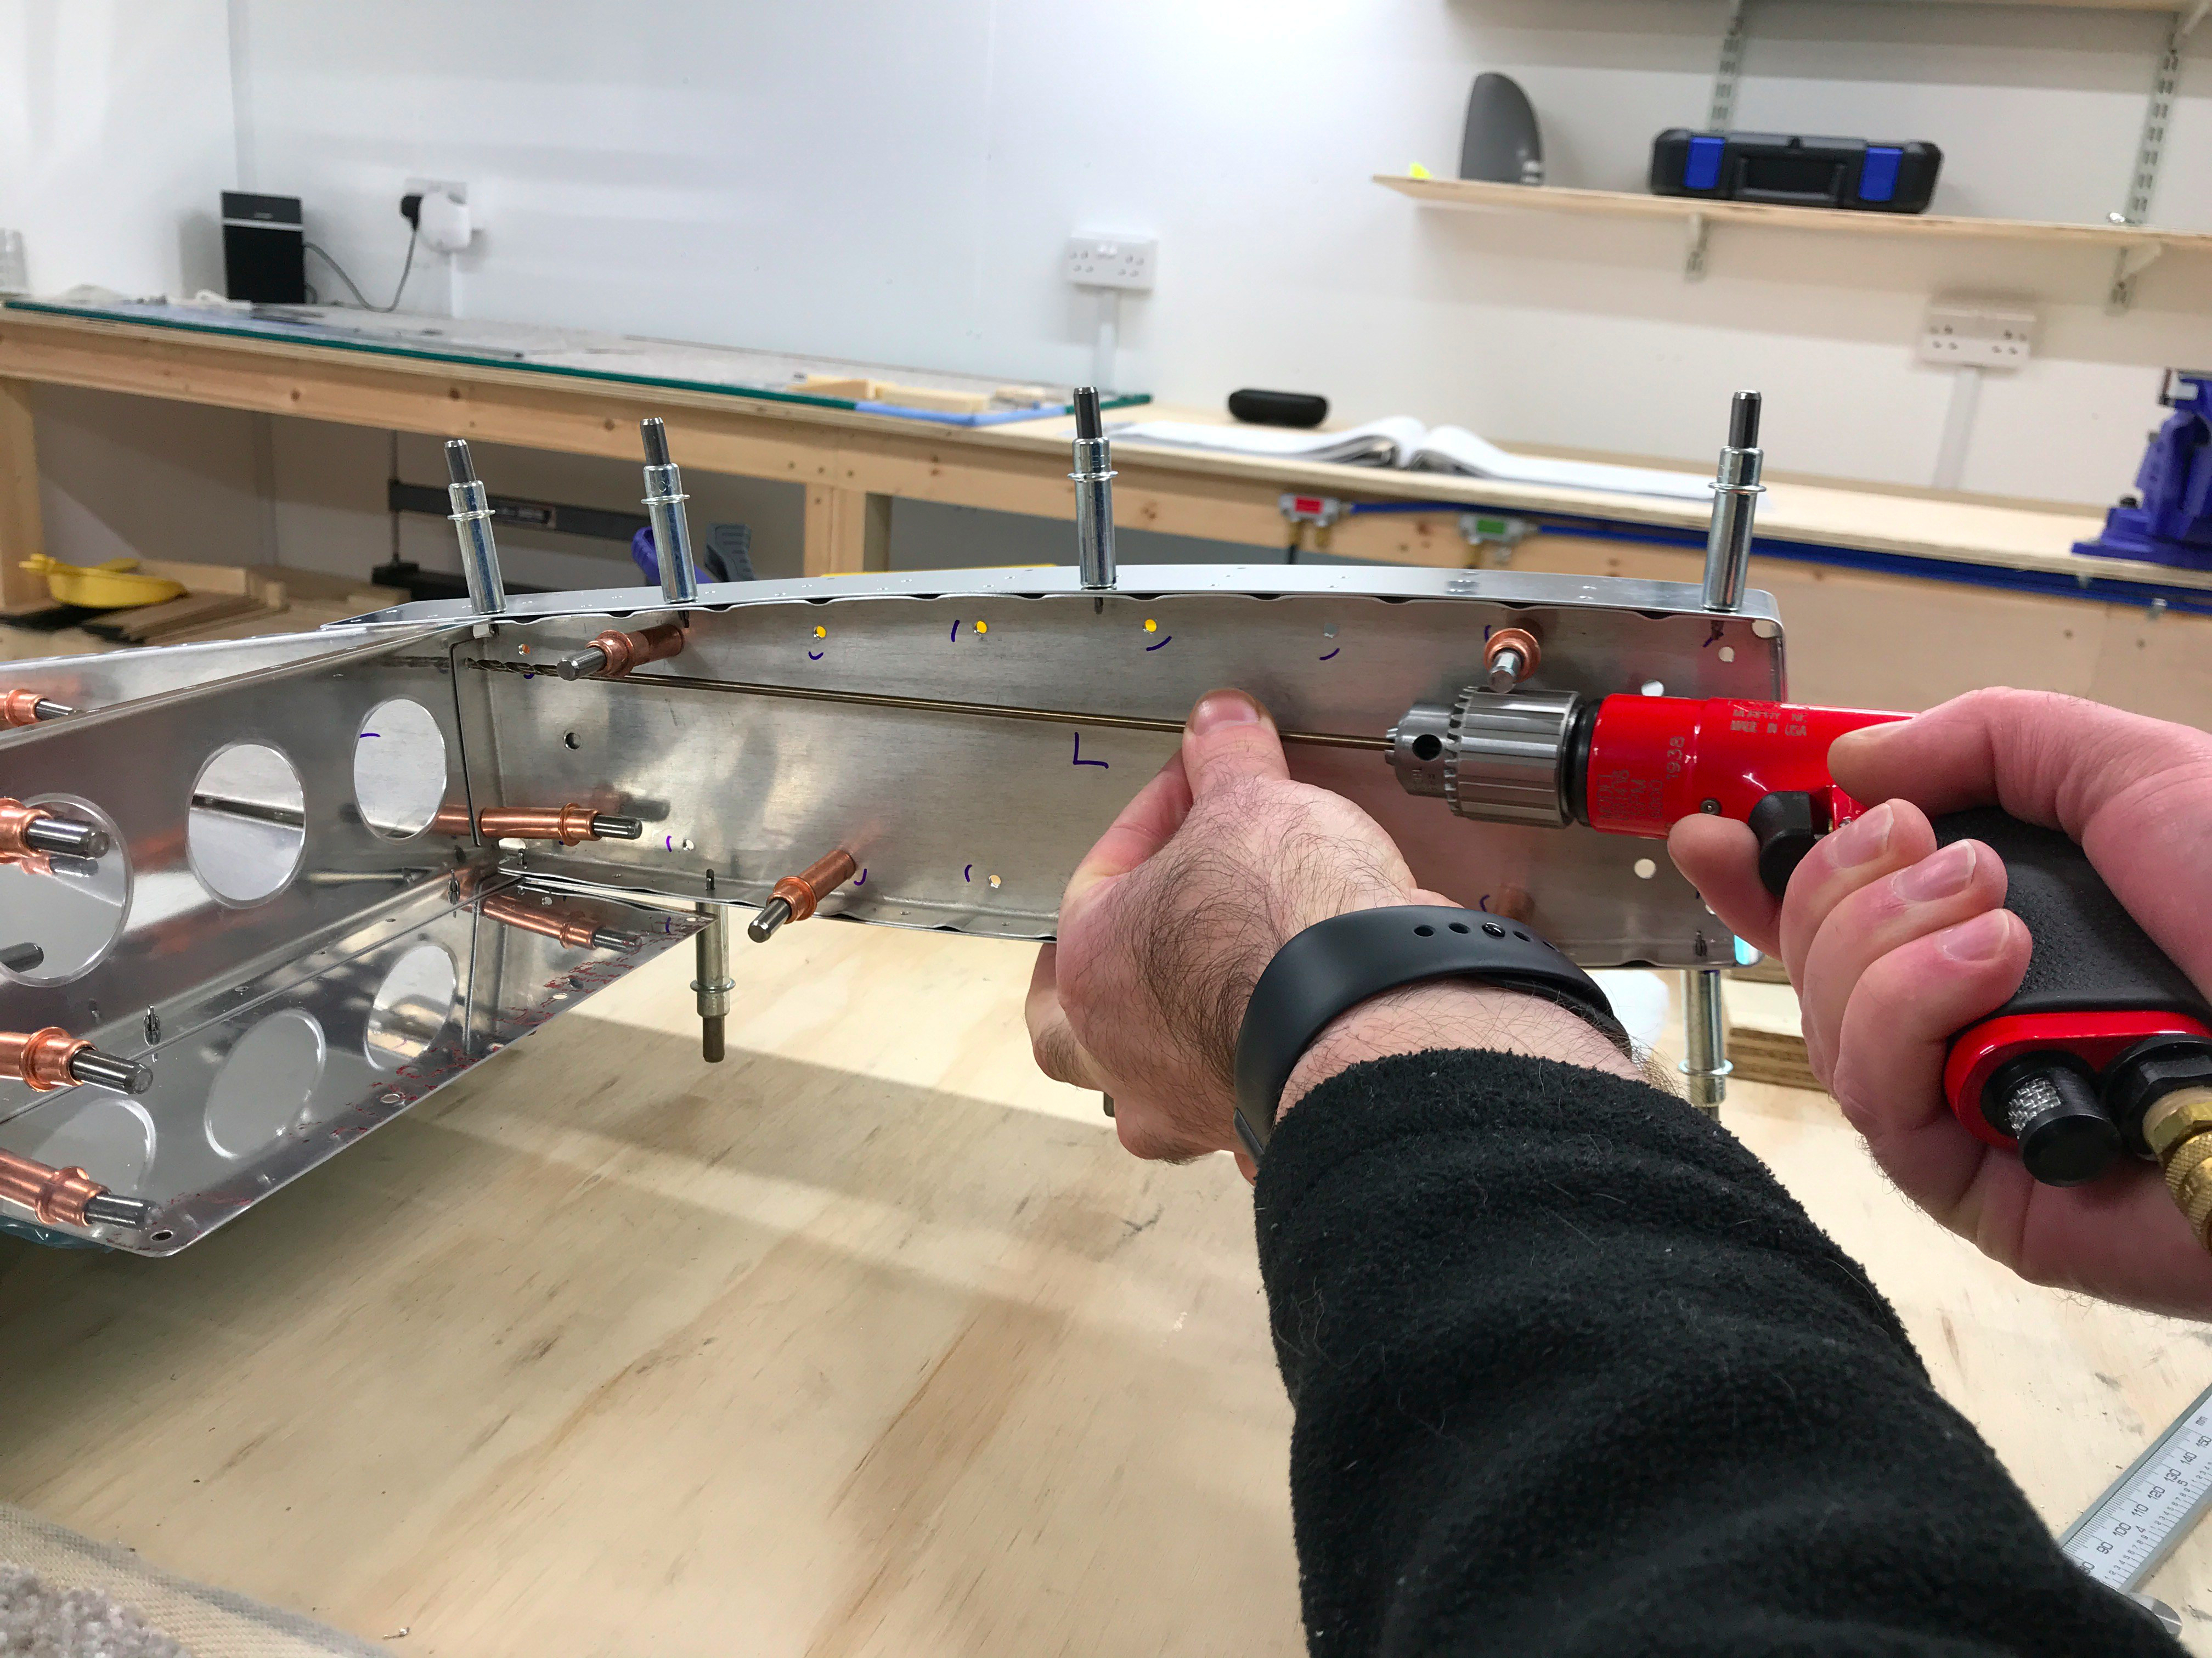
Trim Tab Hinge

Fitting the hinge required more head scratching. Having attached it via one hole previously drilled in the hinge, Vans merely instruct you to clamp the hinge parallel to the rear spar and match drill. Having read a few blogs which mention binding if this job is not done correctly, I thought it warranted special effort.

So I made a little tool to ensure the hinge was set exactly the same all down the spar.

Pushing the inset bit of the hinge in the same amount as the pilot hole position seemed to work.
Trim Tab Spar

Used the little tool for the trim tab spar as well.
All done, clecoed as you match drill. Once I’d done the aft hinge on the trim tab spar, I pushed the pin back in attaching the hinge together to check for free movement. So far so good : )
Tip Ribs
Access for the drill to final drill the spar/rib flanges was difficult. Couldn’t work out how to drill the holes, until I remembered I had a long #30…..solved! The drill is flexible enough to gently bend with a spare hand ensuring a 90º final drill.
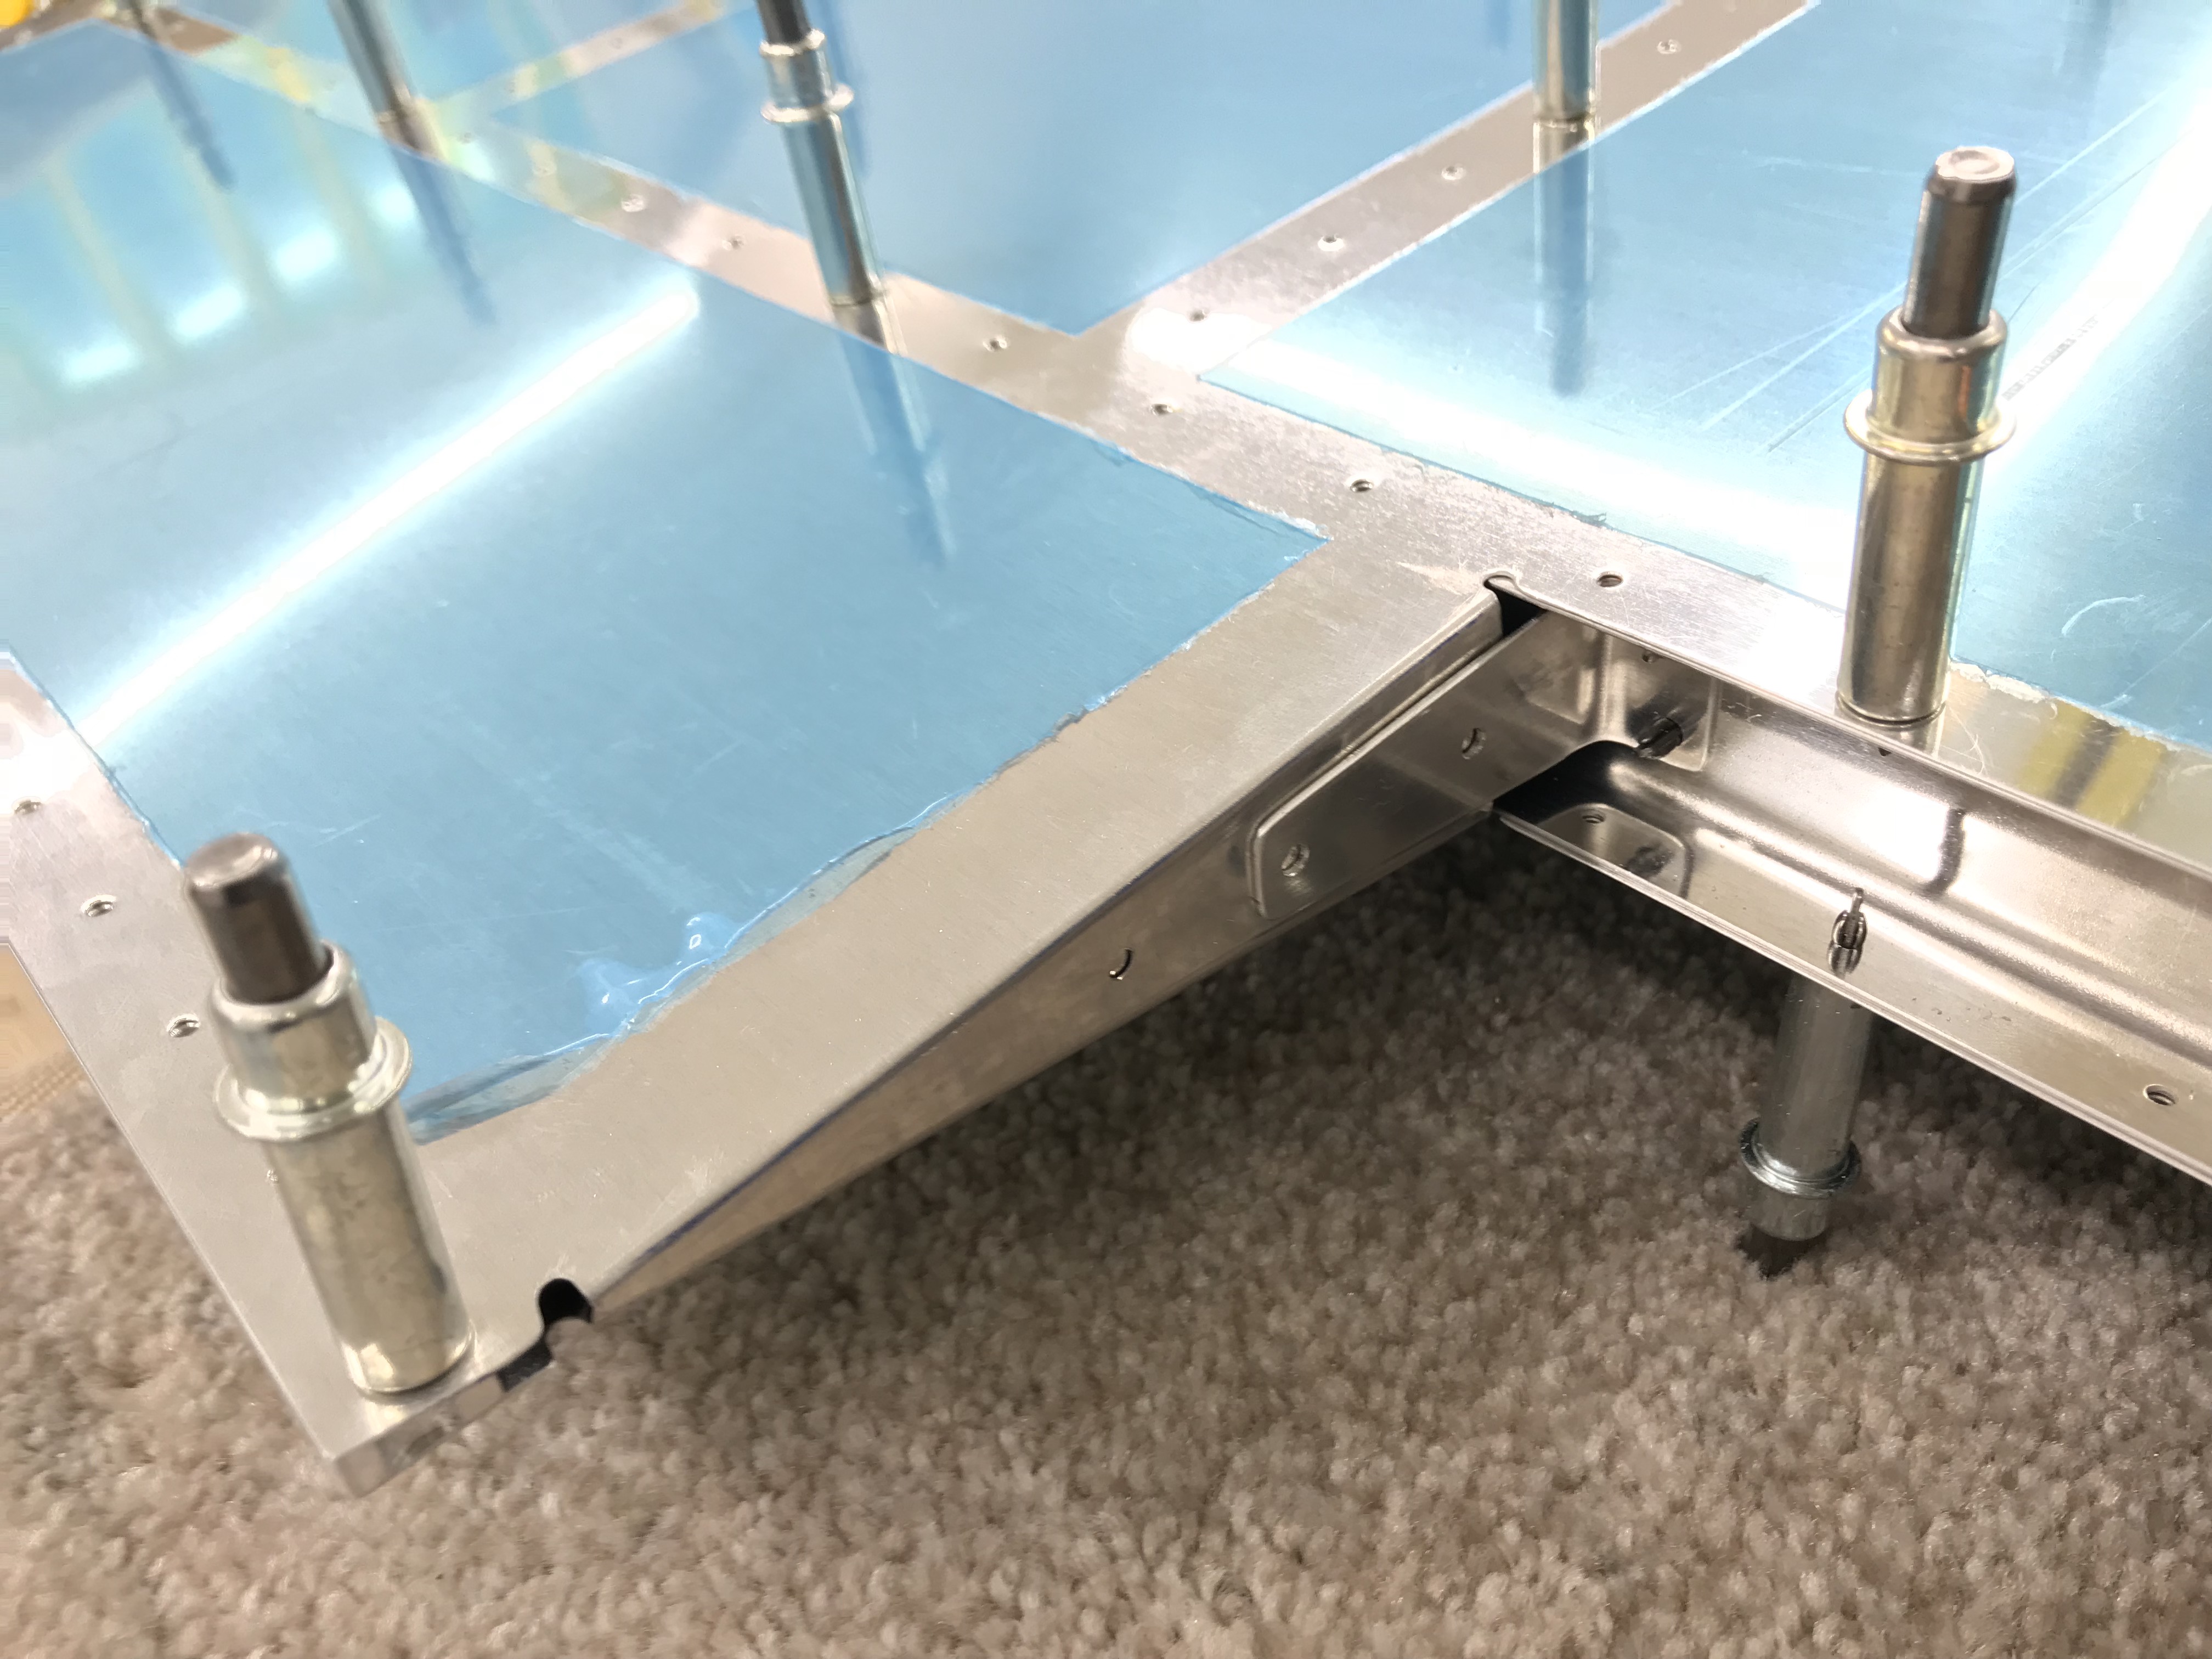
Close Out Tabs
Very happy with the bends I did on the Left Skins for the close out tabs. Was a bit worried about positioning of the bends, but as always it seems, carefully following Van’s instructions worked perfectly.


2 comments on Elevators 09-05 to 09-08
Hi Steve, just used your guage tool idea for my elevator hinge too. Seems to run freely, great idea thanks.
Mike
Hi Steve. I have also used your guage tool idea, and it worked a treat! I wouldn’t have thought to of that, so thank you for the tip.