


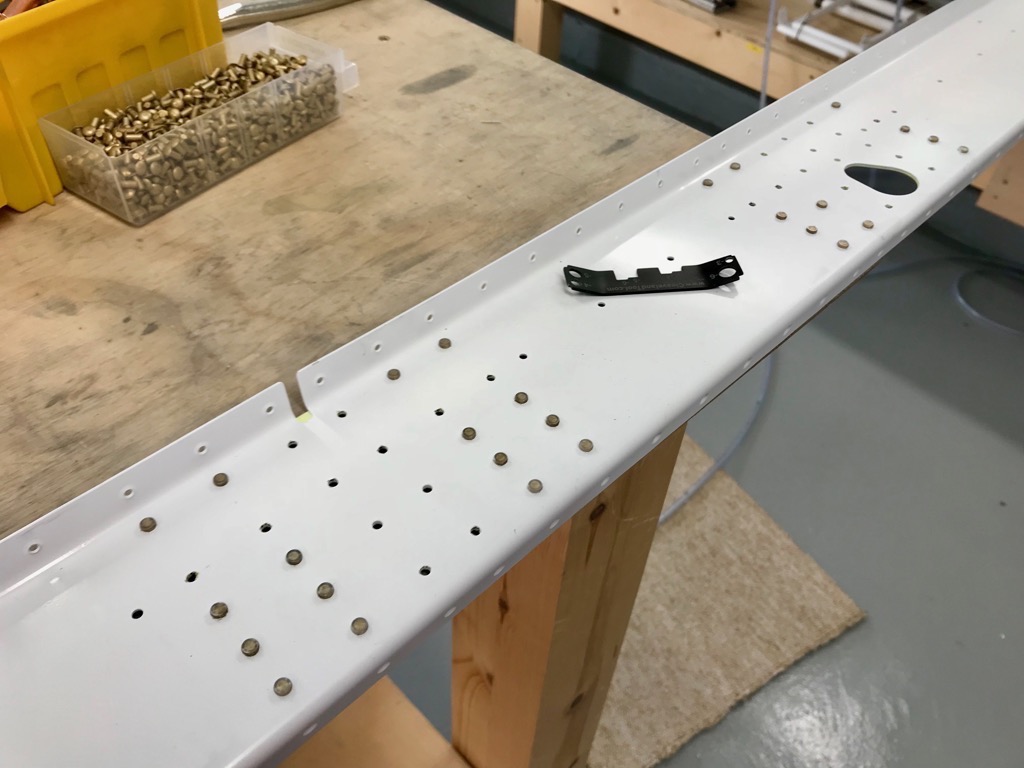
15-04 Riveting Rear Spar Doubler Plates
After all the prep comes the fun of putting it all together. There are lots of holes in the rear spar doublers that are not riveted at this stage … rib attachment holes, outboard aileron bracket holes, and the holes which will attach the Flap & Aileron Gap Fairings in Section 20. I taped them off as suggested to avoid tears!

I set all these rivets with the squeezer, and because access was easy after clamping to the workbench, I was very pleased with the consistent results. I applied JC5A Jointing Compound prior to riveting as I have done throughout the build.
Reinforcement Fork & Doubler Plate

There are lots of rivets in these plates of several different lengths and types. I decided to build both spars concurrently, so I was able to set the squeezer once for each type, setting them on each spar, hence saving time.

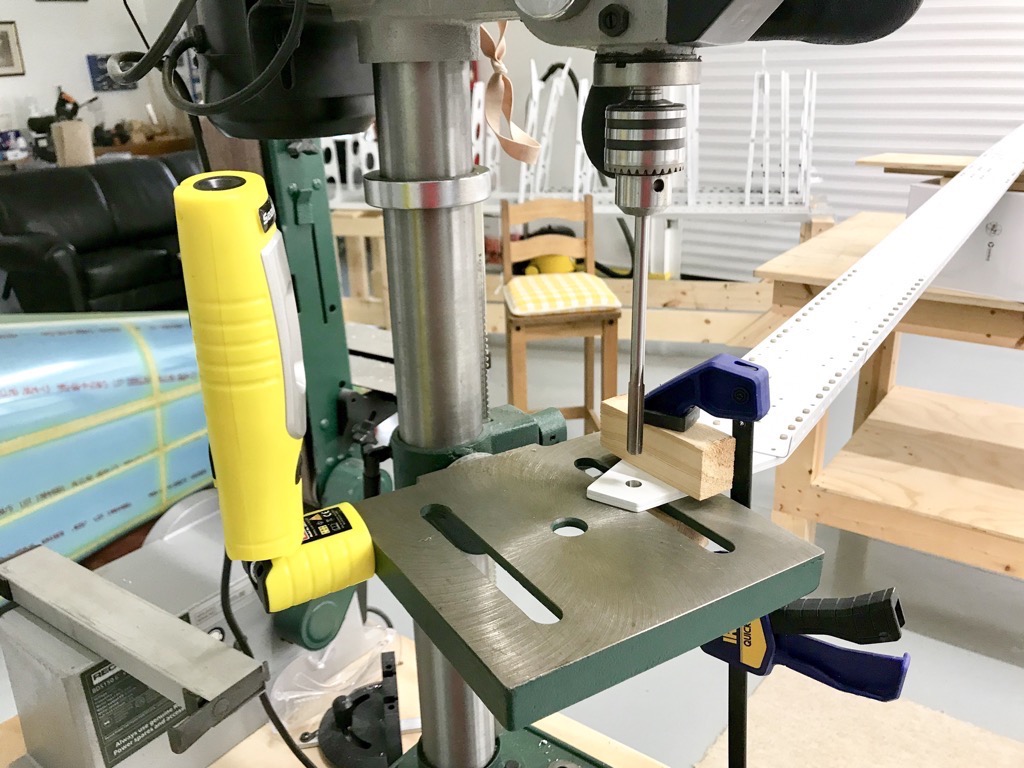
Reaming Critical Hole!

Critical Hole – GULP! Having been made very worried by this statement I decided to take extra special care. So I clamped the spars to the bench drill table, and made certain that the table was set perfectly perpendicular to the reamer. The hole in the Doubler Fork was punched 11/32″ by Vans, whereas the hole in the doubler plate had been final drilled to 11/32″ by me. I decided to centre the reamer on the pre-punched hole, hopefully taking out any inaccuracy in my final drilled hole. After triple checking the reamer with a calliper (just in case a gremlin had stamped 3/8″ on the wrong reamer : )), and carefully centering it in the hole, I went for it. A complete non-event, and the holes seem just fine.
vansrv14project.uk


