


16-04 Stiffeners and Outboard Aileron Bracket
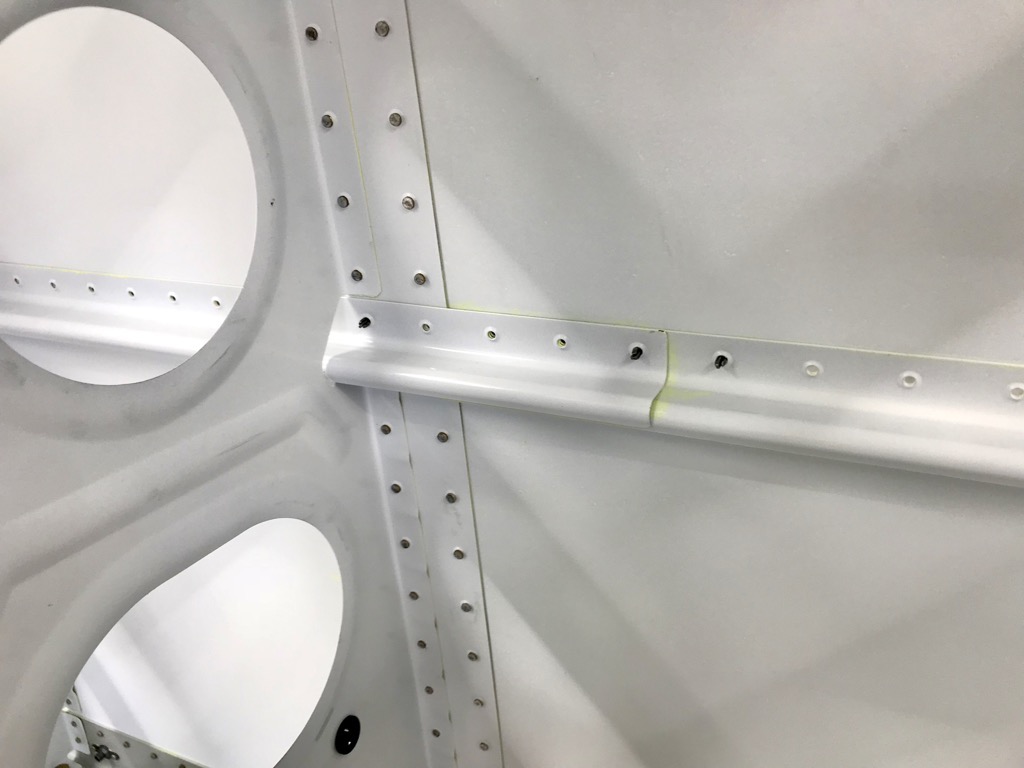
The long wing stiffener is attached first, and then the short one. Vans word this …
“Place the wing box J-stiffener – long on top of the J-stiffener – short.”
They are correct of course, but it’s a bit confusing at first since you are looking at it from underneath. But once trial fitted it’s obvious, since the end of the long stiffener fits neatly up against the step in the wing skin overlap.
Outboard Aileron Bracket
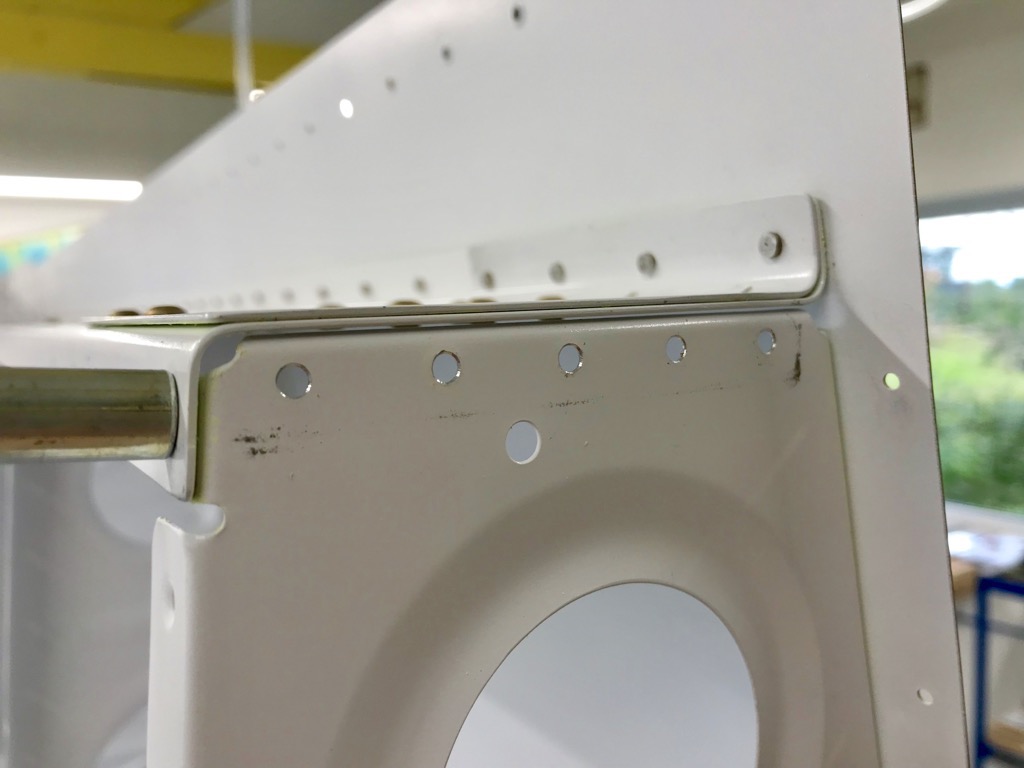
Having match-drilled the holes in the tip rib using the bracket, it was ready for riveting. Some people seem to have been able to squeeze these rivets, but by using small yokes and a hand squeezer. I only have a pneumatic squeezer, and it was not possible to access any of these rivets with that tool.
So rivet gun/bucking bar for us! The rivets on the tip rib were straightforward, and these needed to be done first due to clearance issues once the rear spar shop heads are set.

We placed the wing on its back and clamped it to the bench to make things stable & secure whilst riveting.

The rivets through the rear spar needed a long rivet set to clear the bracket. Tim found it easier to use the RV14 Elevator bucking bar to reach the shop heads.
All done, just the countersinking and nutplates to install on the root rib to finish this section.


