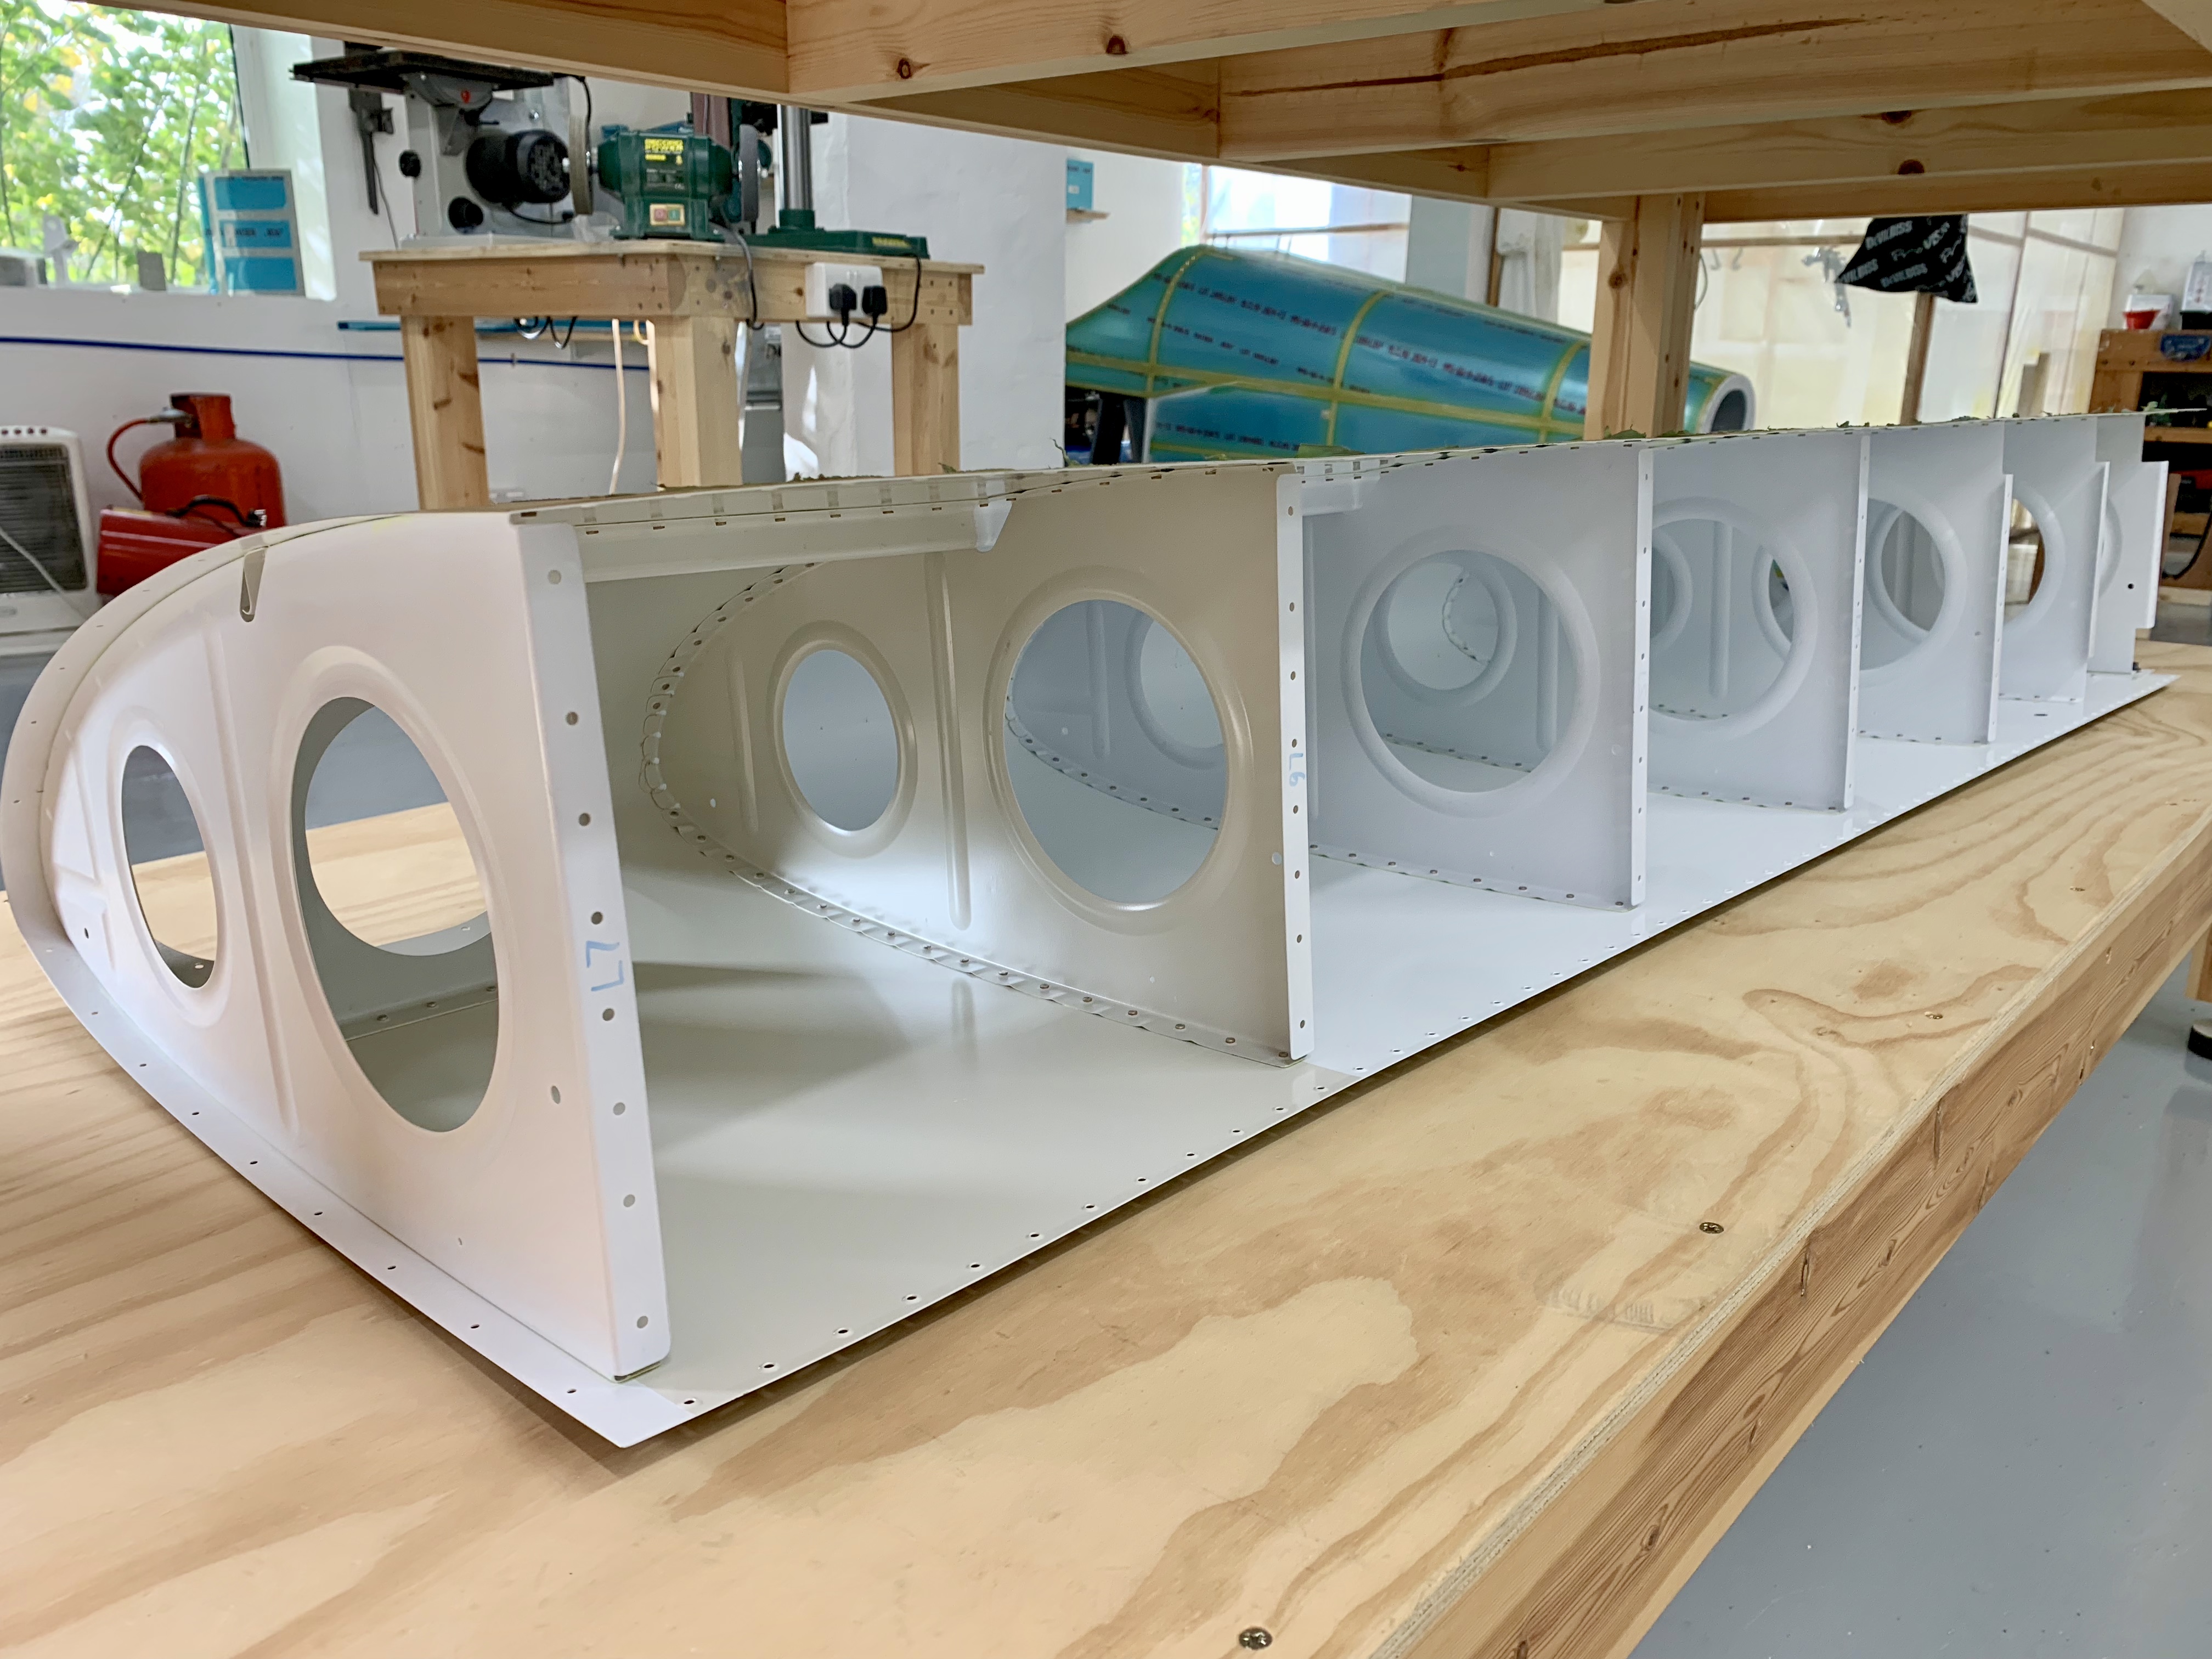
17-06 LE Riveting
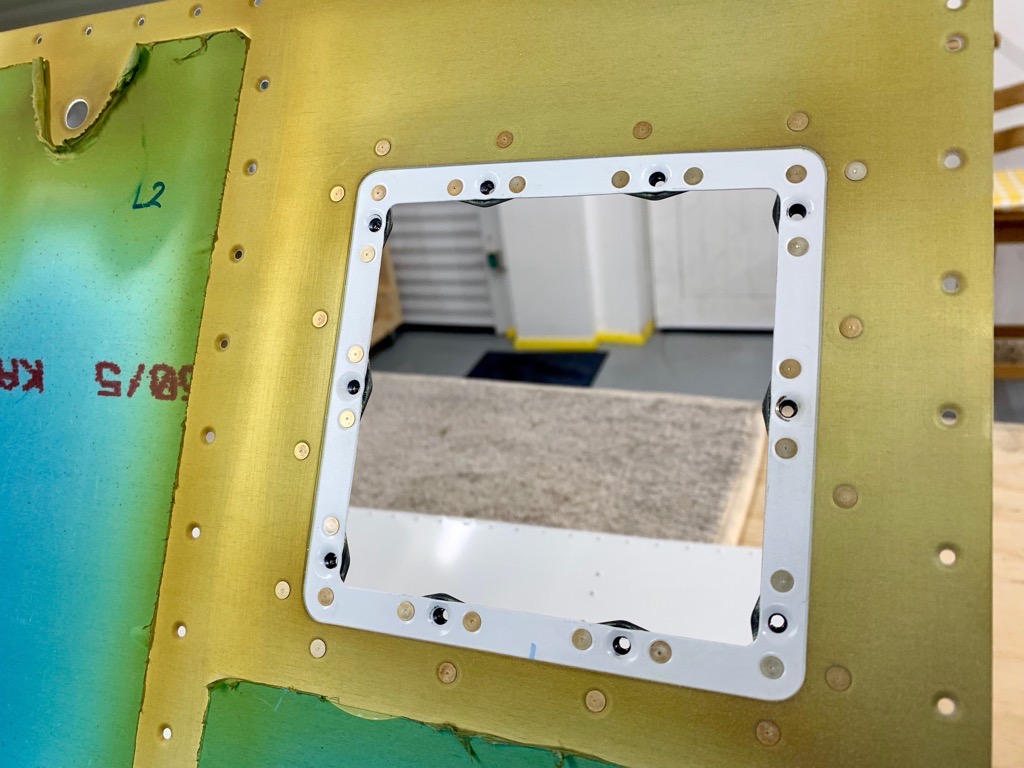
The manual suggests that you place the skins into the jigs prior to installing the inspection hatch doubler. Hmmm … much easier to do this before, & to back-rivet this whilst the skin can be laid flat on the back-rivet plate. That’s what I did anyway.
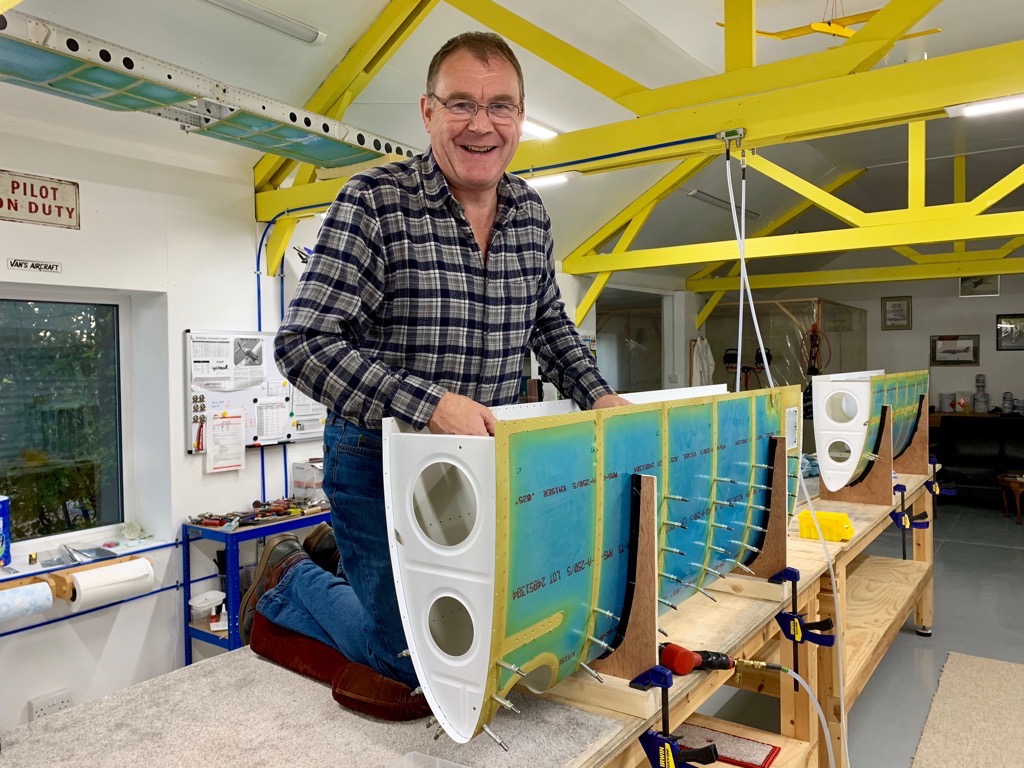
We followed Vans’ suggestion … setting the top rivets first, gradually working down each rib towards the nose. We also swapped sides every four rivets or so, to move forward on each rib equally.
Tim kneeled on the bench to position the bucking bar, and I handled the gun. The clamping provided good support this way round.
Hearing horror stories about dropped bucking bars piercing wing skins, we did all this work with a nice fluffy sheet inside!! Anyway, Tim looks pretty happy with proceedings, doesn’t he?
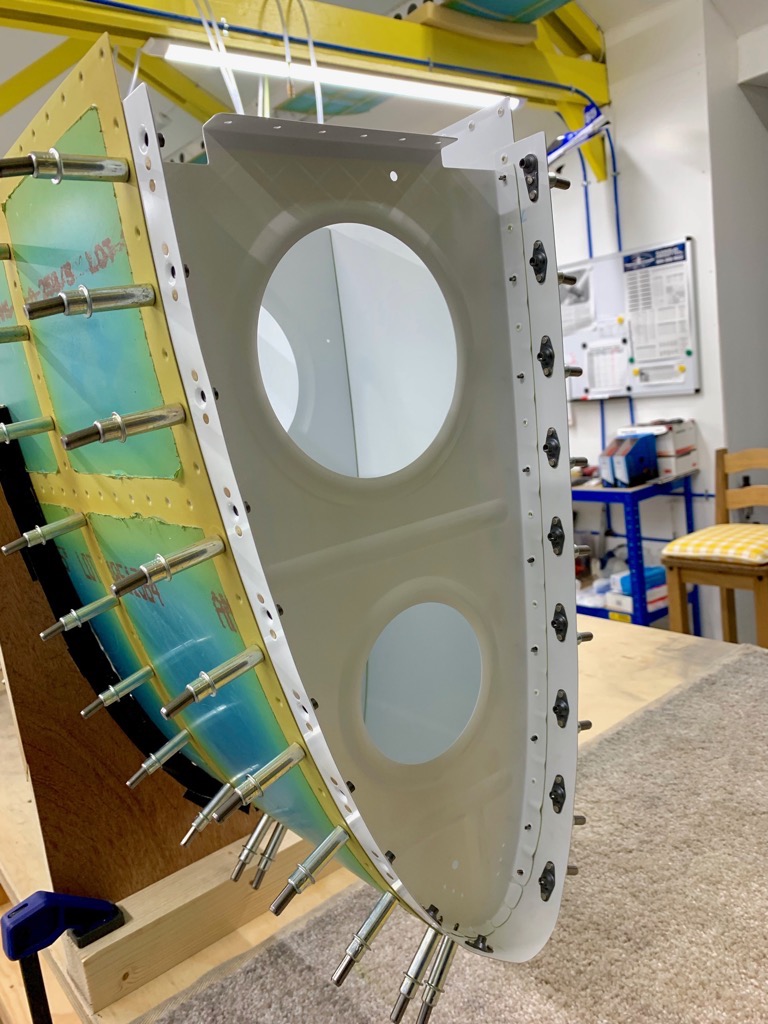
The end rib is riveted with the splice strip between the rib and skin. The manual specifies 426AD3-4’s, but we reckoned they were a tad short so decided on -4.5’s. I used the pneumatic squeezer to set all these.
It took a couple of evenings to rivet both LE’s.
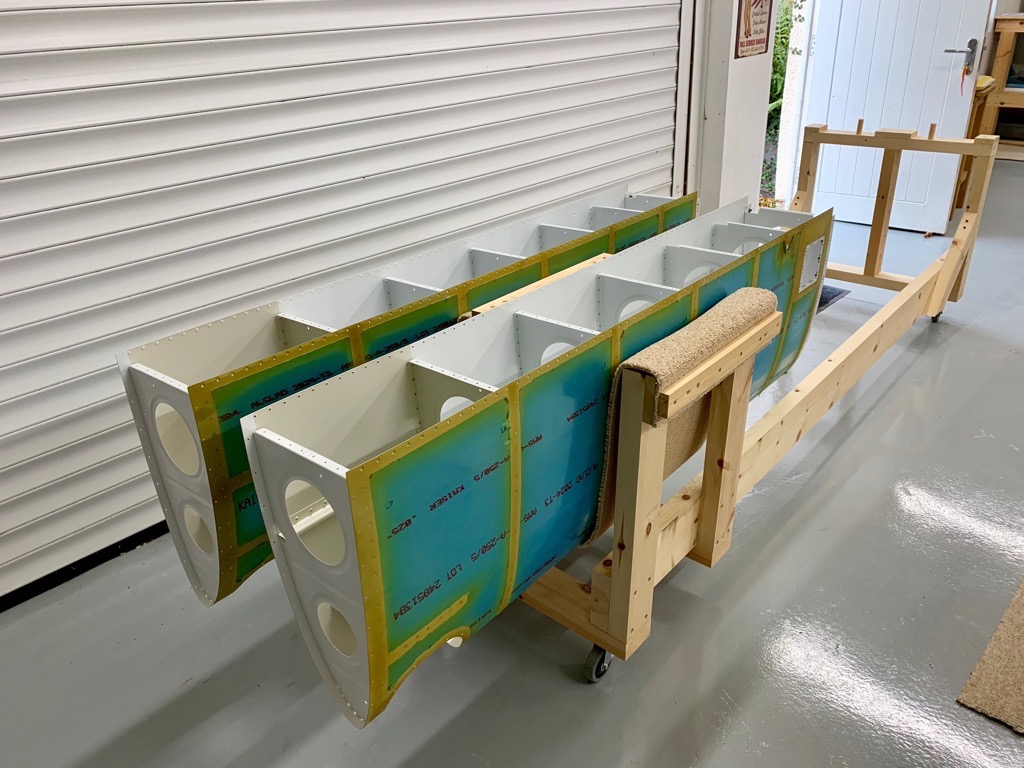
Wing Stand
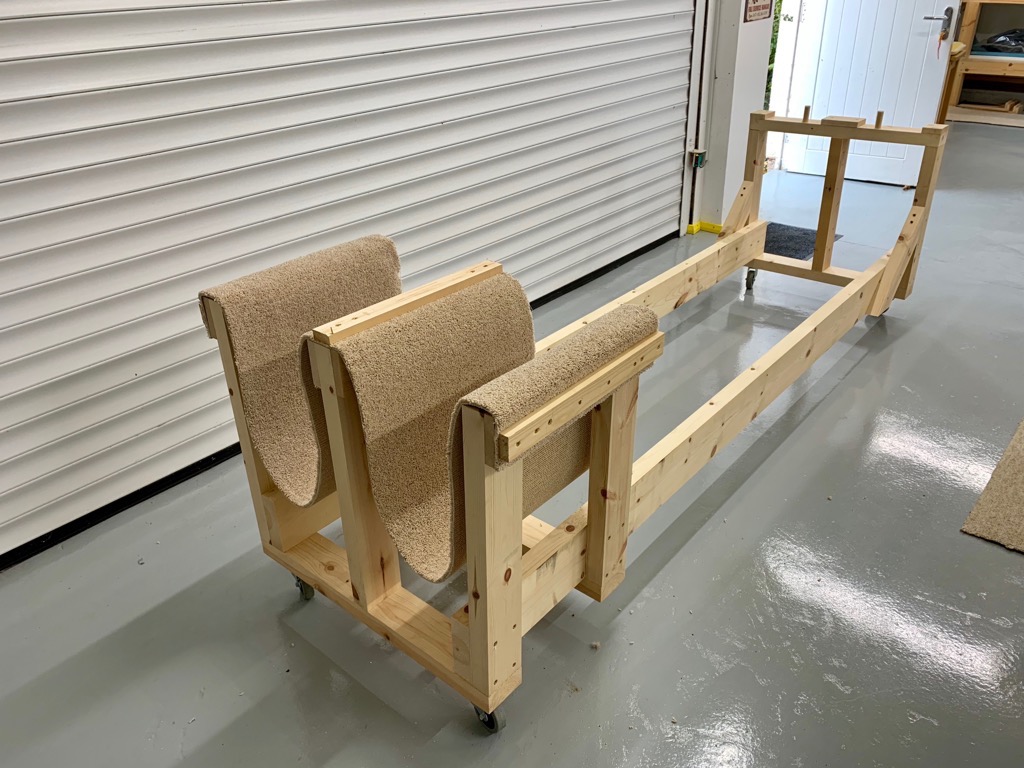
The next job is to attach the LE’s to the wing spar, so I fitted carpet loops to my wing stand. I adjusted the loop lengths using a tank rib, ensuring the spar stayed flat on the support at the root end, but also provided enough clearance to rivet the LE skins to the spar.