18-04 First Proseal Fun!
Preparation
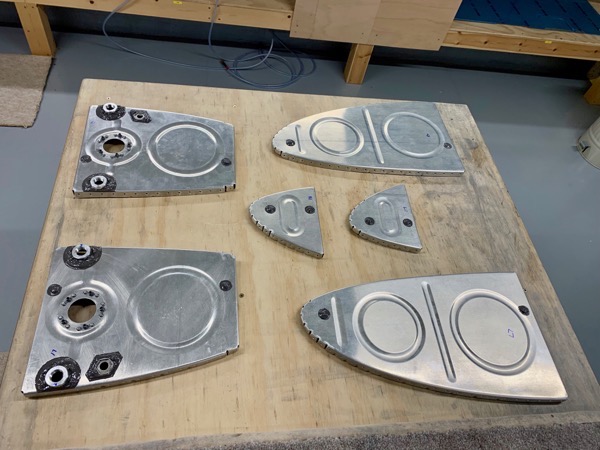
Everyone says the best way to stay out of trouble with Proseal (stickiest stuff known to man!) is to be well prepared … so I masked off the areas on the end ribs which needed sealant. Then I did a dry run to work out how best to set the rivets. I used the C-Frame with a 3/16″ rivet set for the 470AD6 rivets which are used to plug the tooling holes in the end ribs.
The 3/16″ rivets supplied by Vans seemed a bit long, especially as they only needed to be set enough to be retained securely. So I trimmed them shorter.
I decided to use the pneumatic squeezer to set the 470AD4 rivets on the Fuel Flanges & Anti-Rotation Plates.

I cut off the end of a 50mL Syringe so I could draw a quantity of Proseal from the tin.
I used a scrap sheet of aluminium as a mixing plate, and a putty knife for mixing the black Hardener into the white Proseal.
I had purchased a SEMCO pneumatic sealing gun from eBay, but just used an ordinary syringe for this first attempt.
I cut lots of small squares of cleaning tissue from larger sheets.

I left the rivets to soak in MEK while I final scuffed and degreased the components. Not sure if this was worth it, but everything else gets degreased so why not?

Coral has a brilliant digital measuring spoon like this … I managed to “borrow” it : ) This clever spoon sports a strain gauge, and measures to the nearest 0.1g, ideal for the small weights of hardener (10:1 Proseal:Hardener by weight).
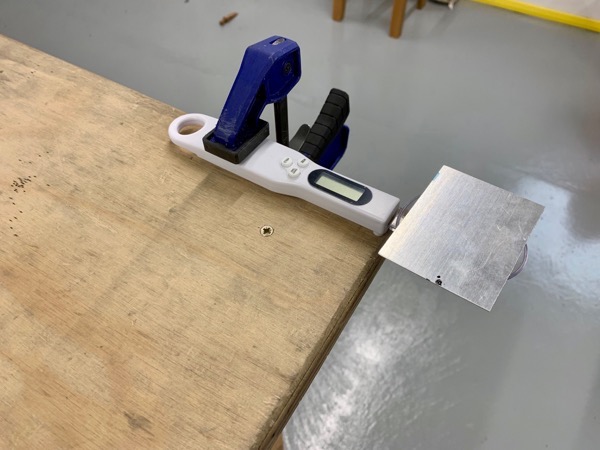
I taped a little plate onto the spoon so the syringes could be easily placed to fine-tune the hardener quantity.
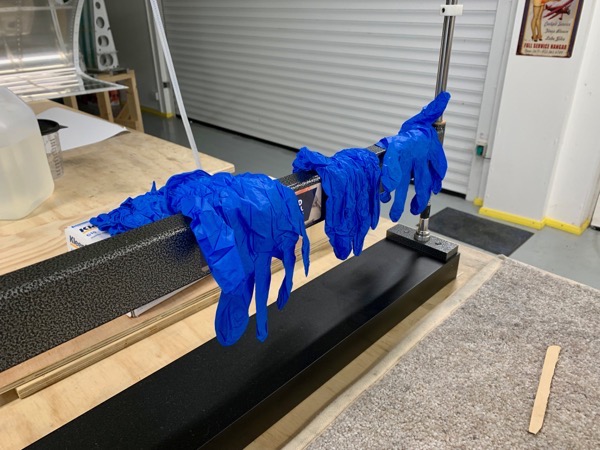
Nitrile Gloves on standby!!
Mixing the Proseal

Then the time arrived to face the pot of Proseal (PR1440 B2)
This stuff is gloopy! I discovered that a rigid piece of plastic strip was good for initial stirring …

… and then the putty knife good for herding it all back into a pile ready to transfer into the syringe.
A scoop with the putty knife, a bit of encouragement from the plastic stirrer, and somehow it found its way into the syringe.
Riveting
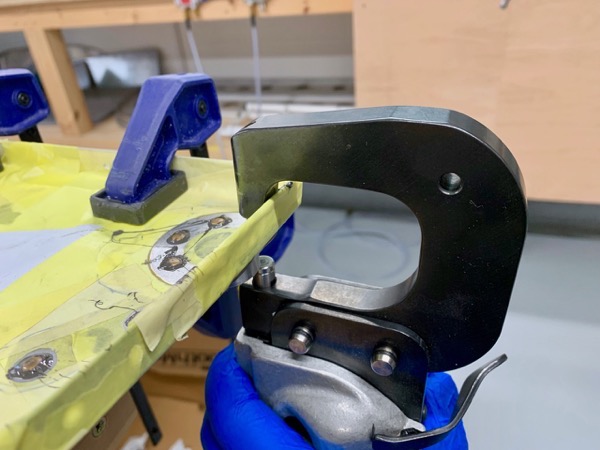
Actually this wasn’t too bad. Using the syringe to apply the sealant, & having masked everything off, it was fairly easy to keep the mess under control. I did my best to clean off the shop heads as best I could prior to setting them, and as long as the workplace was clamped to the bench securely they all set OK.
I used a little acid brush, with the bristles trimmed, to brush the sealant over the flanges and rivets.
I used about 40g of Proseal to seal the components on the 4 end ribs.

A box to fling away all the tissue and gloves proved handy! : )
I let the Proseal partially set, and then removed the masking.
So far so good, tank stiffeners next.