


18-05 End Rib and Stiffener
End Rib
There was a decision to make before installing the outboard end rib. The manual suggests you do this prior to installing the top stiffener, which runs the length of the tank.
Seems a good plan, because you slide in the stiffener from the inboard end … which at this stage only has the small forward inboard rib in place so access is available to do this.
But if you look ahead and think about how to rivet the flanges of the inboard ribs together, it might be easier to gain access for the rivet gun when able to gently flex the rear inboard rib gently inboard. But if the stiffener is in place, you can’t! Hence the options …
1. Install the inboard rib and Tank Attach Subassembly before the stiffener is riveted, then the stiffener by sliding in from the outboard end, and lastly the outboard rib.
2. Or stick to the manual, and accept you’ll need a long 1/8 rivet set to drive the inboard rib flanges.
Well I’ve got a 12″ 1/8 rivet set, just enough so that the gun is clear of the rib, so I decided on option 2.
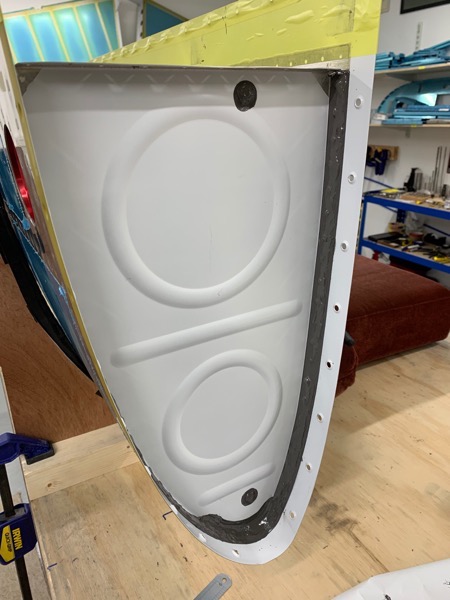
The actual job of installing the outboard rib was straightforward, using a squeezer, with access easy for all rivets.
Another possible trap is the amount of sealant applied to the flange … when fitting the tank this part has to fit over the Splice on the inboard end of the wing leading edges, so I was careful to allow enough clearance so the sealant would not be a problem. I hope I’ve left enough, there isn’t much space available outboard of the flange edge. We’ll see???
Stiffener
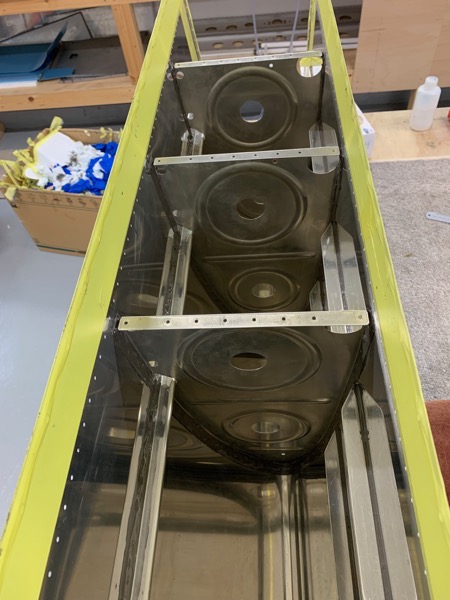
The manual suggests you check for stiffener straightness prior to installation, since the dimpling process may cause a curve which would be a snag during the sliding in process with sealant. But having used the DRDT2 for dimpling, the stiffener had stayed very straight.
We applied sealant to the flange as advised, and carefully slid the stiffener in place. By holding the stiffener away from the skin it all slid into place just fine.

The riveting went OK, but making sure the forward edge of the stiffener was sealed proved hard work. I used a mirror on a telescopic arm to see behind, but it was time consuming to ensure this part of the stiffener was properly sealed.
The pneumatic sealant gun only just fitted to allow extra Proseal to be added.

I had bought a Sealant Gun with a 6oz cartridge … if I did this again I’d try and buy a 2oz cartridge gun, allowing easier access.
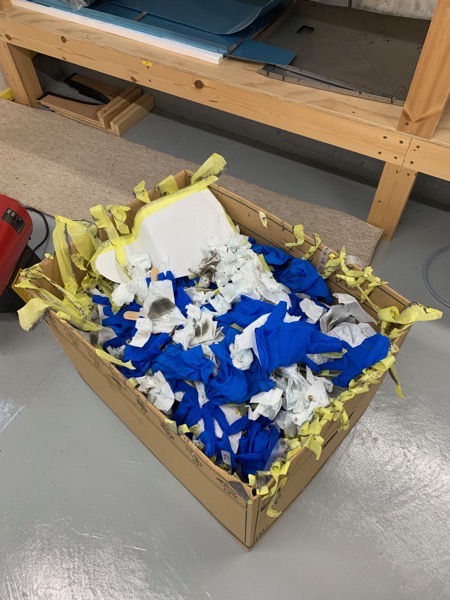
I couldn’t take many pictures of this stage, since time was short and my gloves were permanently covered with Proseal!!!
Aftermath!
Lots of tissue, gloves and masking tape involved with this stage!


2 comments on 18-05 End Rib and Stiffener
Neatest job ever!
But I just hope it doesn’t leak : )