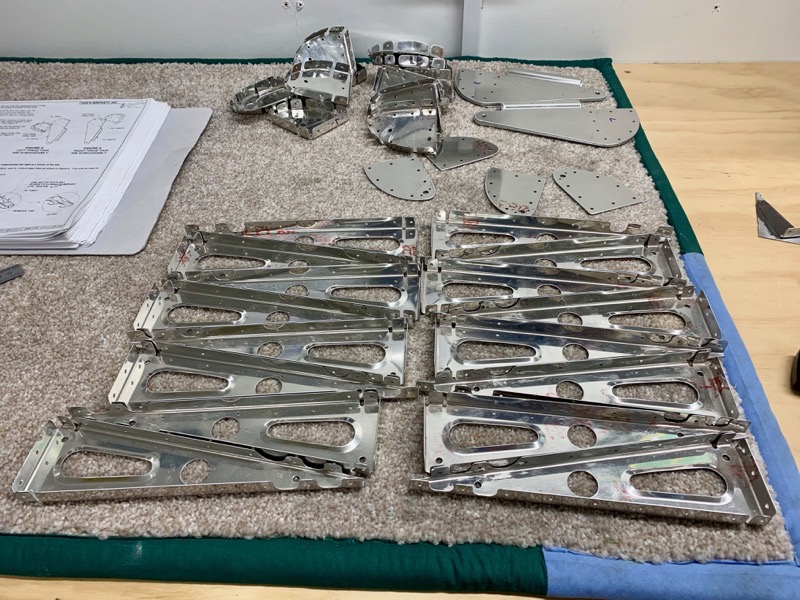
21-02/03 Deburring Flap Components
Here we go building the flaps! Fun to start a new section, but of course this means back to deburring. I usually try and debur parts before starting to fit them together etc, since this avoids scratches.
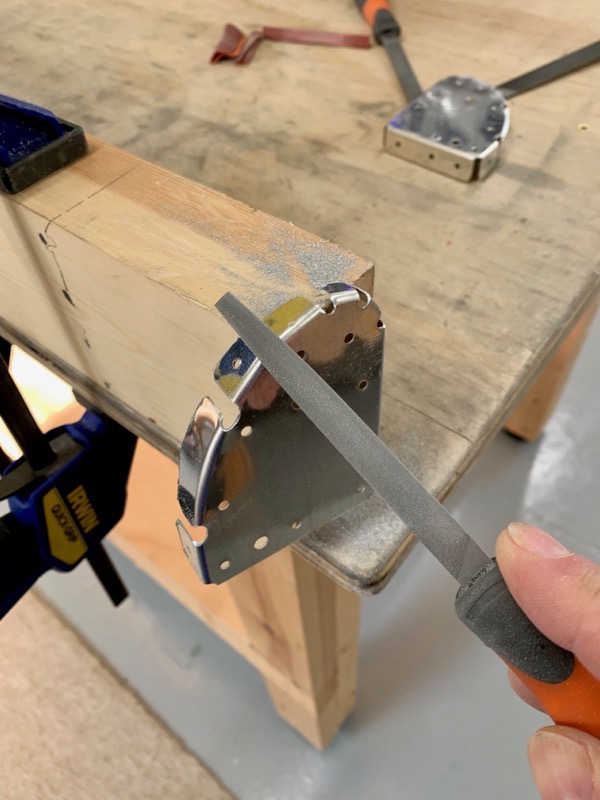
Hinge Brackets

The bracket flanges needed a slight tweak to make them parallel with the main surface. I did this by clamping the flange in the vice.
Then the left hinge bracket flanges have to be marked and drilled.

Once the first bracket has been drilled, you can clamp the other ones to it and match drill.

Left Brackets drilled, the right ones are match drilled later on.
Ribs
Fiddly deburring, with usual advice to buff the flange edges at the noses to prevent scalloping on the skins.
The Fine 3M Deburring Wheel has again been invaluable for these jobs.

The main ribs need a small tab removed. I just used a hacksaw for this job, positioning it carefully so as to not damage the tab underneath.
All the ribs now deburred. I’ll get on and do the skins and spars when I get back from a work trip.