


Vertical Stabiliser 06-04
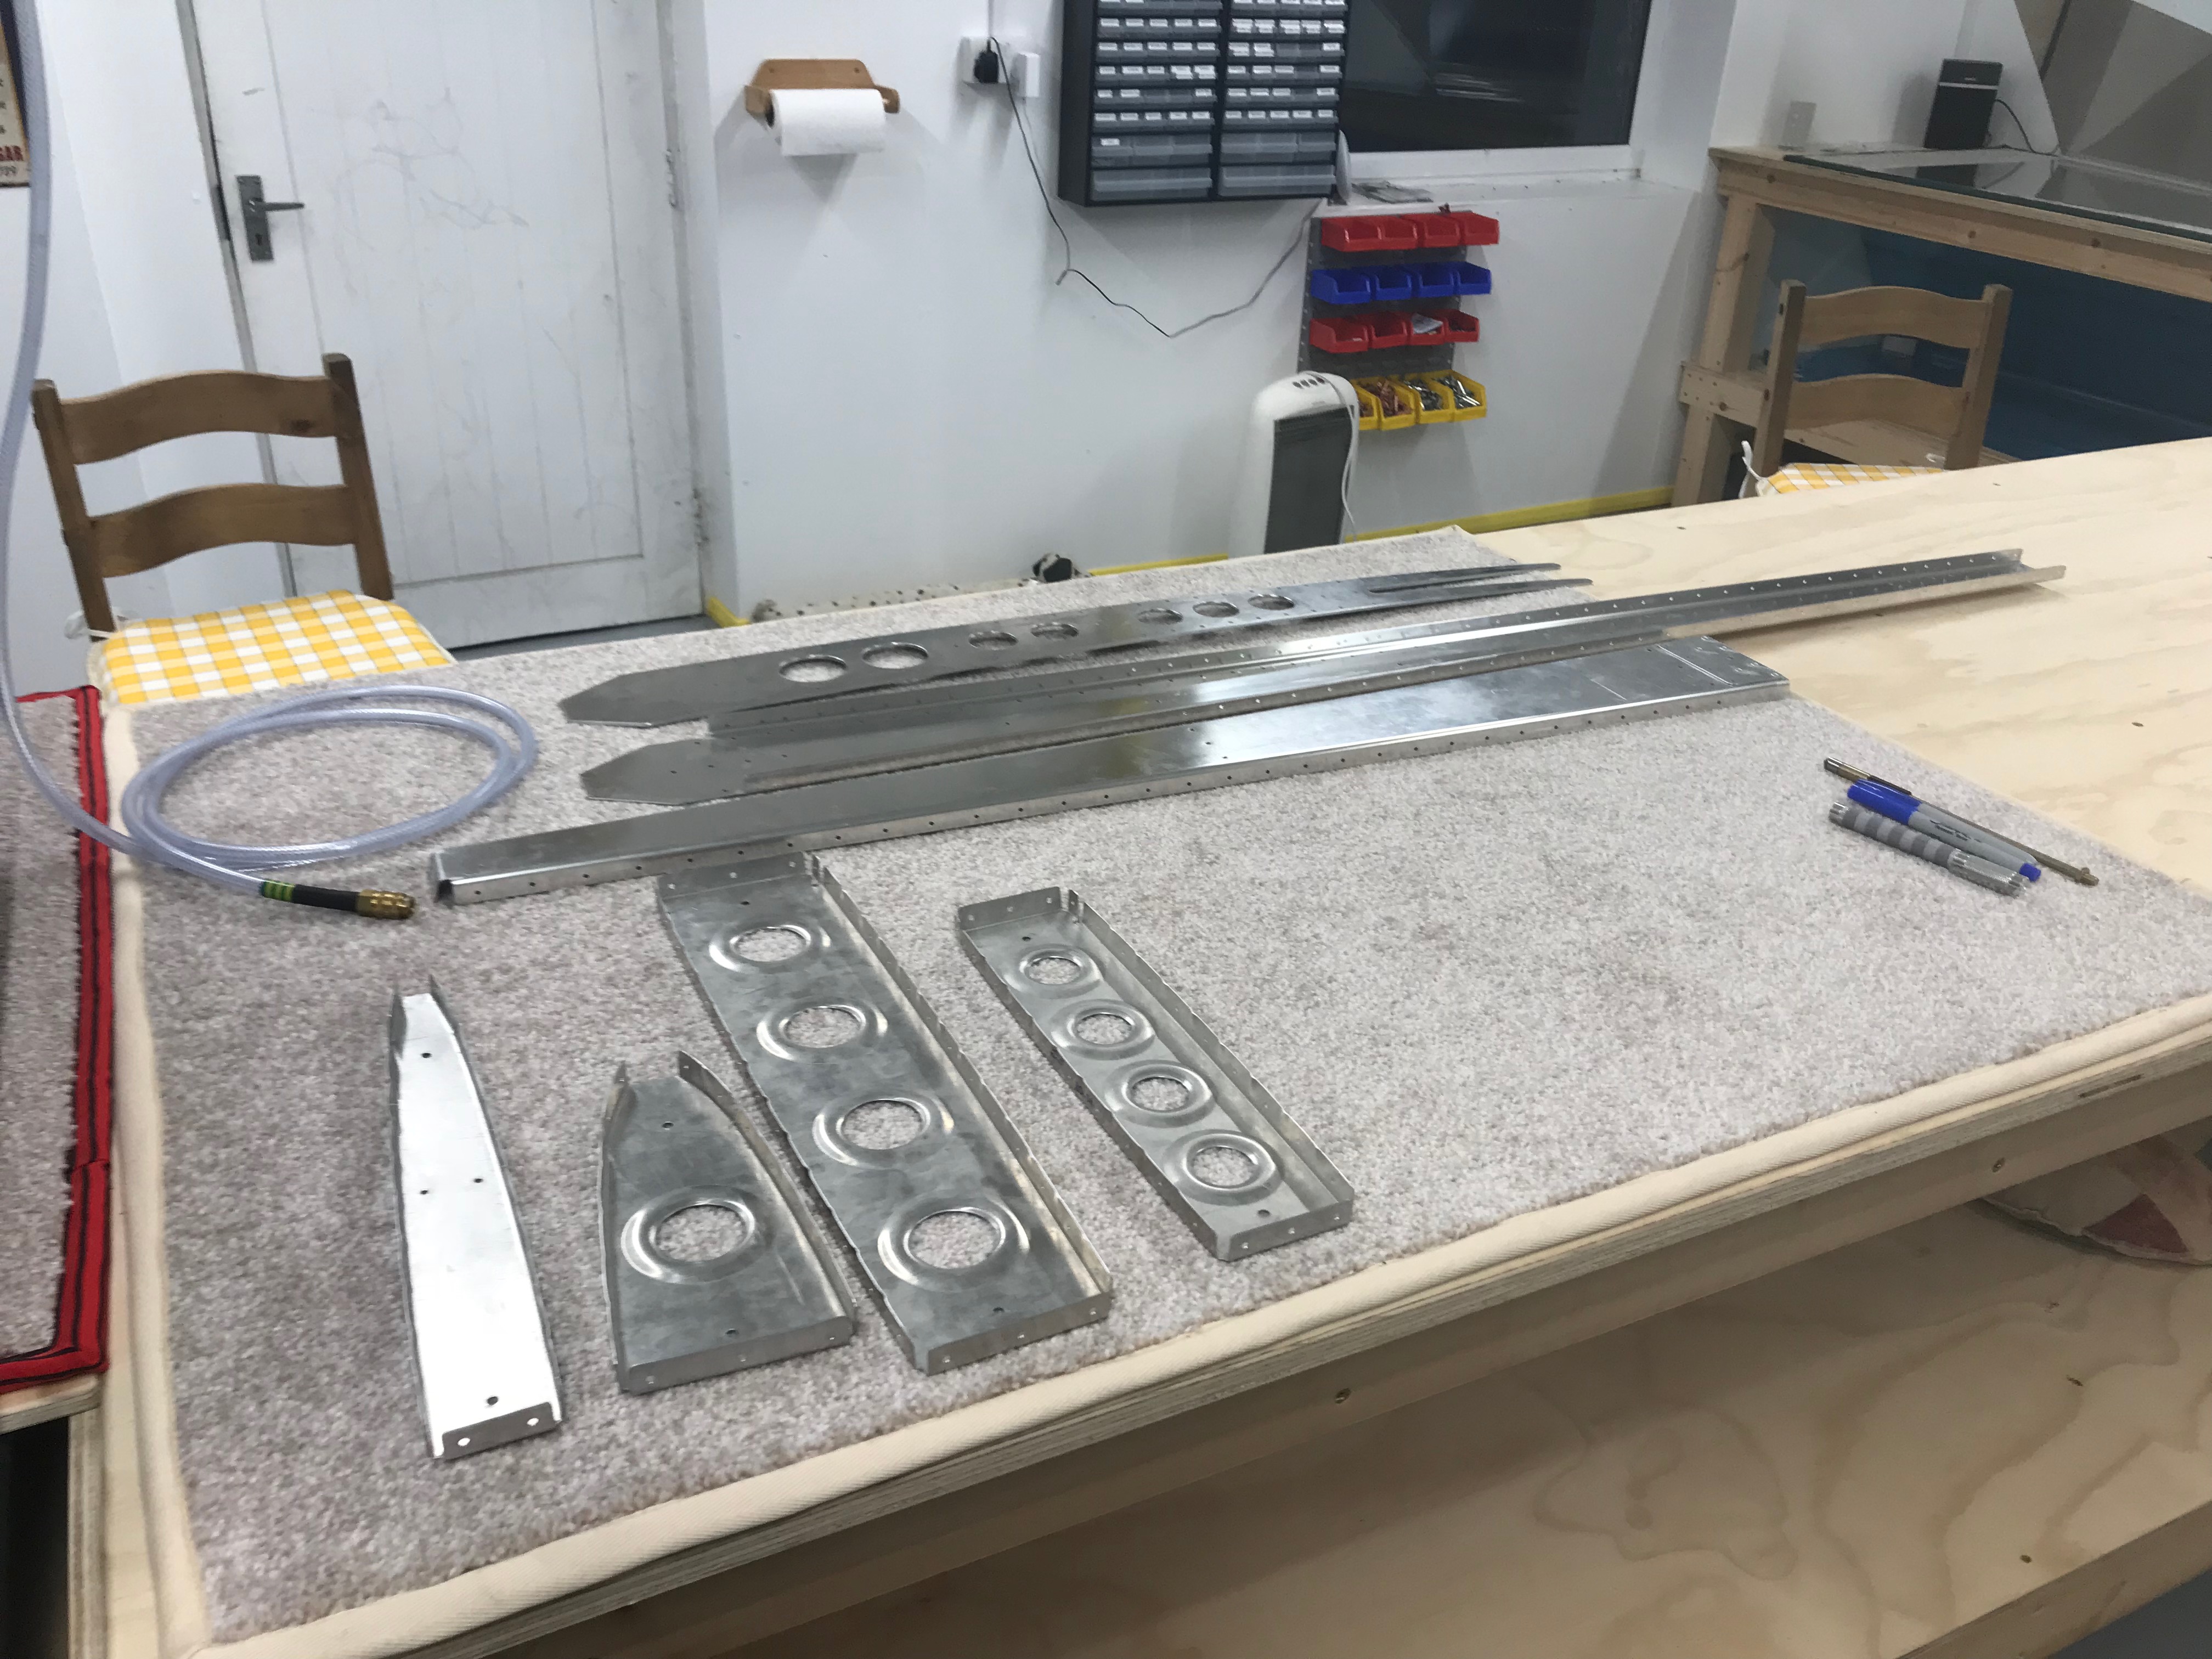
Everything clecoed together, final drilled and a few holes match drilled.
Skin Fit around LE

Trimmed a small amount off the rib LE’s and rounded them as per manual to ensure the skin would fit correctly over length of rib with no stress.
Deburring
Now it all comes apart for deburring. This is the stage that the manual suggests to deburr. In hindsight I think it would be best to debur all edges prior to fitting everything together, avoiding possible scratches (especially on the skin). From now on that’s what I’m going to do. Obviously this is the moment to debur holes AFTER final/match drilling.
Deburring the holes after final drilling. Cleaveland’s Speed Deburring Tool in use here without the handle. I find it quicker and more precise without the handle.
Machine Countersinking
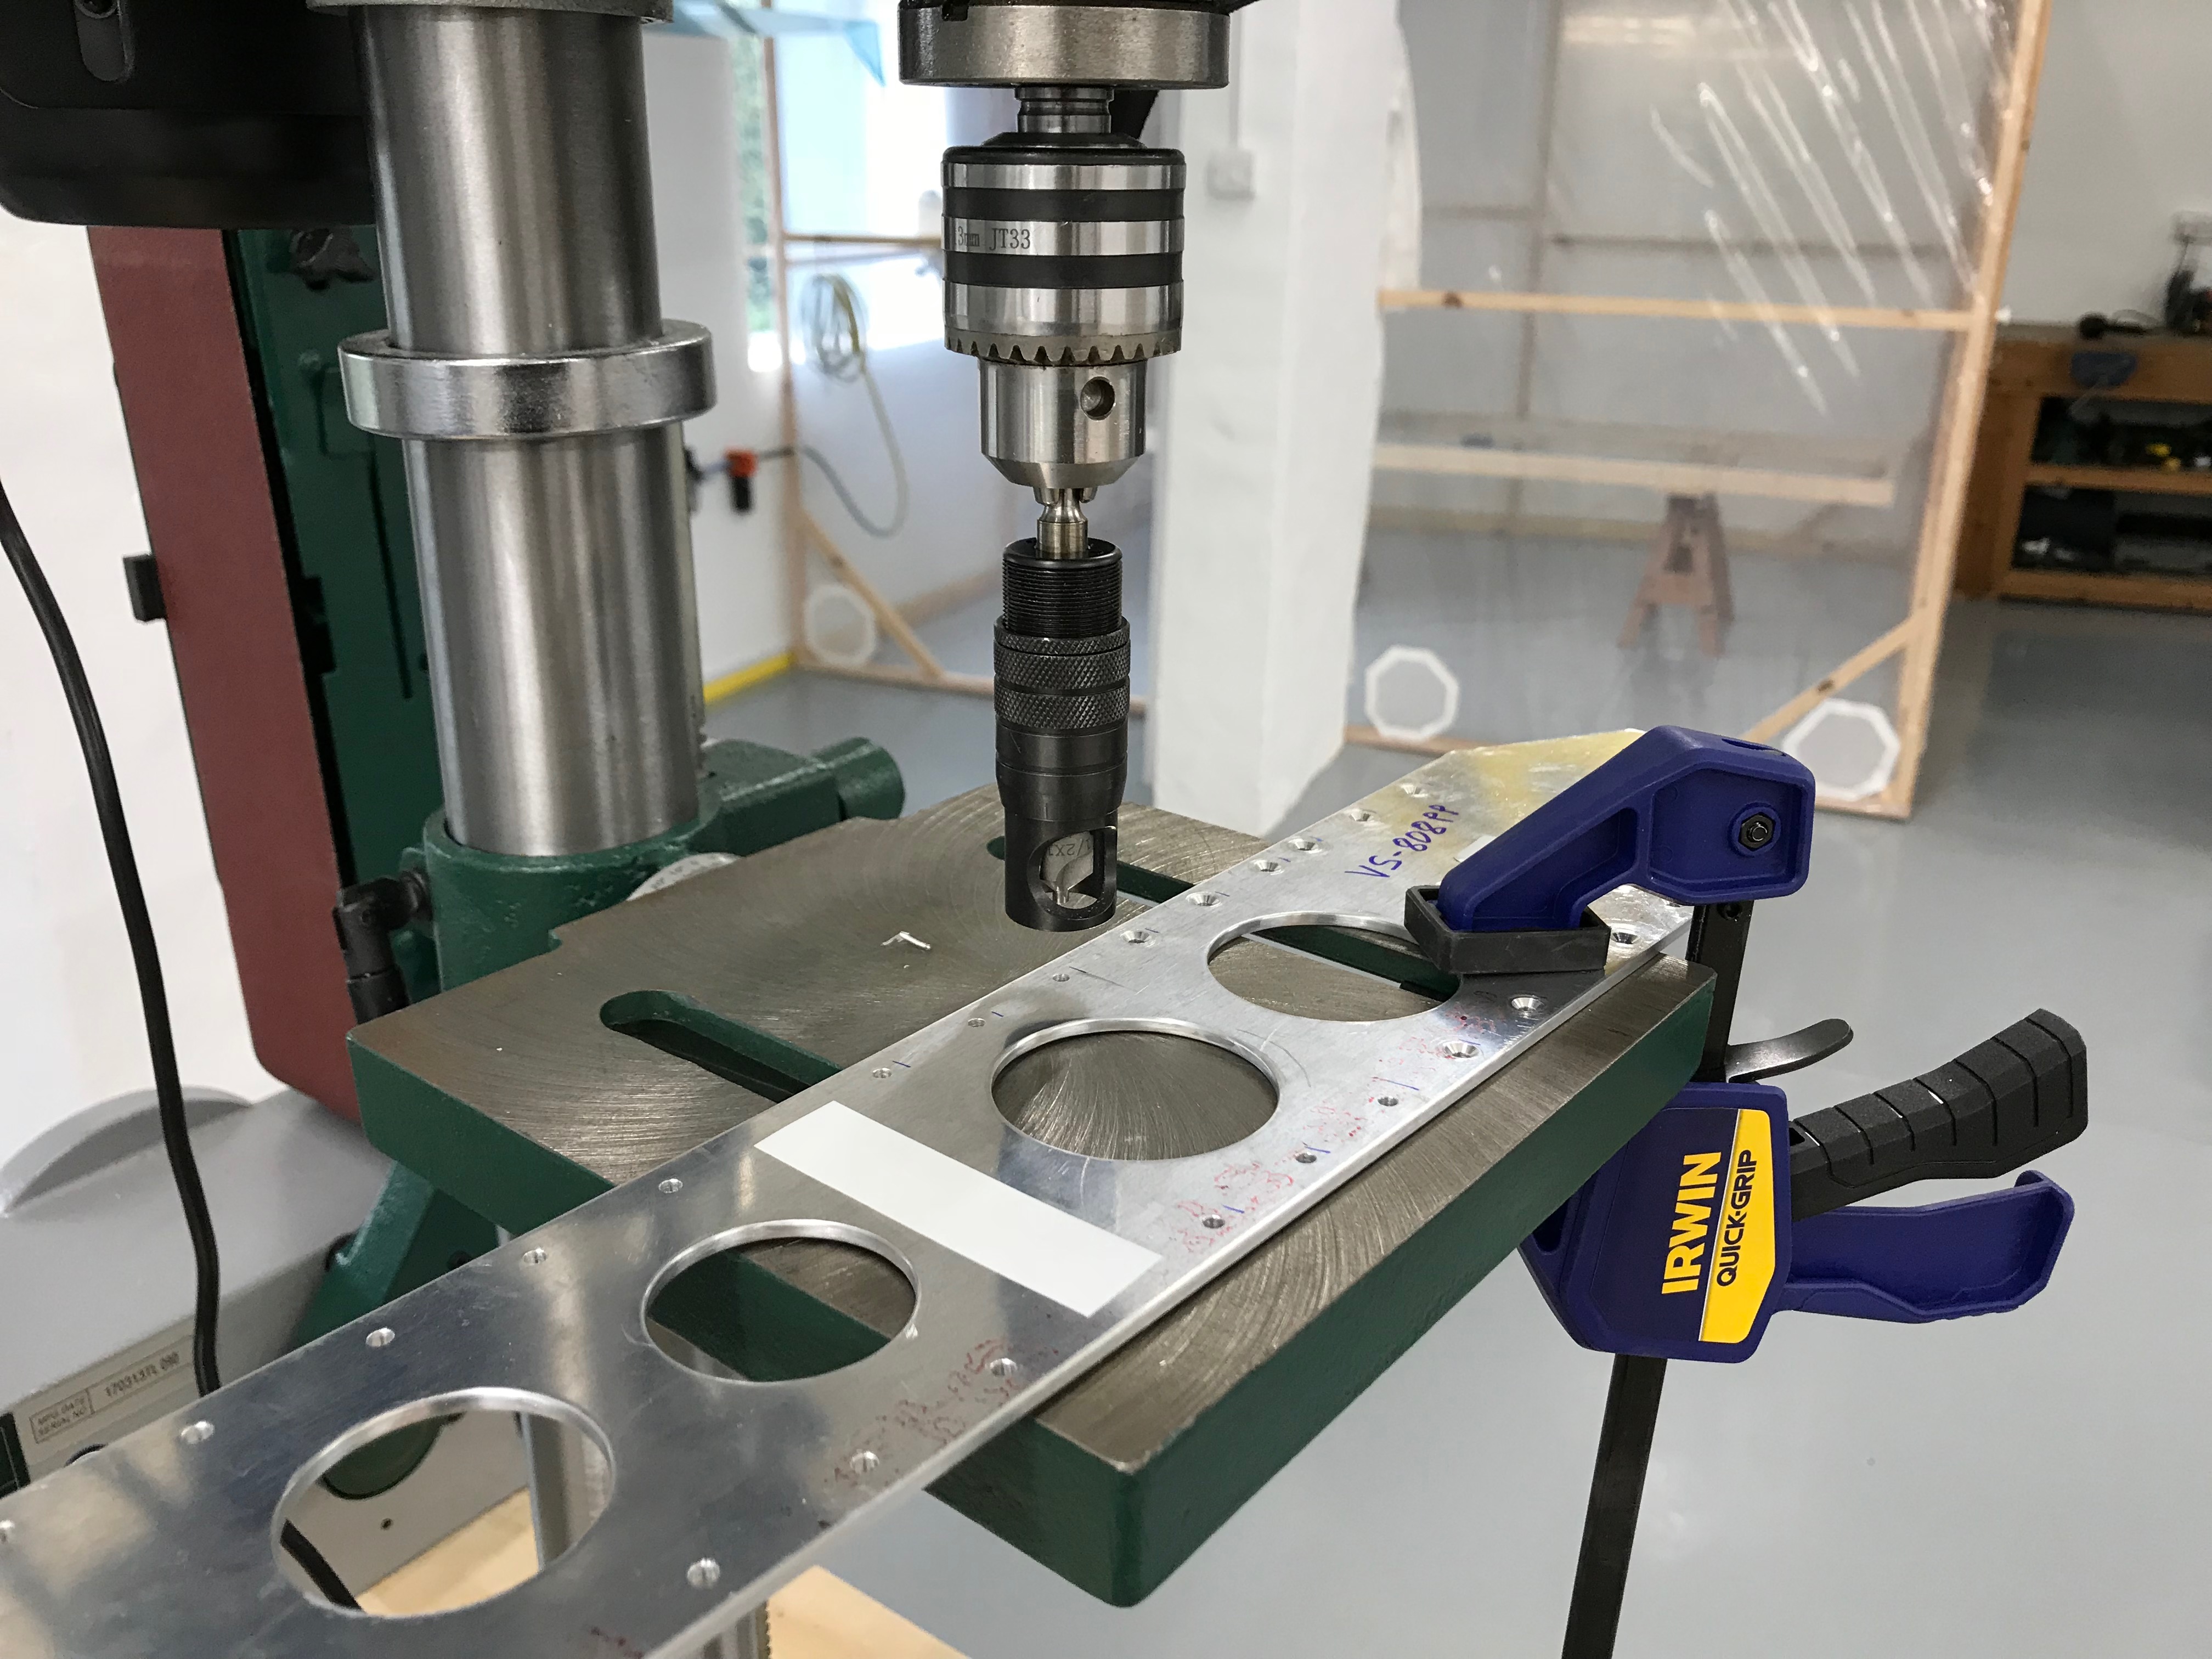
Several holes in the rear spar doubler require a machine countersink. Getting used to setting the Micro Stop Countersink Tool, works very well in the drill press.
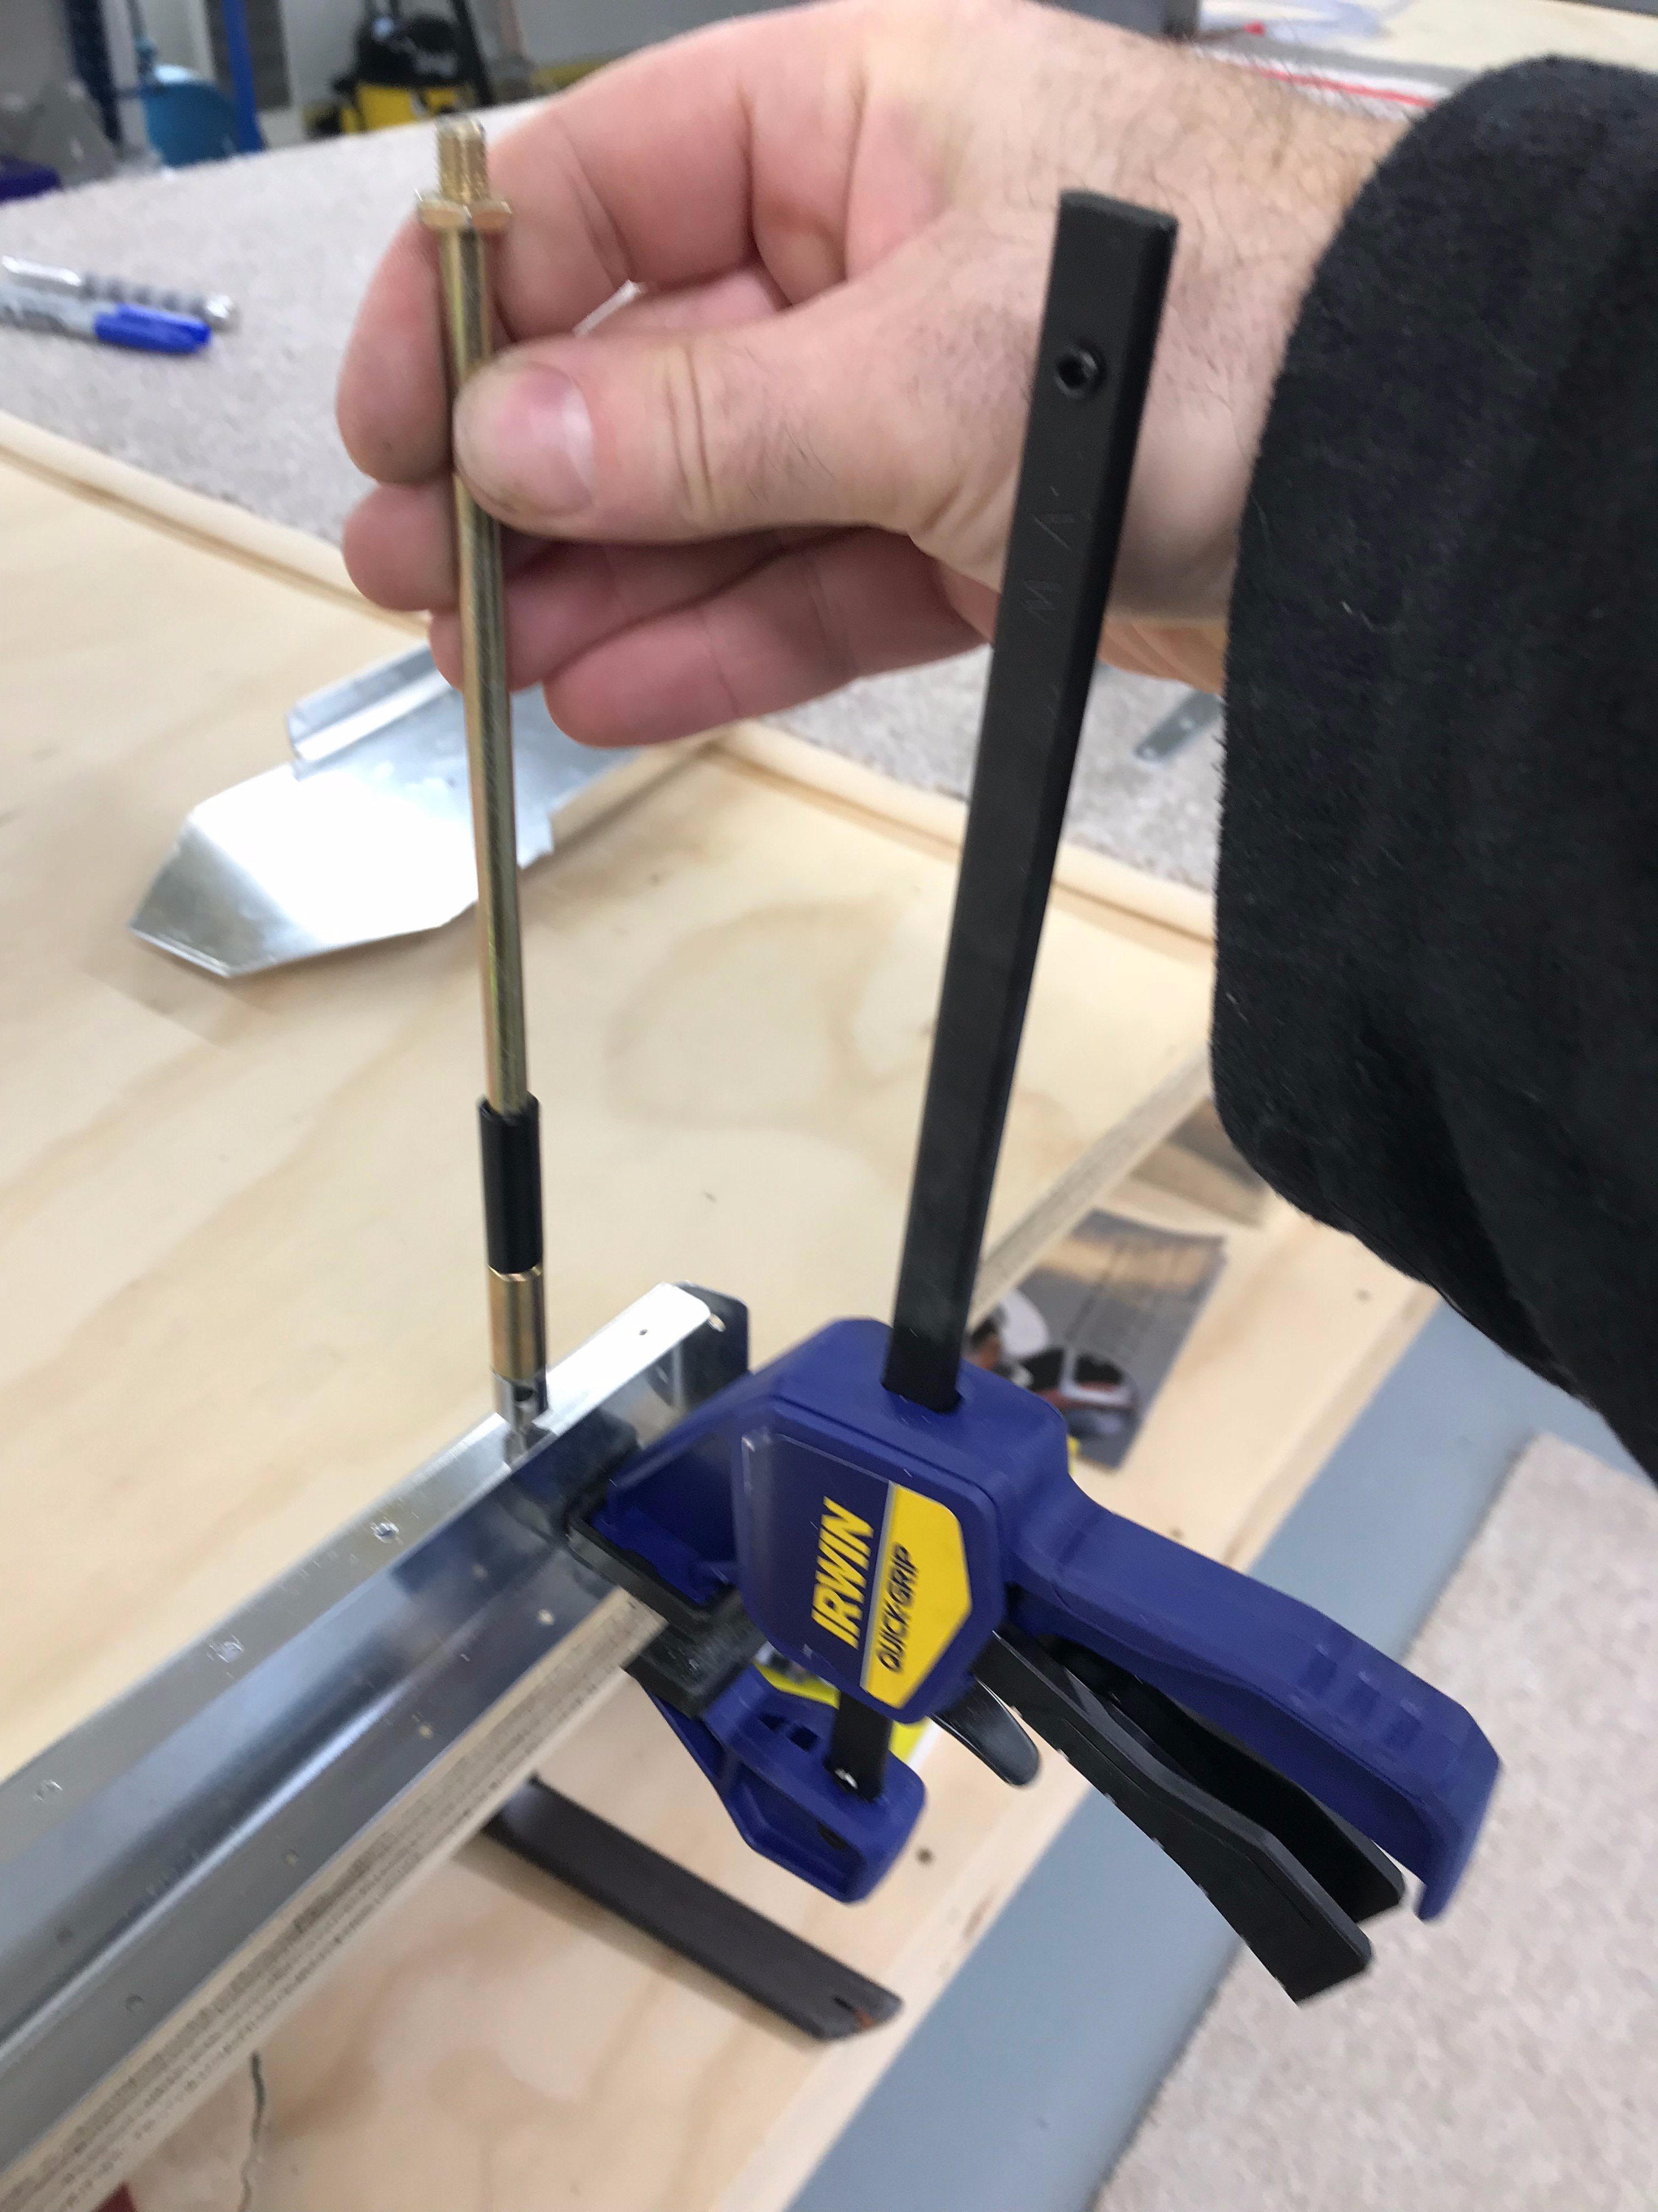
DRDT – 2!
First use of the mighty DRDT-2 for dimpling. Very easy. Carpet great for feeling confident the skins are being treated gently!


