Elevators 09-21 to 09-23 … Sticky Stuff
Riveting a bit easier now, along the root and tip ribs with easy access for the squeezer.
Front Spar

The 3″ Yoke fitted OK over the protruding skins to make riveting the front spars straightforward. At this stage you also set some of the rivets left earlier for access reasons.
Foam Ribs
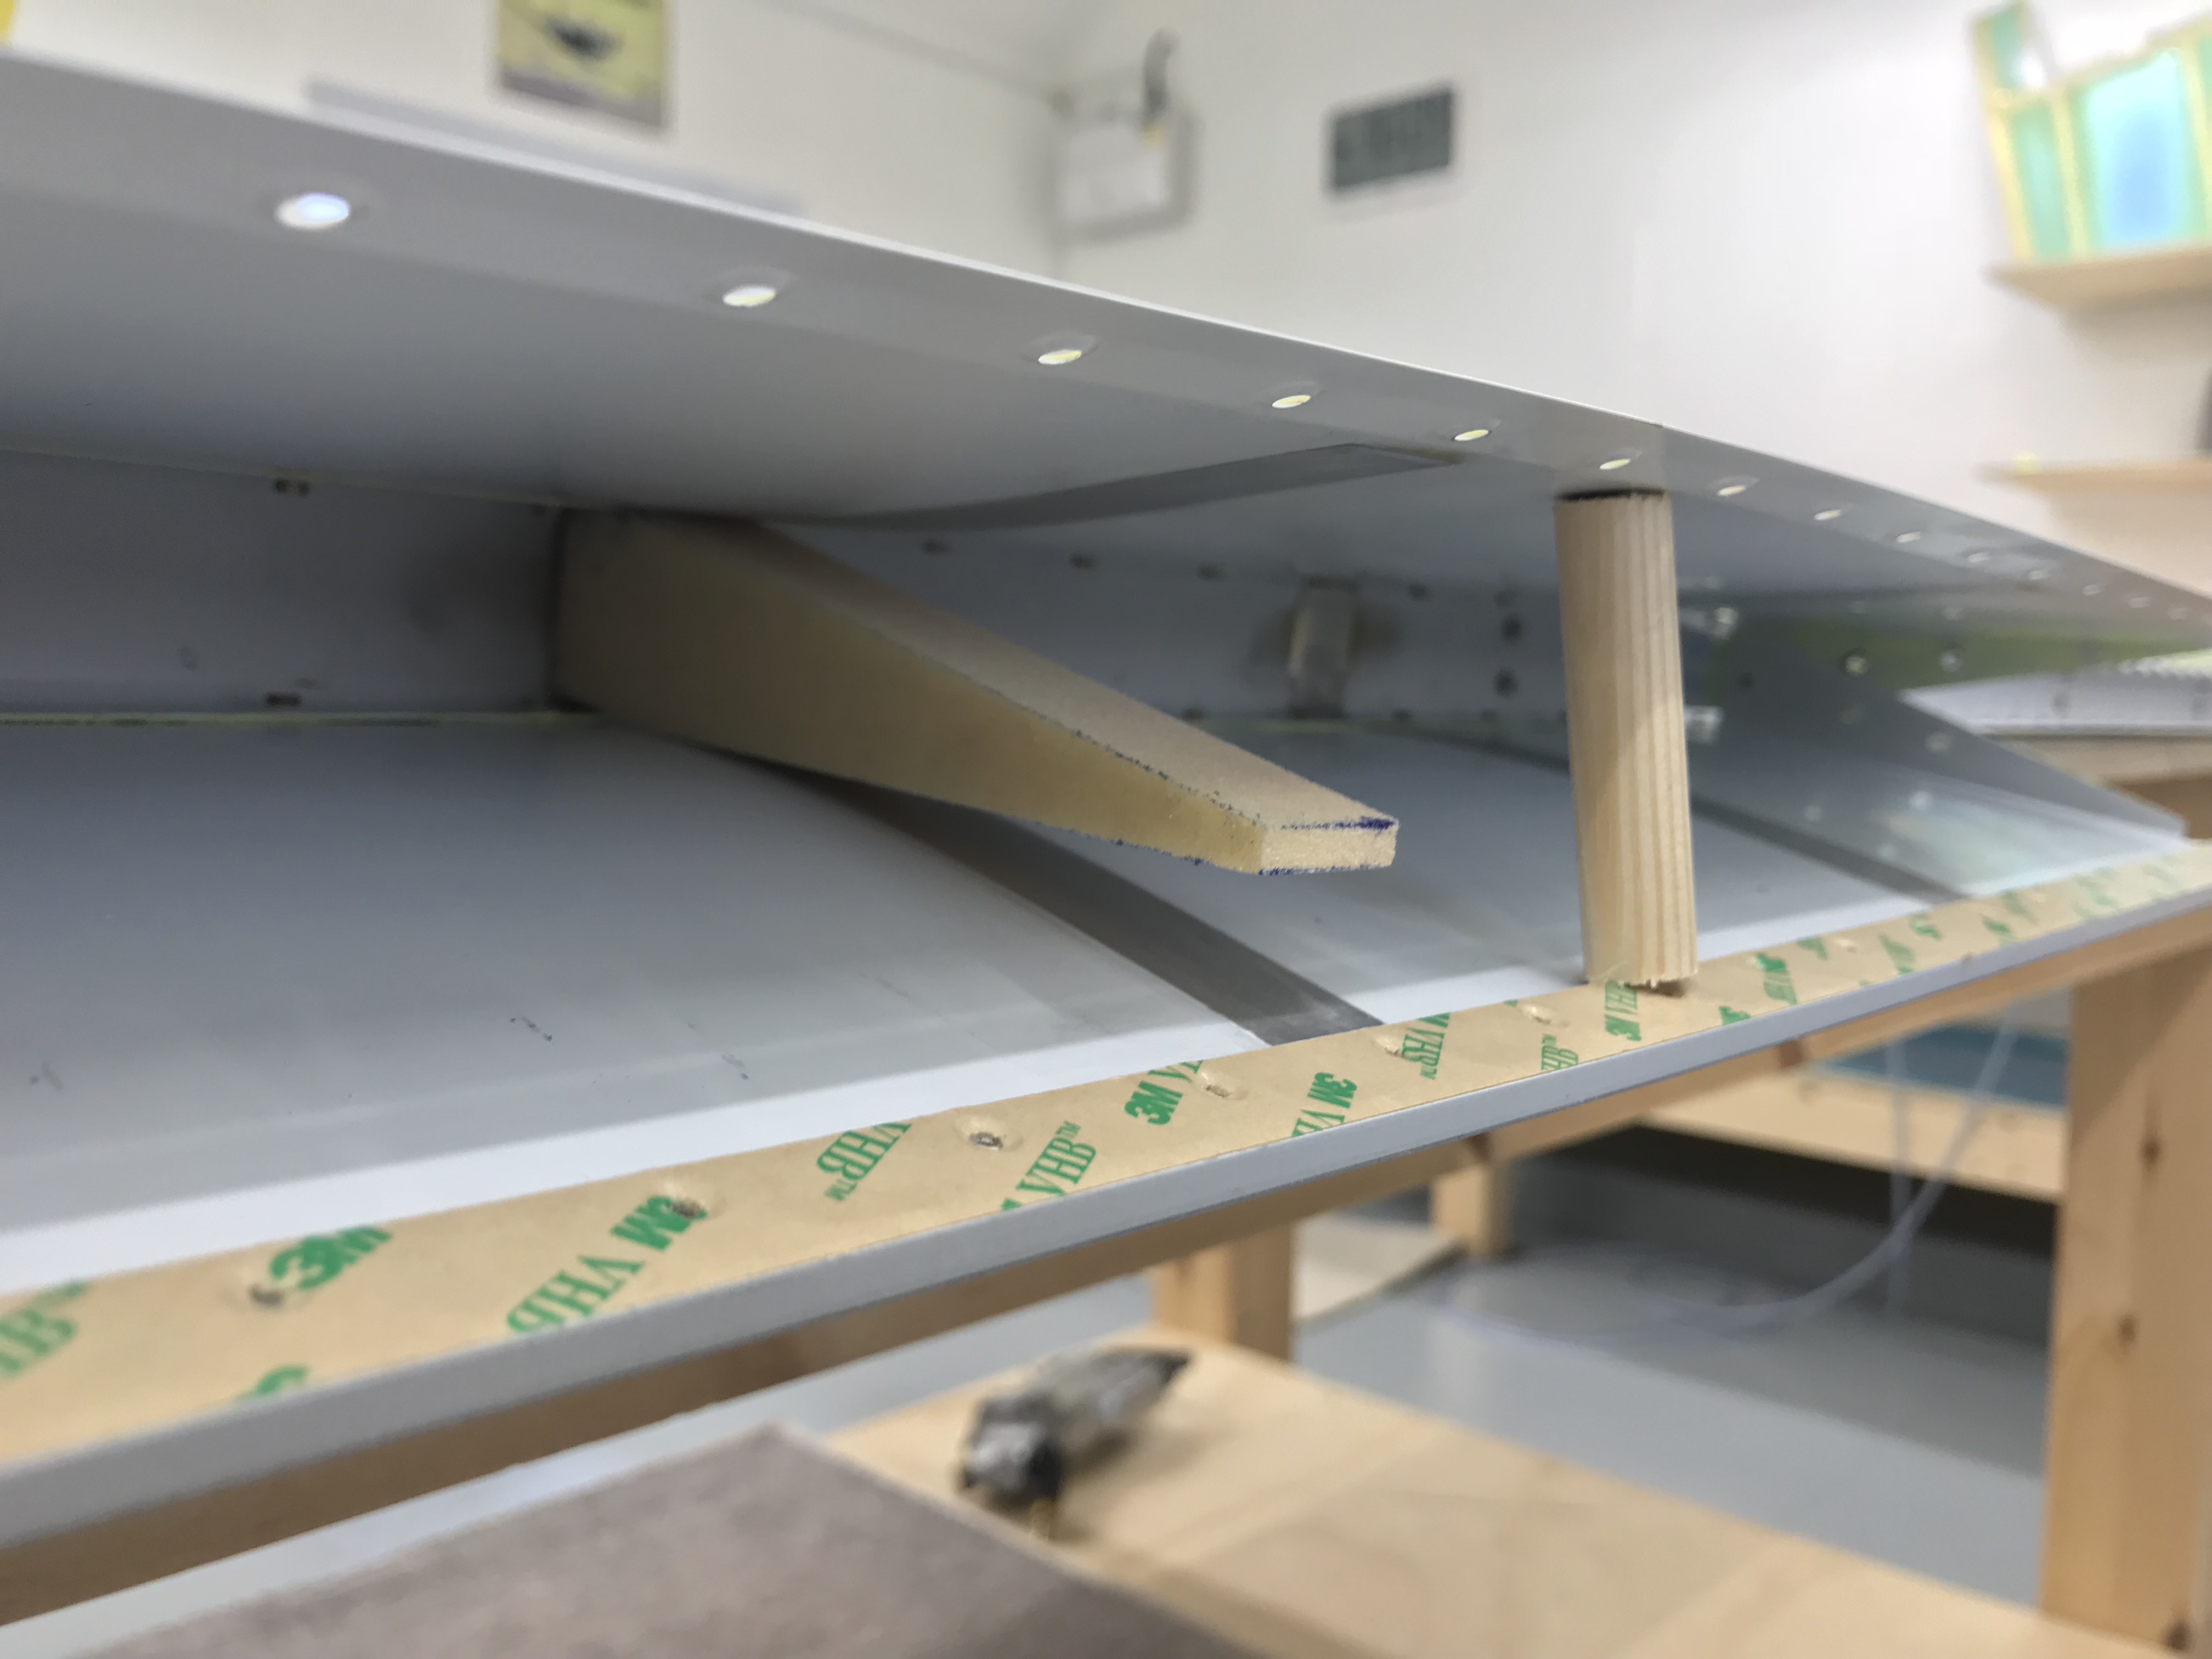
I cut some little pieces of scrap wood to hold the TE skins apart whilst I positioned the foam ribs.
Sticky Stuff

The Proseal recommended by Vans is not available in this country, but the equivilent seems to be PR1440 B2. There are lots of different versions of this product … the B2 refers to a 2hr working time. Lots of comments around the forums etc about tank sealant, and I can see why. This stuff is stickier than sticky stuff! Top advice is to get organised and wear more than one pair of gloves, so as things get out of hand you can peel off a pair and work on.
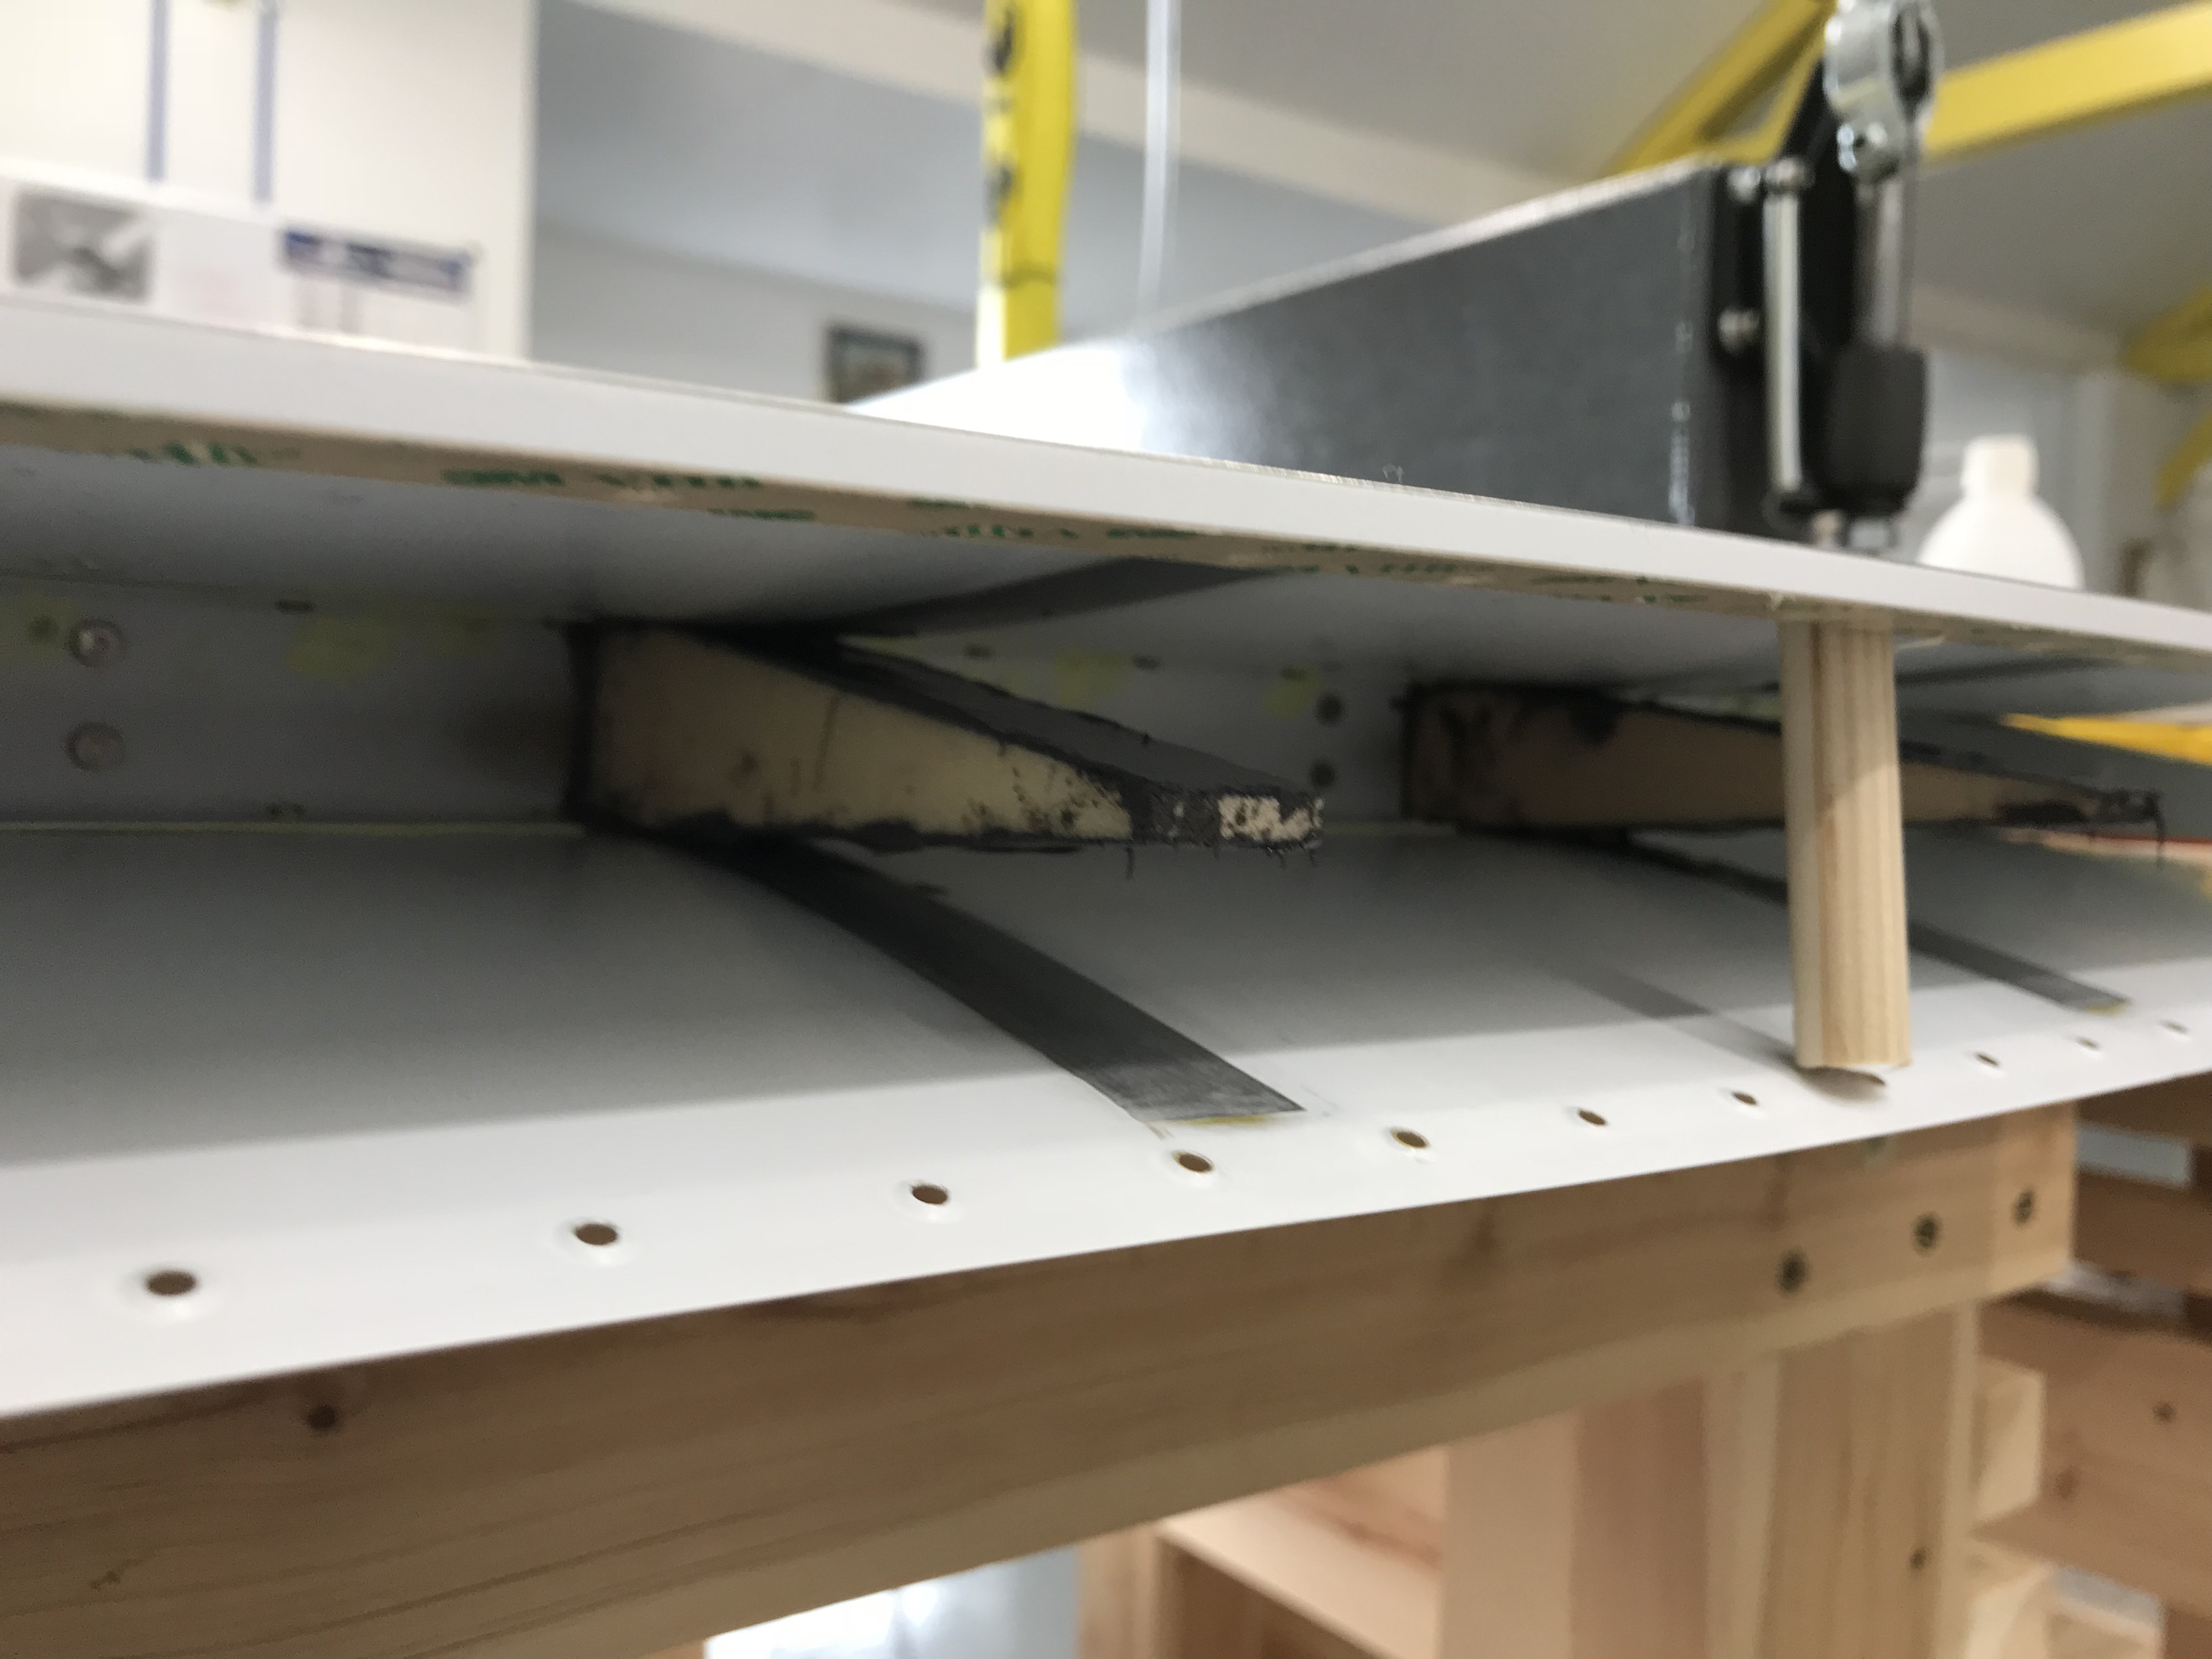
Here are the foam ribs painted with a thin layer of sticky stuff … the TE already has the double sided tape applied to one skin. The manual suggests closing up and removing the backing paper from the second side later, but having had trouble with this technique on the rudder I decided to remove it before closing up. As you can see in the next picture I also decided to replicate the rudder TE workflow by clecoing it to a piece of Aluminium angle to ensure everything stays straight.
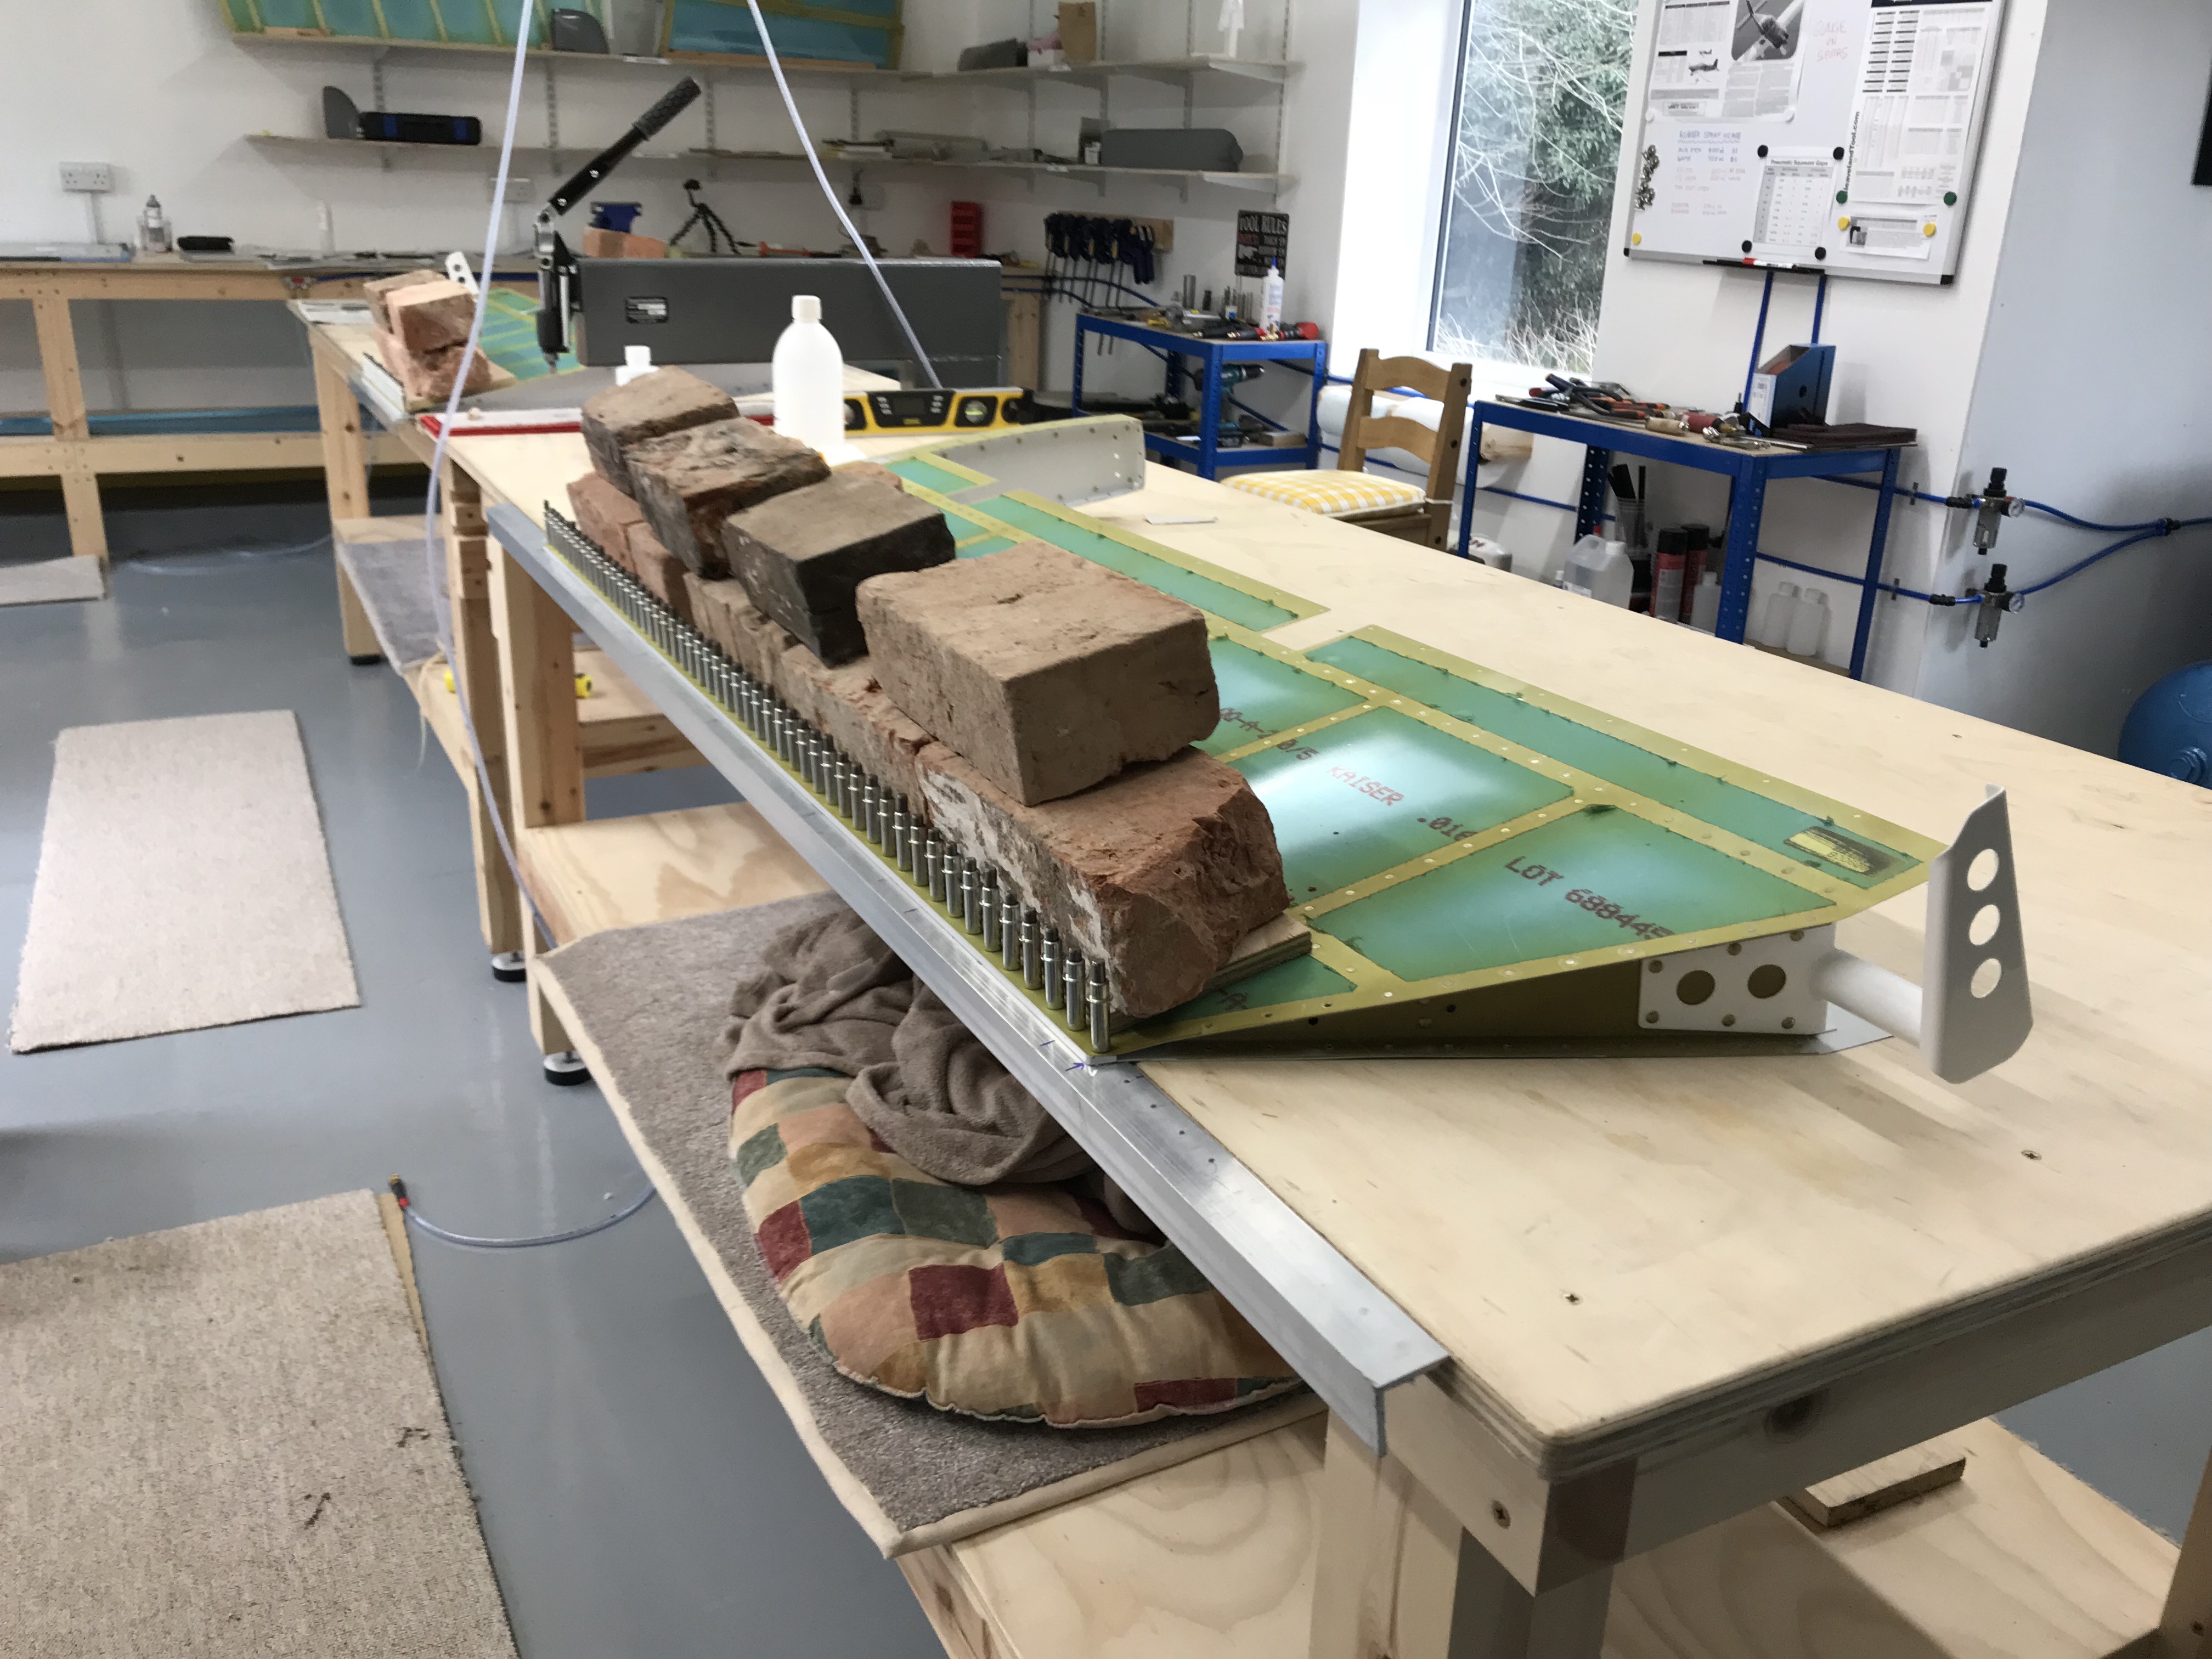
As the TE’s are closed up care was needed to ensure the double sided tape adhered in the correct place, so I clecoed from the center outwards. Then a length of plywood was placed on the area where the foam ribs needed to bond, bricks put on top to weight it all down. I wanted the skin pressed down as much as possible to help prevent ballooning over the foam rib positions. I am confident the size of foam ribs are correct as per the manual, and the amount of Proseal on each rib is advised to be about 1/32″ …. but, hmmm, who knows? Now set aside for a few days to bond, which will probably take longer due to the temperature in my workshop being decidedly chilly at the moment … roll on spring! Time to get on with wiring up the Trim Tab Servo.