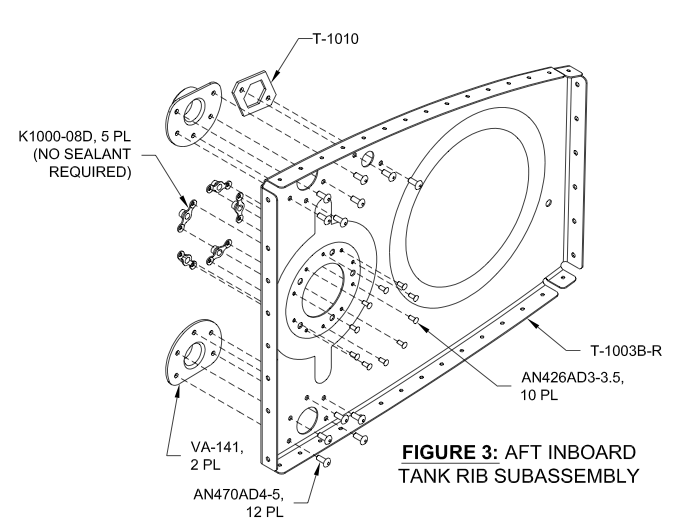
18-02 Fuel Tank Preparation
Well, Fuel Tanks … here goes! As usual there were several hours spent deburring the ribs.
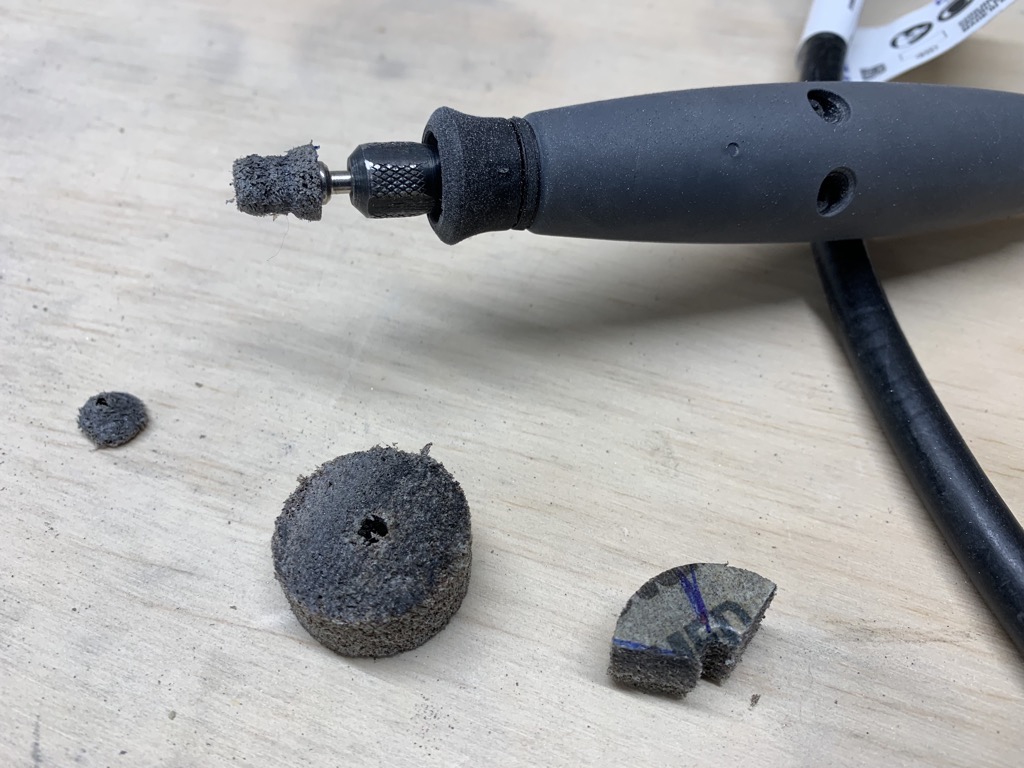
I did try and make a little tool to speed up deburring of “nooks & crannies”. I used a Dremel mandrel with a screw thread on the end, screwing it onto a cone shape cut from a small Scotchbrite wheel. It worked reasonably well, but unfortunately didn’t last very long. In the end I decided the time saved didn’t warrant the time spent manufacturing the little cones.
Rib Flanges and Dimpling

The rib flanges had to be fluted and checked for being perpendicular. As for the LE Ribs & Wing ribs, I judged the fluting by laying a ruler along the holes, aiming to align them all.
Prior to dimpling I scuffed the flanges. I’ll do more scuffing just prior to assembly, but at least the dimple cavities will have been scuffed.
I dimpled most rib flange holes with the DRDT2…

…but a hole in each Inboard Rib – FWD had limited access, so I used a Close Quarter Die Set.
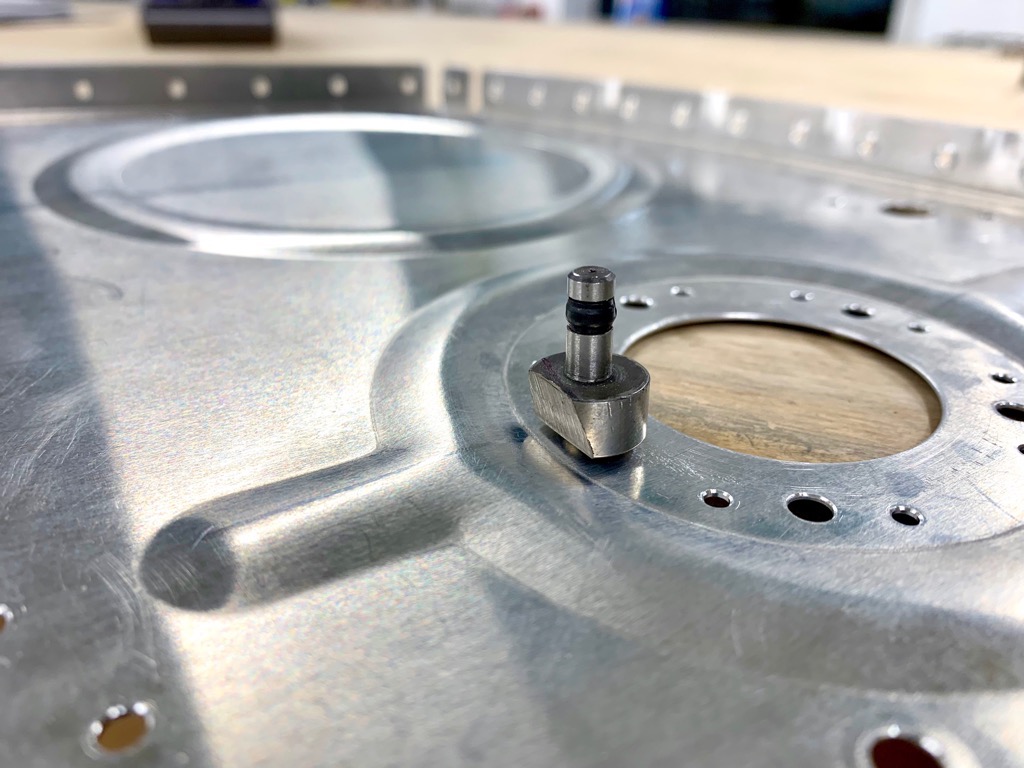
Nutplate Attach Holes in Inboard Rib
Step 6 gets you to dimple the Inboard Rib AFT nutplate attach holes, and says you will need a reduced diameter FEMALE die. After carefully checking the drawings, I think they mean a reduced diameter MALE die, so I ground off the edge of a spare #40 die. This then produced a dimple without distorting the raised area of the rib.