18-08 Tanks Finished!! Right Tank Baffle
The tanks are finished! No more Proseal for a while, what a shame! I say “a while”, because I’m sure I’ll need some more somewhere before the build is complete.
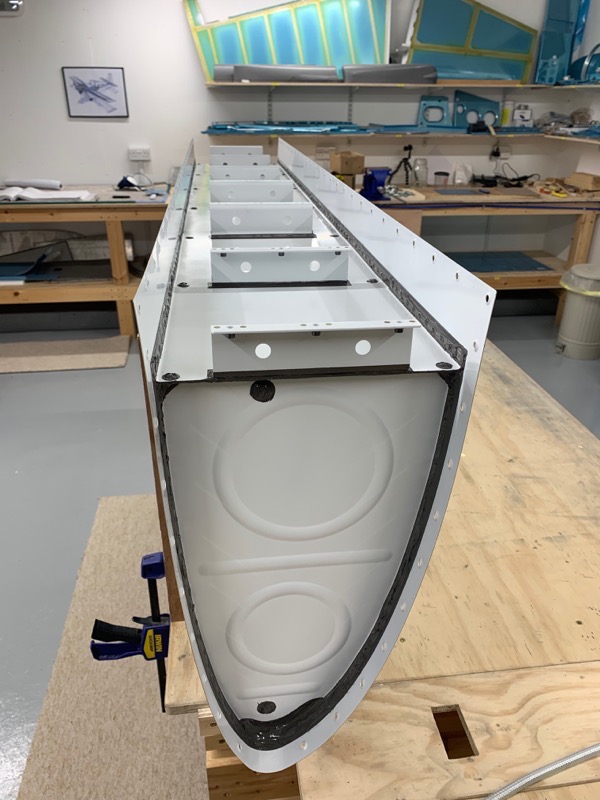
We fitted the right rear baffle exactly the same way as the left hand side … except that we used the gun/bucking bar to set all the flange/skin rivets from the outset.
When trial fitting the baffle I discovered that two of the rib flanges were not perfectly aligned with the baffle holes. After a bit of head scratching I discovered the problem … whilst pushing the ribs into place during the rib installation phase, I must have slightly deformed the rib rear flange at the weakest point (bottom) near the hole.
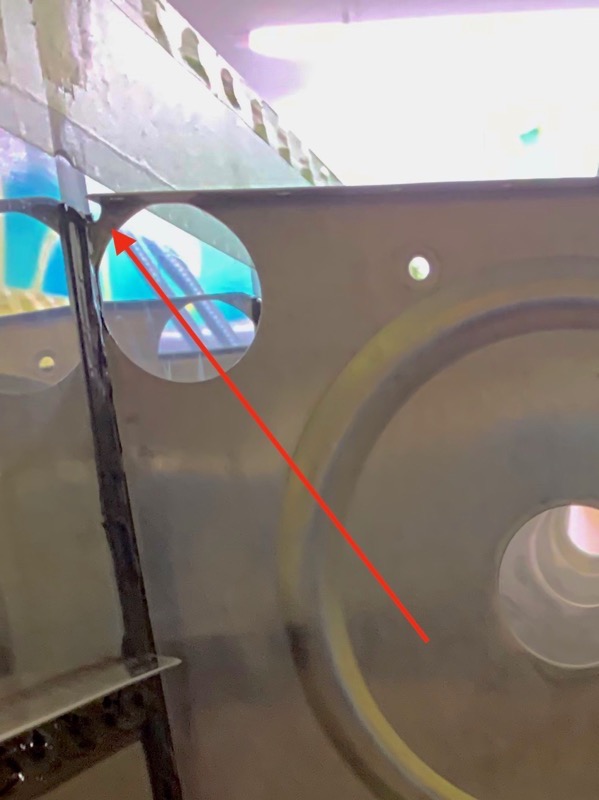
The flange is easily deformed at this position. A gentle tweak back into position solved the problem.
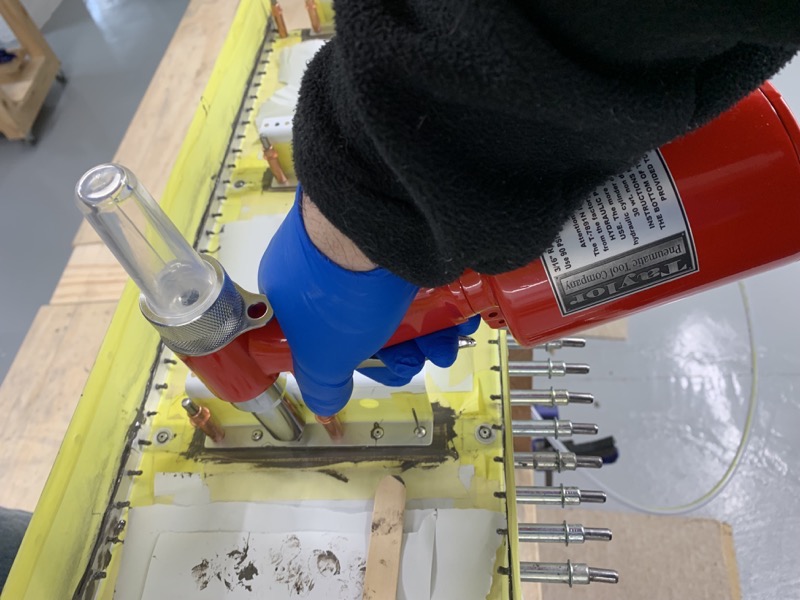
The pneumatic Pop Rivet Gun proved its worth again setting the Zee Bracket rivets. Quick and easy.
Gungy Proseal : )
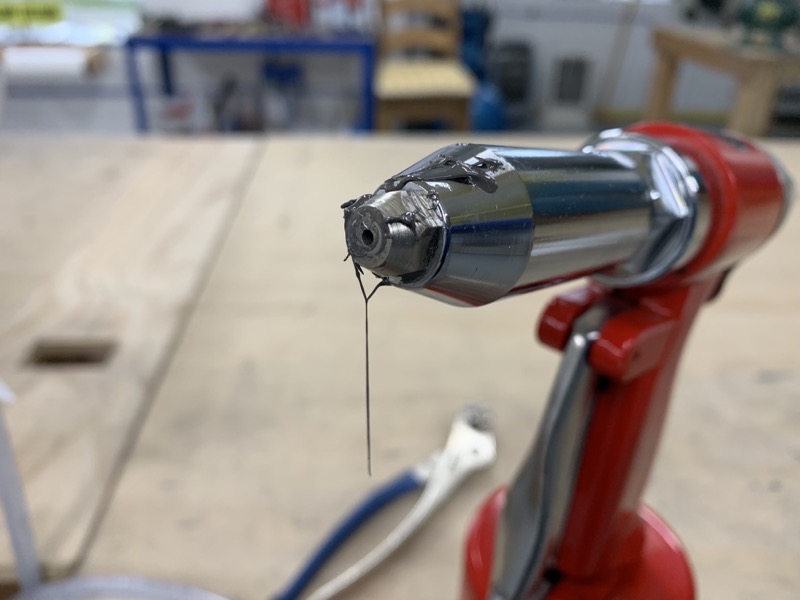

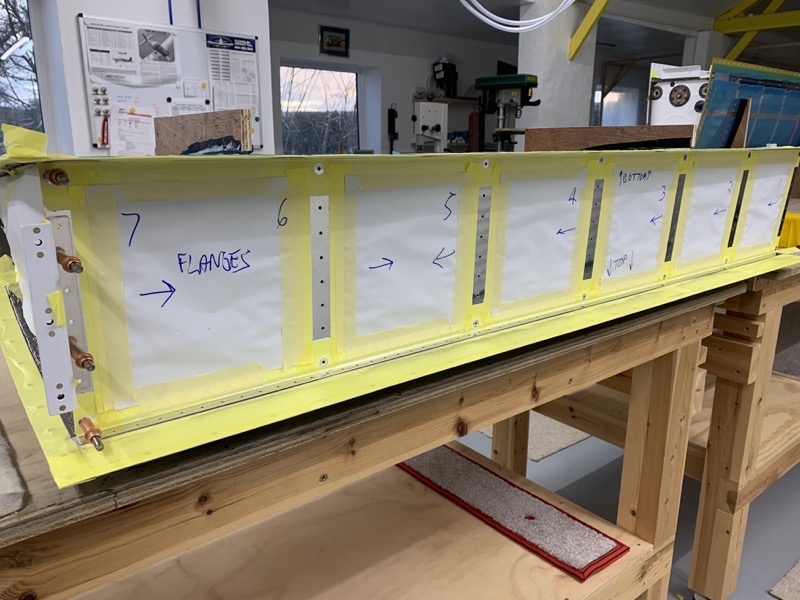
Nearly done, with angry Proseal kept under strict control by the masking.

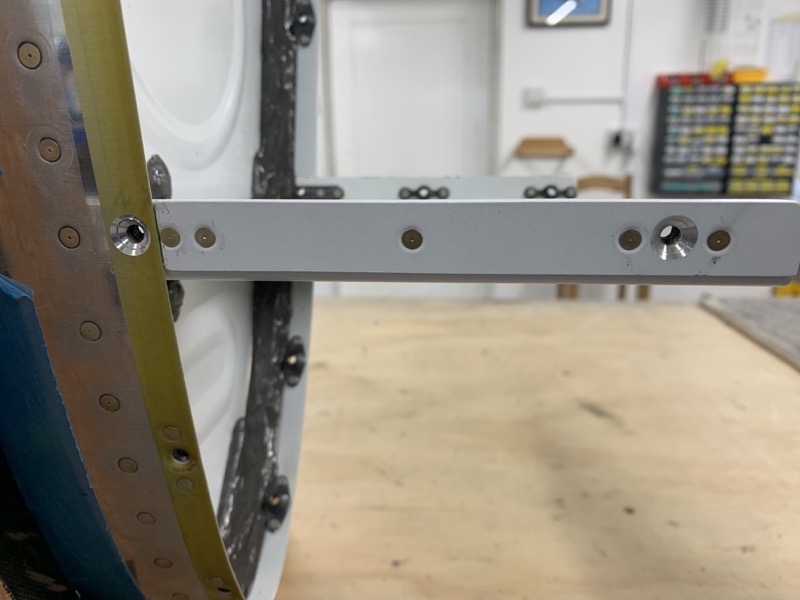
Once the Proseal had set the remaining holes, which had been used for accurate alignment with clecos, were quickly countersunk and riveted.
#8 Screw Countersinks
5 Screw holes have to be machined to fit a #8 Screw Head dimple.
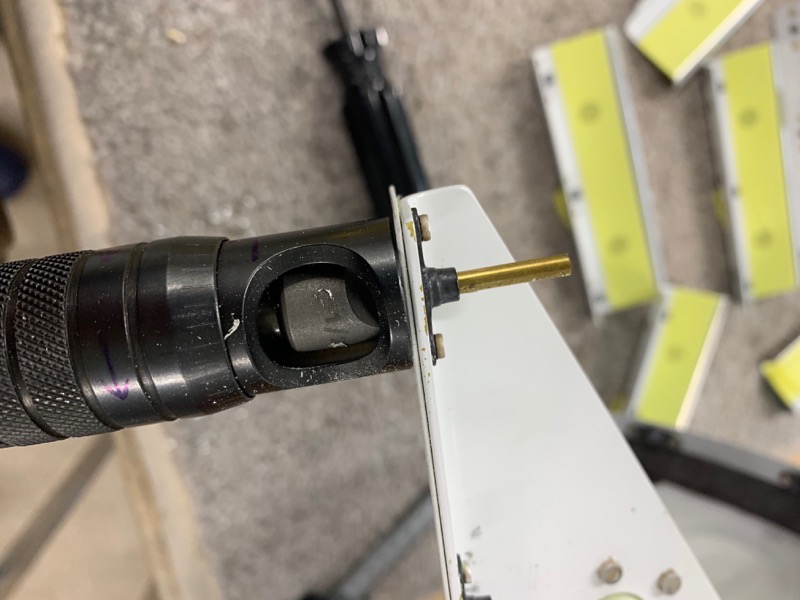
I didn’t fancy running the countersink bit pilot in the Nutplate threads, so I used a #30 Countersink Bit with the pilot turning inside a bit of brass tubing. This seemed to work well, providing a firm anchor for the pilot and protecting the thread. I held onto the tube so it didn’t turn.
So that’s all there is to building RV14 Wing Tanks : )
Now I’m planning on waiting a few weeks to let the sealant cure completely before risking the leak test. Gulp!