25 – Fwd Mid Fuse Bulkhead Preparation
As previously mentioned I’m going to finish the wings later when I’ve finally decided on wiring etc.
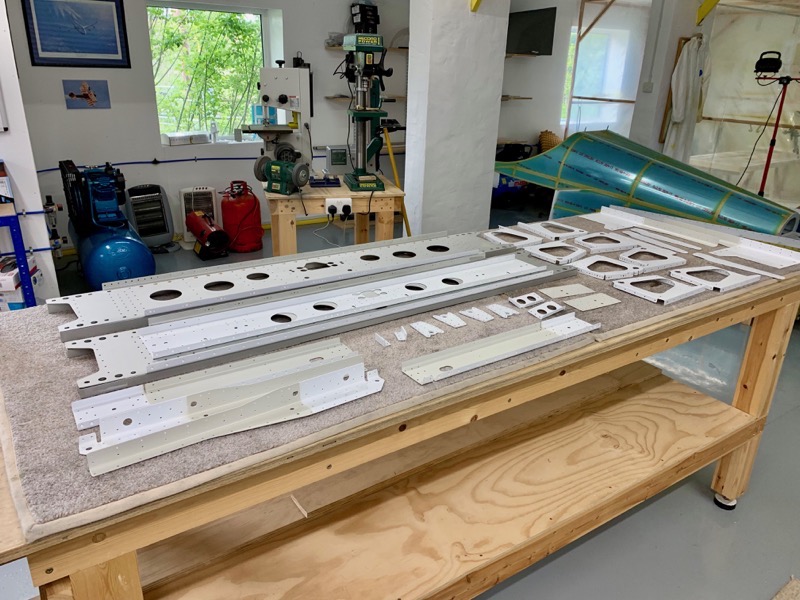
So it’s time to move on to a new section and start building the forward fuselage!
As always this first involves preparing parts by separating, and then the usual deburring. Above shows the Bulkhead Bars before separation.
In Step 6 on page 25-02 the manual instructs you to double flush rivet these doublers together with AN426AD4-6 rivets. No step prior to this mentions machine countersinking the #30 holes, but I guess they assume you’ll realise this must be done.
Deburing

Lots of parts to debur … most of it could be done on the deburing wheels after a bit of filing etc.


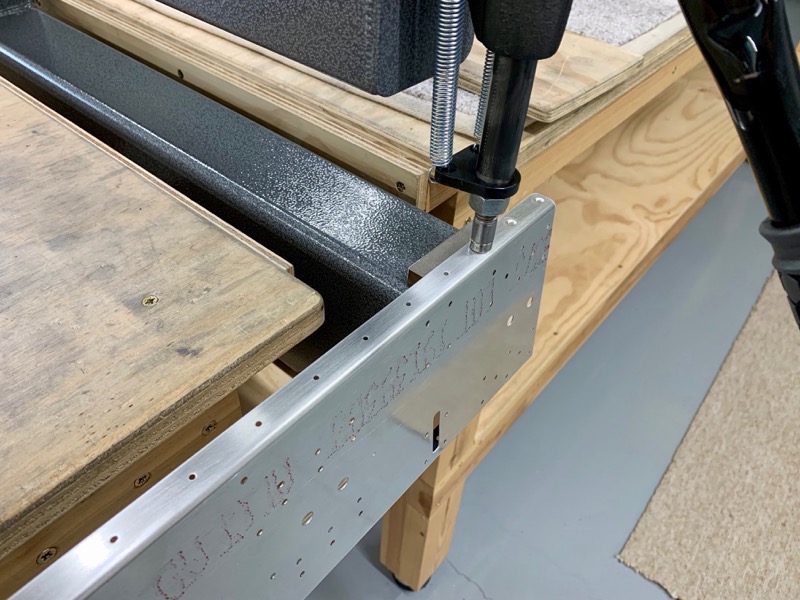
The centre section bulkheads all have holes to be machine countersunk on the flanges. Some flush for nut plate attachment 426 rivets, and those on the bottom flanges for a 032″ skin dimple.
I did my usual flush + 007″ for these.
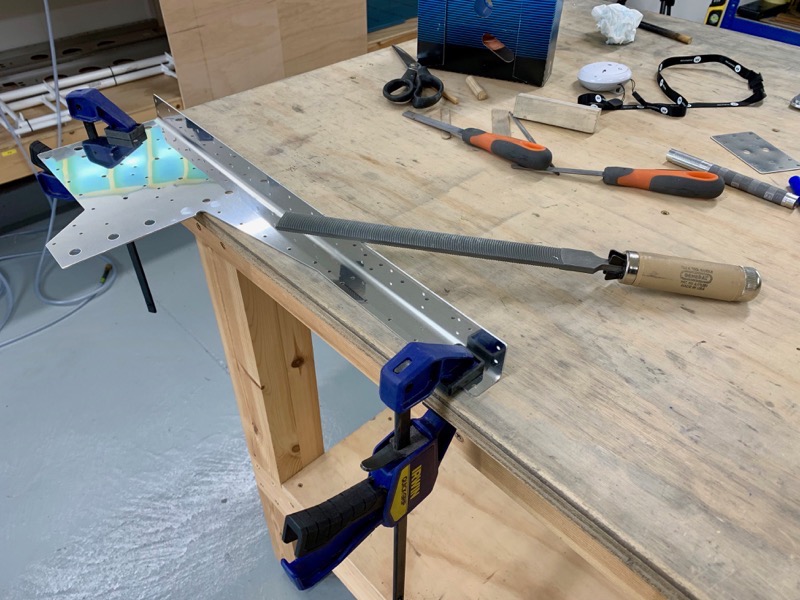
Bearing Brackets
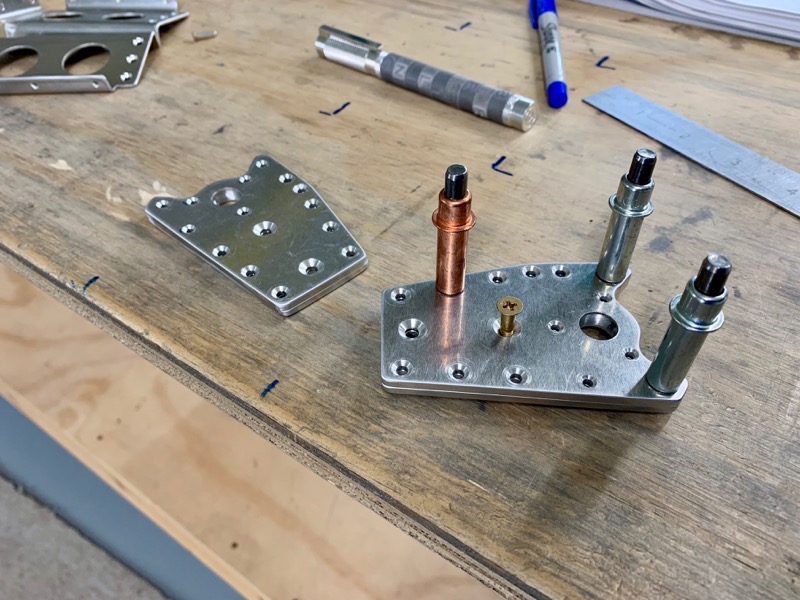
Lots of holes on the the Bearing Brackets are machine countersunk, and I found a clear head was required to make sure the left/right and outboard/inboard orientations were correct to avoid countersinking the wrong holes!
I think I’ve got it right .. we’ll find out a bit later.
Cover Ribs

There are 8 Cover Ribs to prepare. Different holes are dimpled depending on the rib position, so again caution is required to make sure the correct holes are being dimpled.
I annotated the manual diagram 25-04 with rib numbers, and then marked each rib accordingly. The manual only shows the left ribs, so the right ones have to be prepared as a mirror image. Easy isn’t it … ?!
Bulkhead Bottom Channel
The DRDT 2 made short work of the dimpling on the Bulkhead Bottom Channel flanges.
Priming
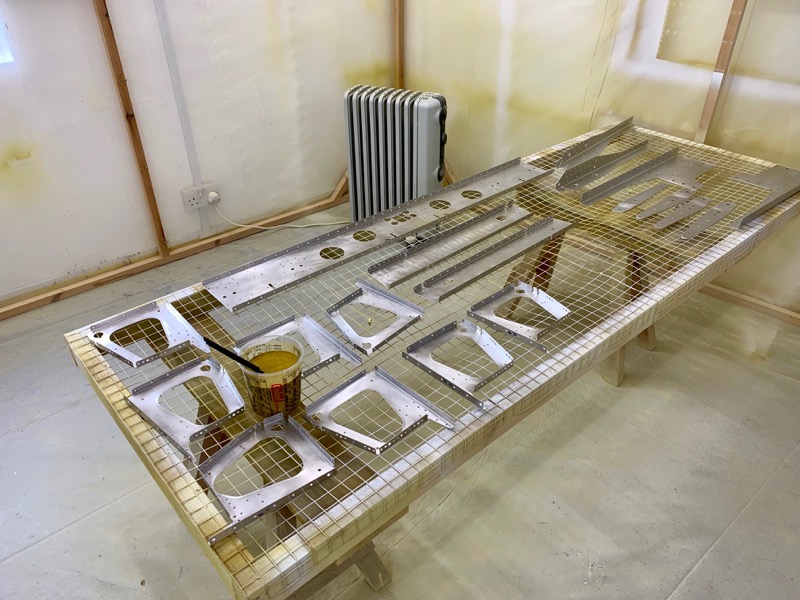
I worked through all of Section 25 preparing the parts for riveting. But before this is started, another priming session ….
6 of these parts will have areas visible in the cockpit, so after priming I sprayed these with my cockpit paint.
It could be that I end up spraying the cockpit interior after construction, but I’m still hedging my bets on this … at the moment I plan to spray parts in the final colour as I go along??