


27-02 to 04 Firewall Riveting
We’ve been having a bit of building work done on the house, so I’ve had the enforced distraction of dipping a paint brush in emulsion to do some decorating. This has slowed RV14 progress, but I do something towards the build every day after a dose of DIY!
Anyway, after all the part preparation it’s nice to start putting them all together.
It’s a lot more fun than decorating the house : )

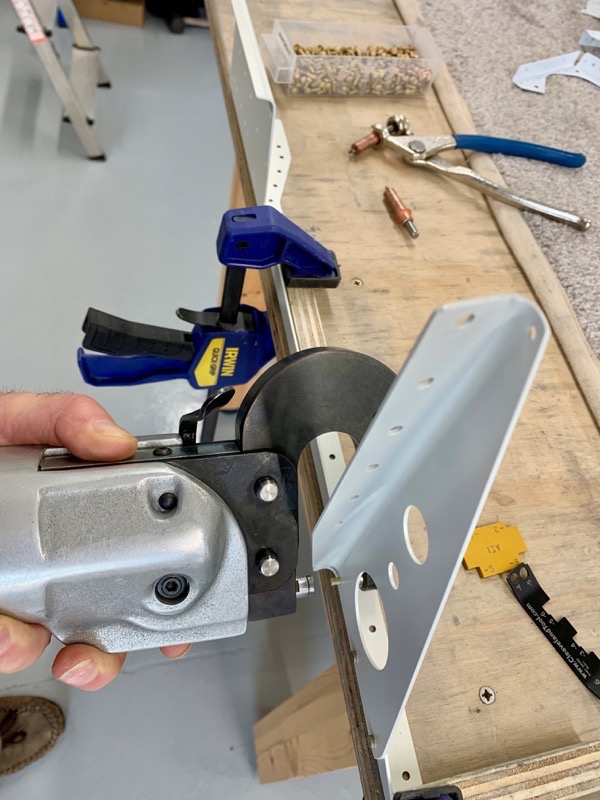
After anchoring the Tunnel Sides in the vice I used the squeezer to rivet the Cover Angle Brackets.
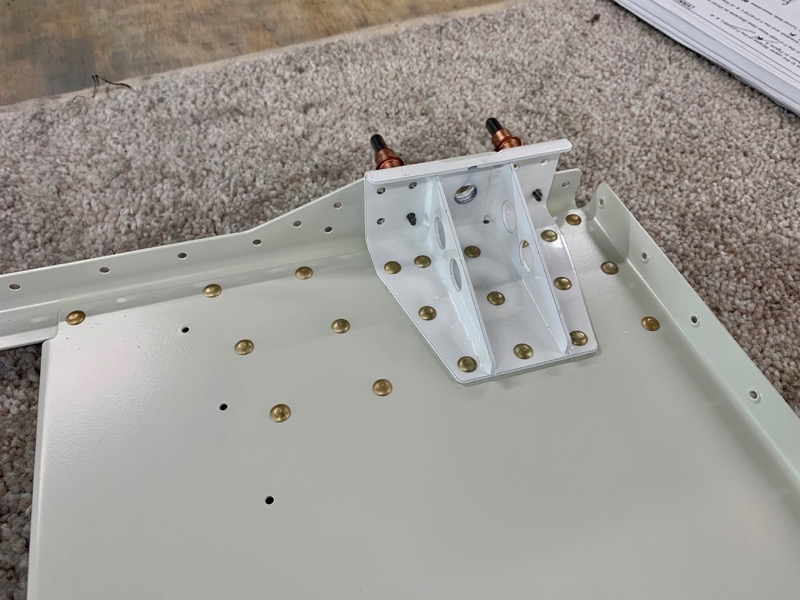
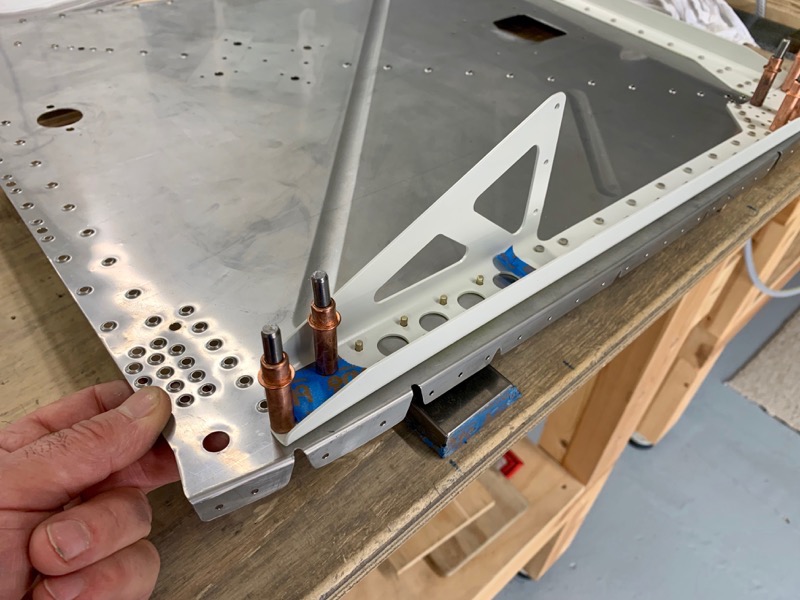
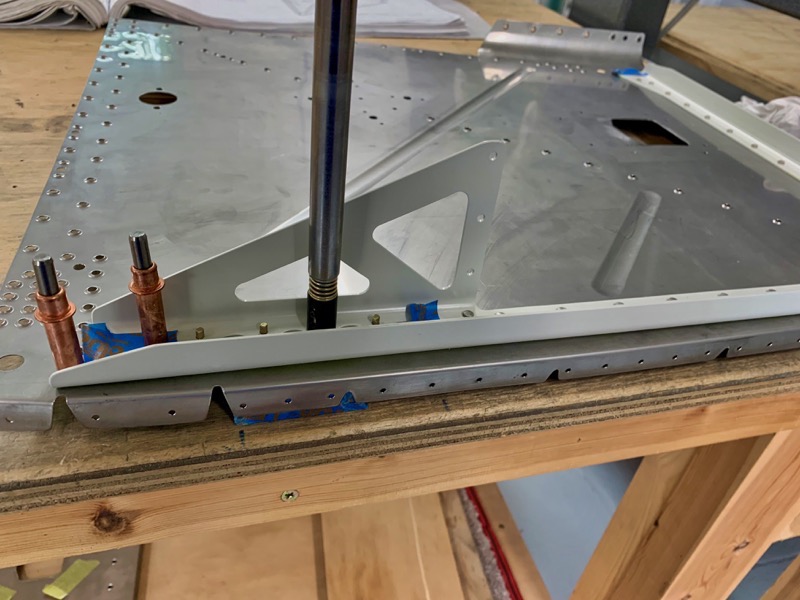
Riveting the F-14104 Support Angle to the inboard side of the F-01401E-L Firewall.
After supporting the Tunnel Sides, the C-Frame did a good job of back riveting the Firewall Angles.
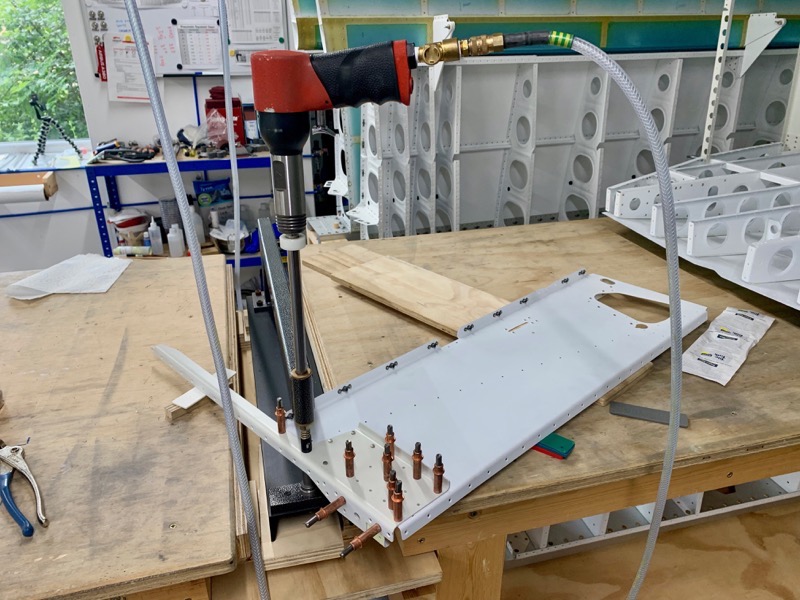
Here’s a view of a Nose Gear Bracket …

… and the shop heads on the other side, set by back riveting using the C-Frame for support and alignment.
Stainless Steel Firewalls

I was expecting the job of deburring the stainless steel firewalls to be character building, but actually it wasn’t too bad.
As usual the inside edges of the form had a small burr, and after filing etc I tried a Dremel Sanding Drum, and this speeded things up.
After this I finished it all off with some 320 grit sandpaper. I can now handle the parts without risk of cuts!
I used my oldest debur bit to remove the small bur around the holes … but it doesn’t seem to have suffered too much.

The DRDT-2 made quick work of the Firewall dimpling. Care is needed to follow the manual precisely and not dimple the wrong holes!
Back Riveting the Firewall Angles
I initially tried my steel plate for back riveting, but due to the stiffening dimples in the Firewall Sides it proved too large to get every rivet.
After a bit of head scratching I decided to try my Tungsten Bucking Bar. After propping up the workpiece with wooden blocks, this needed CAREFUL positioning of course.
But taking things slowly it worked pretty well. As usual I used my long back rivet set … I find it easier to keep a steady angle on the gun during setting.
The 426AD4-7’s in the corner brackets are a smidge too long really, but they set reasonably well … but it’s extra important to keep everything perpendicular during the set I guess.


