29-21 & 22 Air Vents
Way back on page 29-22 it advises to fit the Cockpit Vents after installing the Panel Frame Assembly … and here we are, it’s that time!
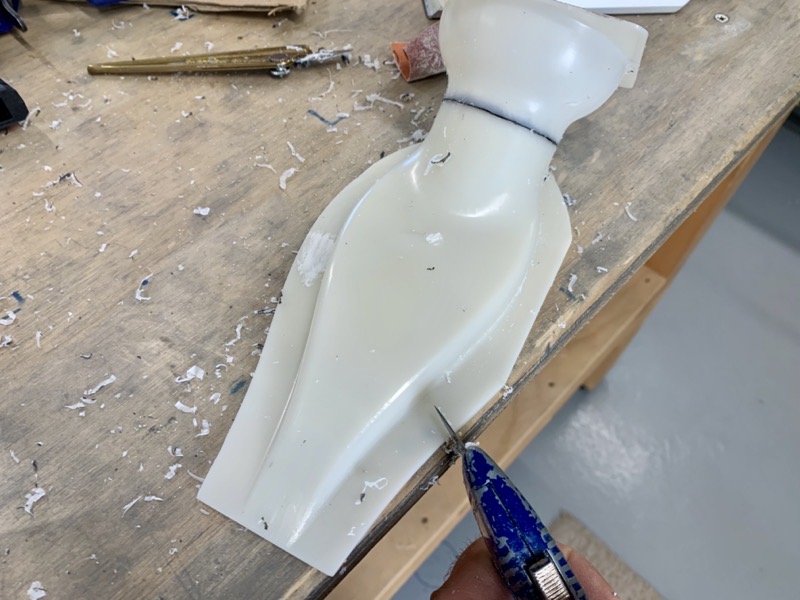
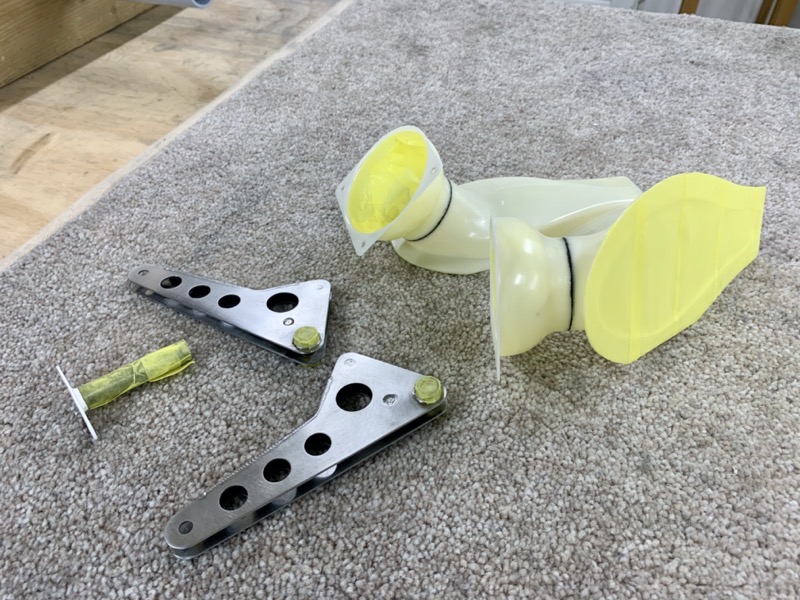
First of all I cleaned the Vent SV-10 Fresh Air Vents up with a knife and sandpaper.

The manual gets you to align everything in the aeroplane, but after a trial fit I found it best to do this on a flat surface.
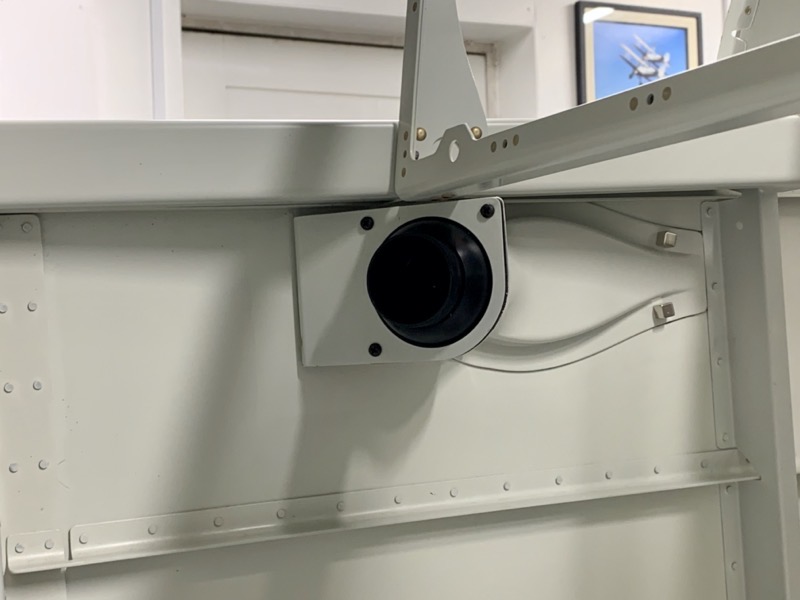
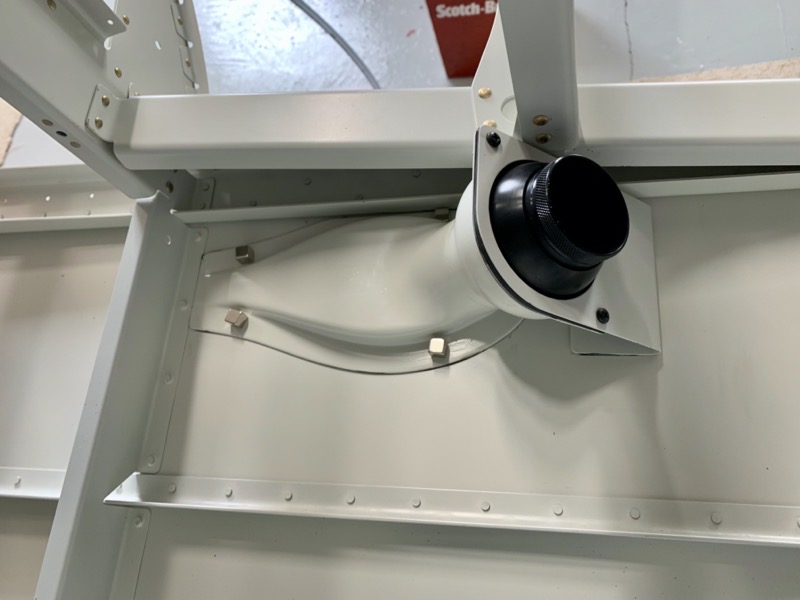
You’ll see that I am installing the Aluminium Vents offered as an option by Vans.
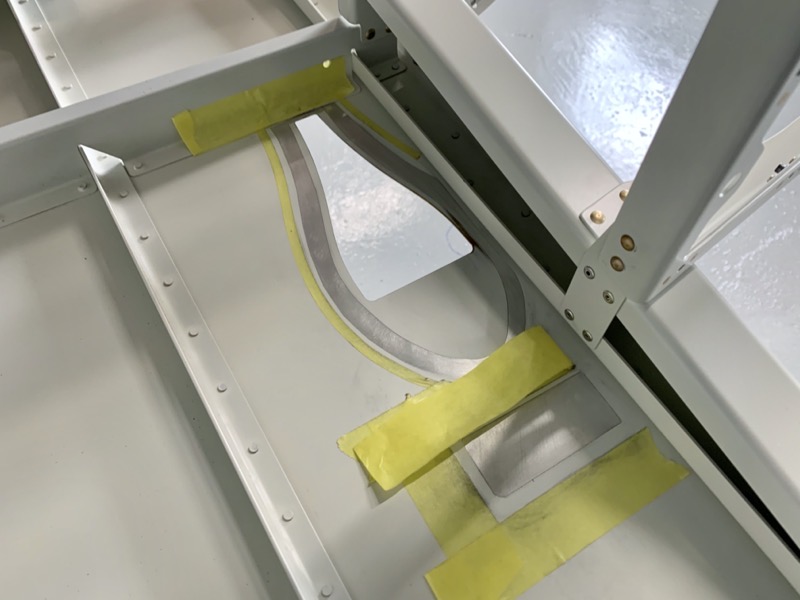
Once clamped in position the holes are drilled, and the parts marked for trimming.
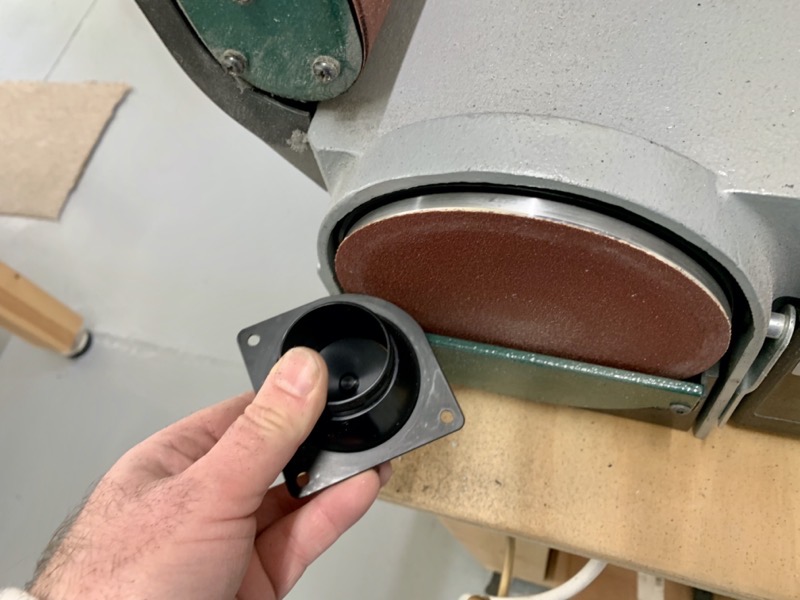
I used my sander …
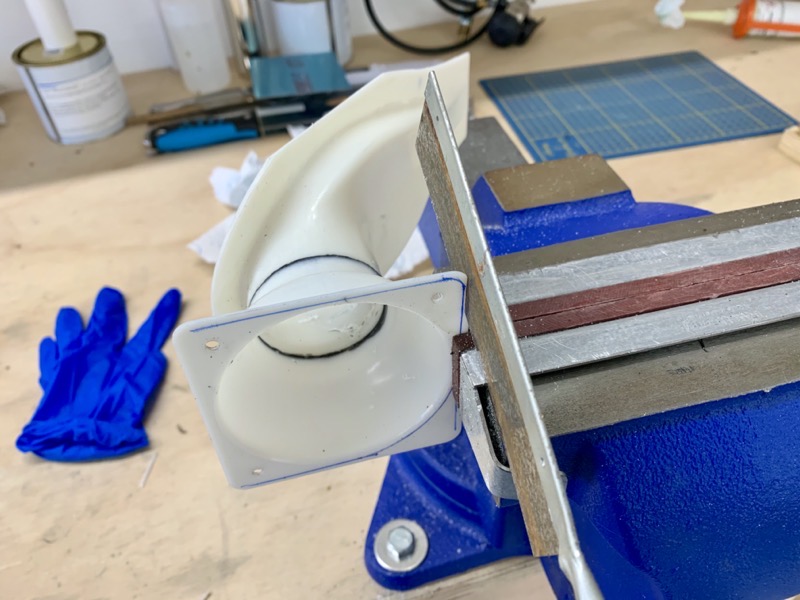
… and a fine-toothed saw from my aeromodeling days!
Hence the rusty blade : )
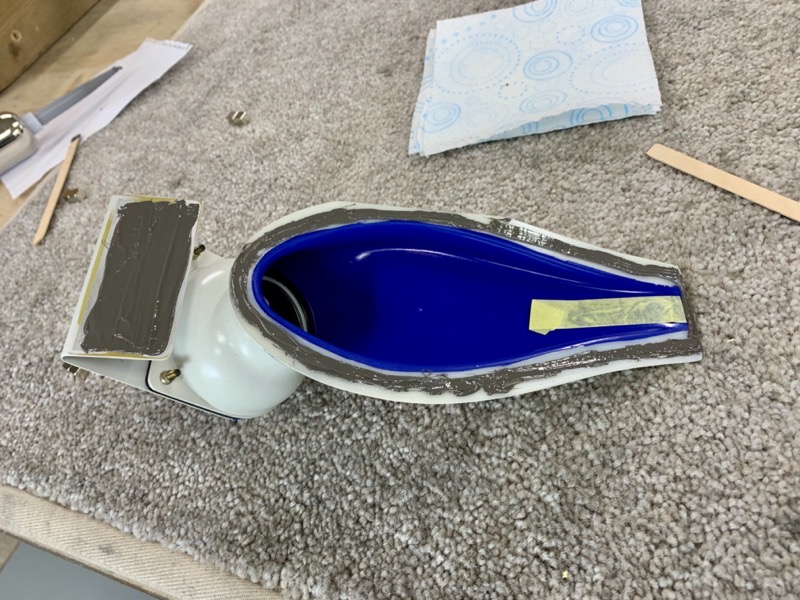
Once they were prepared I masked up and sprayed on the cockpit paint.
I masked off the sealant/bond areas.

Although this will not be the exact colour, I wanted to make sure the throat of the vents visible from the outside will be a close match to the fuselage colour.
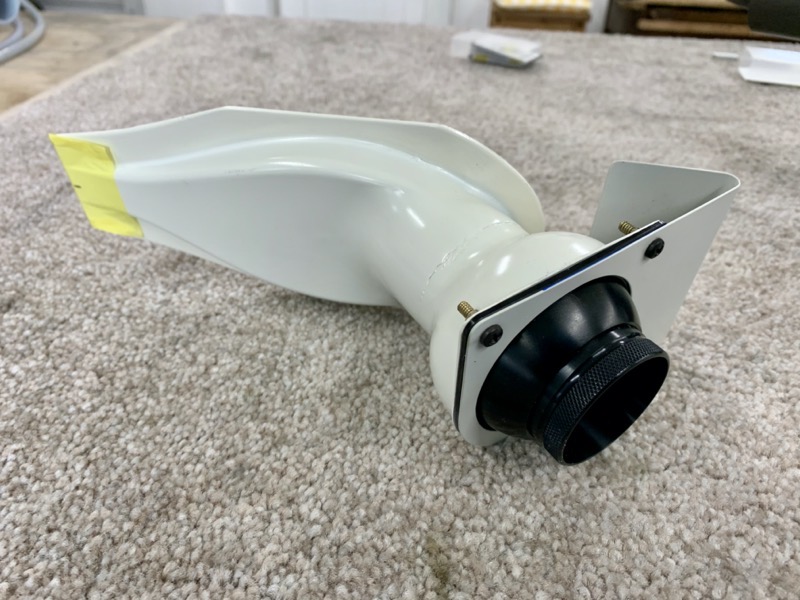
Then I attached the Aluminium Vents, using JB Weld Black Sealant on the join to prevent air escaping.

Then scuffed up & degreased the faying surfaces ready for bonding.
Bonding
Vans suggest silicone sealant to bond the assembly into place.
It’s probably just fine, but I’ve been so impressed with the strength of tank sealant, that’s what I decided to use.
Hence the masking against the ProSeal Monster!

If you intend to fit the Classic Aero Interior, then consider not installing the upper outer vent screws at this stage. See this topic for why!
Here it is, as sticky and gungey as ever!
But how to clamp all this in position for bonding?
Well I couldn’t think of an easy way to clamp … so I pinched someone else’s idea and used these brilliant little, but very powerful magnets.
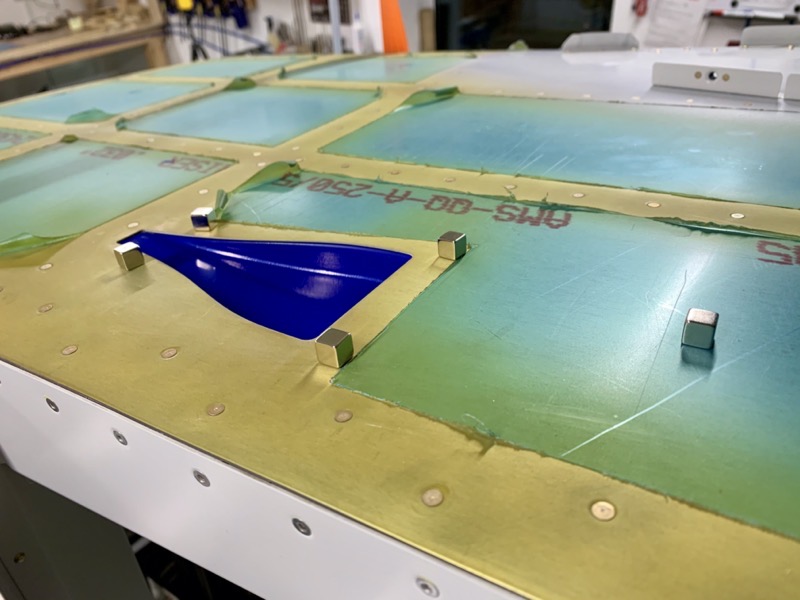
I rotated the fuselage onto its side, just in case gravity dragged them down. I’d read a blog where this happened to an unlucky builder : (
Anyway, it all seemed to work just fine.
I’m leaving the magnets in place as I leave for a few days away at work. The Proseal takes a while to fully cure when the temperature is low.
Incidently, I’m writing this as the CoronaVirus crisis is building, and as I’m an airline pilot, things are looking iffy job wise.
I might have lots of time to build my RV! But less money : (