Sections 56 & 58 Pitch & Yaw Autopilot Servos
It’s probably a good plan to install the autopilot servos before attaching the Rollover Bar, making it easier to get inside the fuselage.
The choice of EFIS manufacturer governs the type of servos of course. During my visit to Oshkosh 2019 I’d weighed up the pro’s & cons of Garmin/Dynon. Lots of advantages with both, but in the end I decided to go with Garmin. I plan to kit the plane out for IFR capability, and I think Garmin is probably the best suited.
I’d already installed the Vans brackets for the pitch and yaw servos.
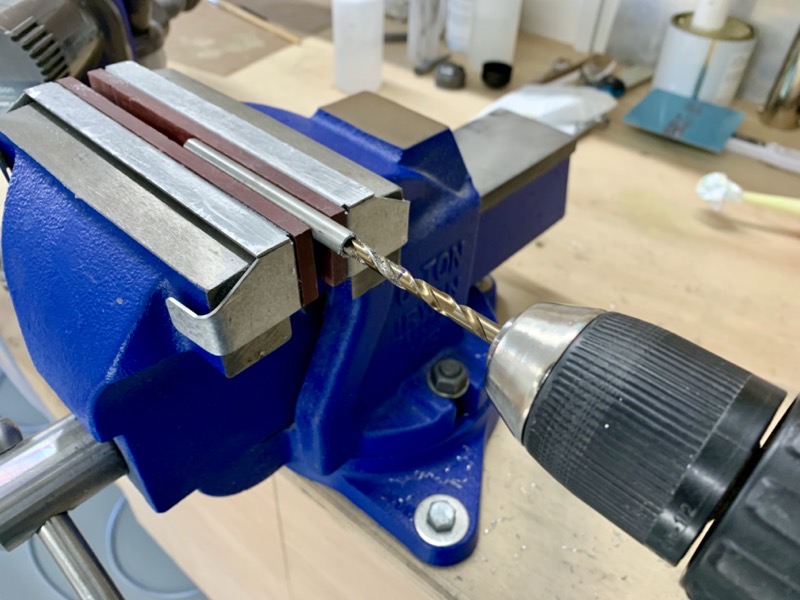
You have to fabricate the Pitch & Roll Servo Pushrods, which means cutting a tube to length and drilling the ends with a #3 drill ready for tapping.
I didn’t have a #3, so another mail order!

Then the ends are tapped for a 1/4-28 thread.
Another mail order.
But thinking ahead, I bought a 6-32 tap as well for the window/canopy fitting later on.
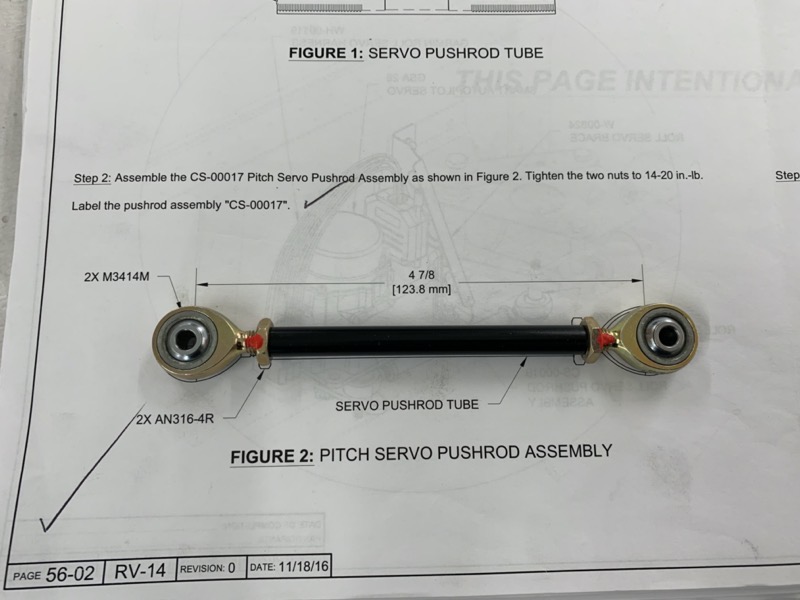
After priming inside and outside the tube, and some paint, I screwed in the hardware to match the specified pushrod length.
Yaw Servo

I had the fuselage off the rotisserie whilst checking the elevator/joystick travel, so this was an ideal opportunity to attach the rudder and get the rudder cables connected to the yaw servo.
I used a clamp to center the rudder.

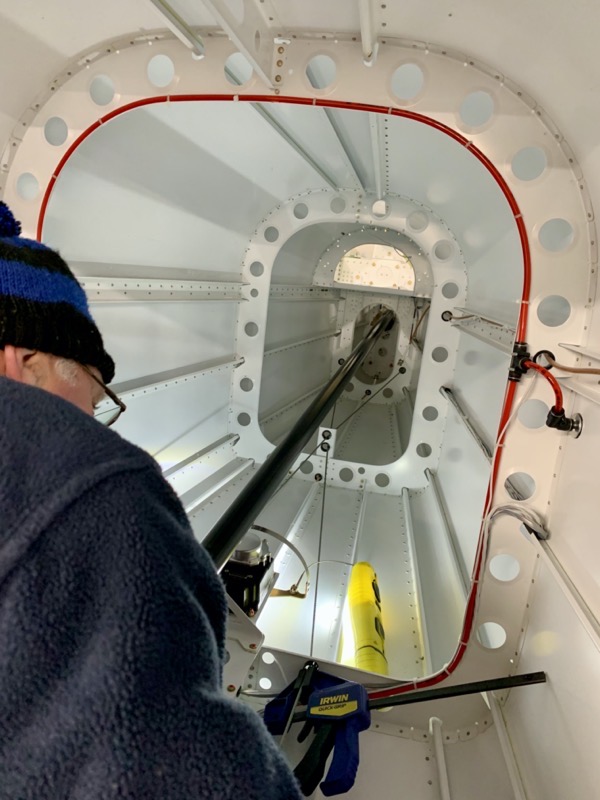
Then carefully clambered inside!
As per there manual, I pulled the rudder cables tight and clamped them.

Then attached the bridle harness cables to the rudder cables, whilst ensuring the Garmin Bow Arm was in the neutral position.
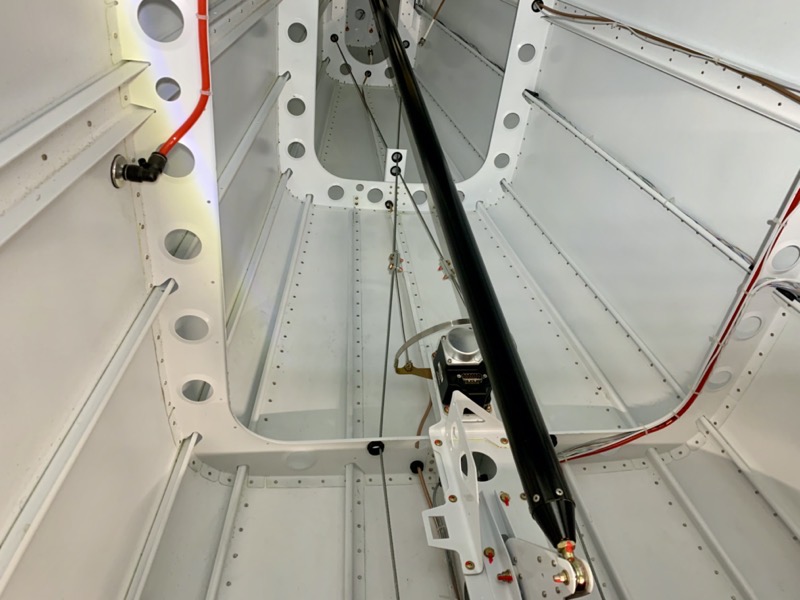
Yaw servo installed.
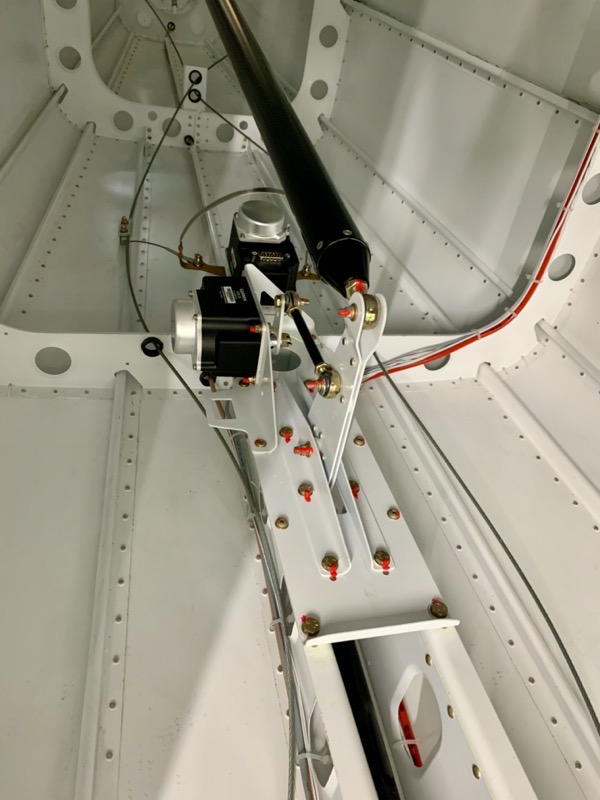
Pitch Servo
It was much easier to reach the Pitch Servo
I have left the rear top bolt out at the moment. This will also attach and earth wire when I install the wiring harness.