38-20 to 22 Positioning & Trimming Canopy
Well, here goes … work on the canopy!
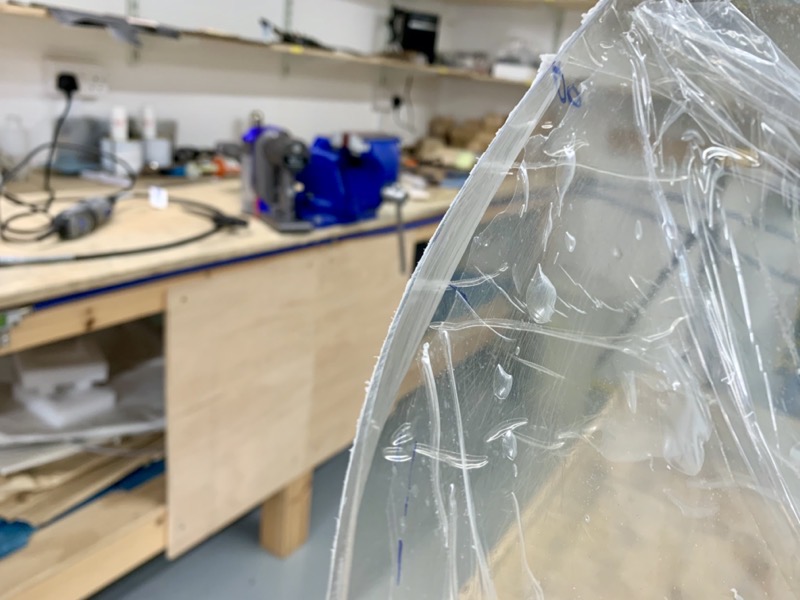
A gentle introduction, as the first job was to tidy up the plastic protective covering, leaving it in place, and to carefully remove about 1/4″ from the inside forward edge.
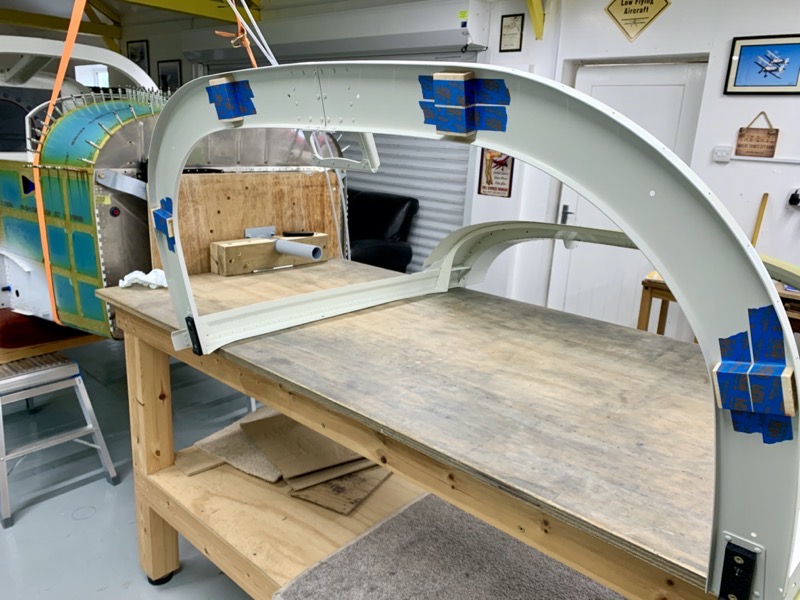
Wooden blocks are taped on the back of the Canopy Assembly to ensure correct positioning relative to the Rollbar.

Then an exciting moment as the Canopy Assembly is offered up to the hinge pins.
The manual advises installation of the Jettison Handle, but because I’ve installed the Avionics Access Hatches I didn’t do this, since via these I can reach the WD-618-1 Canopy Release Assembly.
The manual has a very clear warning at this point … be CAREFUL closing the canopy, checking for interference with the Top Forward Skin.
I was lucky, it shut with no issues.

If built as per the manual, this Top Forward Skin would already be riveted in place.
But I want to be able to get inside here to install the avionic boxes, so I’ve left it clecoed at this stage.
The clecos need to be inserted from in side out to give the canopy clearance, and missed out completely along the top centre.
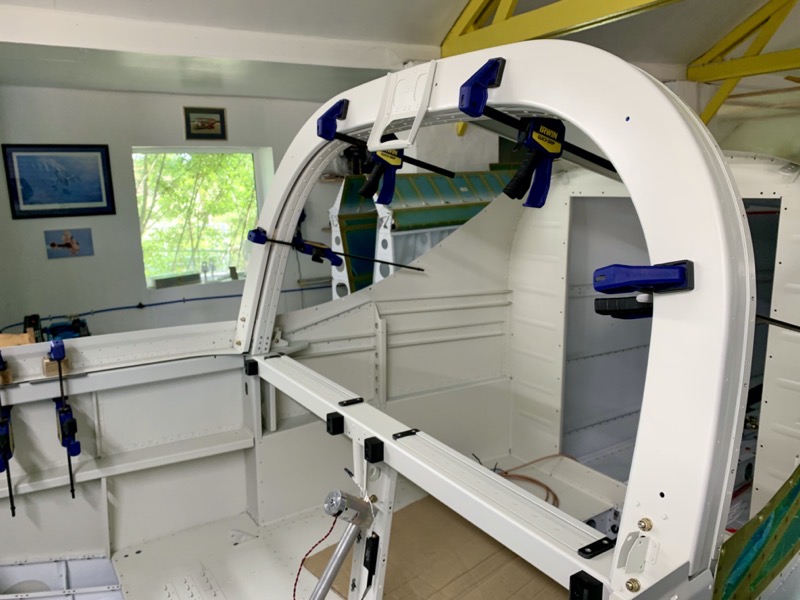
Once closed the Aft Canopy Frame is clamped to the Roll Bar.
I fitted two extra blocks of wood between the existing ones … the extra clamps (not shown in this picture) seemed to ensure a better fit, because the Aft Canopy Frame is quite flexible.

The Side Rails are shimmed and clamped to ensure their outside surface is parallel with the fuselage sides.

There is a template in the manual to cut out and position on the Front Canopy Skin.
Doing the usual dimension check on the template, it was out by quite a bit.
So I printed out my own, but I only have an A4 printer so I had to join two pieces of paper, and work out a print ratio to get the dimensions right.
Don’t ask how many pieces of paper I wasted!

Then the canopy is placed on the frame, with the forward edge aligned with the mark on the template.
This is where you find out how much needs to be trimmed.
As I discovered later, this is an iterative process!
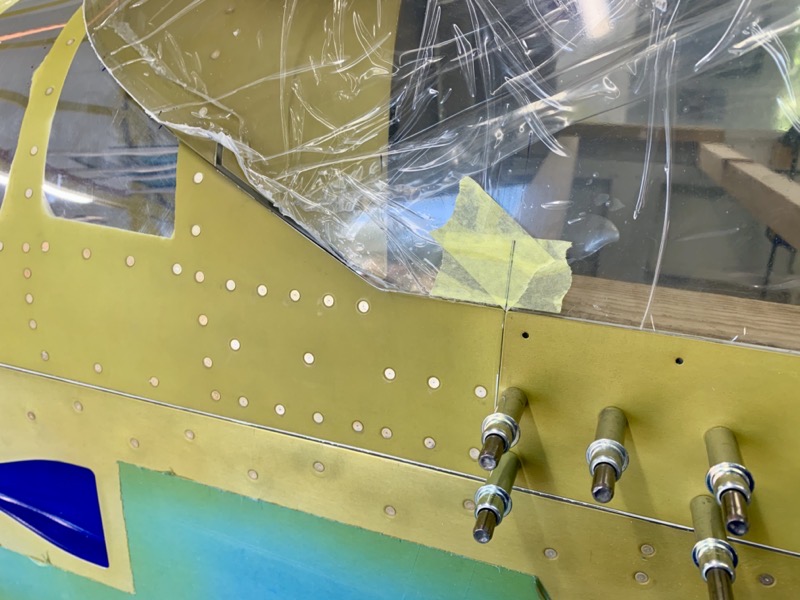
I tried to judge the required 1/32″ gap from the forward edge of the F-01431D Window Shim, and marked it with tape.
This was OK for a first attempt, but as you’ll see, needed refining.
There was not much excess material … the usual Vans accuracy!

I removed it with an 80 grit sandpaper block …
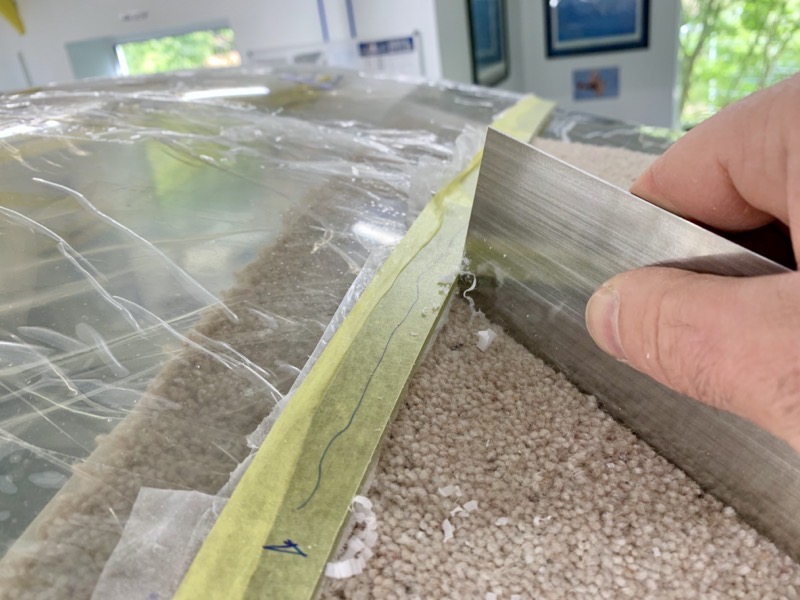
… and the brilliant Furniture Scraper.
A feeler gauge is used inside the canopy to try and judge the area at the front sides where material needs to be chamfered off to help the fit.
I’d talked Coral into sitting inside to help with this!
It’s all a bit imprecise, but after numerous iterations I ended up with this to improve the fit.
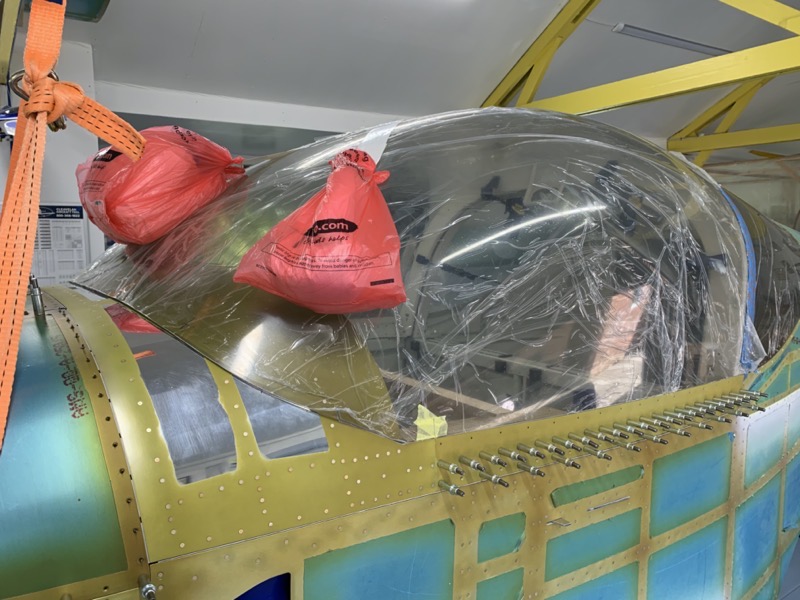
Then weights are taped to the canopy to help it sit down properly.
I bought 10kg of lead shot for this, since the manual specifies 10 pounds each side and 5 in the middle.
Those of you paying attention will spot this left me a few pounds short!
I topped up the middle weight with bags of sugar.
I did ask Coral first!
Before clecoing on the C-01419-L & -R Side Skins, you have to check that the bottom of the canopy is not being forced out by the bend in the Aft Canopy Rails. Mine didn’t need any trimming.
Also, because the thickness of my canopy material was less then 0.17″, the C-01423 Canopy Shims were needed.

After the weights are in place, the canopy moved back a smidge.
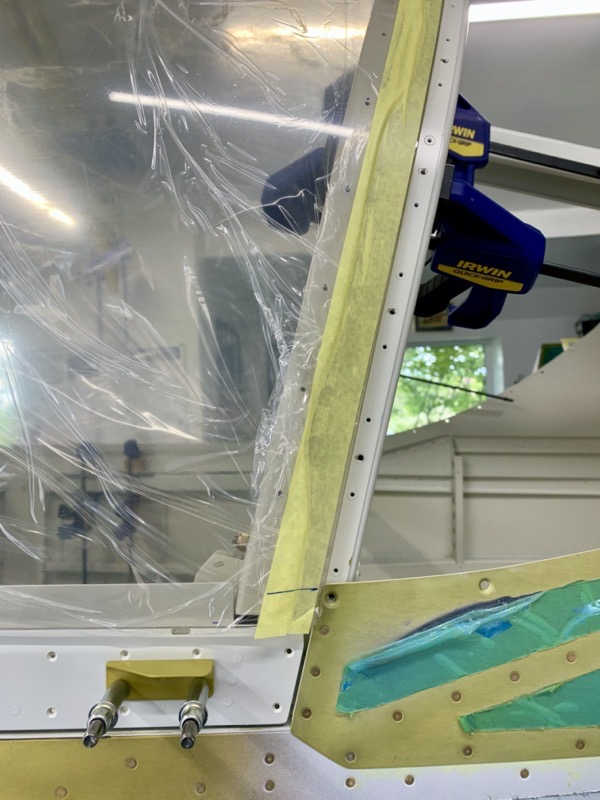
I decided that to get a really accurate 1/32″ gap between the canopy and Rear Window, I needed the Rear Window in place.
So I temporarily attached it with a few screws in the Rollbar.
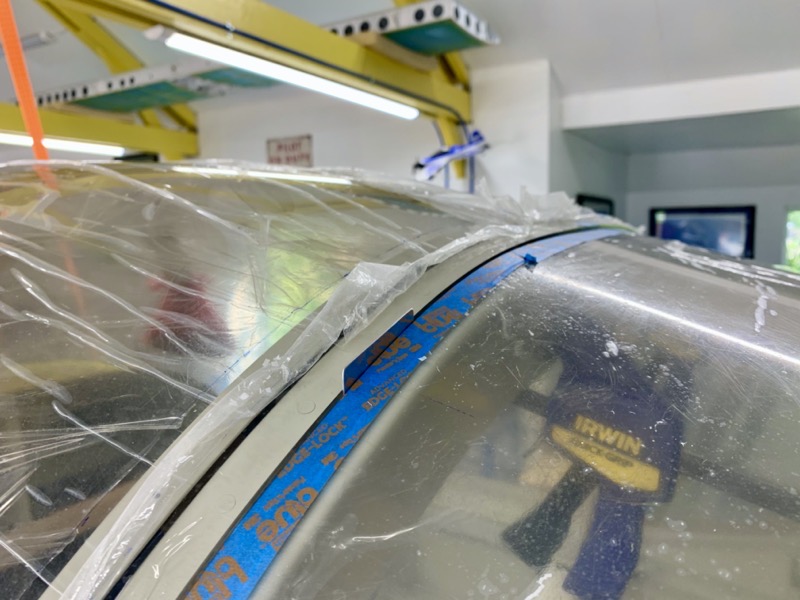
It’s really hard to see the gap, so I taped the Rear Window edge and used a sharp knife to trim it accurately to the edge. Then it was easier to lay down a tape edge on the canopy 1/32″ away from it.
You can see a sliver of canopy edge shining in this picture …
… which I trimmed with the scraper.
This all took a while, removing and re-installing etc.
Once I was absolutely happy with the positioning, I marked each side for reference.
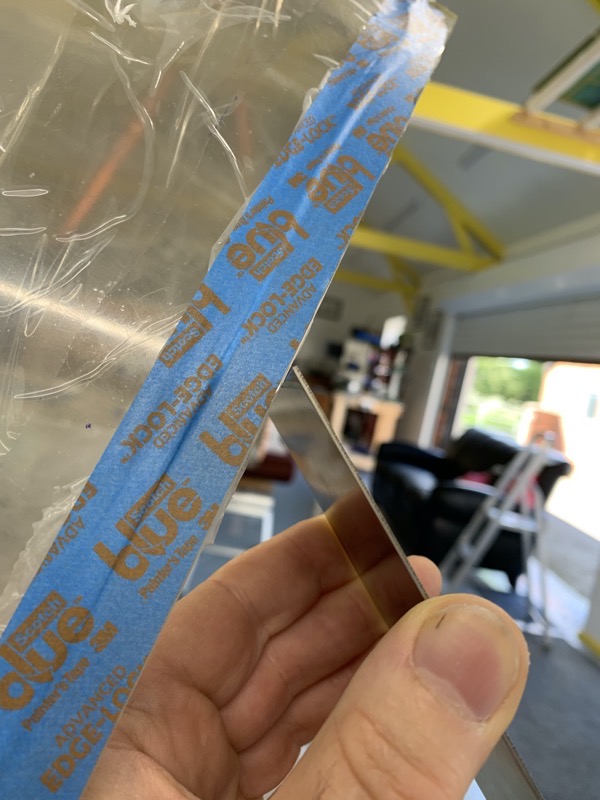
Eventually I was able to slide a 1/32″ shim of aluminium all the way across the gap between the Canopy and Rear Window.
Actually I made several shims from scrap 0.032″, and I intend to place them in the gap to ensure a correct clearance whilst drilling the canopy.
And that is the next hurdle!