


Instrument Panel
I’d produced the DXF file for my proposed panel using Fusion 360 as previously mentioned, and I decided to get a test lasercut done with some cheap aluminium sheet.
I was really happy with the accuracy of everything, but test fitted a few items to be sure it was going to fit as planned on the computer.
Center Stack

I used the test piece to trial fit the centre stack units, and to fine tune the cutout.
First of all I decided the canopy emergency release hole was just a little bit too high (I had moved it up to provide more clearance form the GMC 507 Autopliot Controller).

I gently bent the Emergency Canopy Release handle to ensure clearance from the canopy when closed.

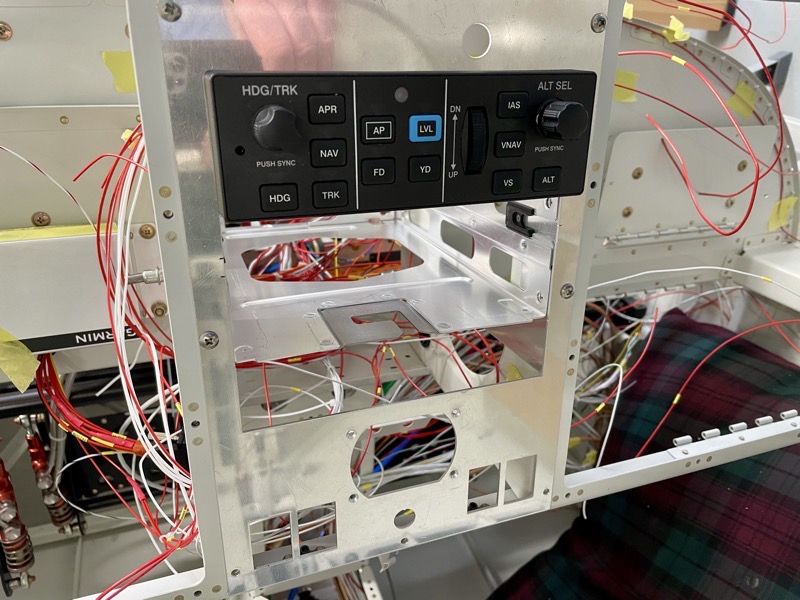
When test fitting the avionics trays, I found that the width between the Instrument Panel Stand-Off Ribs F-01494-L & R was just slightly too much. This meant a shim was needed both sides, which I made from scrap 0.025″.
Because the GMA 245 Audio Panel is at the bottom, it spanned the holes in the stand-off ribs, so I incorporated support for this in the shims.
When you study the suggested cutout dimensions in the Garmin Manuals, it becomes obvious that the tolerances are tight to ensure the bezel covers the cutouts completely.
I made a few adjustments to the DXF file for the centre panel to allow for these aspects.
I also reduced the cutout widths as much as possible by arranging to fit the trays from behind the panel, rather than sliding in from outside the panel.

It all worked out nicely, with the rear holes for the GTN 650Xi tray just fitting at the forward edge of the stand-off ribs.
The GTN 650Xi tray also needed the shims at both ends.
Because the holes in the trays are so large, I ended up using countersunk head #8 screws. But in hindsight #6’s would have been better and perfectly adequate.
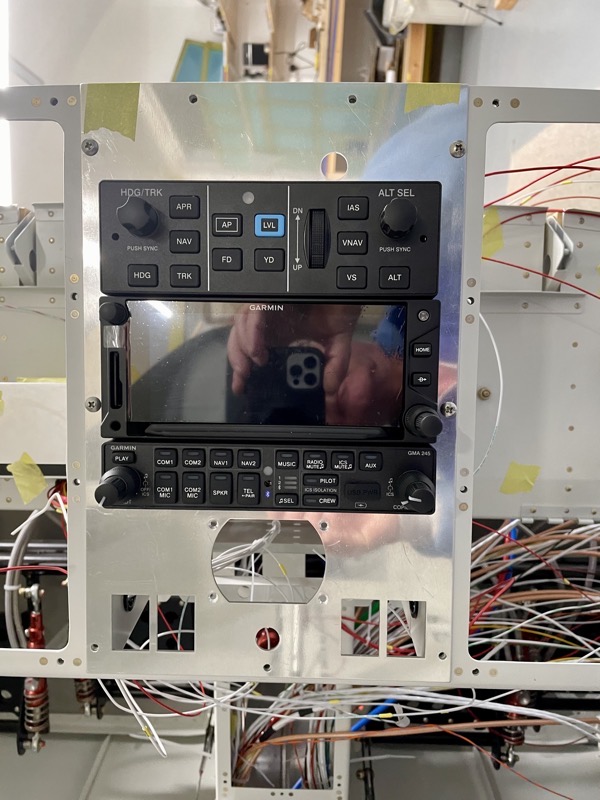
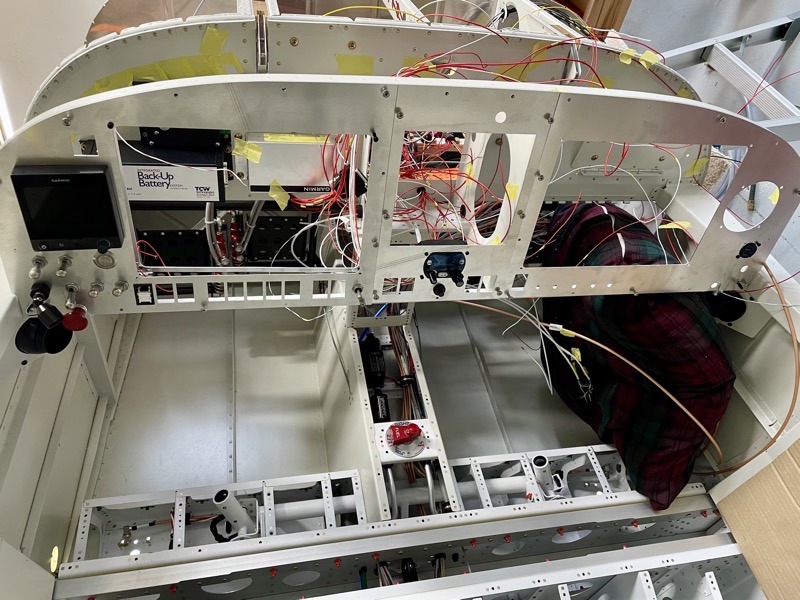
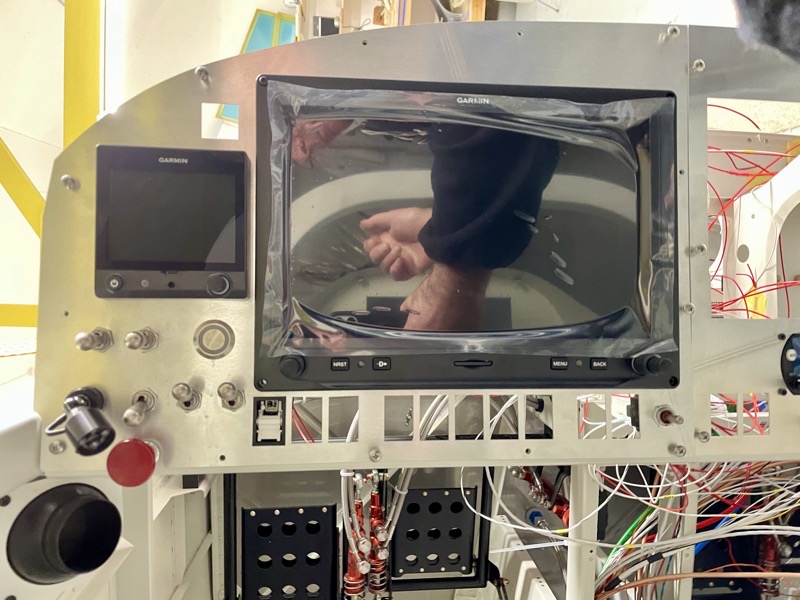
Here are the units in place.
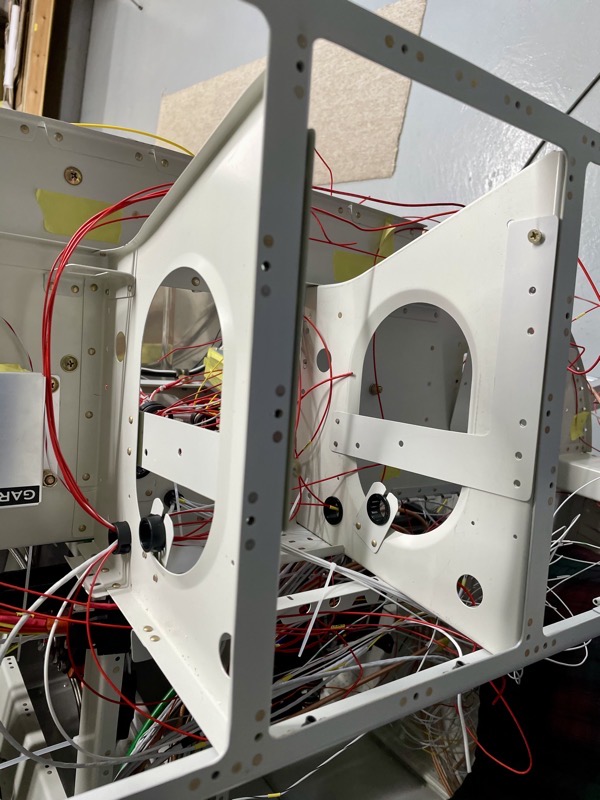
I also made some Heyco Bush supports and riveted them to the bottom of the lightening holes in the stand-off ribs.
These might just come in handy if any of the wiring harness has to be removed.
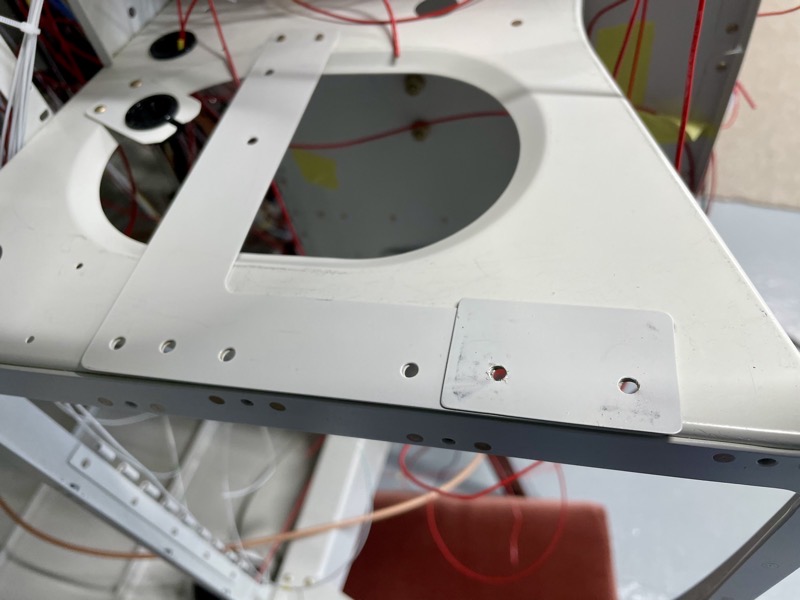
The little GMC 507 Autopilot controller tray was the narrowest of all the trays, and needed an extra shim to fit snuggly.
Hence the little shim sitting on top of the main L-shaped shim.
Panel Finishing

This is where all the hard work planning the panel on the computer has paid off.
I found a company to lasercut the final version of the panel, and they only charged £30.
After bringing them home for deburring, I took them to a little company for powder coating. They managed to match my cockpit colour (RAL 9002) perfectly, and I’m really pleased with the result.
They charged £40.
Hopefully it’ll prove very durable.
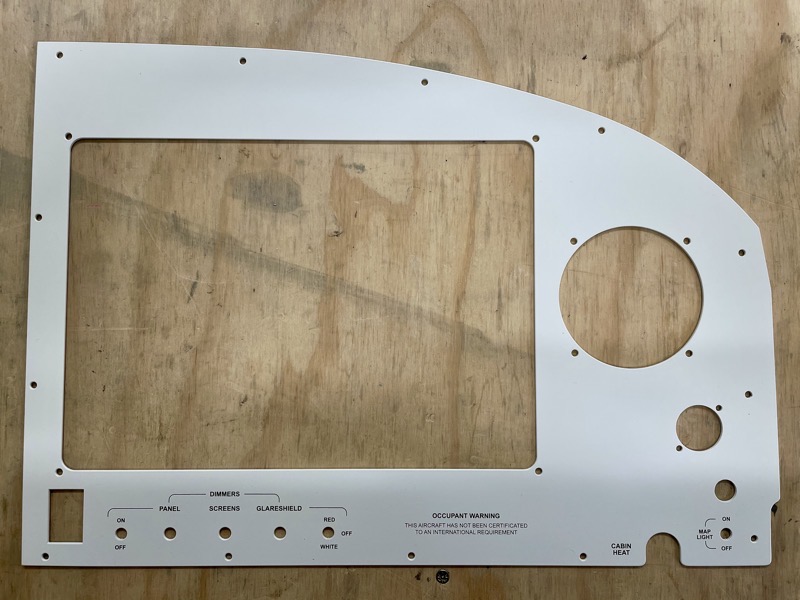
Then after more planning on the computer, I produced the labels using a trial version of Adobe Illustrator.
This took a while, since I realised you have to allow for the various bezels, switch securing nuts etc.
I found another friendly little company in Telford who screen printed the labels onto the panel.
They took care to choose the correct ink, and the result is very good indeed.
I had given them a test piece which had been powder coated, and I cannot scratch off the print.
This cost £76.

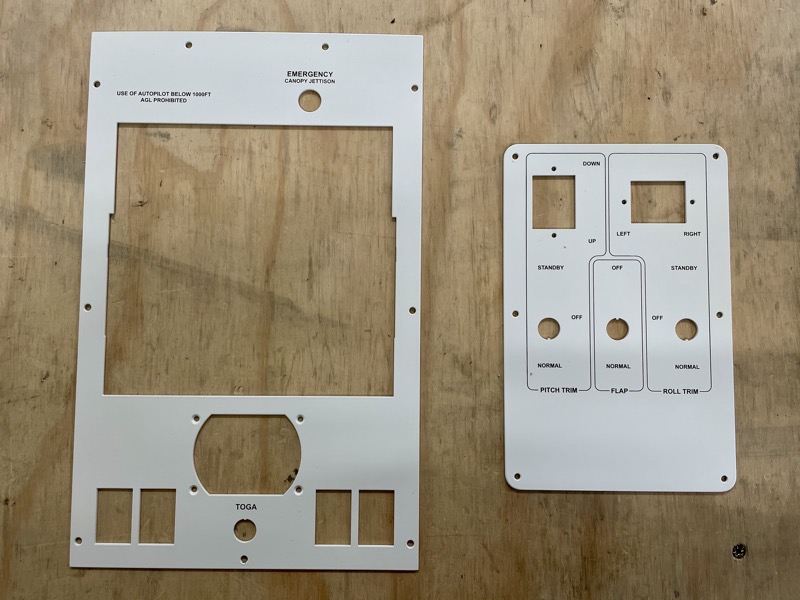
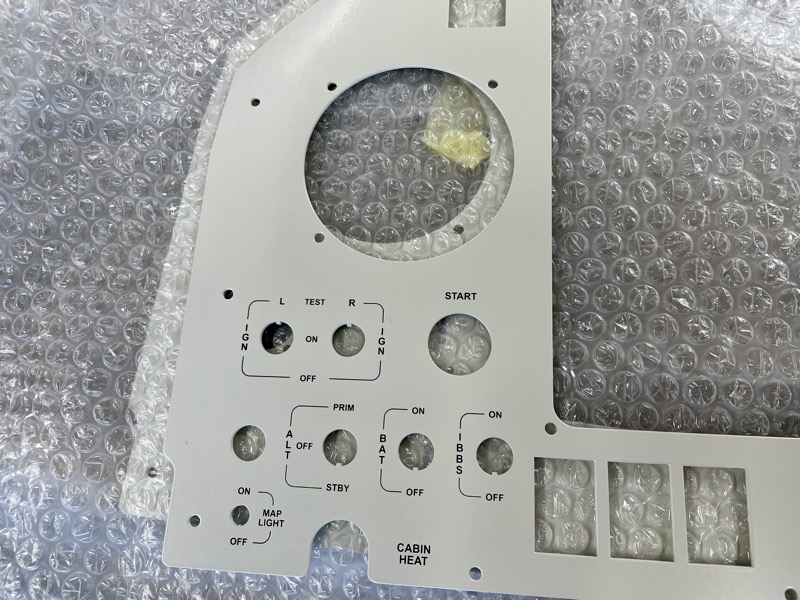
Right panel.

Center panel.
Note the switch cutout in the picture below … the lasercutting is so precise, it replicated the switch keyways perfectly!
And talking of switches, we have decided the “locking” Honeywell switches are too unsightly, and now intend using the normal toggle versions with a coloured cover.
I reckon it’s a major milestone having got the panel ready. It’s been lots of work, but I’m very pleased : )


4 comments on Instrument Panel
It’s beautiful Steve!
Looks beautiful! Certainly not a trivial amount of design and testing to get it looking and fitting so nice. May I ask how many hours or weeks you think you spent on it and how much you saved?
Hi Frank
Thanks for your comments … most of the time has been spent producing the DXF files. Unless you are familiar with drawing/CAD software it takes a while to become productive. I’m afraid I’ve no idea about savings … in the US where you live you have several companies offering to fabricate panels, including the avionics. I’m trying to do it all myself, so hopefully I’ll understand what’s going on behind the scenes!
Looks fantastic Steve.