


Aerosport Cowling Pin Covers
The Vans’ solution to securing the cowl pins is well proven and perfectly OK. But I’d always admired the Aerosport Cowling Pin Covers when I’d spotted them on RV’s, and so I was keen to install them on our RV14.
Their kit is supplied with a left/right cover, available for all models except the RV3. Two blank covers are included that are slightly oversized. These blank covers are used during installation as mounting jigs to ensure proper hole size. This also minimises the risk of scratching the actual covers during installation. They are slightly oversized, allowing for a good fit of the actual covers after the cowling is painted.
Vans supply hinge pins with a tab on the end which is secured by a nutplate.
The Aerosport Covers rely on the curvature of the cowl to prevent a pin with no tab moving forward.
I decided to get the best of both worlds … use the covers for good appearance, but also use the tab to secure the pin.
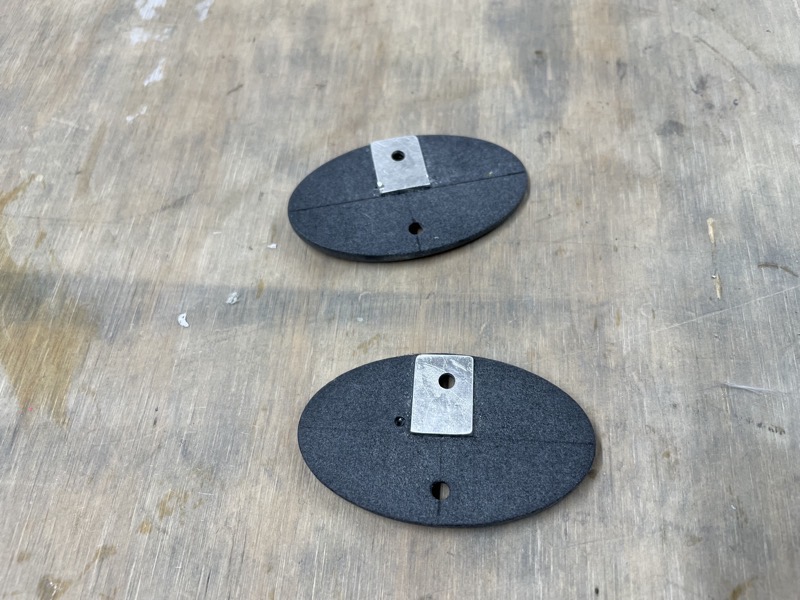
Having worked out that the geometry should work, I placed a tab outline on the back of the cover blanks, so that the recess moulding once completed would include a hollow for the tab.
A peep further down this post will help to explain.

The cover cutouts must be marked and preferably cut with the cowling assembled.
I used spare hinge pins to connect the upper and lower cowls off the aeroplane, to allow access inside.
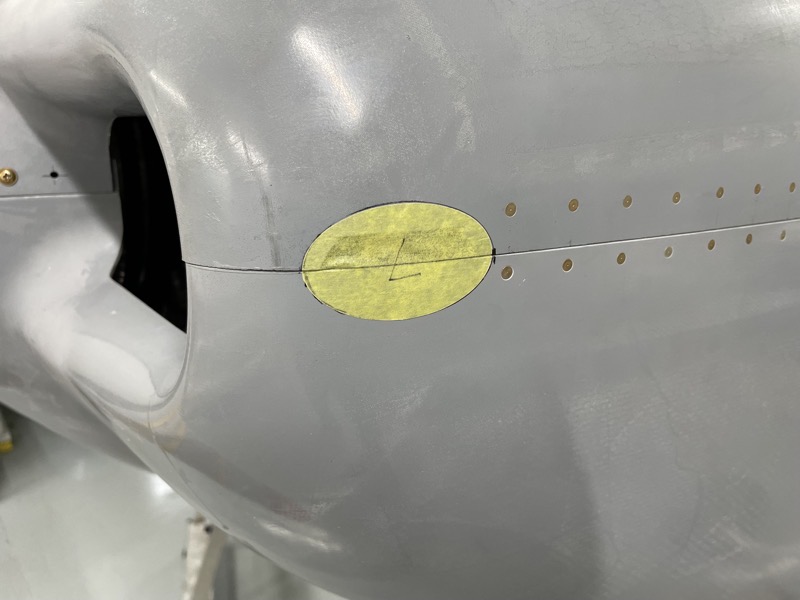
Then the required cutout is made to just fit the cover blank outlines.
After tracing around the blank onto masking tape & carefully sticking into the correct place …

… I applied the outline around the first piece of masking …

… and then removed the first piece to provide an accurate outline mark upto which remove material.
I found it easier to seperate the cowls to make the first cuts easier, using a Dremel Disc.
Then I reassembled the cowls, using sandpaper to gradually remove material to ensure the final shape was a perfect fit for the cover blanks.
As mentioned in the previous post, fitting these covers requires you to be brave enough to remove the last hinge link from the hinges. Hence 30 rivets & not 31 as Vans specify.
But I reckoned this will be fine, since the missing hinge link will be replaced by the cover fastening the upper & lower cowl by two nutplates.
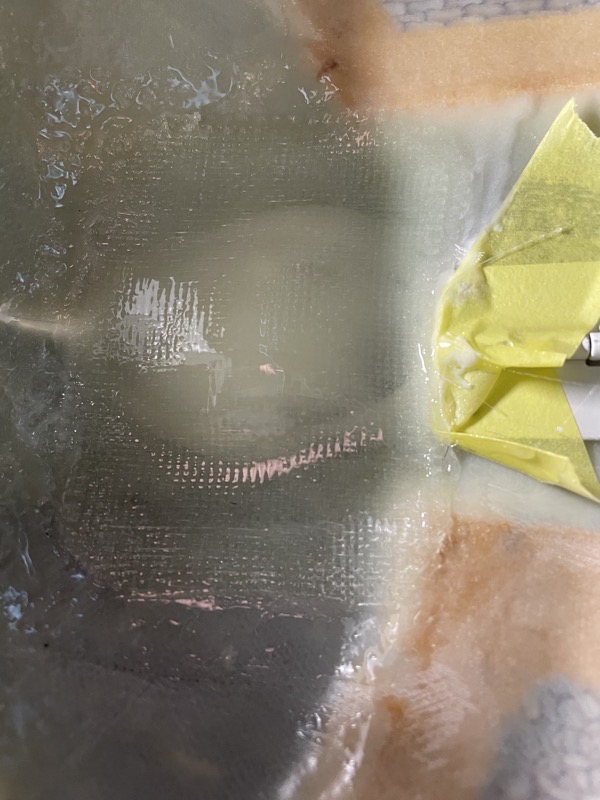
The next stage is to make a layup of epoxy resin/microballoons and cloth behind the covers.
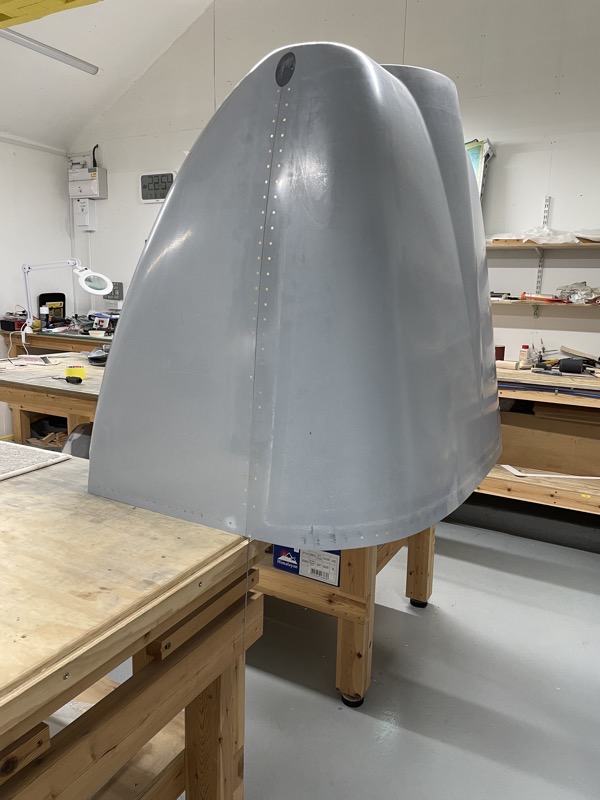
I placed the cowling vertically between two benches, allowing me good access by standing up inside the cowling : )

I applied some Beeswax on the cover blank rear faces to hopefully prevent the resin bonding them.
Then a layer of Microballoons is applied to provide a good finish outside …
… and then four layers of fibreglass 6oz cloth.

Once it’s all set hard, the holes in the cover blanks are match drilled into the new fibreglass.
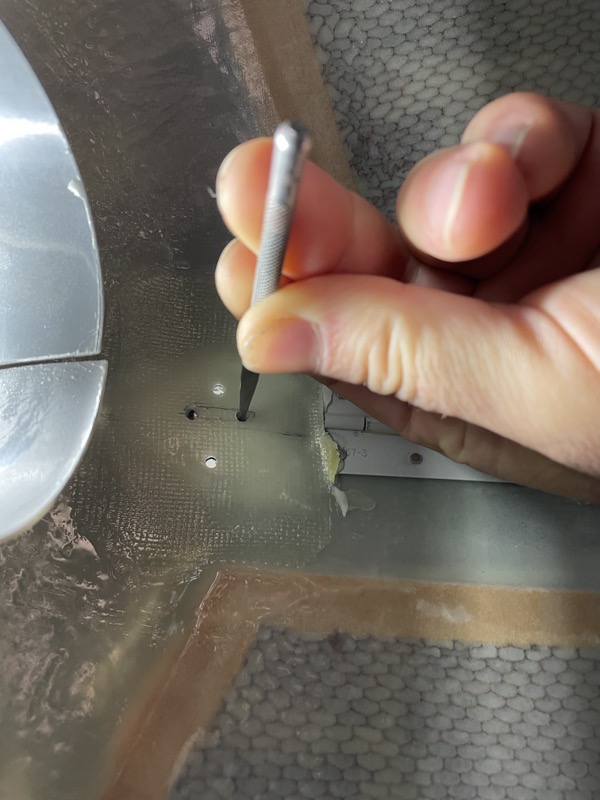
But how to get out the blanks?
I’d been worried about this stage … what if I couldn’t get the blanks out!
After some head scratching, I drilled from the back just deep enough to expose the blanks, and then used a punch and hammer.
With some relief and amazement, they popped straight out …
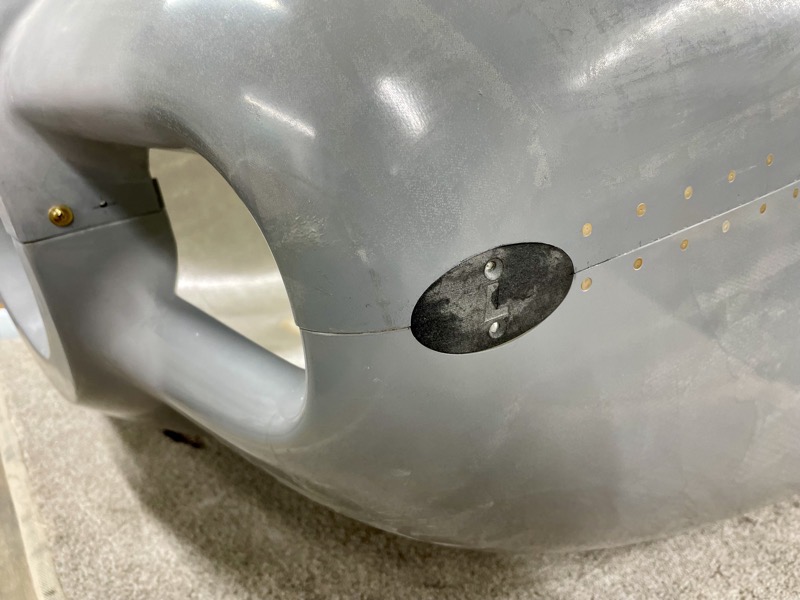
… leaving a satisfying surface on the outside, including my little recess for the pin tab.

I used the Dremmel to cut the cowls apart.

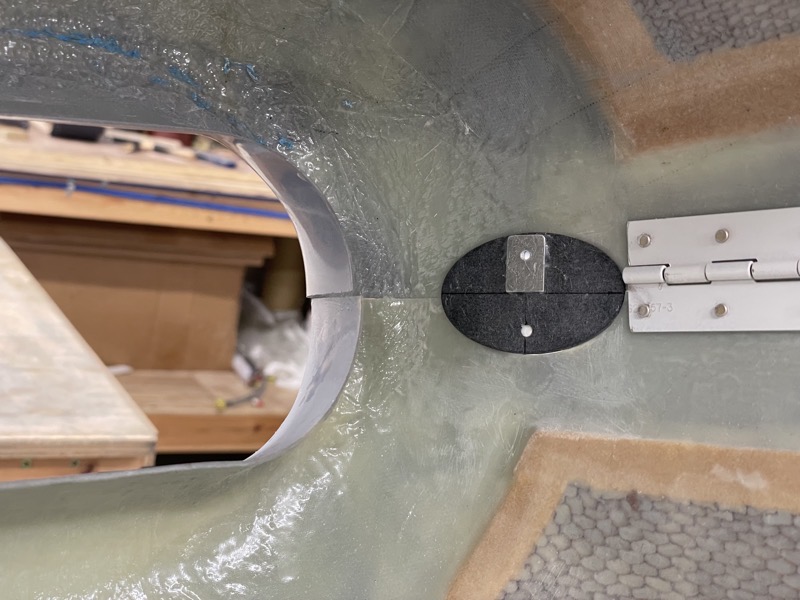
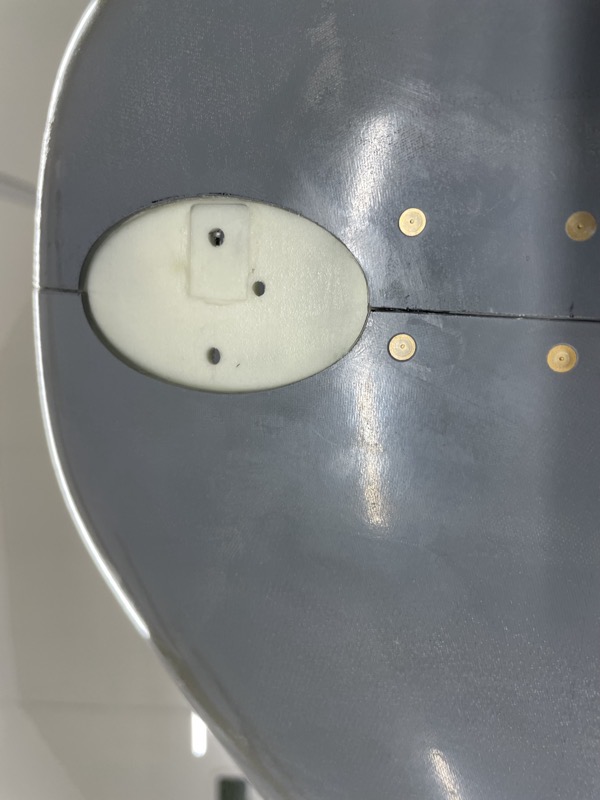
The pin fitted well into the hinge and laid flat in the recess.
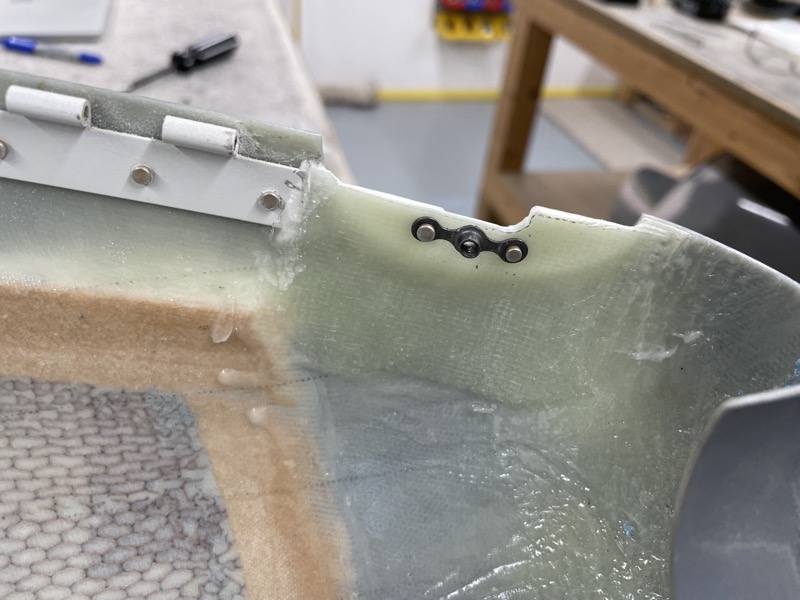
Nutplates are attached.

Inside view showing the pin and nutplates …
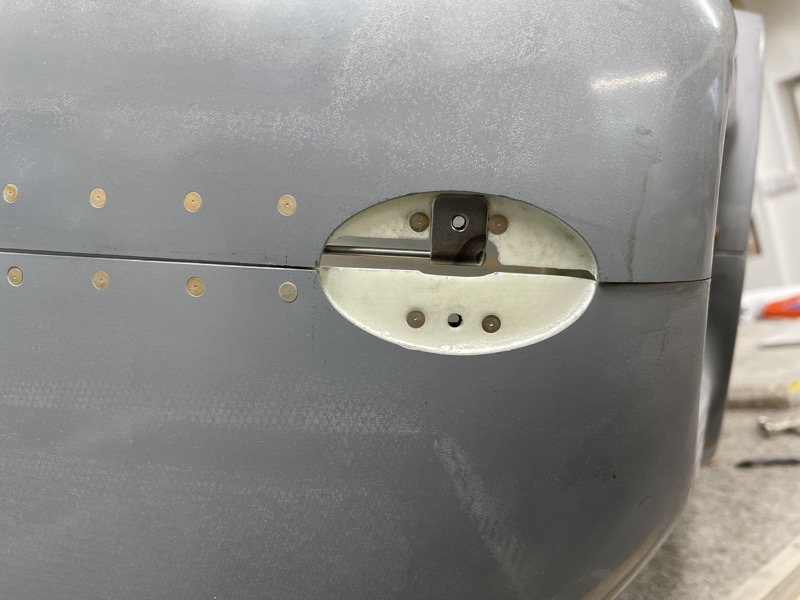
… and from outside showing how the hinge pin tab is located securely by the top screw.
Job done … another happy dance : )


One comment on Aerosport Cowling Pin Covers
Very neat.
Might get these for my 6