


Fuel Tank Calibration

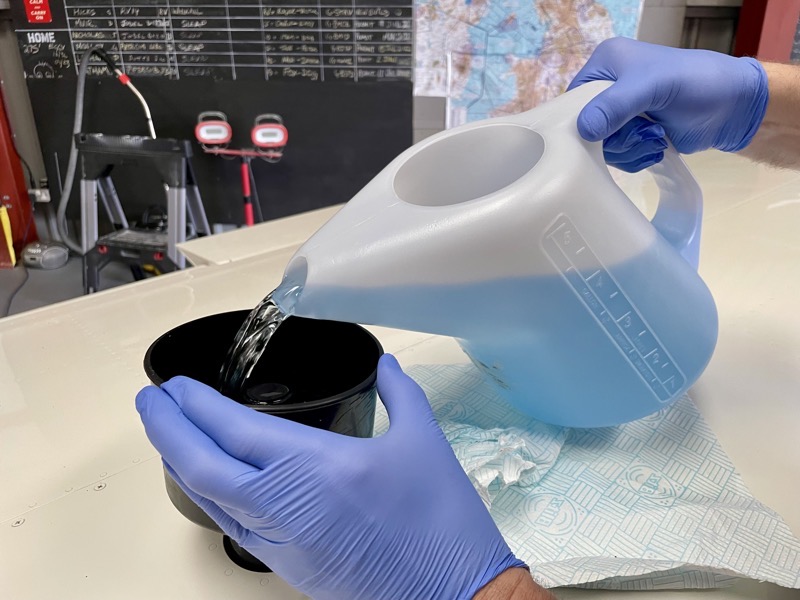
The fuel tank quantity senders have to be calibrated. Obviously this involves filling up the fuel tanks … gulp! … the first real leak test.
Each tank holds about 95 litres, so we purchased 100 litres, the plan being to eventually leave each tank half full.
The Garmin G3X system requires two calibrations. One in the flight attitude, and one with the tail down. Obviously the tail down calibration is not required for those of you building a 14A.
With the G3X system the calibration curve being used to display fuel quantity switches automatically, and is determined by GPS groundspeed, indicated airspeed, and height above ground.
The tail down calibration option is not available until the flight calibration has been completed.
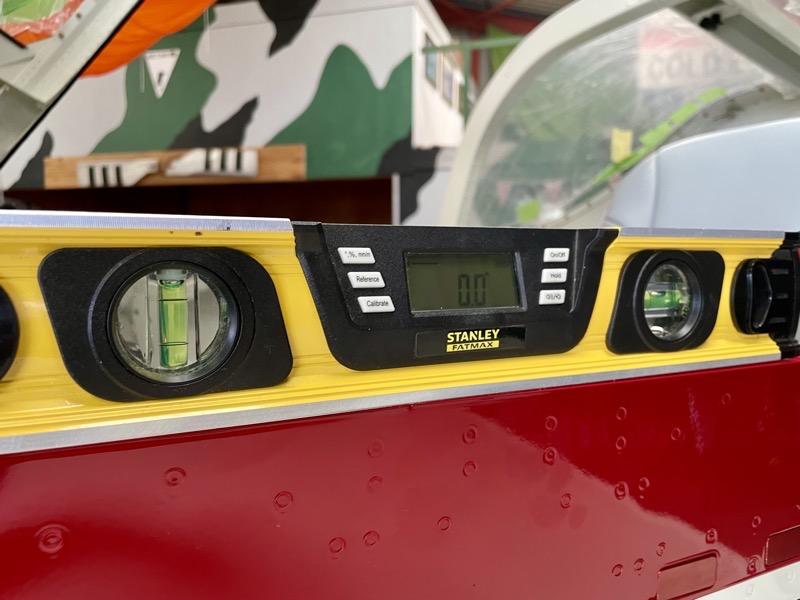
We set the canopy rail horizontal for the flight attitude.
Lots of fuel around being poured into the aeroplane … hence the earth lead!
It’s up to you how many calibration points you add to the system, so we decided to add 5 litres at a time.
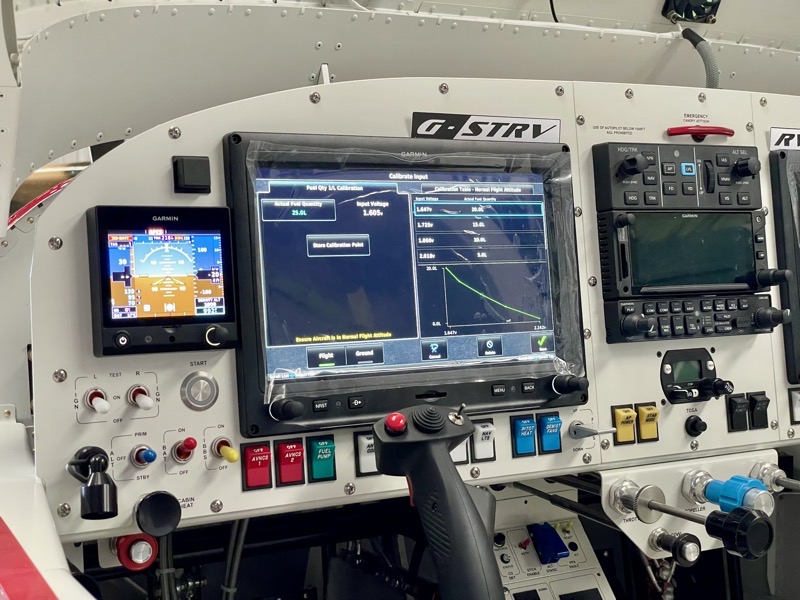
As each 5 litres are added the sender float moves, so the input voltage to the G3X changes and a calibration point is saved.
You might be able to see that the “Ground” option on the screen is disabled, since the “Flight” calibration has not yet been saved.
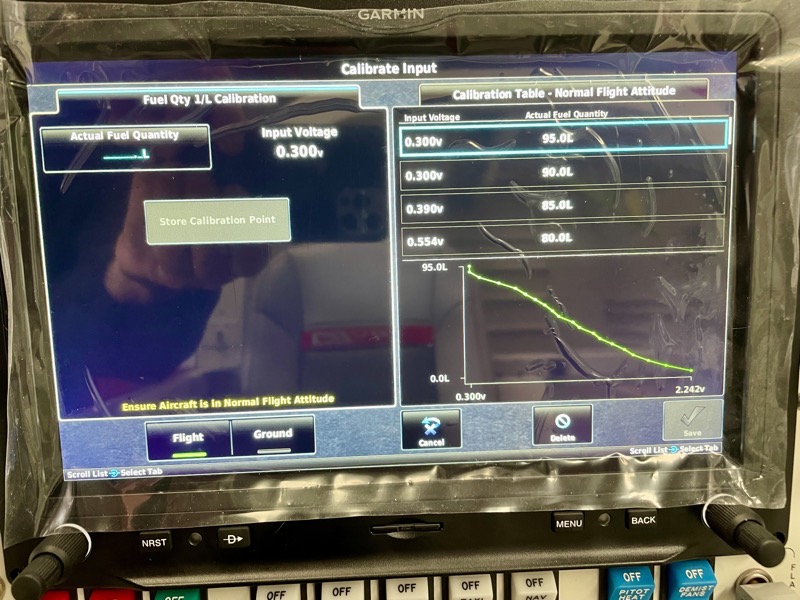
The minimum voltage seemed to be 0.300V with the sender float fully up ie tank indicating full.
As you can see in this screenshot, this happened after 90 litres had been added.
Once each point has been saved, and the previous screen is accessed by pressing the “Cancel” button, there is another “Save” button.

Don’t forget to press this button, or the calibration curve will be lost!
By pressing the “Menu” button whilst on the Fuel Quantity Calibration Page, there is an option to save the curve to an SD card.

The fuel had to be drained out so that the whole process could be repeated with the tail down.
We found it easiest to remove the drain valve.

Once the flight calibration is complete, the “Ground” button becomes enabled for selection.
The float reached the top of the tank when 75 litres had been added.
When each tank was full we spent time inspecting for leaks with bated breath! All was well : )
We have left the tanks half full, ready for the ground run and first flight.


2 comments on Fuel Tank Calibration
…ready for the ground run and first flight. Exciting times! This is all really impressive.
My emp kit has moved to ‘Assigned to Crating’ to hopefully it won’t be too long now. Only 12 months wait!
Just in time for me to do mine . Many excellent tips