Rear Window – Final Installation
I decided to install the Rear Window whilst the fuselage was still on the rotisserie.
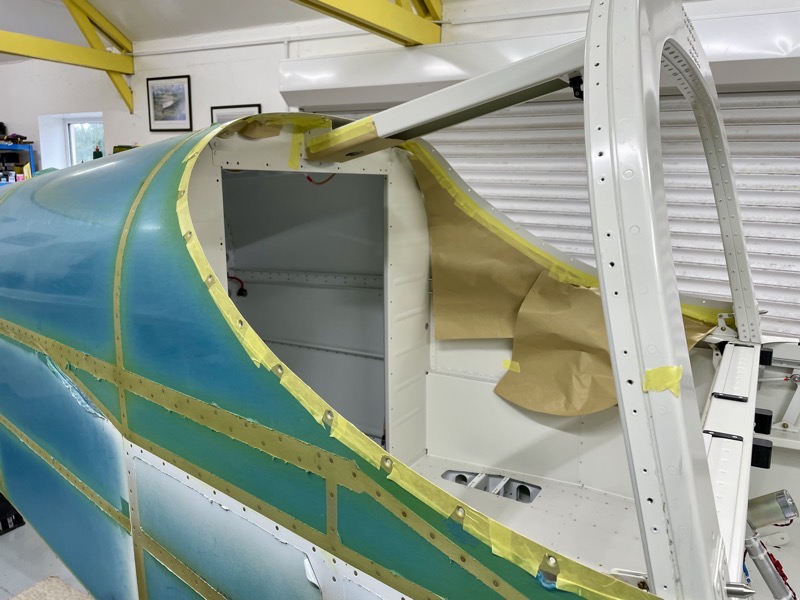
After double checking that I’d completed everything that needs access via the rear window openings, I retrieved the window from where it had been safely stored.
Bearing in mind that the back of the window has to be sealed with tank sealant, I did several dry fitting runs trying to work out the best strategy to get the job done.
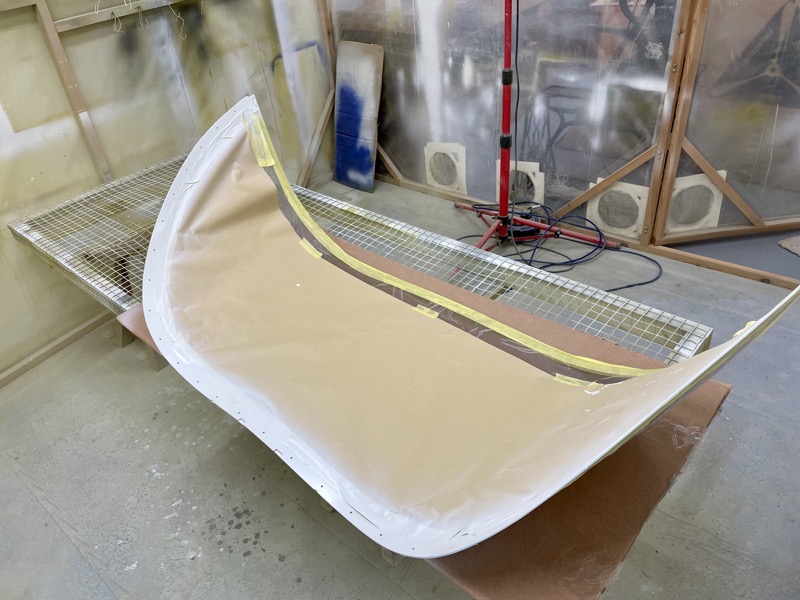
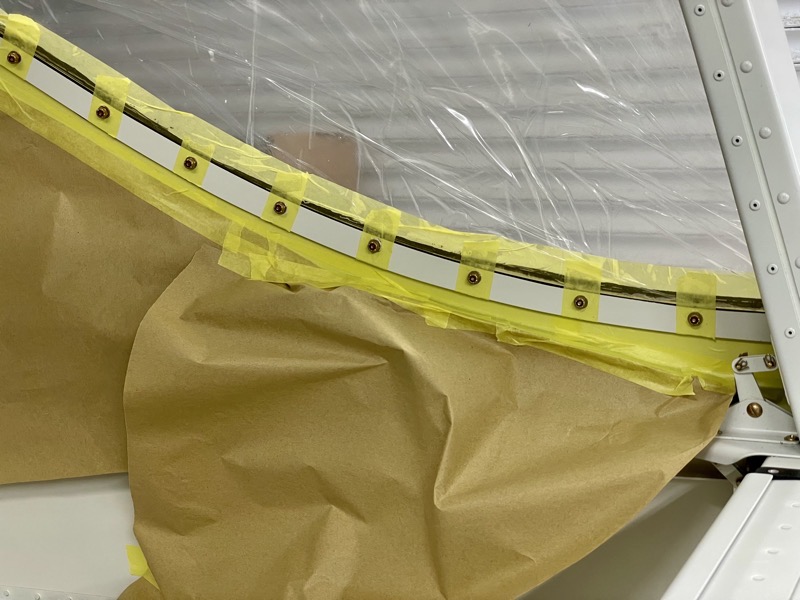
The first job was to mask off and spray the window edge with the cockpit colour … this will hide the unsightly tank sealant.
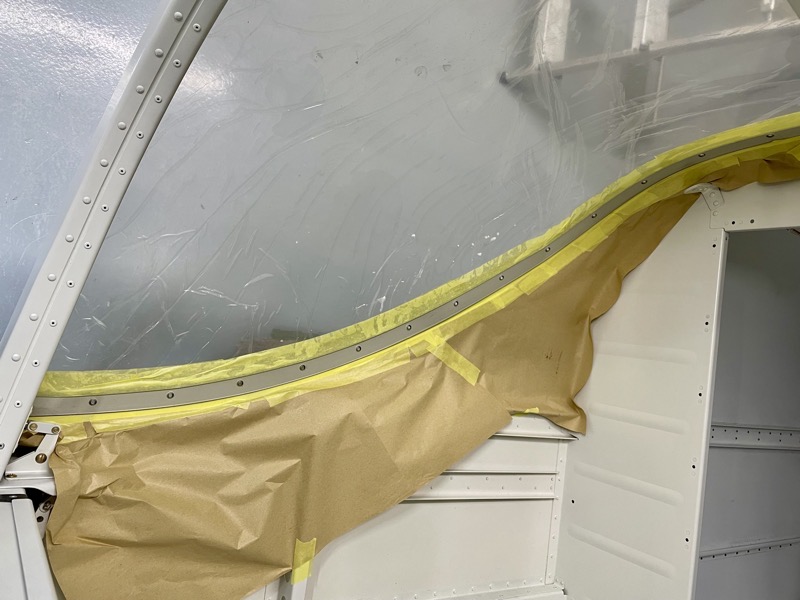
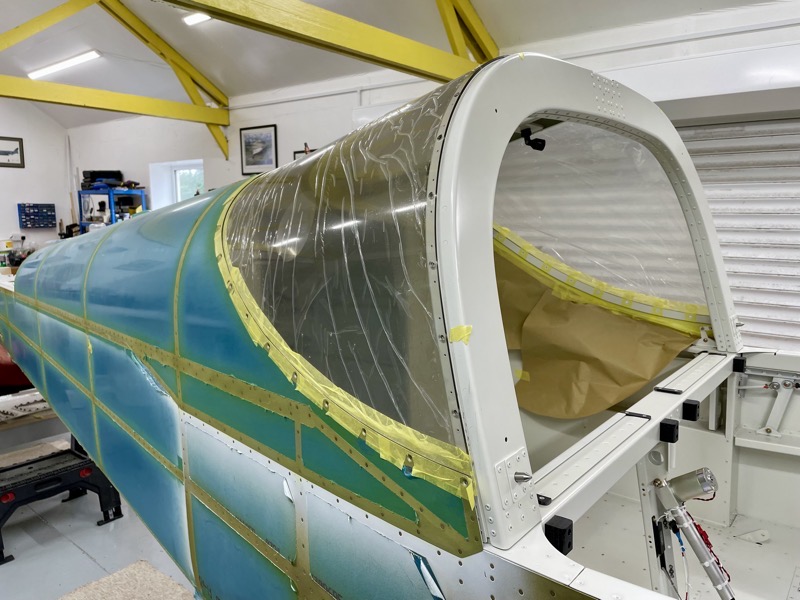
I masked off to keep the Proseal under control!
You don’t need to apply very much sealant, just enough to get the job done … in practice virtually none escaped from the rear edge of the window.
So this masking inside was not needed, but at the time I wasn’t sure … and once the Proseal monster escapes it tends to wreak havoc!
Masking the outside airframe edge made the cleanup much easier.
The outside of the window itself is obviously the most important part to mask!
Vans suggest that you attach the window with all the fasteners, but leave them loose so that you can carefully push the edge in to smear on the sealant.
During my dry runs I tried this, but found that the aft bolt threads tended to catch, preventing any easy deflection.
It worked along the lower edges towards the front, but not at the back over the curved area.
So I did it in stages:
- Initially located the window with 2 clecos at the rear centre, and a few screws along the centre front.
- Applied sealant along the centre rear.
- Installed the centre rear & the rest of the front fasteners.
- Even with the front fasteners in place, the rear window sides could be deflected in enough to apply sealant.
- Installed the remaining fasteners.
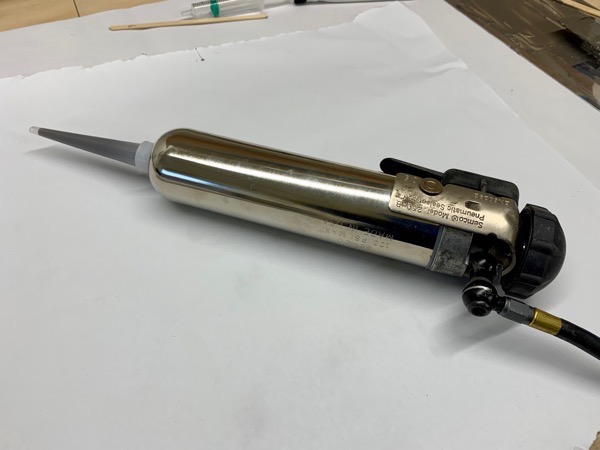
I used my Pneumatic Sealant Gun to apply the sealant, laying a bead of sealant into the gap formed by gently deflecting in the window

Of course a few of the holes ended up with sealant, so I poked it out with a dowel before inserting the bolts.
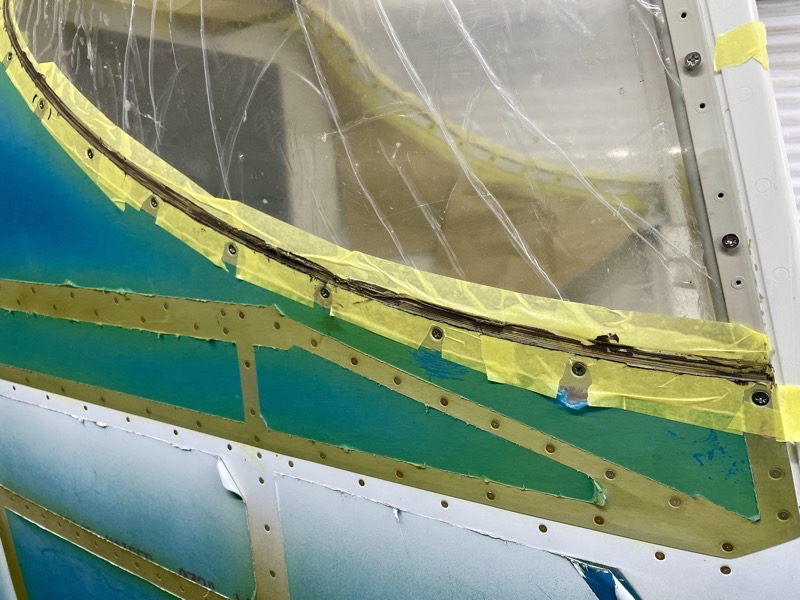
Once all the fasteners were installed I waited about 30 mins to allow the excess sealant to emerge from the joint.
Then I removed as much as possible with a lollipop stick before taking off the masking tape.
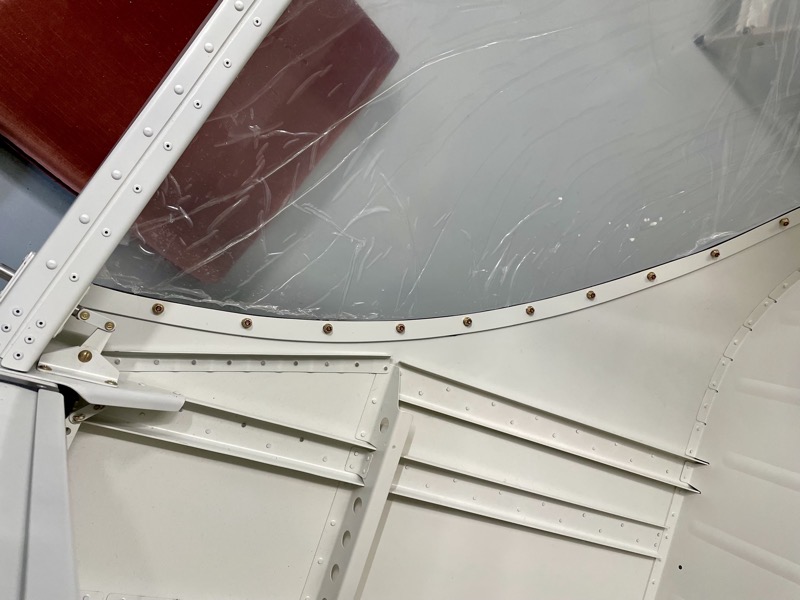
No mess inside.
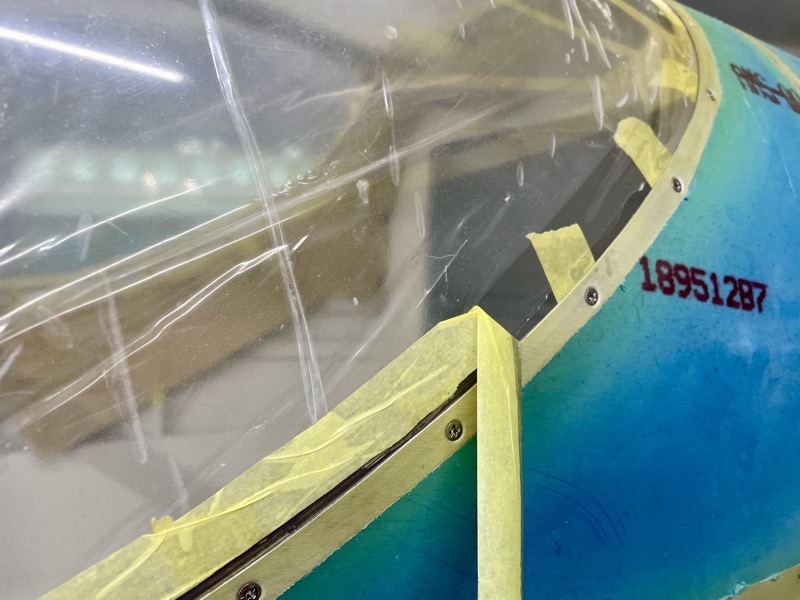
I removed the masking tape from the airframe first, carefully cleaning up the aluminium edge with Isopropanol with the tape still in place on the window itself.
Lastly I removed the window masking, revealing a nice clean edge.
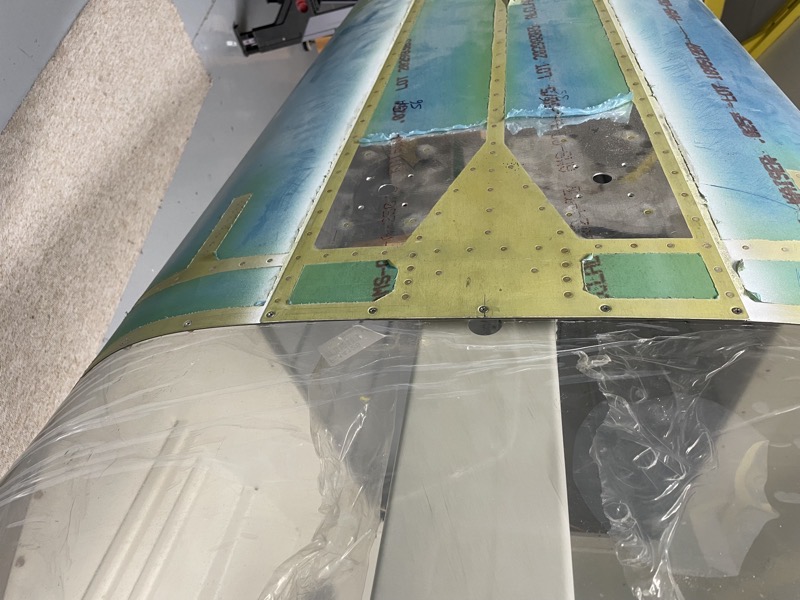

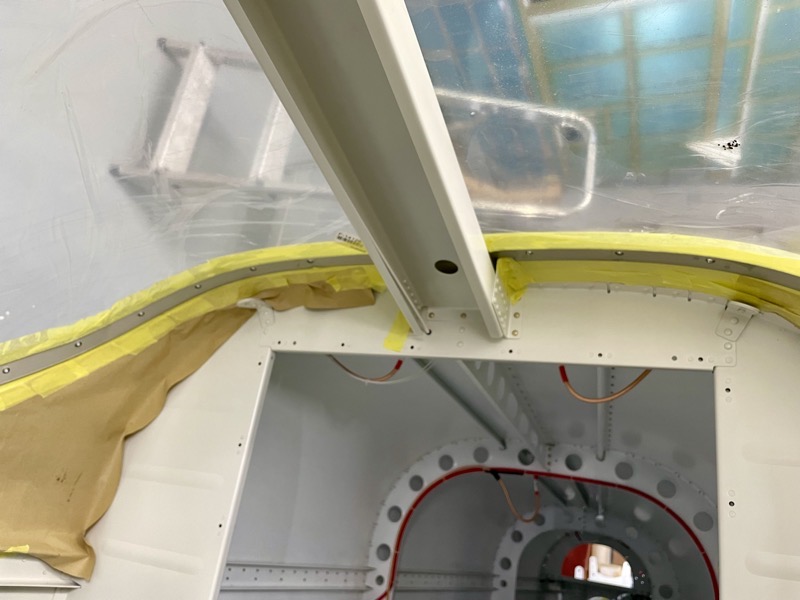
Remove the plastic from inside the window where it passes over the F-01432A Roll Bar Brace!
I forgot in all the excitement … it was very hard to remove it from the small gap at the front!!!
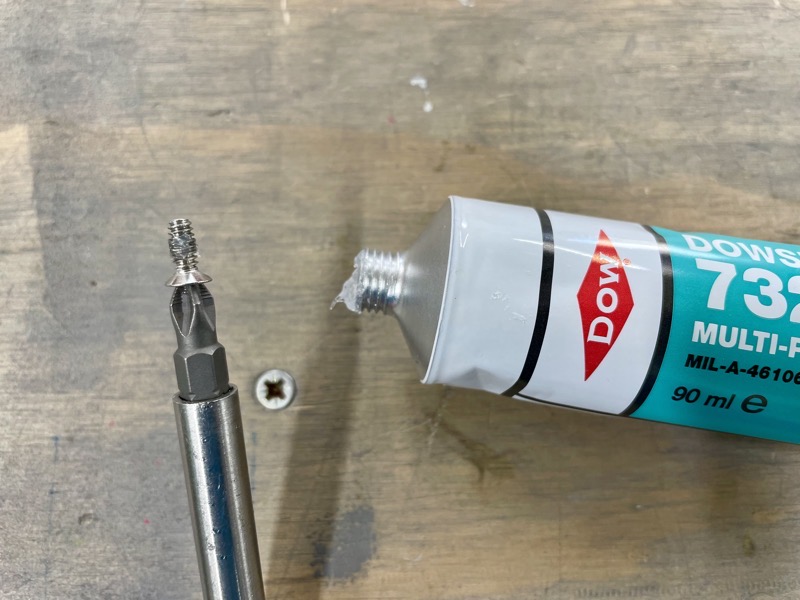
Vans suggest that you apply a dab of silicone to each screw on the roll bar.
I decided to do this by removing/re-inserting each screw once the rear had been attached and sealed.
Here’s the window installation completed, with the painted edge hiding the dark coloured sealant.