Classic Aero Interior
Before the fuselage has to be removed from the rotisserie, I wanted to fit the various components which are used to attach the Classic Aero interior.

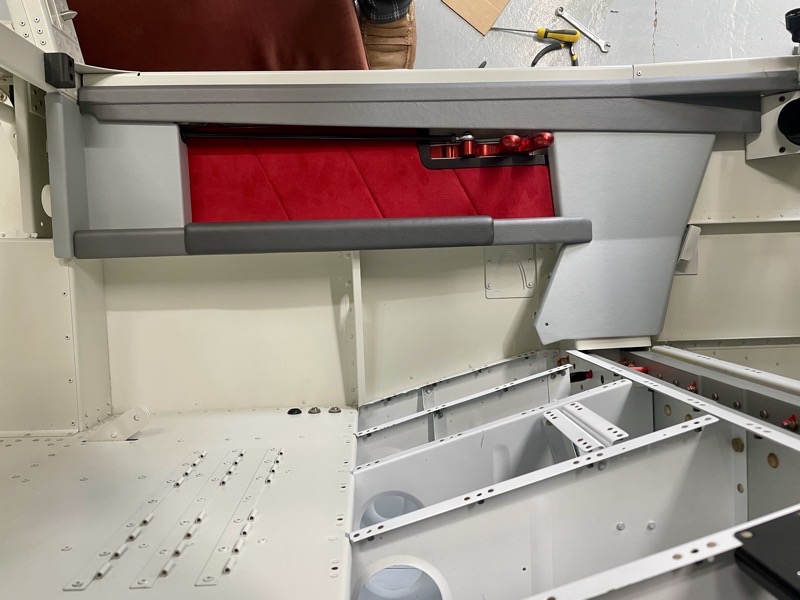
We are installing the Classic Aero RV-14 / 14A Aviator II Side Panels.
Classic Aero produce a very well engineered and complete package, with good intructions on how to install the components.
All parts are supplied in clearly labeled bags.

A few holes have to be carefully drilled in exact locations to fit the brackets etc, but this is made easy with supplied templates.

Once the template is positioned as instructed, it’s a simple job to match drill the holes.
They also supply the required hex drive drill bits and an extension to access some holes.

Here’s a template being used to match drill holes in the left bulkhead, to make attachment points for the bulkhead trim piece.

After opening up the holes to 17/64″, Rivnuts are installed to form the attachment points.
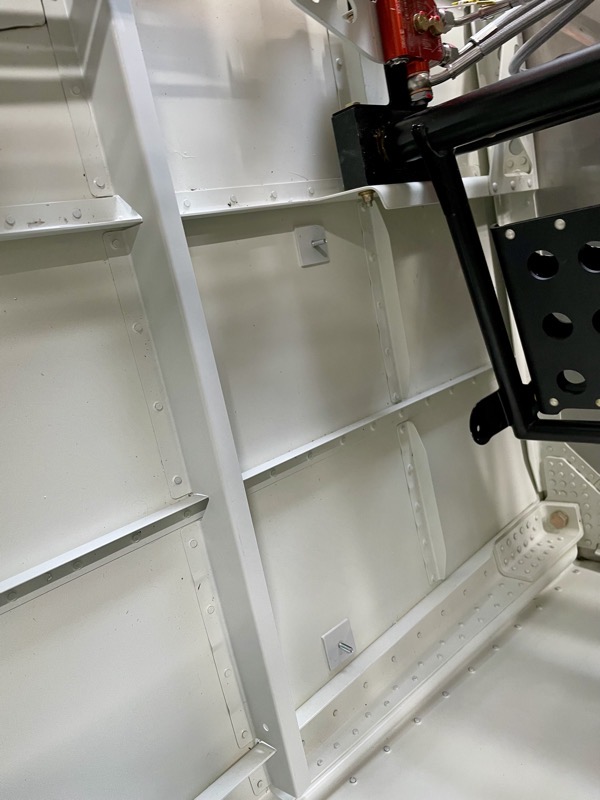
Some attachment brackets are bonded onto the fuselage sides, again positioned precisely with supplied templates.
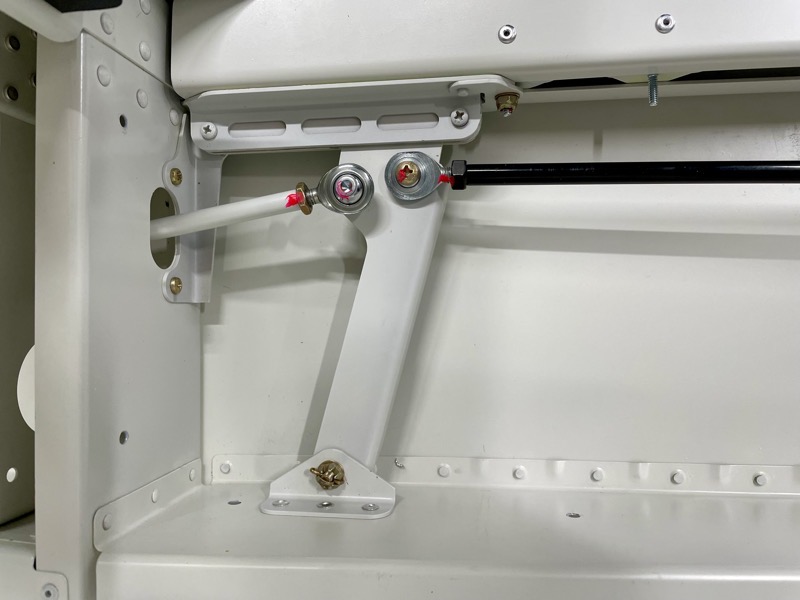
An “Idler Bar” is installed … this is designed to keep the canopy actuation rod up out of the way.

The modified JDAir Latch connects to this just fine.
When I test fitted the side trim, I found it best to position the latch spring on top.

I test fitted the various trim pieces to make sure the JDAir Latch was able to operate correctly, and as you can see, the resulting installation is very smart.
The idler bar mechanism is completely hidden, and the canopy actuation rod is positioned up under the side rail trim, making it very inconspicuous.
After removing all the trim pieces and carefully putting them away in the boxes for installation after painting, it was time to find another job!