35-19 to 22 Forward Top Skin Installation
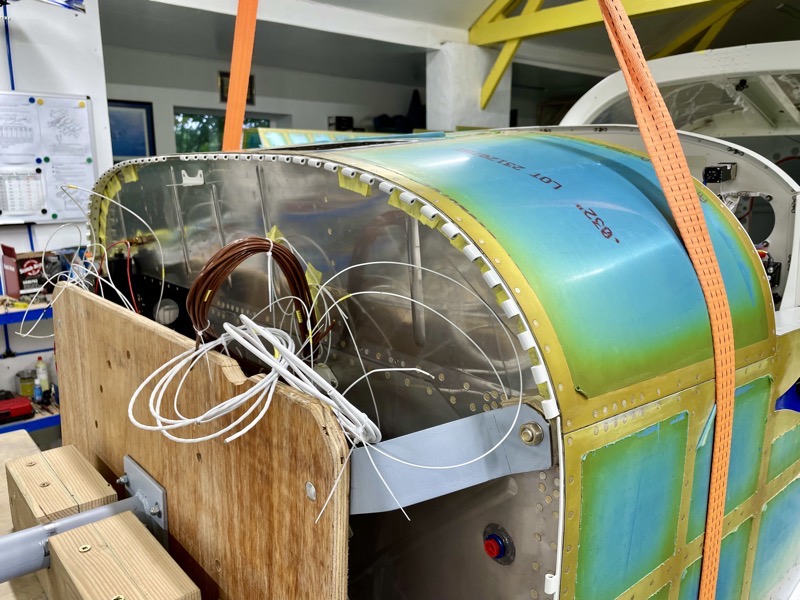
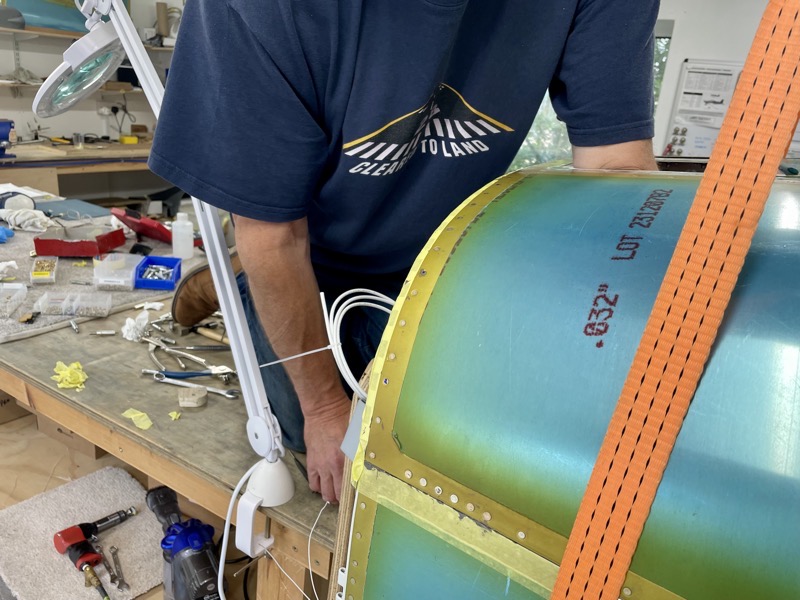
Installing the Forward Top Skin F-01471 was the last job to do whilst the fuselage is still on the rotisserie.
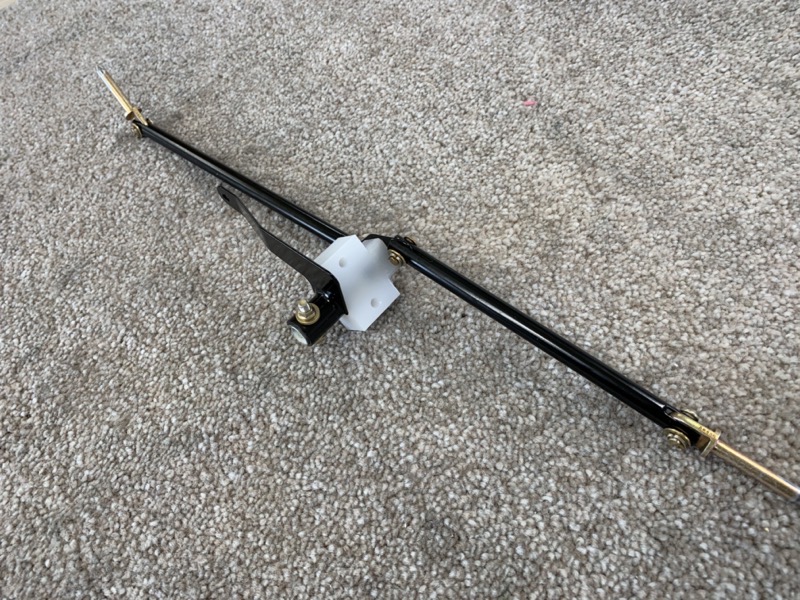
I had temporarily installed the canopy release pushrods when test fitting, so all this had to be removed to allow access for riveting.
The C-01440-L & -R Canopy Hinge Brackets are left in place during initial riveting, but need to be removed to allow a couple of rivets to be set along the F-01459-L & -R Canopy Hinge Ribs.
Then the usual masking to keep the Tank Sealant monster under control …
… I had left a portion of the rear tabs un-primed and scuffed etc to provide a good key for the sealant.
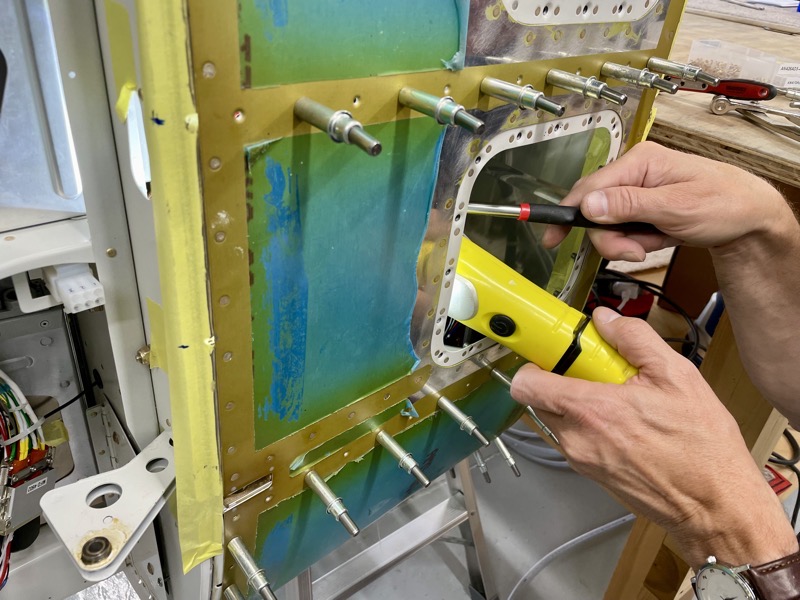
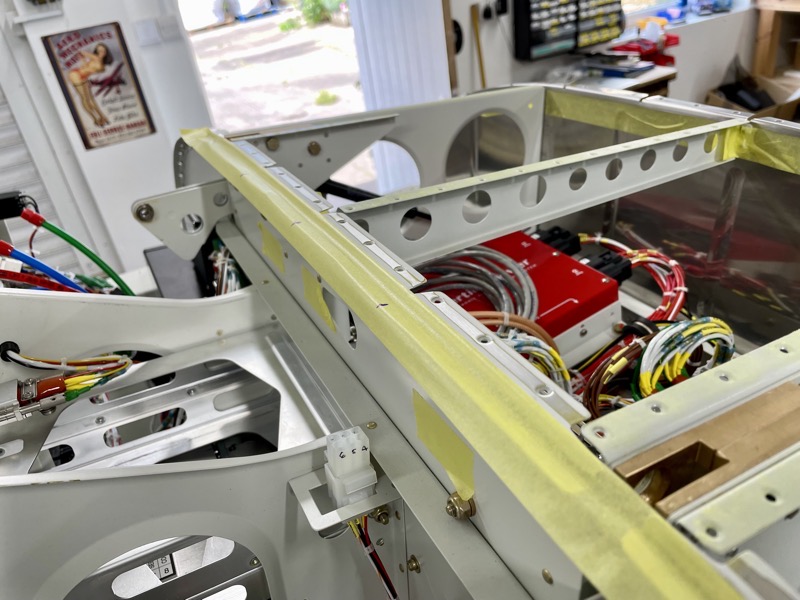
The Avionic Access holes made it easier to reach inside with the bucking bars, but many shop heads needed a mirror to check all was well!
Vans suggest you gain access for installing the canopy release mechanism by lifting up the outside portions of the top skin after riveting the central area.
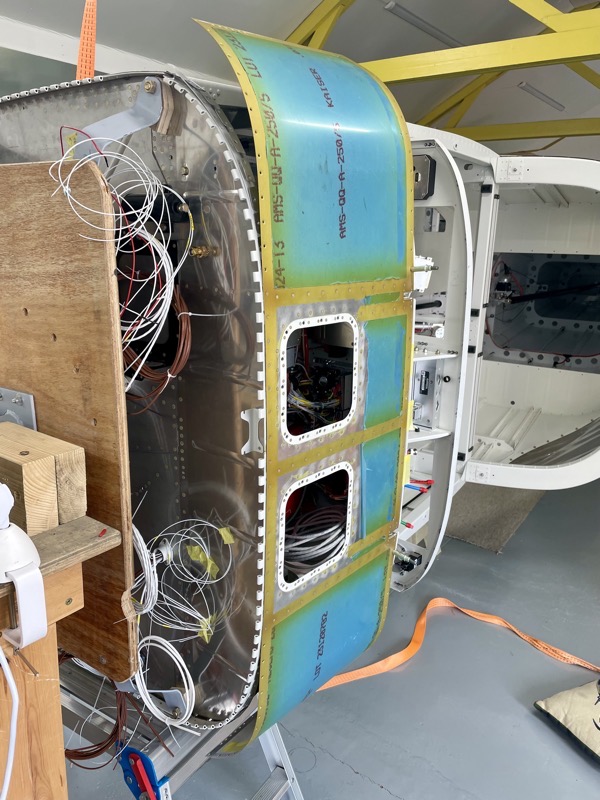
If you’ve fitted the Avionic Access panels you’ll find it easier to install via these holes.
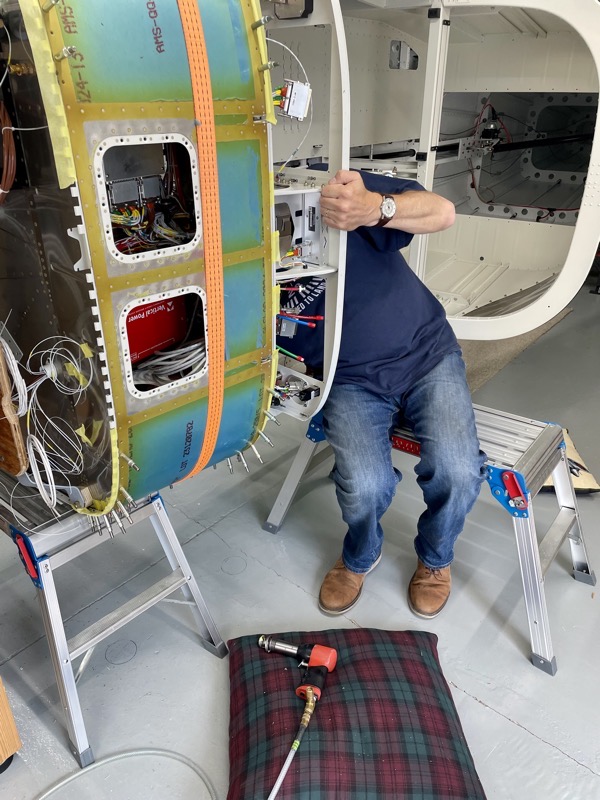
The rotisserie again proved its worth by allowing more comfortable access for your rivet partner : )
In order to set the forward AD4 rivet on the Upper Longeron Assembly we had to remove the top rotisserie attachment bolts, which used the top engine mount attachment holes.
We temporarily supported the fuselage to enable these bolts to be removed, and then used the Avionic Access panels to gain access for the bucking bar.

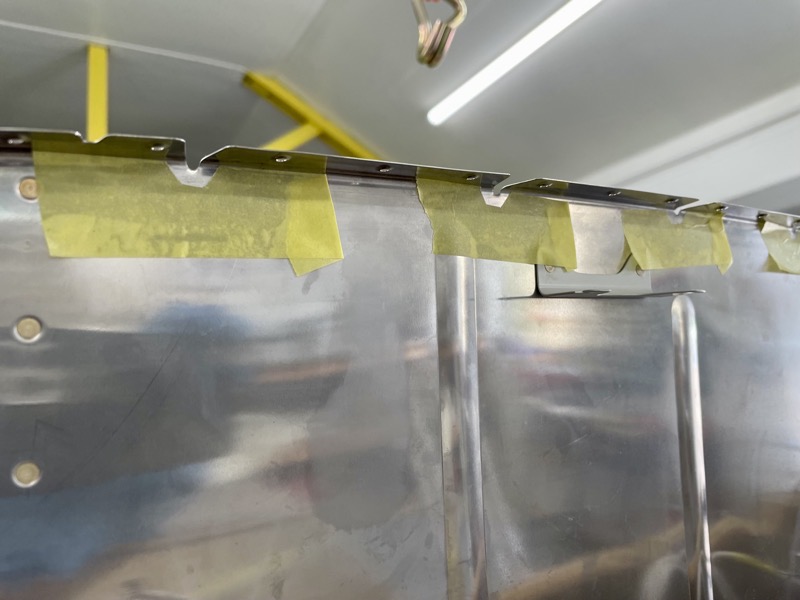
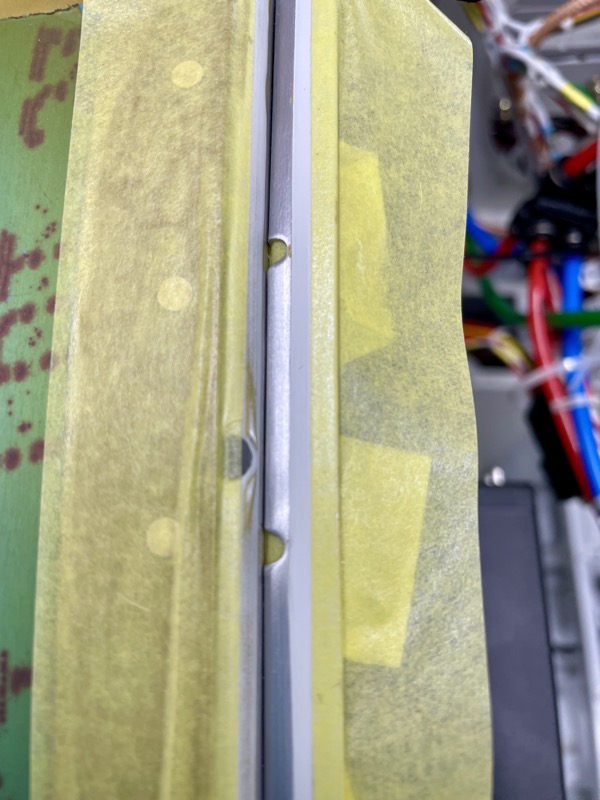
The gaps at the relief notches in the F-01455 Sub Panel and F-01455C-L & -R Seal Angles have to be filled with tank sealant .
Lots of masking needed here to prevent a mess!
I sealed the Step 5 relief holes first, and let this set.
Step 6 in the diagram is to lay a bead of sealant as depicted, after removing the masking tape needed for step 5.
I’ve read on various forums about too much sealant causing the front of the canopy to catch, causing an upsetting deflection of the forward canopy edge.
I do NOT want to experience this, so …
… I was careful to mask off in such a way to replicate the Vans SECTION A-A diagram.
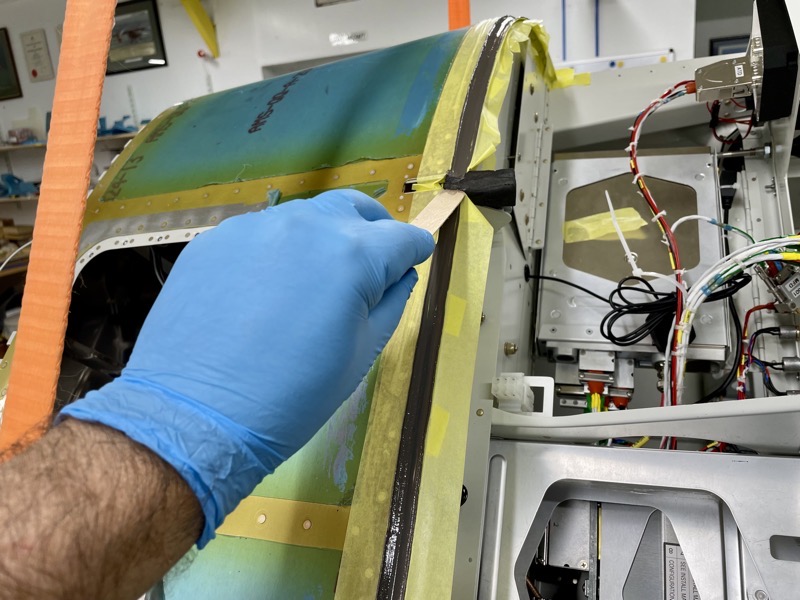
I shaped the end of a lollipop stick to produce the required bead profile.

Here is the result, with the bead of Proseal sealing all the relief holes, but hopefully allowing the forward edge of the canopy to sit down comfortably.
Job done … now we’ll take the fuselage off the rotisserie ready to install the engine mount.
I’ve mentioned it many times in previous blogs … the rotisserie has been a major help, and I thoroughly recommend the technique.