


Paintshop Progress 7 – Wings
The wings were laid flat initially and the skins scuffed and cleaned.

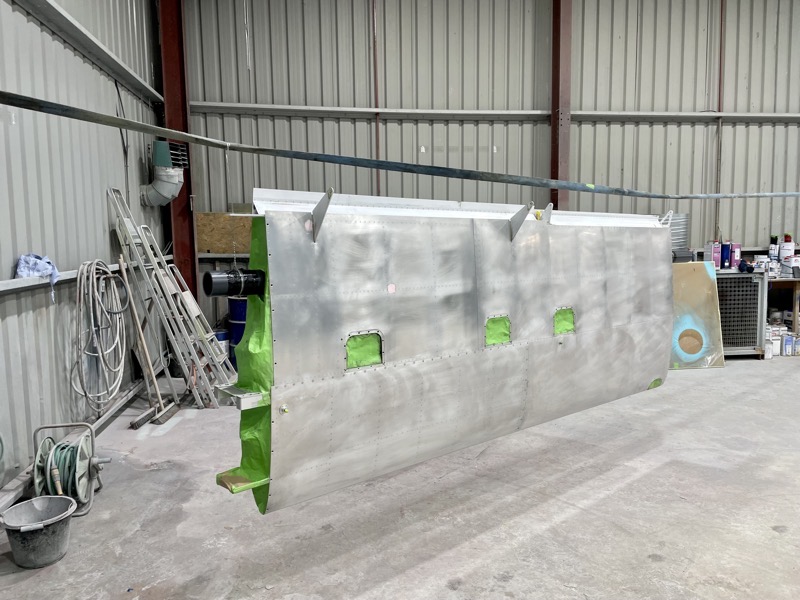
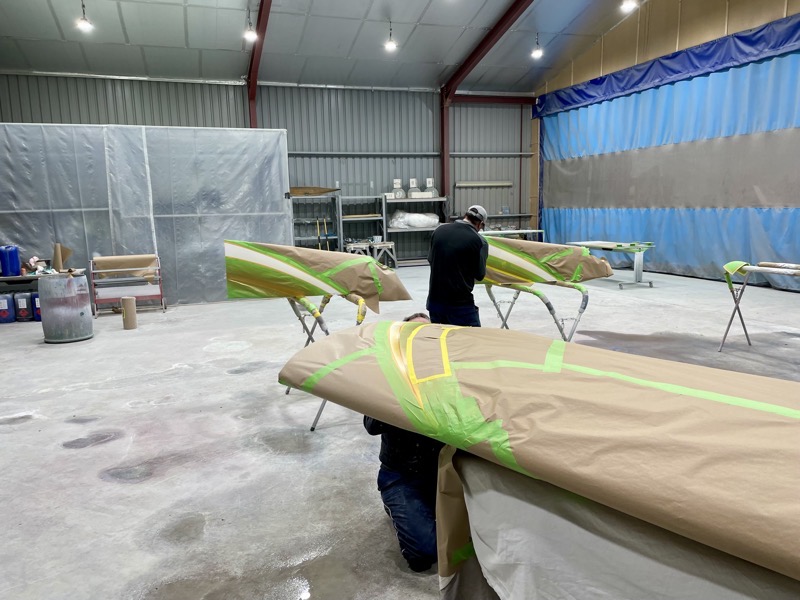
The wings are best sprayed vertically, providing easy access for all surfaces.
But how to support them?
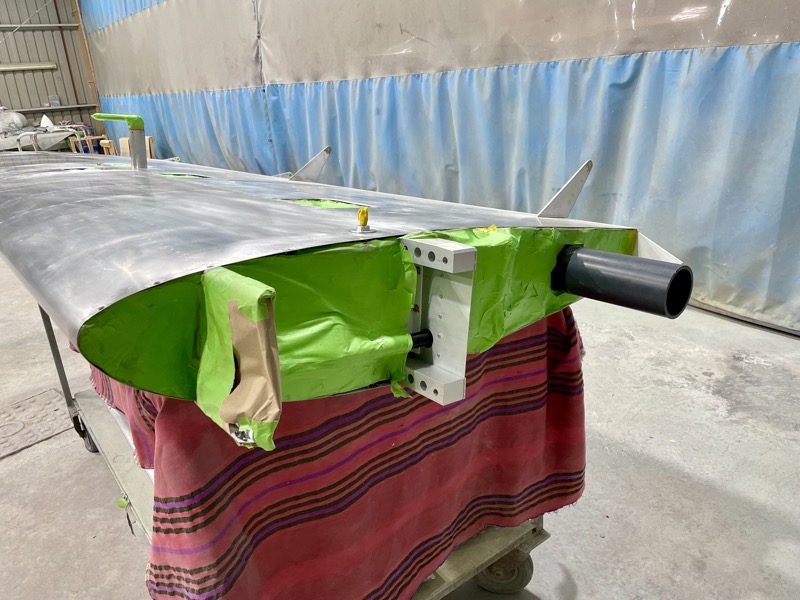
I managed to find some thick-walled water pipe with an outside diameter of 88.9mm (3.5ins) which is a perfect size for one of the rib lightening holes near the trailing edge.
By ensuring the pipe passed through several ribs, it proved possible to securely suspend the wings without stressing any of the structure.
Masked up and ready for action!

After the messy treatment of Alocrom …

… the primer was applied.

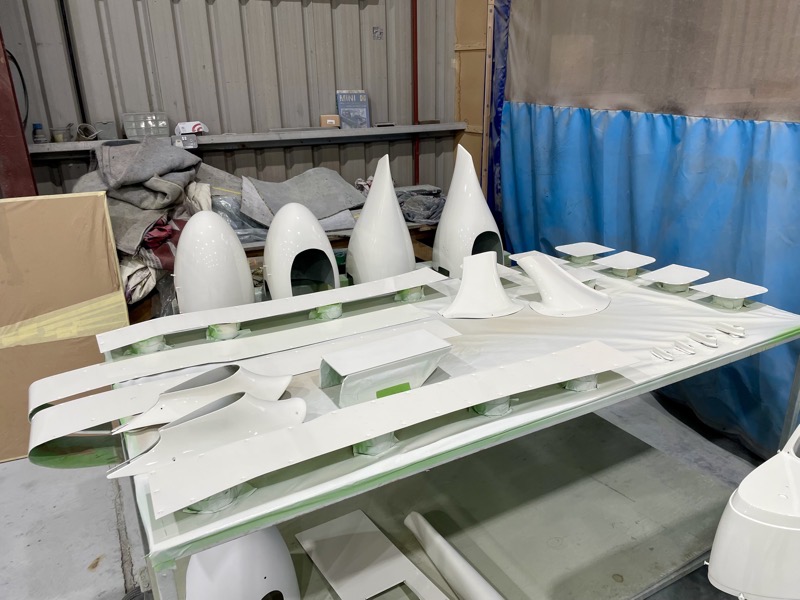
Lots of components … wings, ailerons, flaps, wing tips and various access covers.

The components are suspended on thick multi-strand wire.
The wire is masked with tape to prevent particles falling onto the components.

Then the gloss top coat.
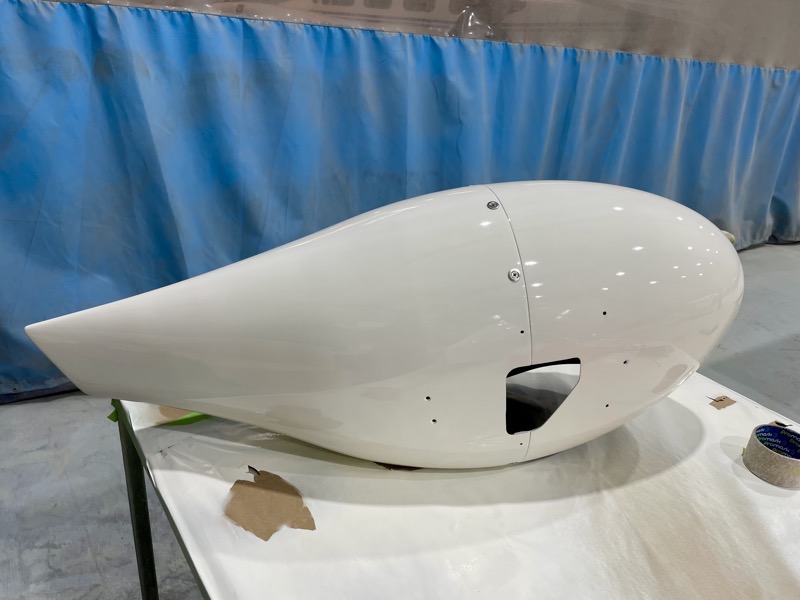
The spats and various fairings were also sprayed in this batch.
Once the paint had hardened the spats were assembled ready for line masking …
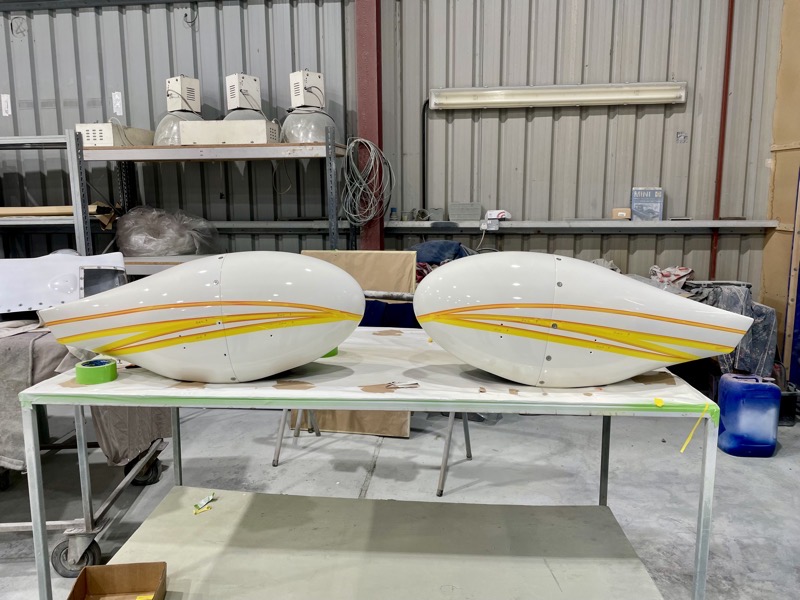
… here they are with the lining tape applied.

We temporarily attached the nav light covers to the wing tips so the edges could be accurately lined masked … I wanted a black outline on them.
More masking up to get it all ready for the colours.
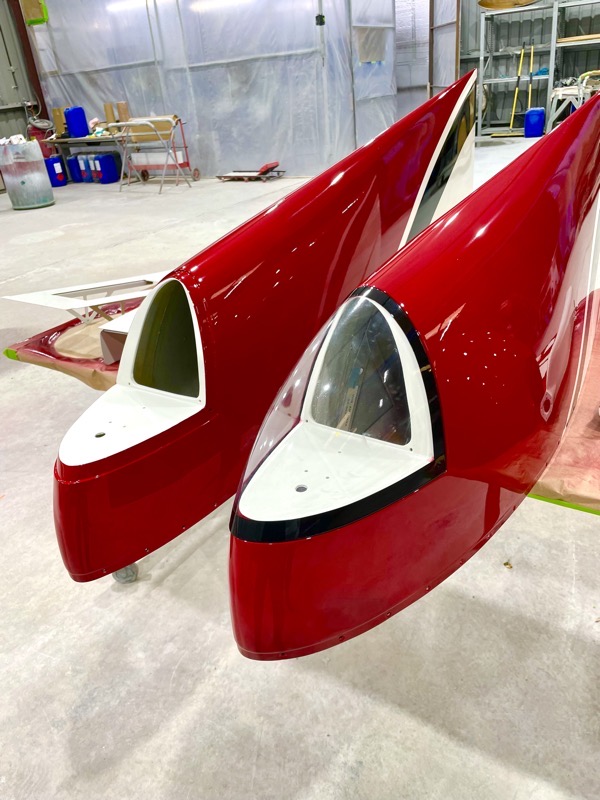
Once again the Shropshire Aircraft Painting team have produced spectacular results!

More components out of the paint shop and stored in the hangar.

Eventually the wings will go back into their wing stand until they are attached to the fuselage.
But we stored them flat for a few days, avoiding any contact with the coloured areas to allow them to fully harden.
The wheel spats will be finished soon, and then everything is painted!
Another “Happy Dance!” : )


