


26 – Even more part preparation!
The largest part in this section is, of course, the bottom skin. Having deburred the edges and holes (only a light debur of one side of the holes was needed, on the far side of the punch/cut) I completed the dimpling. Careful study of the manual is again required to decide which holes get dimpled – some nut plate holes are filled in completely by 426’s if building a tail dragger.
I was wondering if my DRDT2 would reach the centre holes, but with careful positioning and a gentle curl of the skin it proved easy.
Gear Brace Parts

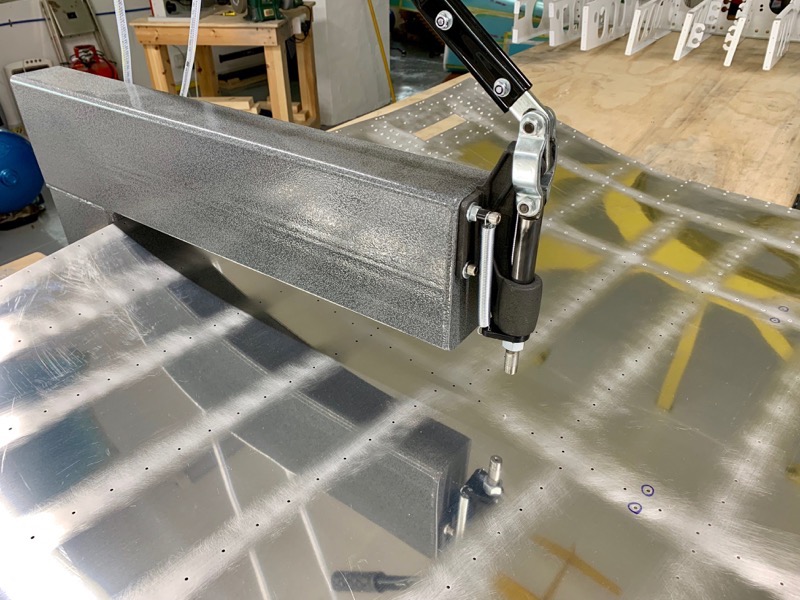
The F-01448B Gear Brace Bars are chunky pieces of metal and need straightening – the usual vice and hammer technique worked fine. Note the clear plastic in the picture … it would be easy to miss this and accidentally leave it attached!
Holes are final drilled through the gear brace parts … some holes using an 1/8″ drill. This allows fine adjustment of the Seat Rib Angles later before final drilling #30.
Side Frames

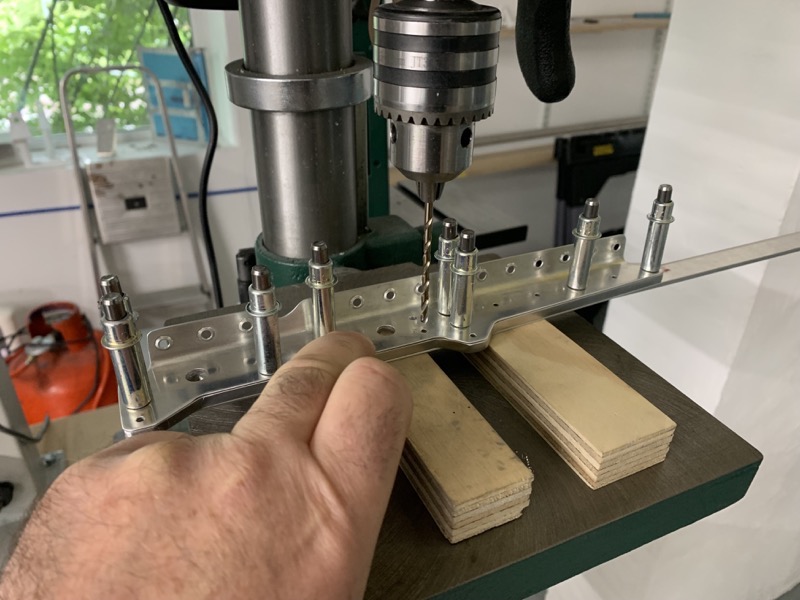
The F-01458-L & -R Side Frames have lots of holes which need a small burr removed on one edge. I don’t often use this deburring tool, but it came in useful for this.
Priming
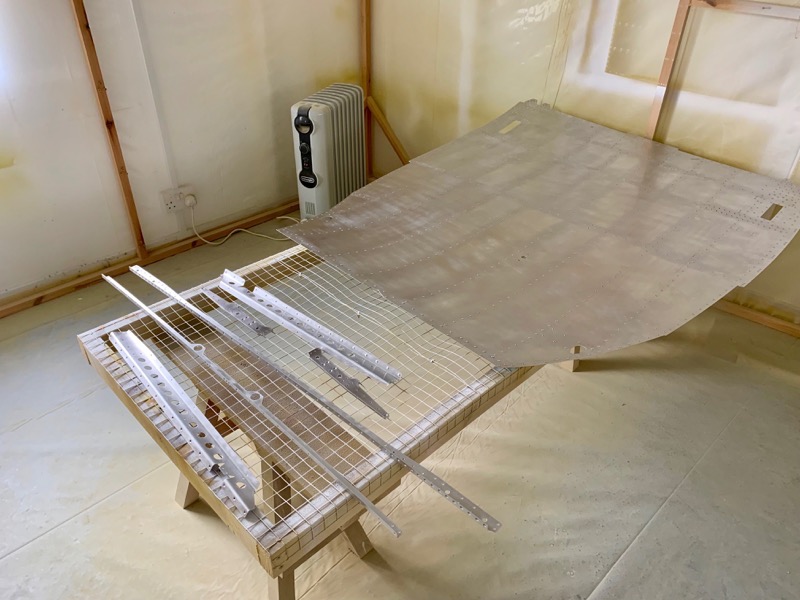
I decided to prime the skin flat. It’s difficult to manoeuvre safely, and flexes alarmingly if you’re not careful!

I pinned the small parts to foam to anchor them securely during spraying.
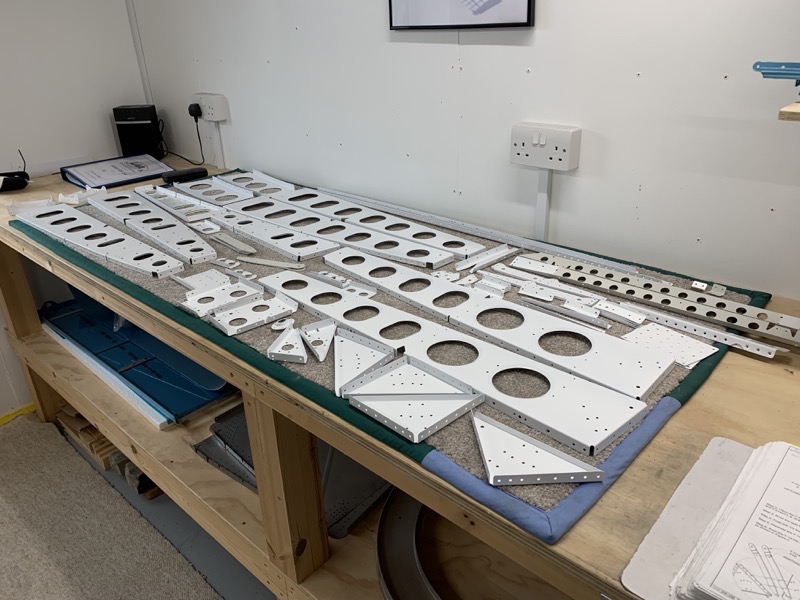
Parts acid etched and sealed with white acrylic. The side frames will be visible in the cockpit, so instead of white I finished these with my cockpit paint, a 2K Acrylic Enamel. This is again keeping my options open for avoiding having to spray the cockpit area once built.
Here’s the bottom skin … I also primed the underside in the area which will be covered by the lower forward skins.


