


18-05 Left Tank Ribs
Masking Up
To make sealing the ribs a bit faster during installation, I again decided to mask up the skins. Took quite a while, but definitely easier when riveting up.
Small Root Rib
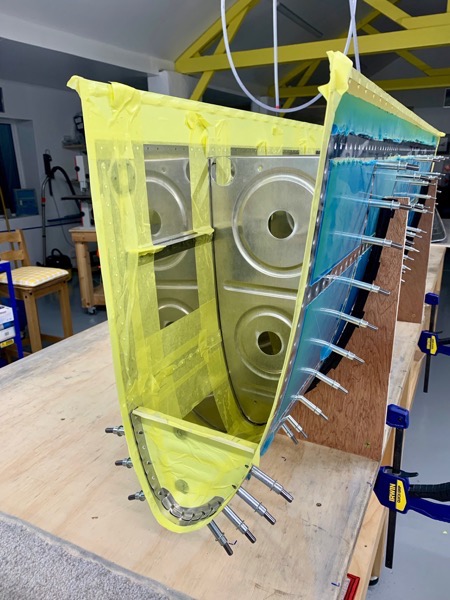
The manual suggests you start with the small root rib, and work outboard … and that seemed a good plan, so we began by clecoing ribs in place to help form the skin. It was still hard to form the skin around the rib noses.

I discovered that using Coral’s best spoon was the easiest way to scoop Proseal out of the pot onto the digital spoon : )
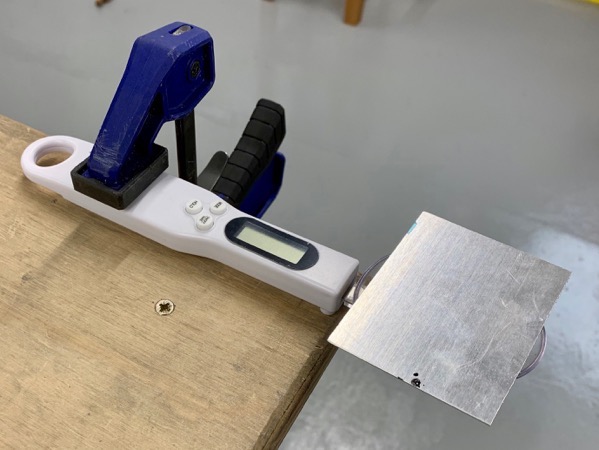
30g seemed about right for the small rib.
Once mixed, I battled the stuff into a cartridge to use in the Semco Pneumatic Sealant Gun.

We were expecting the ribs to be even harder to fit with Proseal everywhere, but actually the opposite was true! The sealant seems to act as a lubricant, and the ribs slipped into place much more easily.
Once the rivets were pushed into position we cleaned off the shop heads with little squares of tissue ready for setting. I used the squeezer to set the end rib rivets, with Tim on the bucking bar for the other internal ribs.
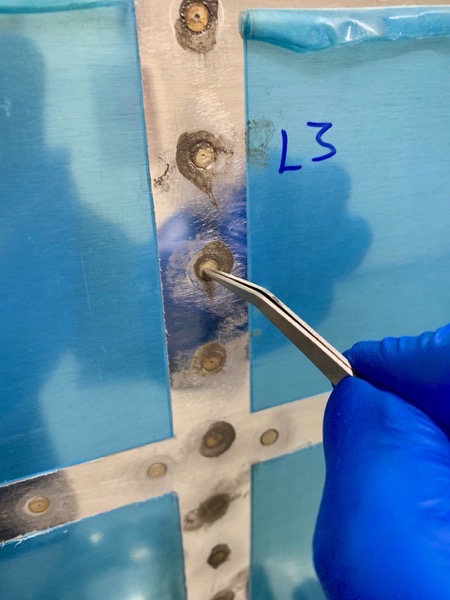
Coral’s best tweezers proved a clean way to pick up the rivets (MEK soaked & dried) and place in the holes.
We’re using about 60g of Proseal per rib. It took a long time to install the first 2 ribs as we felt our way through the process, but the next one’s took about 1 1/2 hrs each. We ended up mixing up a batch of Proseal, and had enough time to rivet 3 ribs before the sealant began to get even stickier as it set.
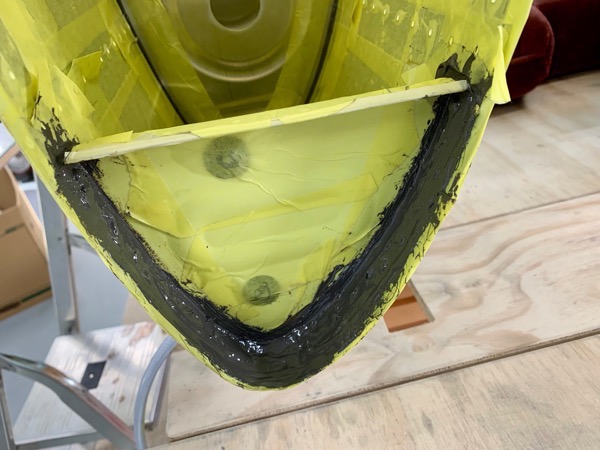
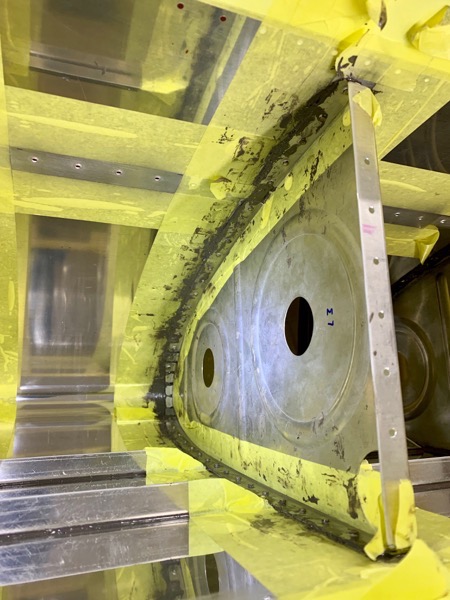
Then I mixed up another batch to form the fillets along the rib edges and cover up the rivet shop heads. The masking really helped for this phase.
Masking Removed

I removed all the masking before the Proseal set, the ribs and skin needing very little cleanup.
I cleaned up the rivet heads on the outside skin with tissue and a smidge of acetone … I didn’t want any solvent working its way into the precious sealant!

I had to make sure the Proseal was clear of area where the Nutplates will be installed. This was easy when the sealant had nearly set, but was still malleable.
The next job is to install the outboard rib and stiffener.


4 comments on 18-05 Left Tank Ribs
Really nice workmanship Steve, well done.
Thanks Peter … but the proof of the pudding will be the leak test! Cheers Steve
I am toying with the idea of building the RV14 QB kit, building the toolbox at Turweston Jan 12. Not sure my riveting is up to your standard? Looking forward to the toolbox challenge! Cheers Peter
Go for it Peter … the Turweston course a great introduction. I’d never set a rivet in my life, but take a deep breath, start at step 1 and keep going. I can thoroughly recommend the kit. Cheers Steve