


Finished! Vertical Stabiliser 06-04 to 06-05
The FIRST rivet! Measuring, seems OK.
First Rivets

This stage is supposed to be done right at the beginning, but I prepared it all then primed first since I wanted the reinforcing plates to be primed both sides! I suspect there will be lots of reading ahead to decide what can be done prior to priming.
Rear Spar

Managed to get these rivets with the Flange Yoke on the Pneumatic Squeezer.
Frame
Tim preparing to help with riveting the skin onto the completed frame.
Skin

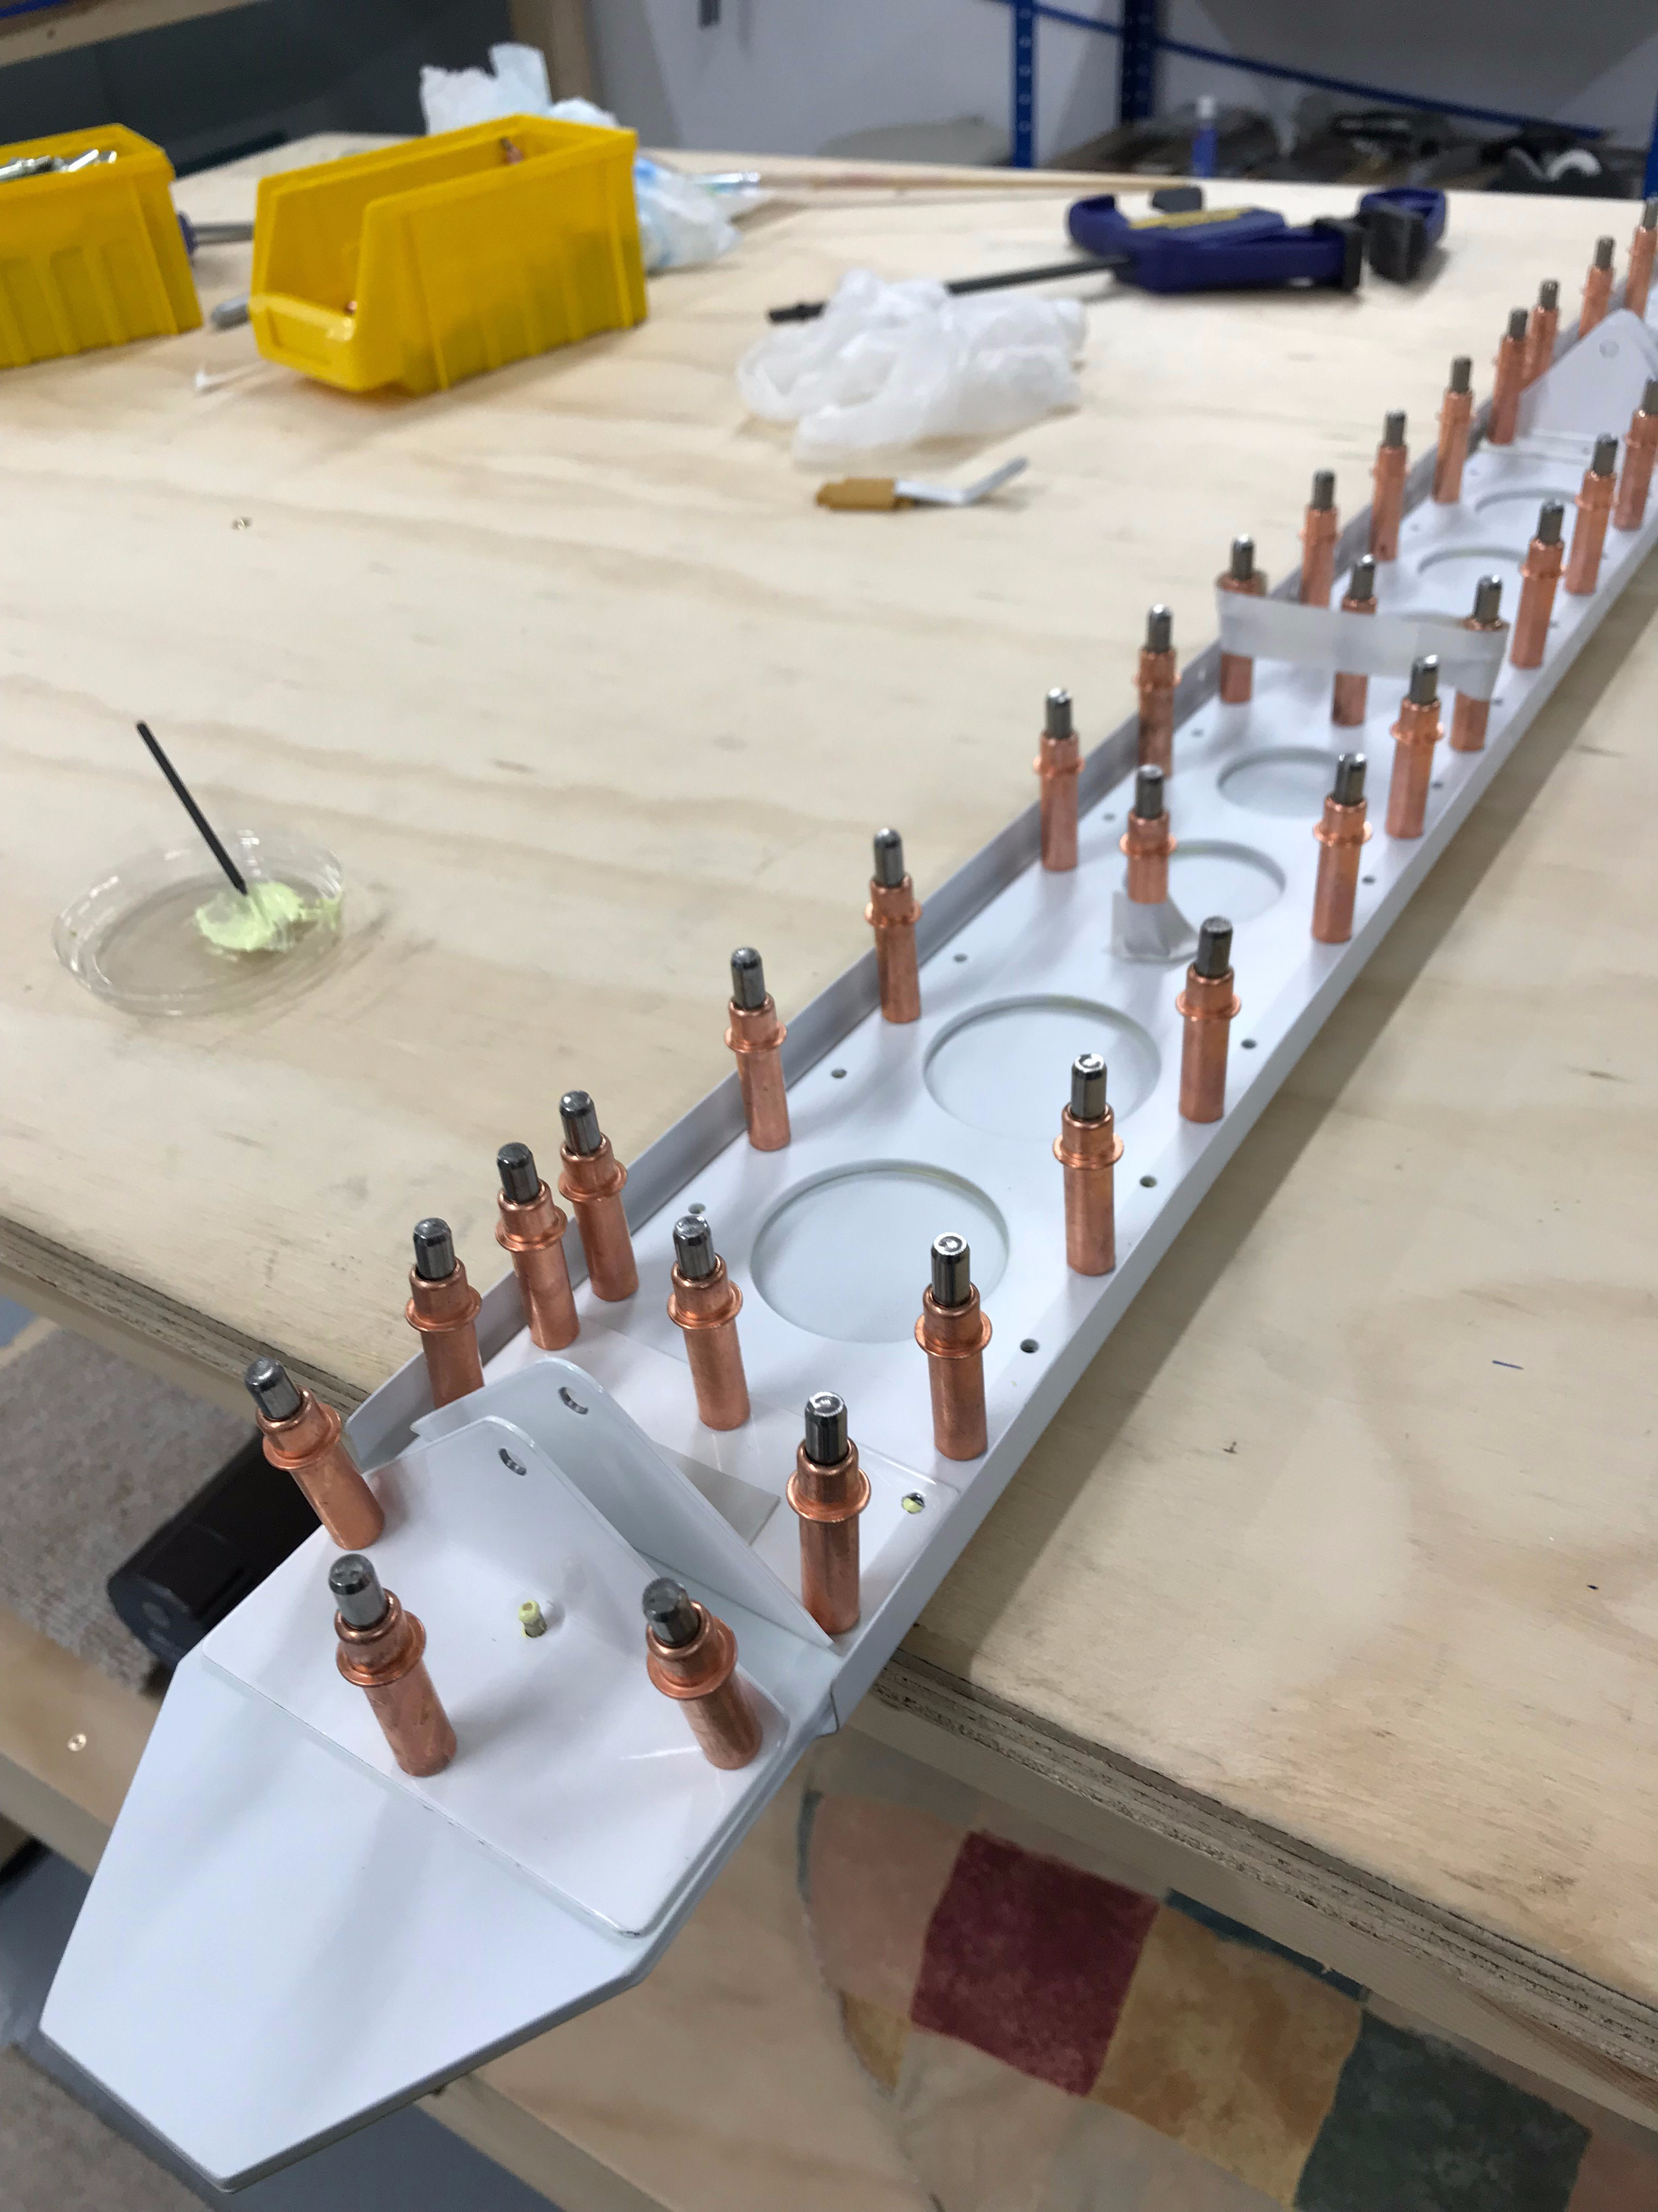
Applying JC5A to the joint surfaces … small stiff paintbrush seems to be the ideal tool.
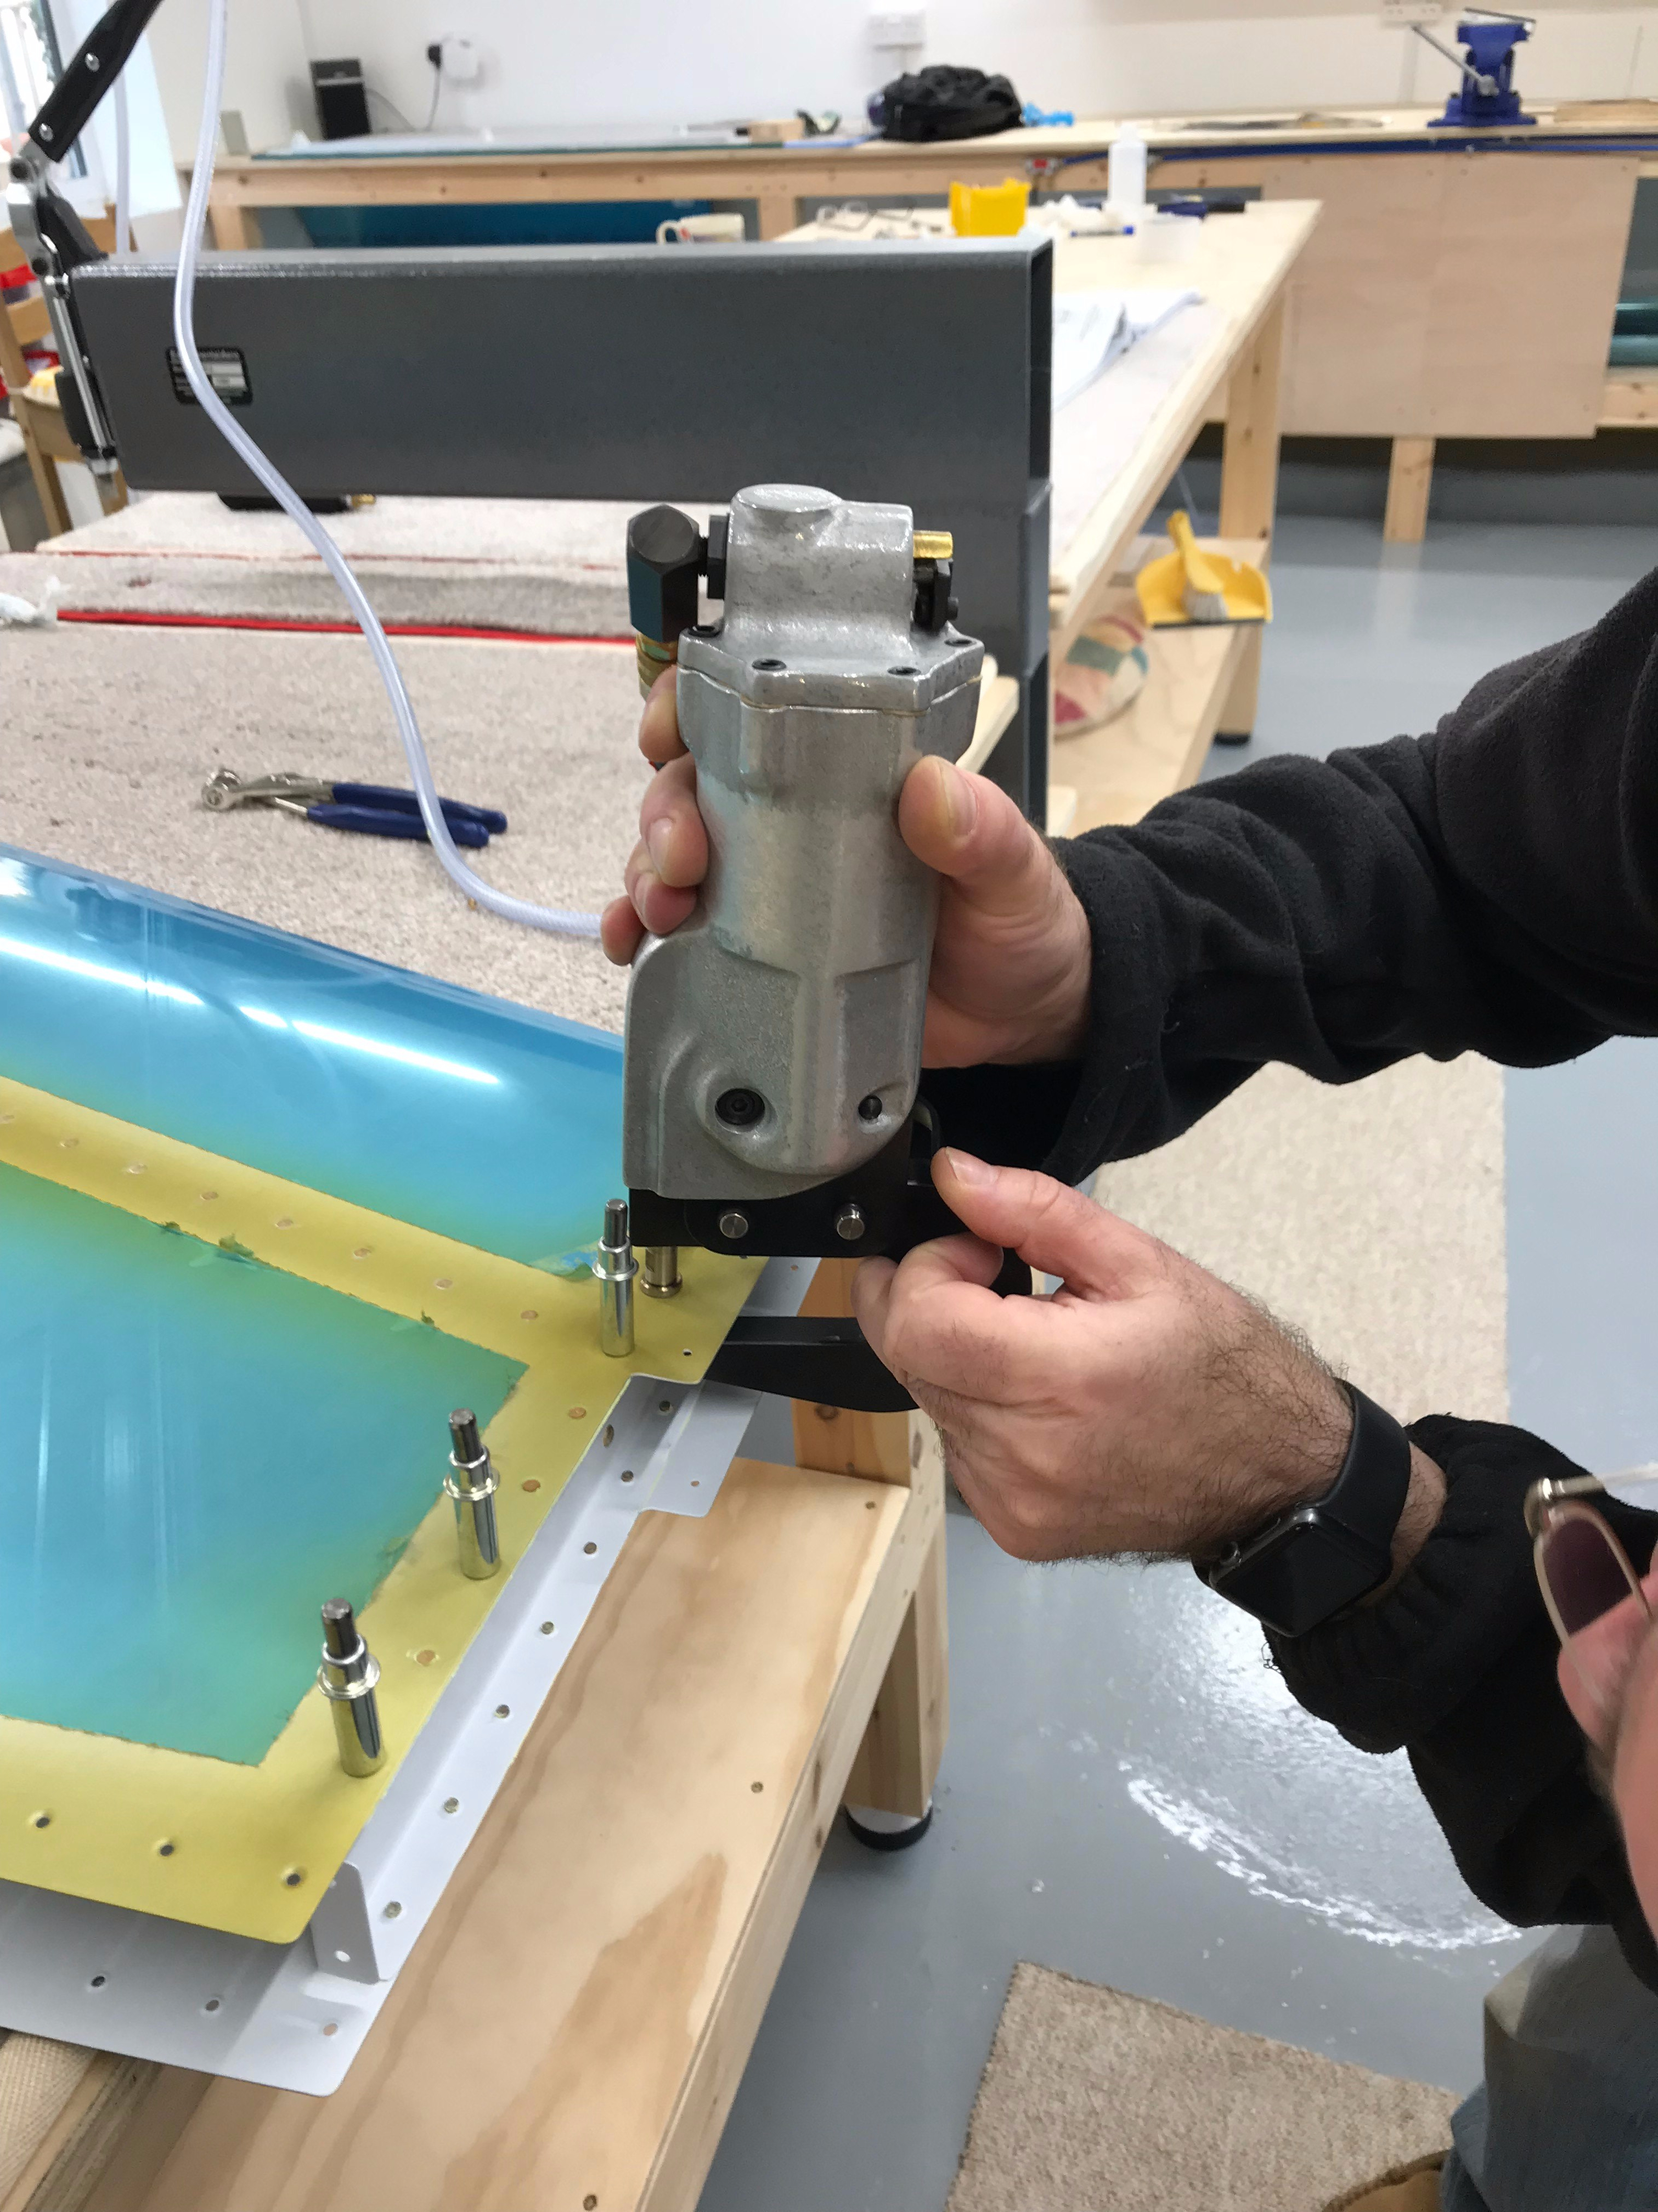
Pneumatic Squeezer for the accessible rivets.
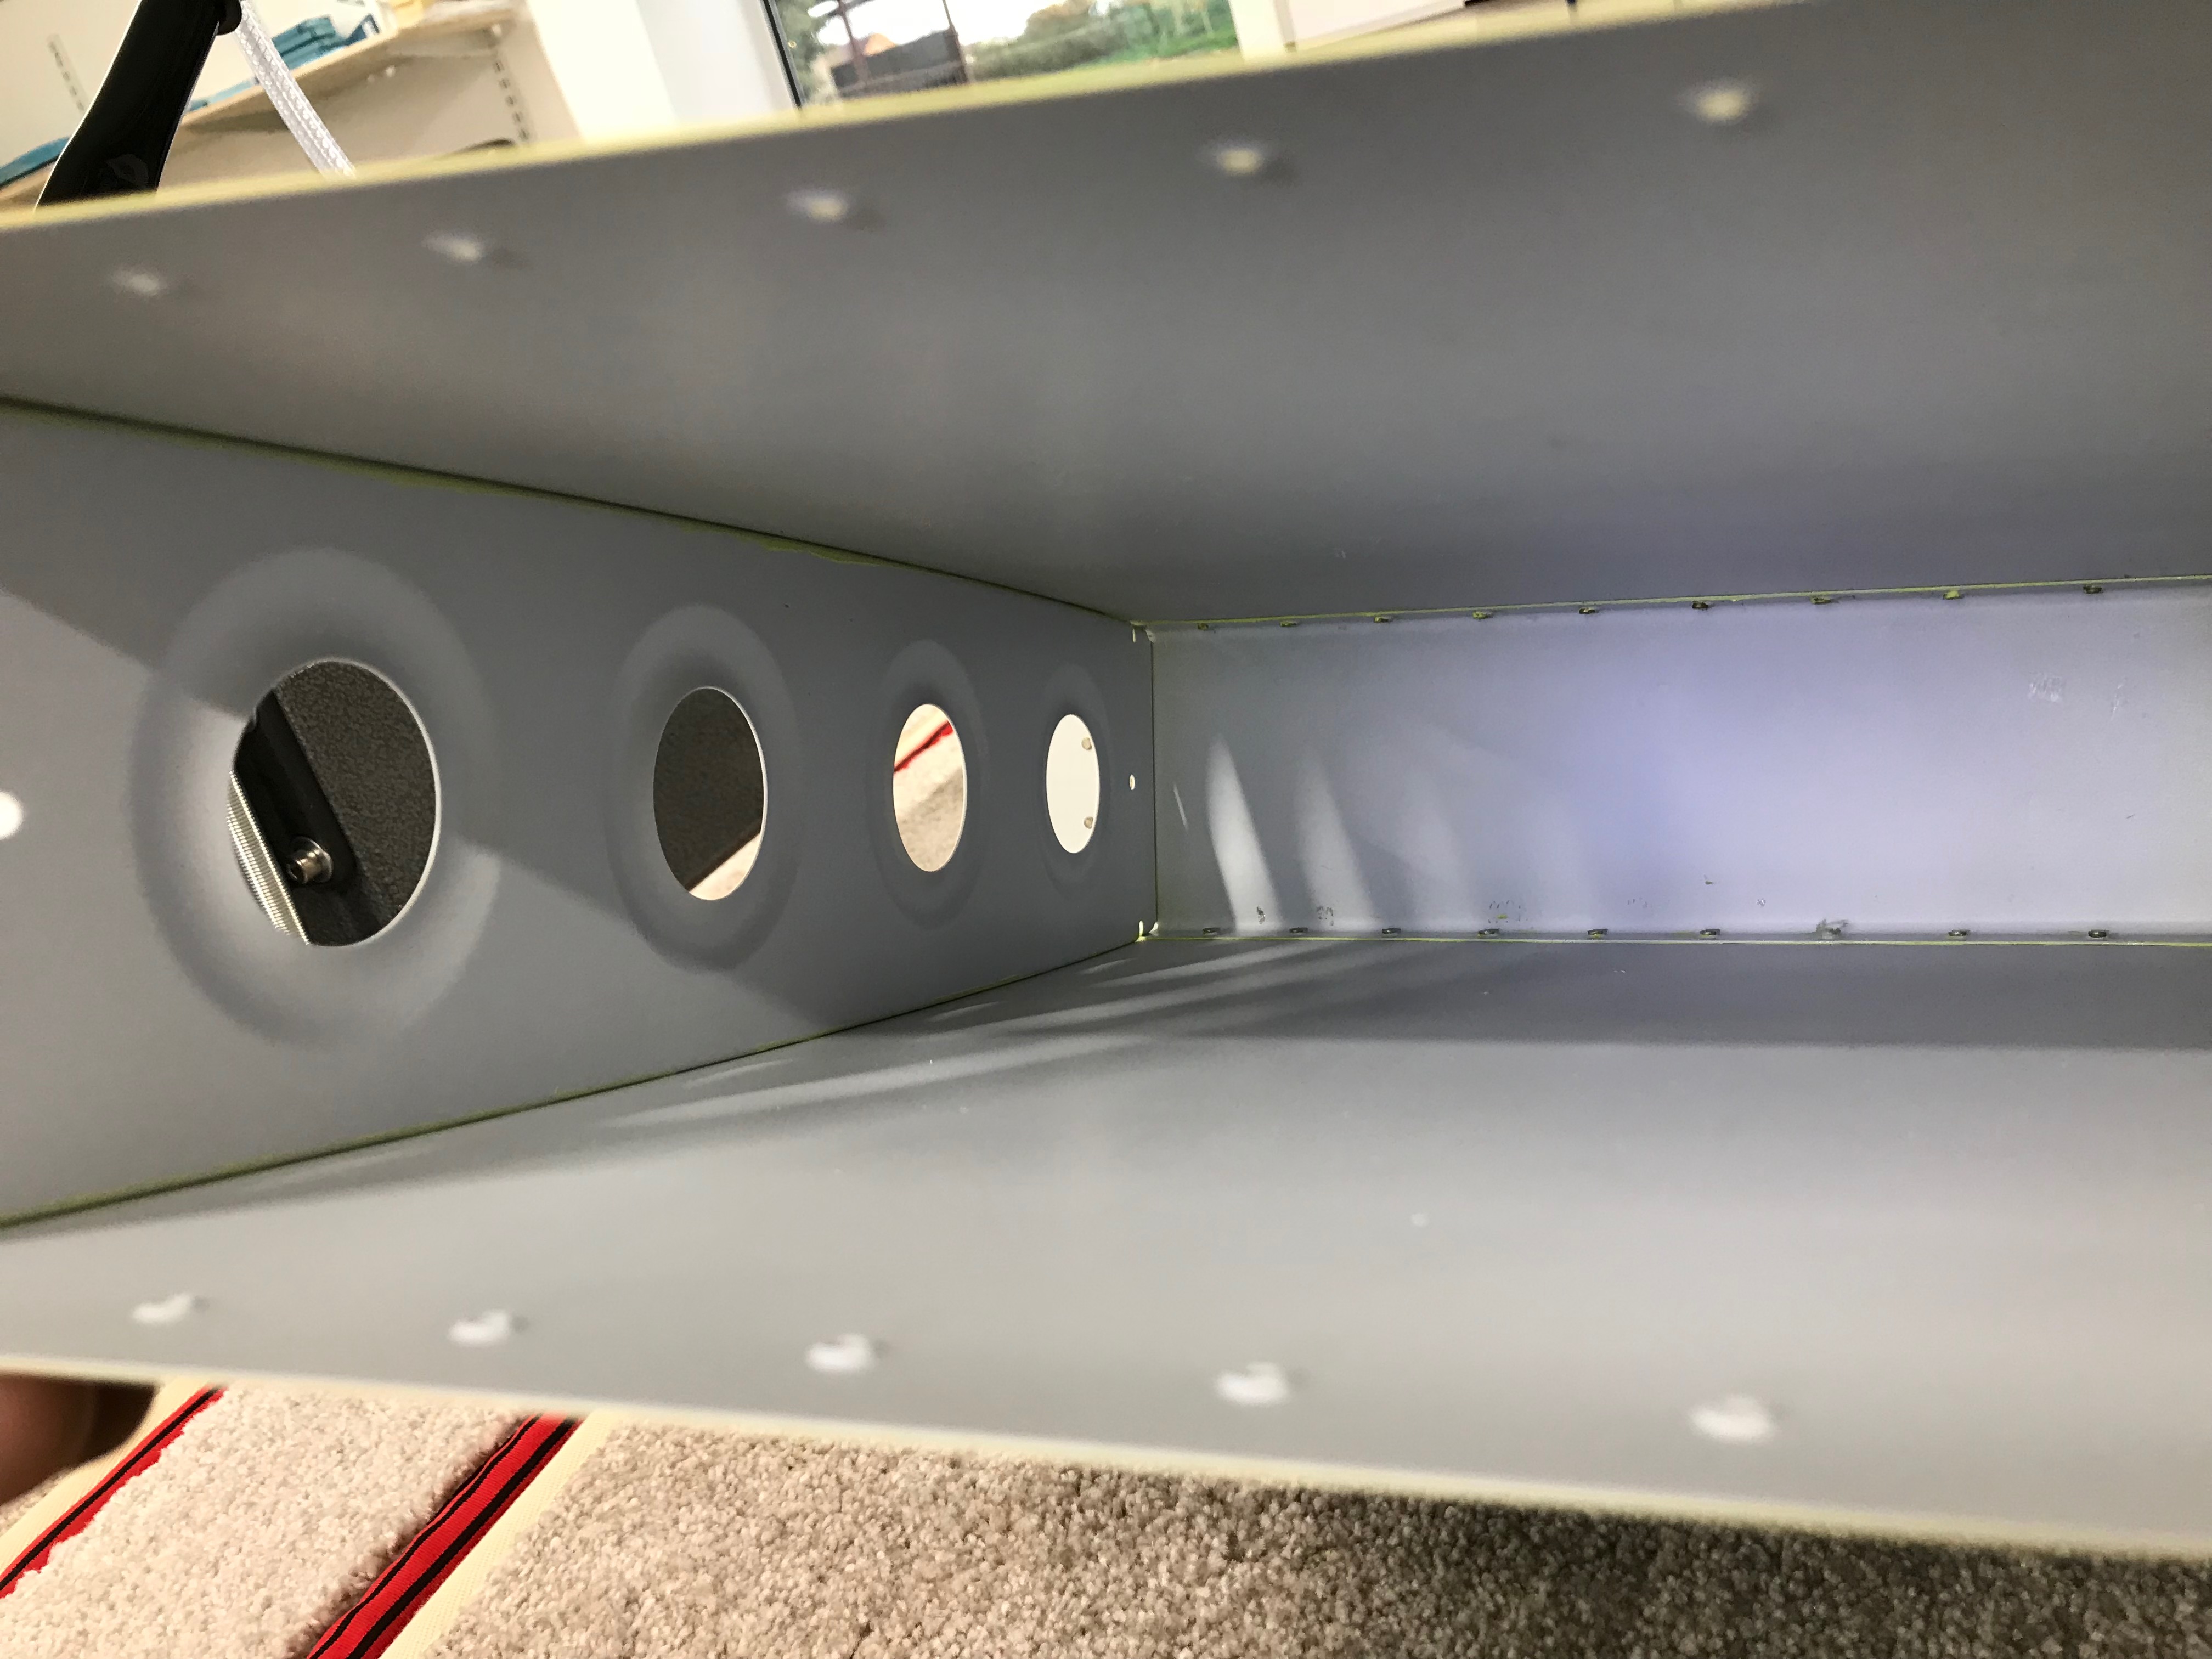
Rear Spar Fitting

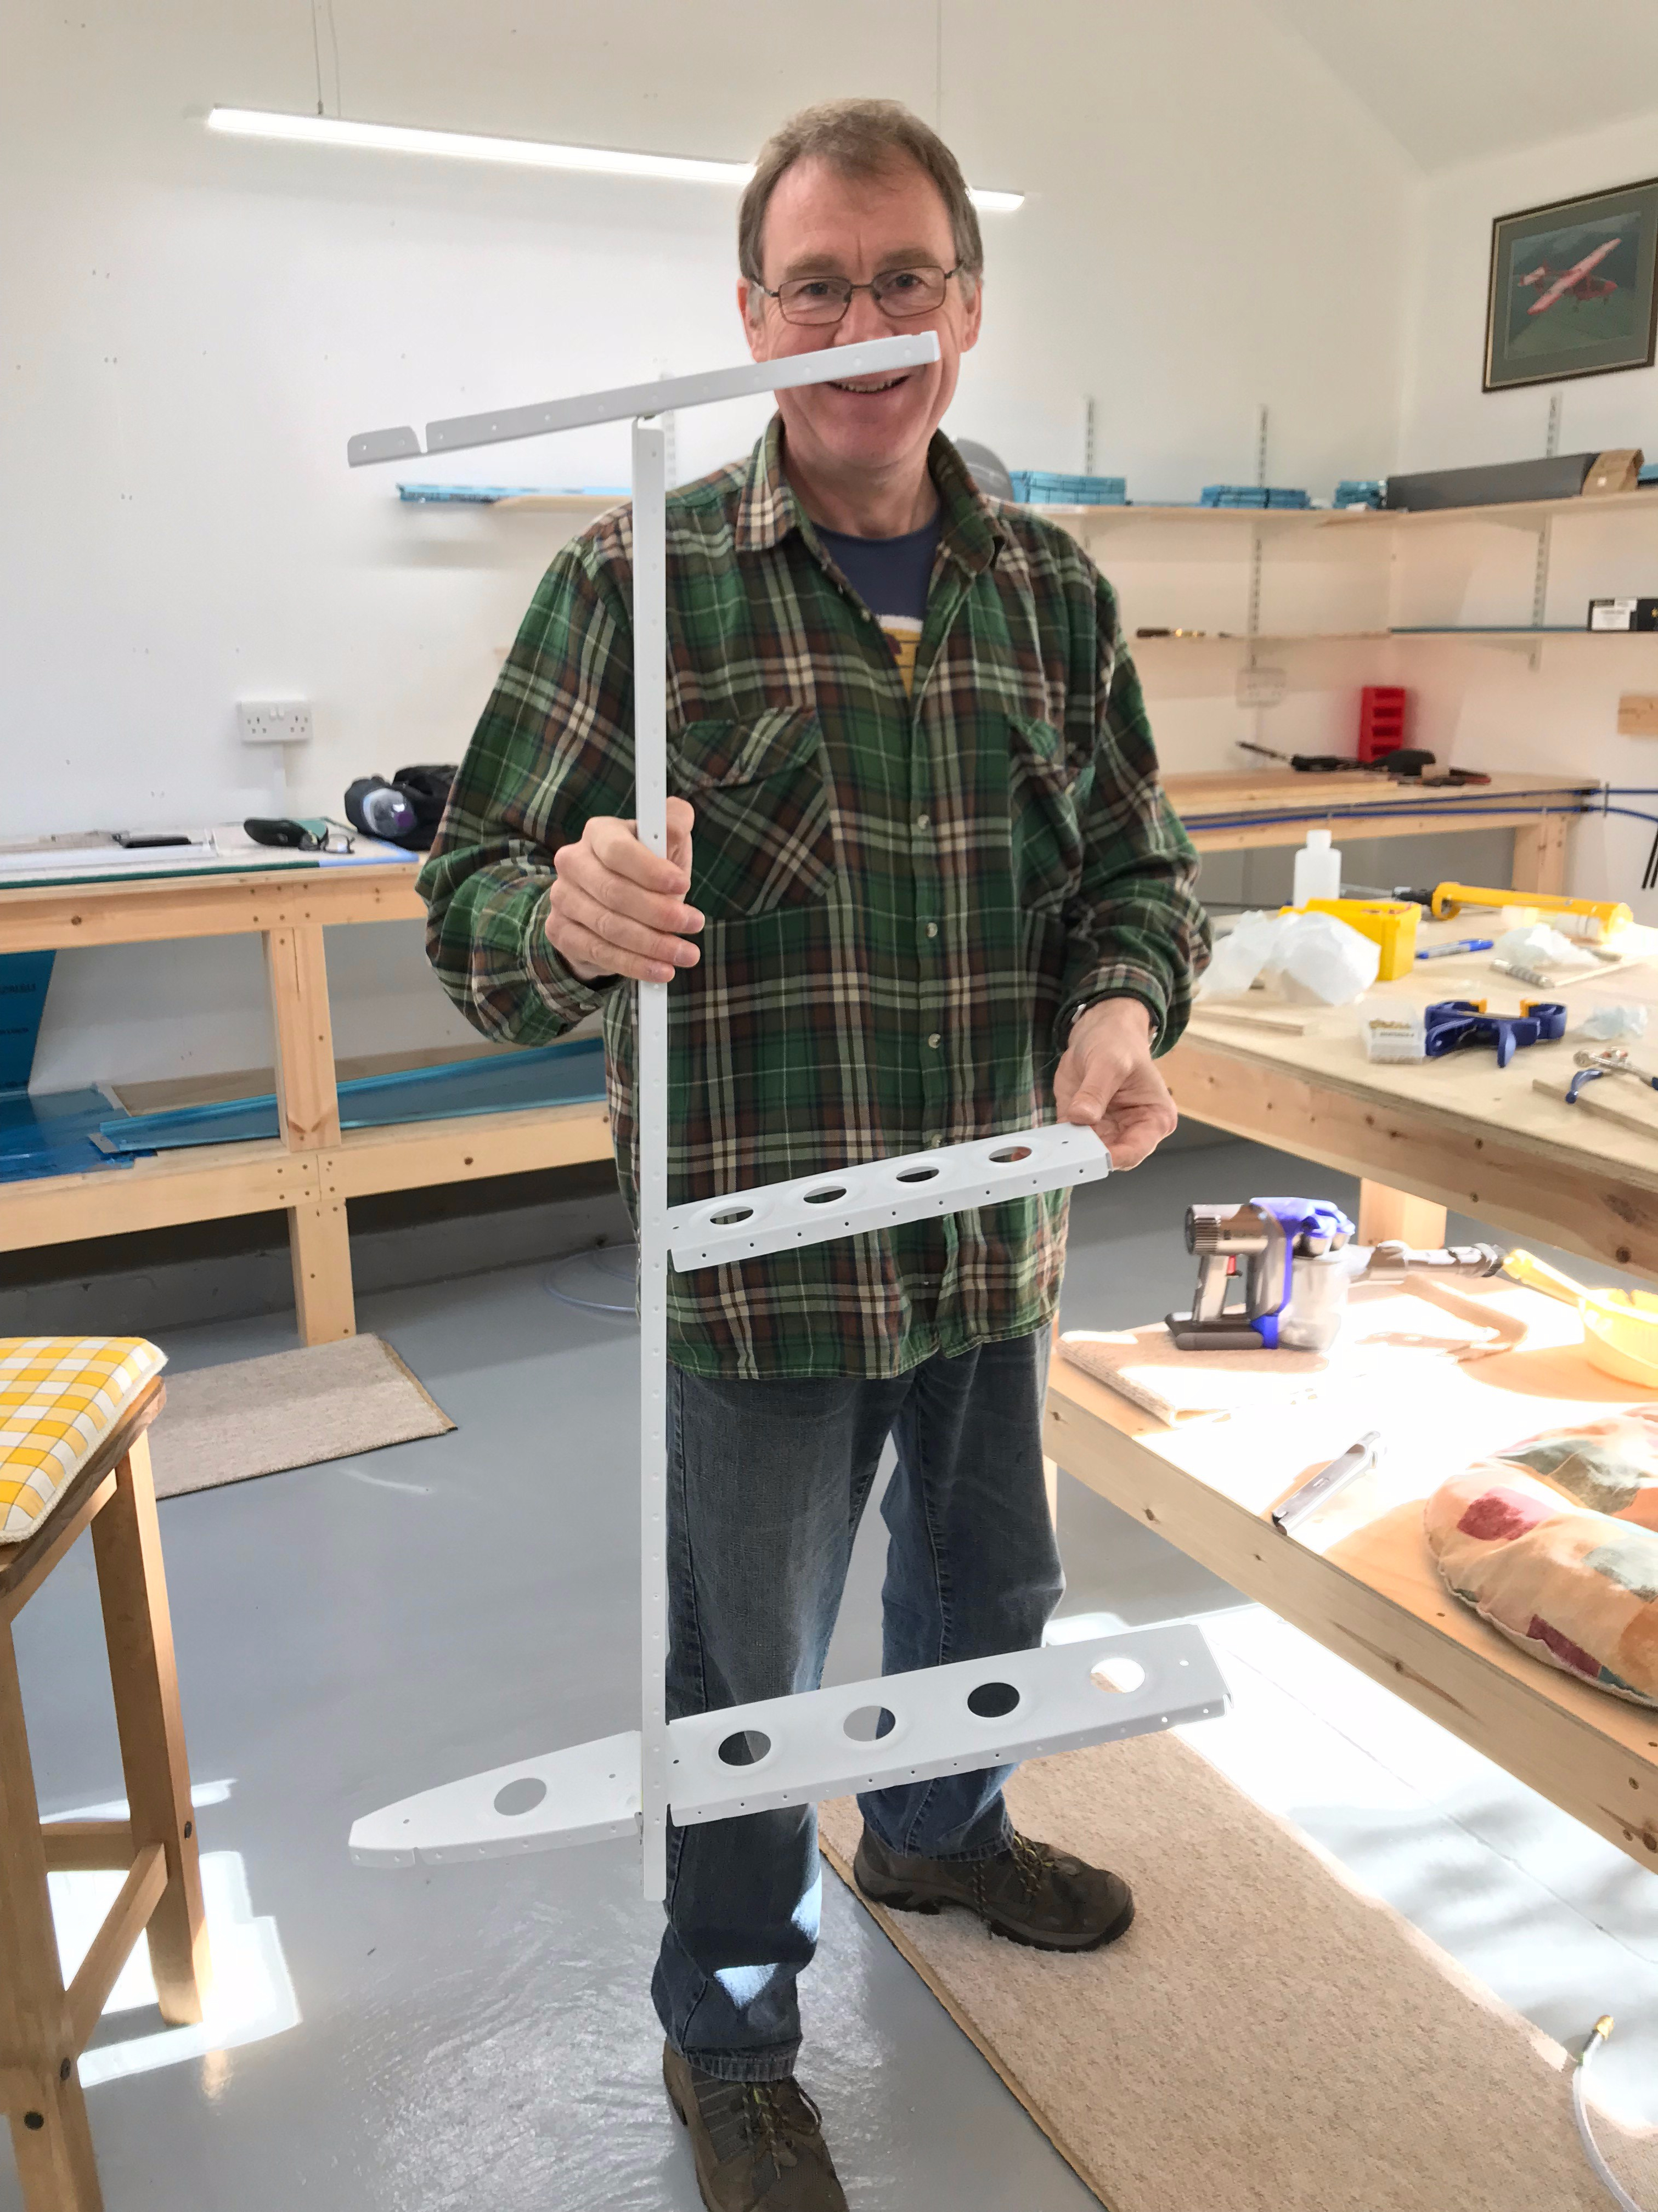
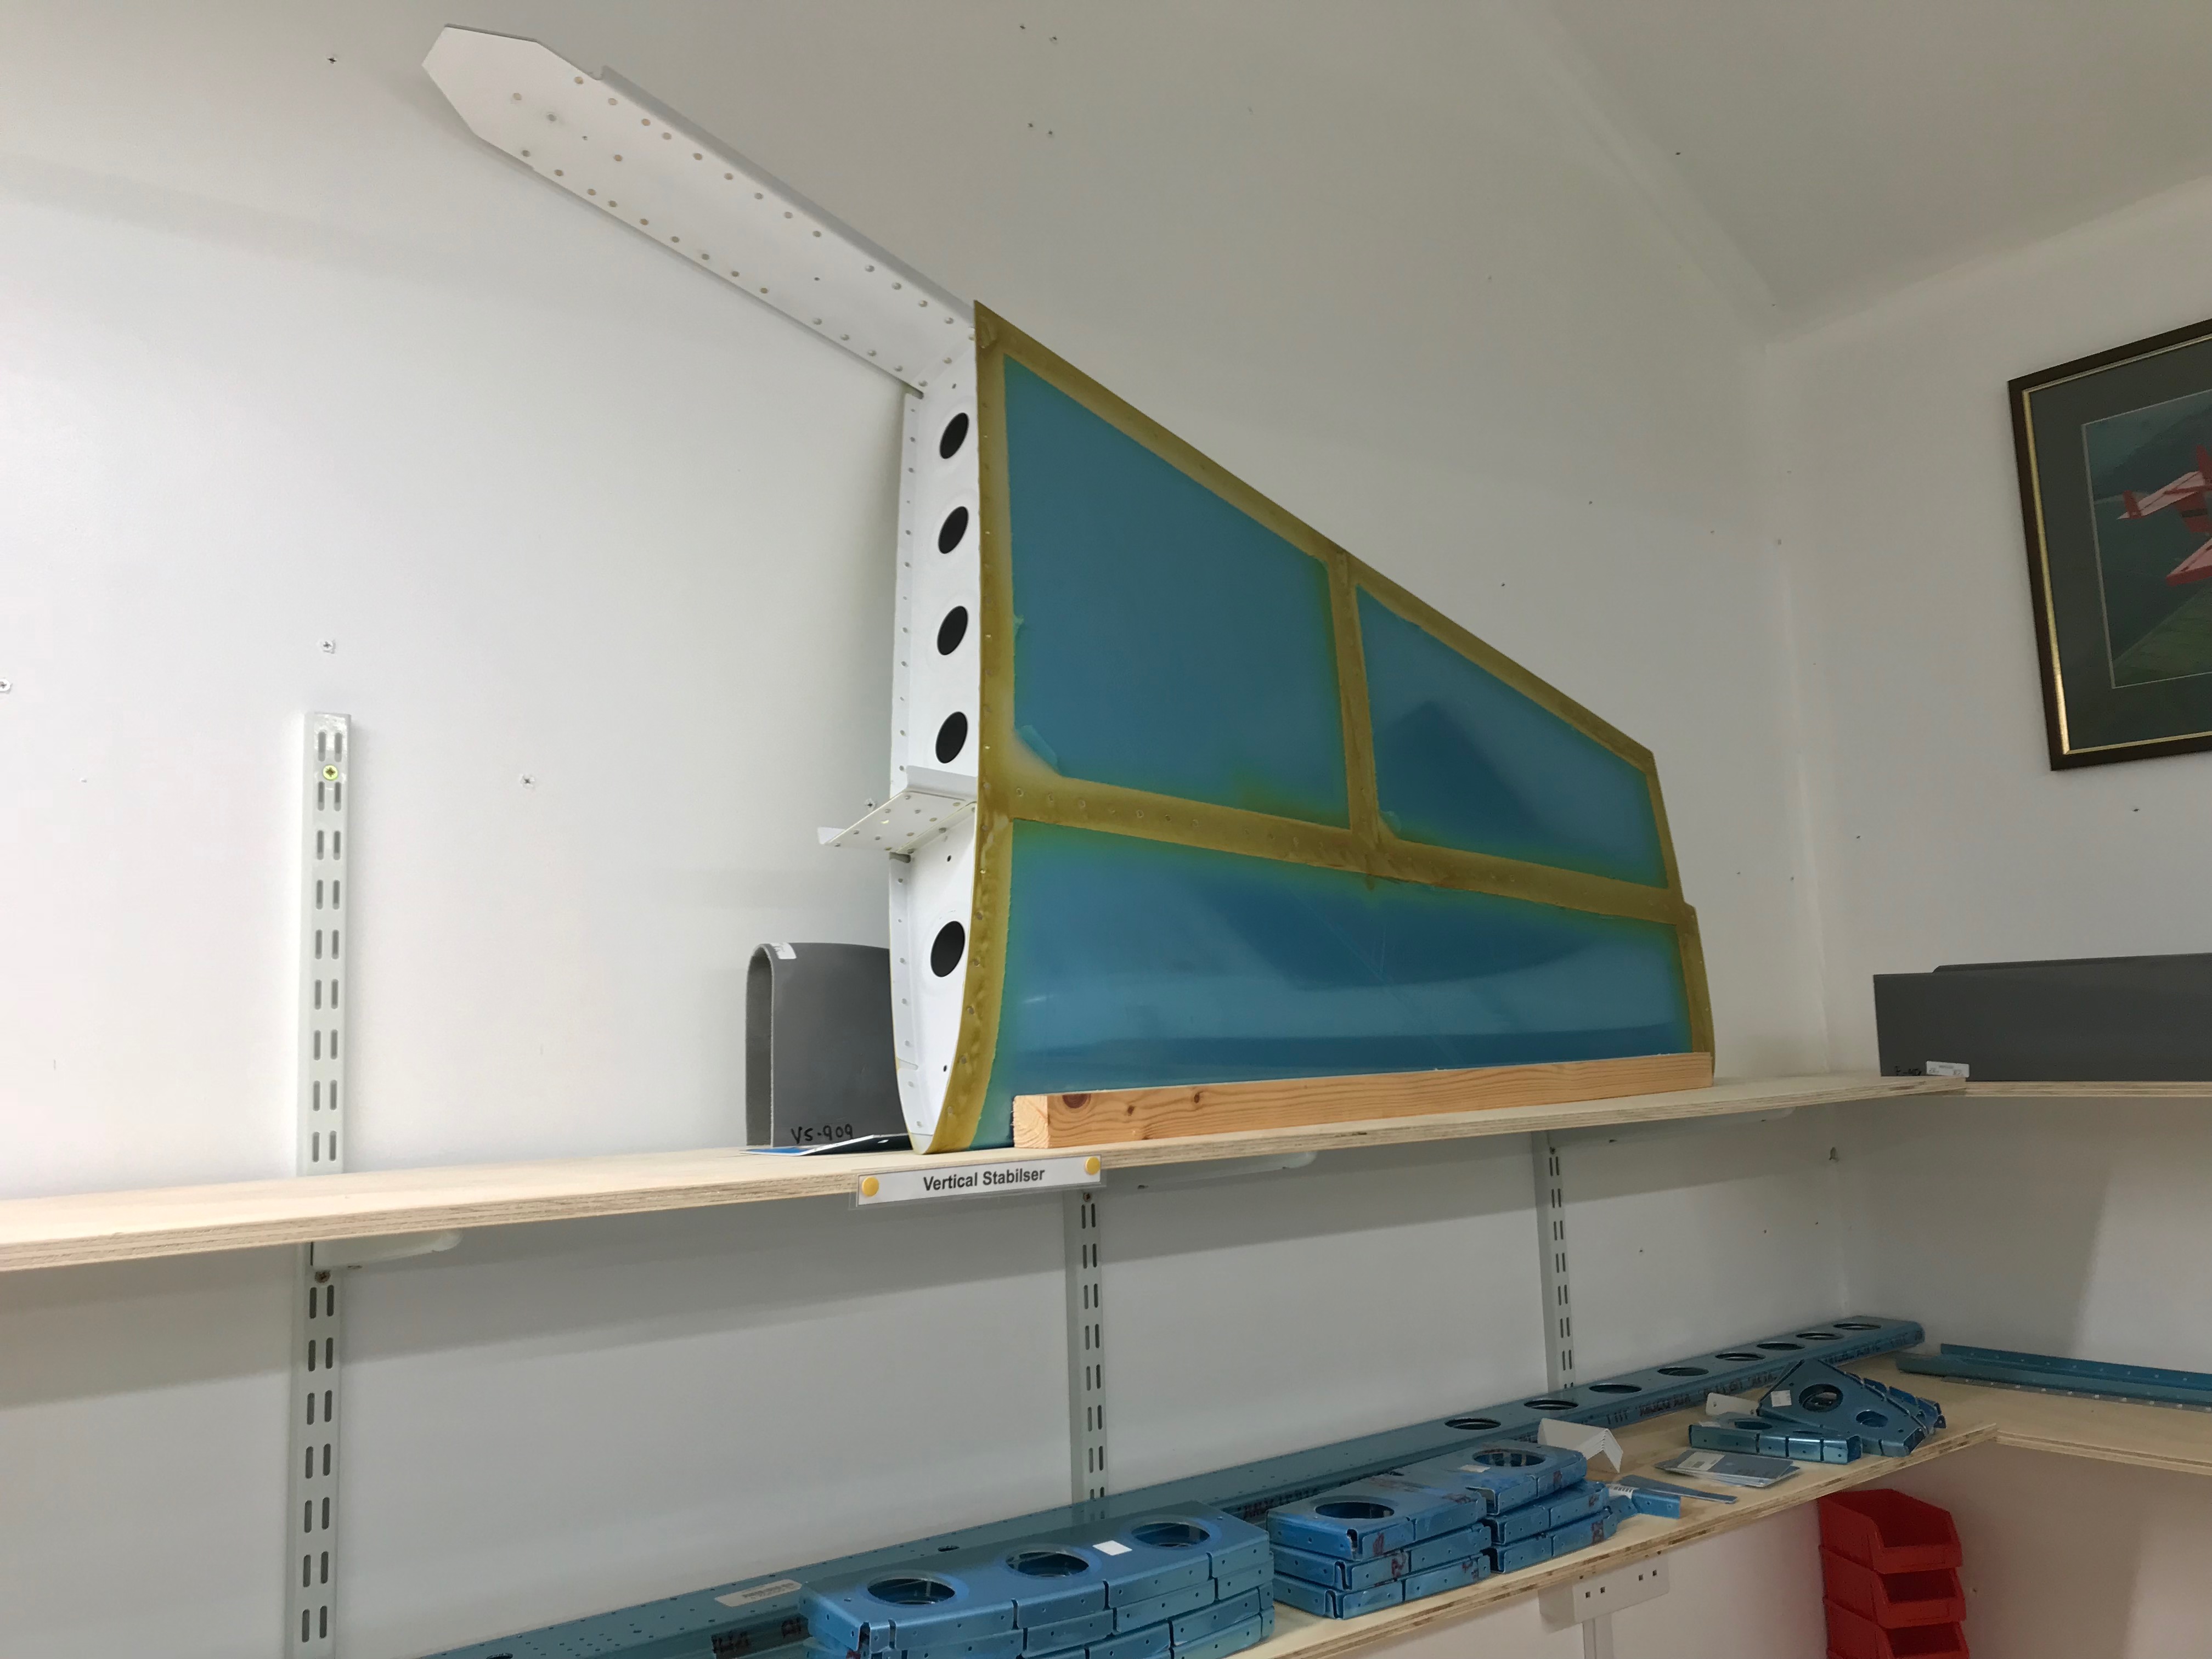
The finished Vertical Stabiliser … a milestone : )

Carefully placed on shelf for safe keeping … NB wood screwed to shelf to prevent slippage!


3 comments on Finished! Vertical Stabiliser 06-04 to 06-05
That workshop is way too big!
It’s great to have the space …. bit chilly though! Roll on Spring!
PS Needs underfloor heating like yours!