


Elevators 09-02
It feels quite good starting a new stage … horizontal stabiliser complete, now a clean slate and here we go on the elevators! A few parts laid out ready to start work, lots of little pieces…
Ribs
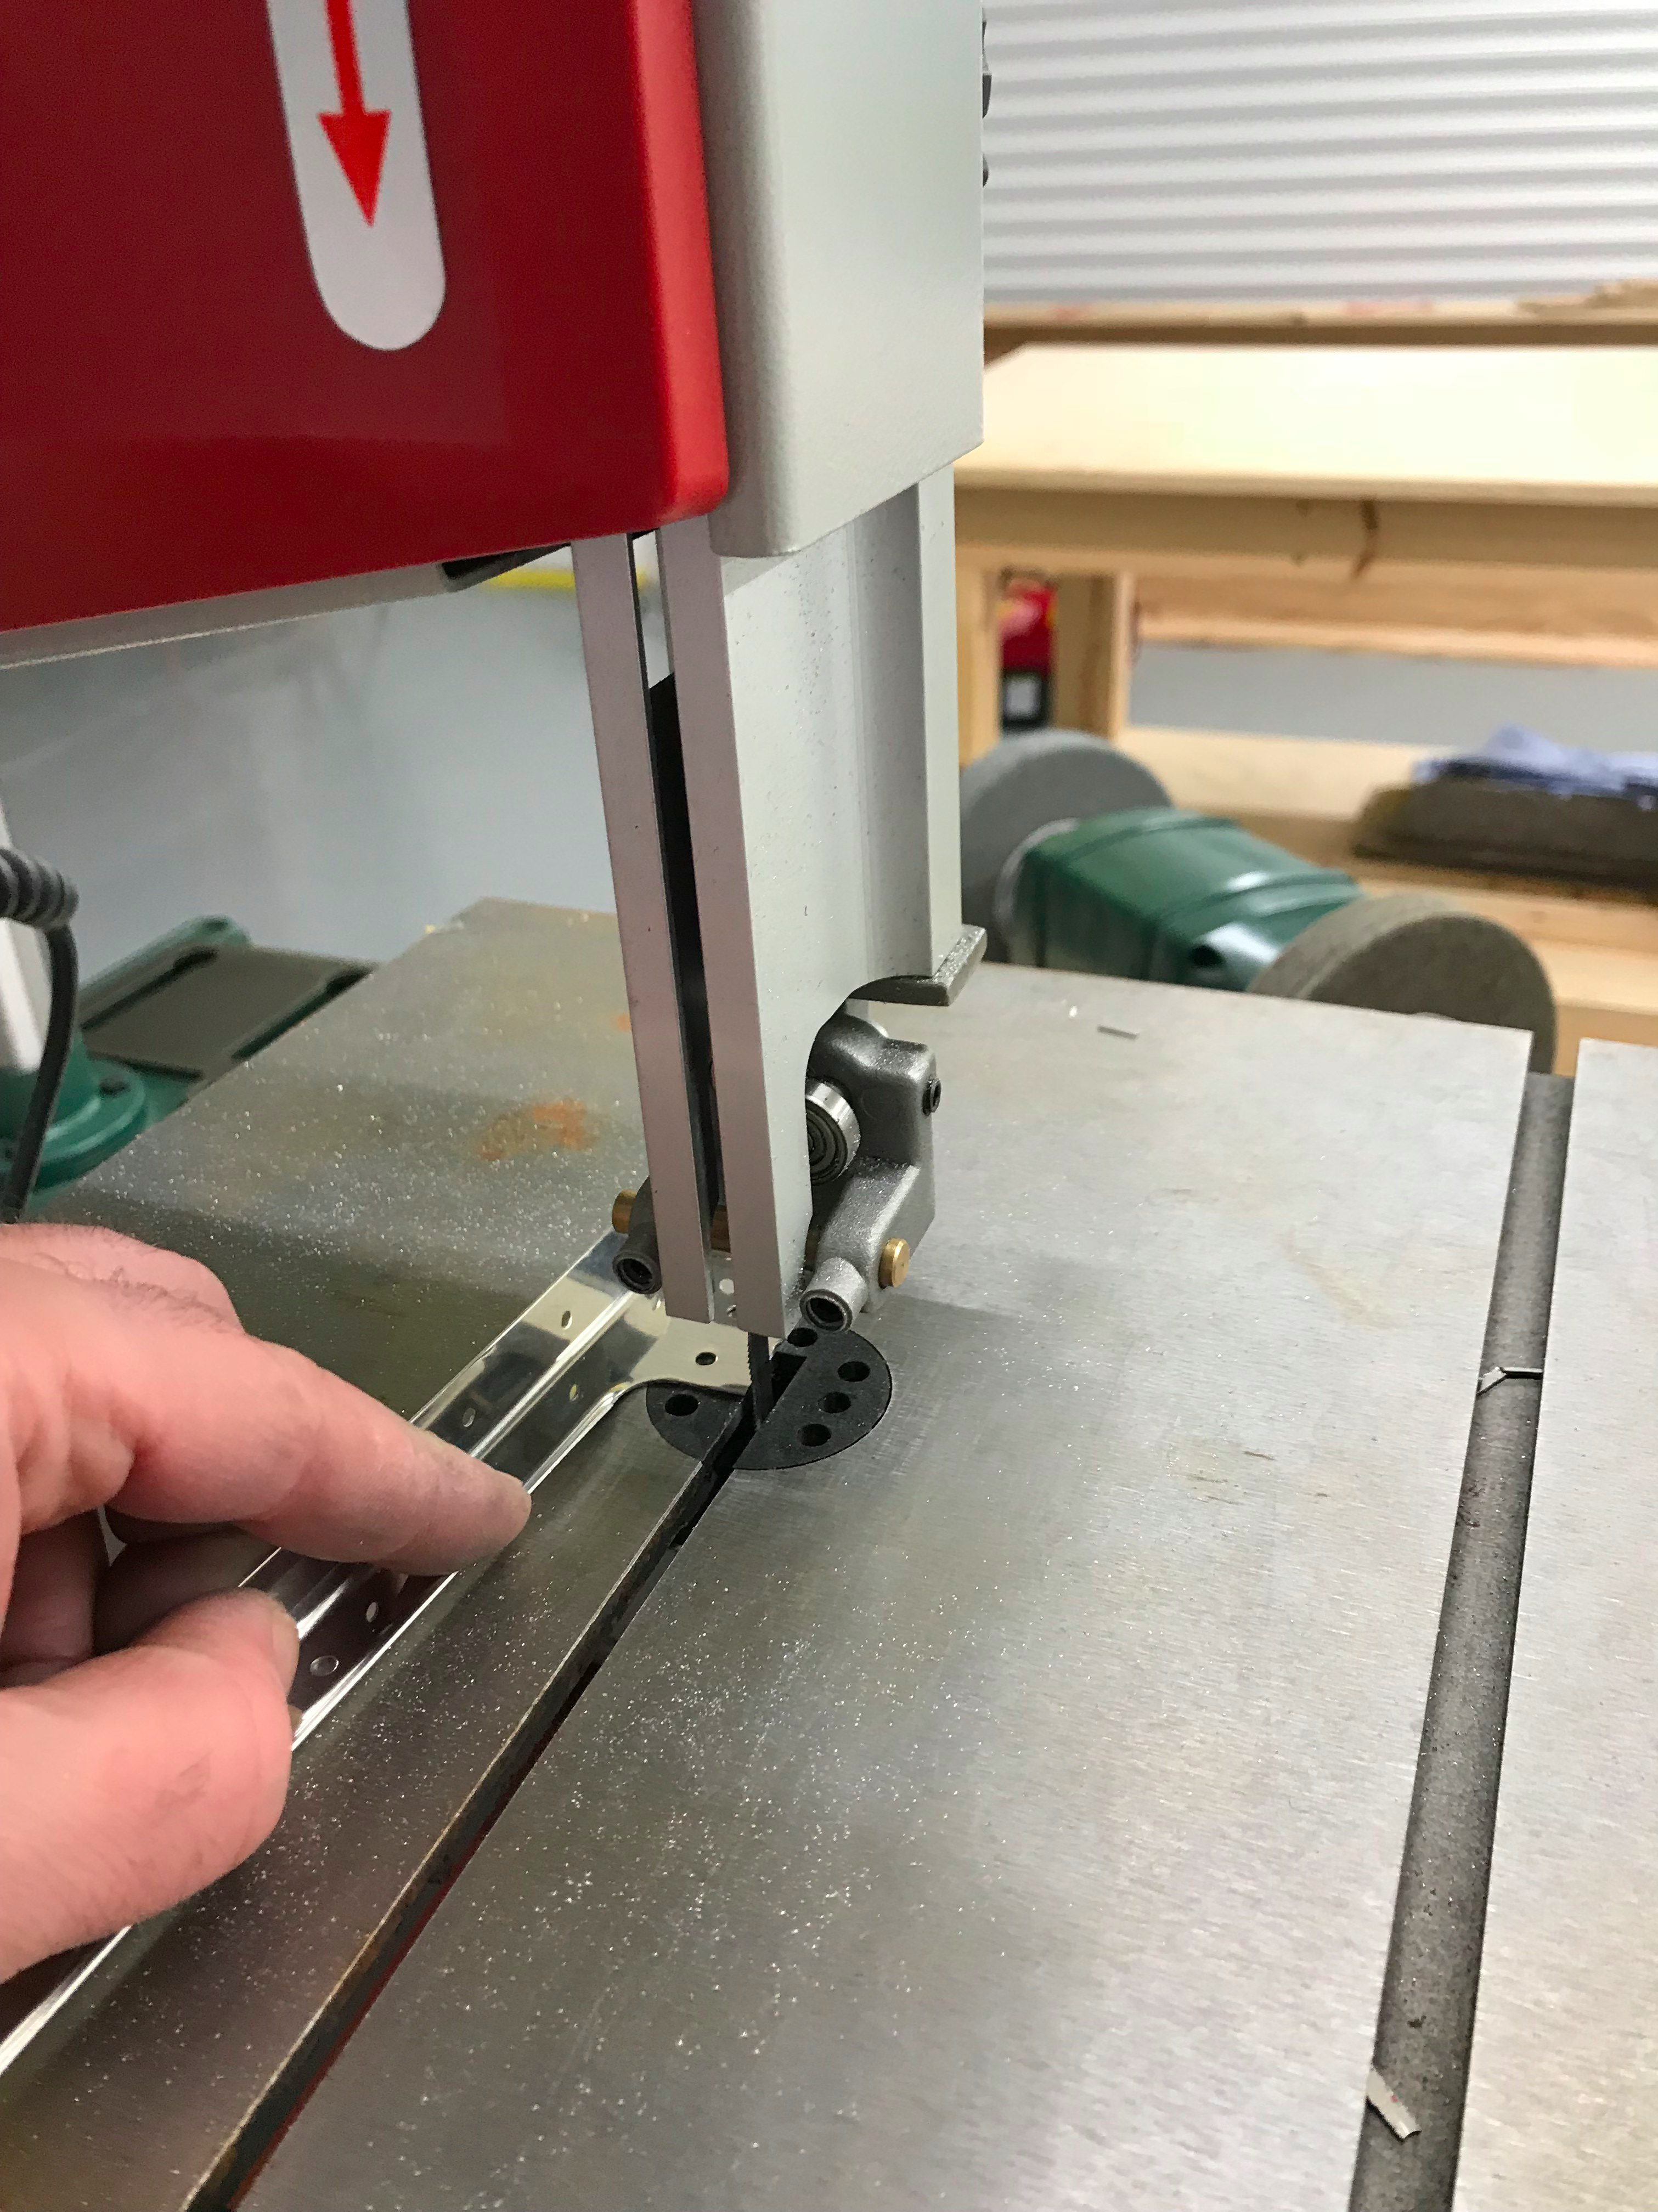
The first job is to separate the ribs into two halves. Easily and quickly done using the bandsaw.

Cleaned up the bandsaw cuts with a fine file.

The edges of the ribs then given a light run along the Medium Deburring Scotchbrite Wheel.

In hindsight I’ve found it better to use the 3M Light Deburring Wheel for components this size. The Medium is best used for larger components made from thicker aluminium.
28 June 2023

On the other side of my grinder I fitted a 3M Light Deburring Wheel from Cleaveland, and I’ve found this is quite good for deburring the various nooks & crannies. It removes material very gradually, hence you can linger and manoeuvre the piece without worrying about removing too much aluminium. But you have to think carefully about positioning, so that as you orientate the piece it doesn’t “catch a crab!” and get flicked away by the spinning wheel. I learnt the hard way! But it is saving lots of deburring time.
Tip Ribs

Tip ribs are clecoed together and the skins fitted ready for final drilling. But first the ribs have to be straightened with fluting to ensure the holes in the skins line up correctly. I found it easiest to cleco either end as in the picture to check, then remove a cleco as required to adjust the fluting and hence the line of holes. Eventually you hit a sweet spot and it all lines up.
Final Drilling
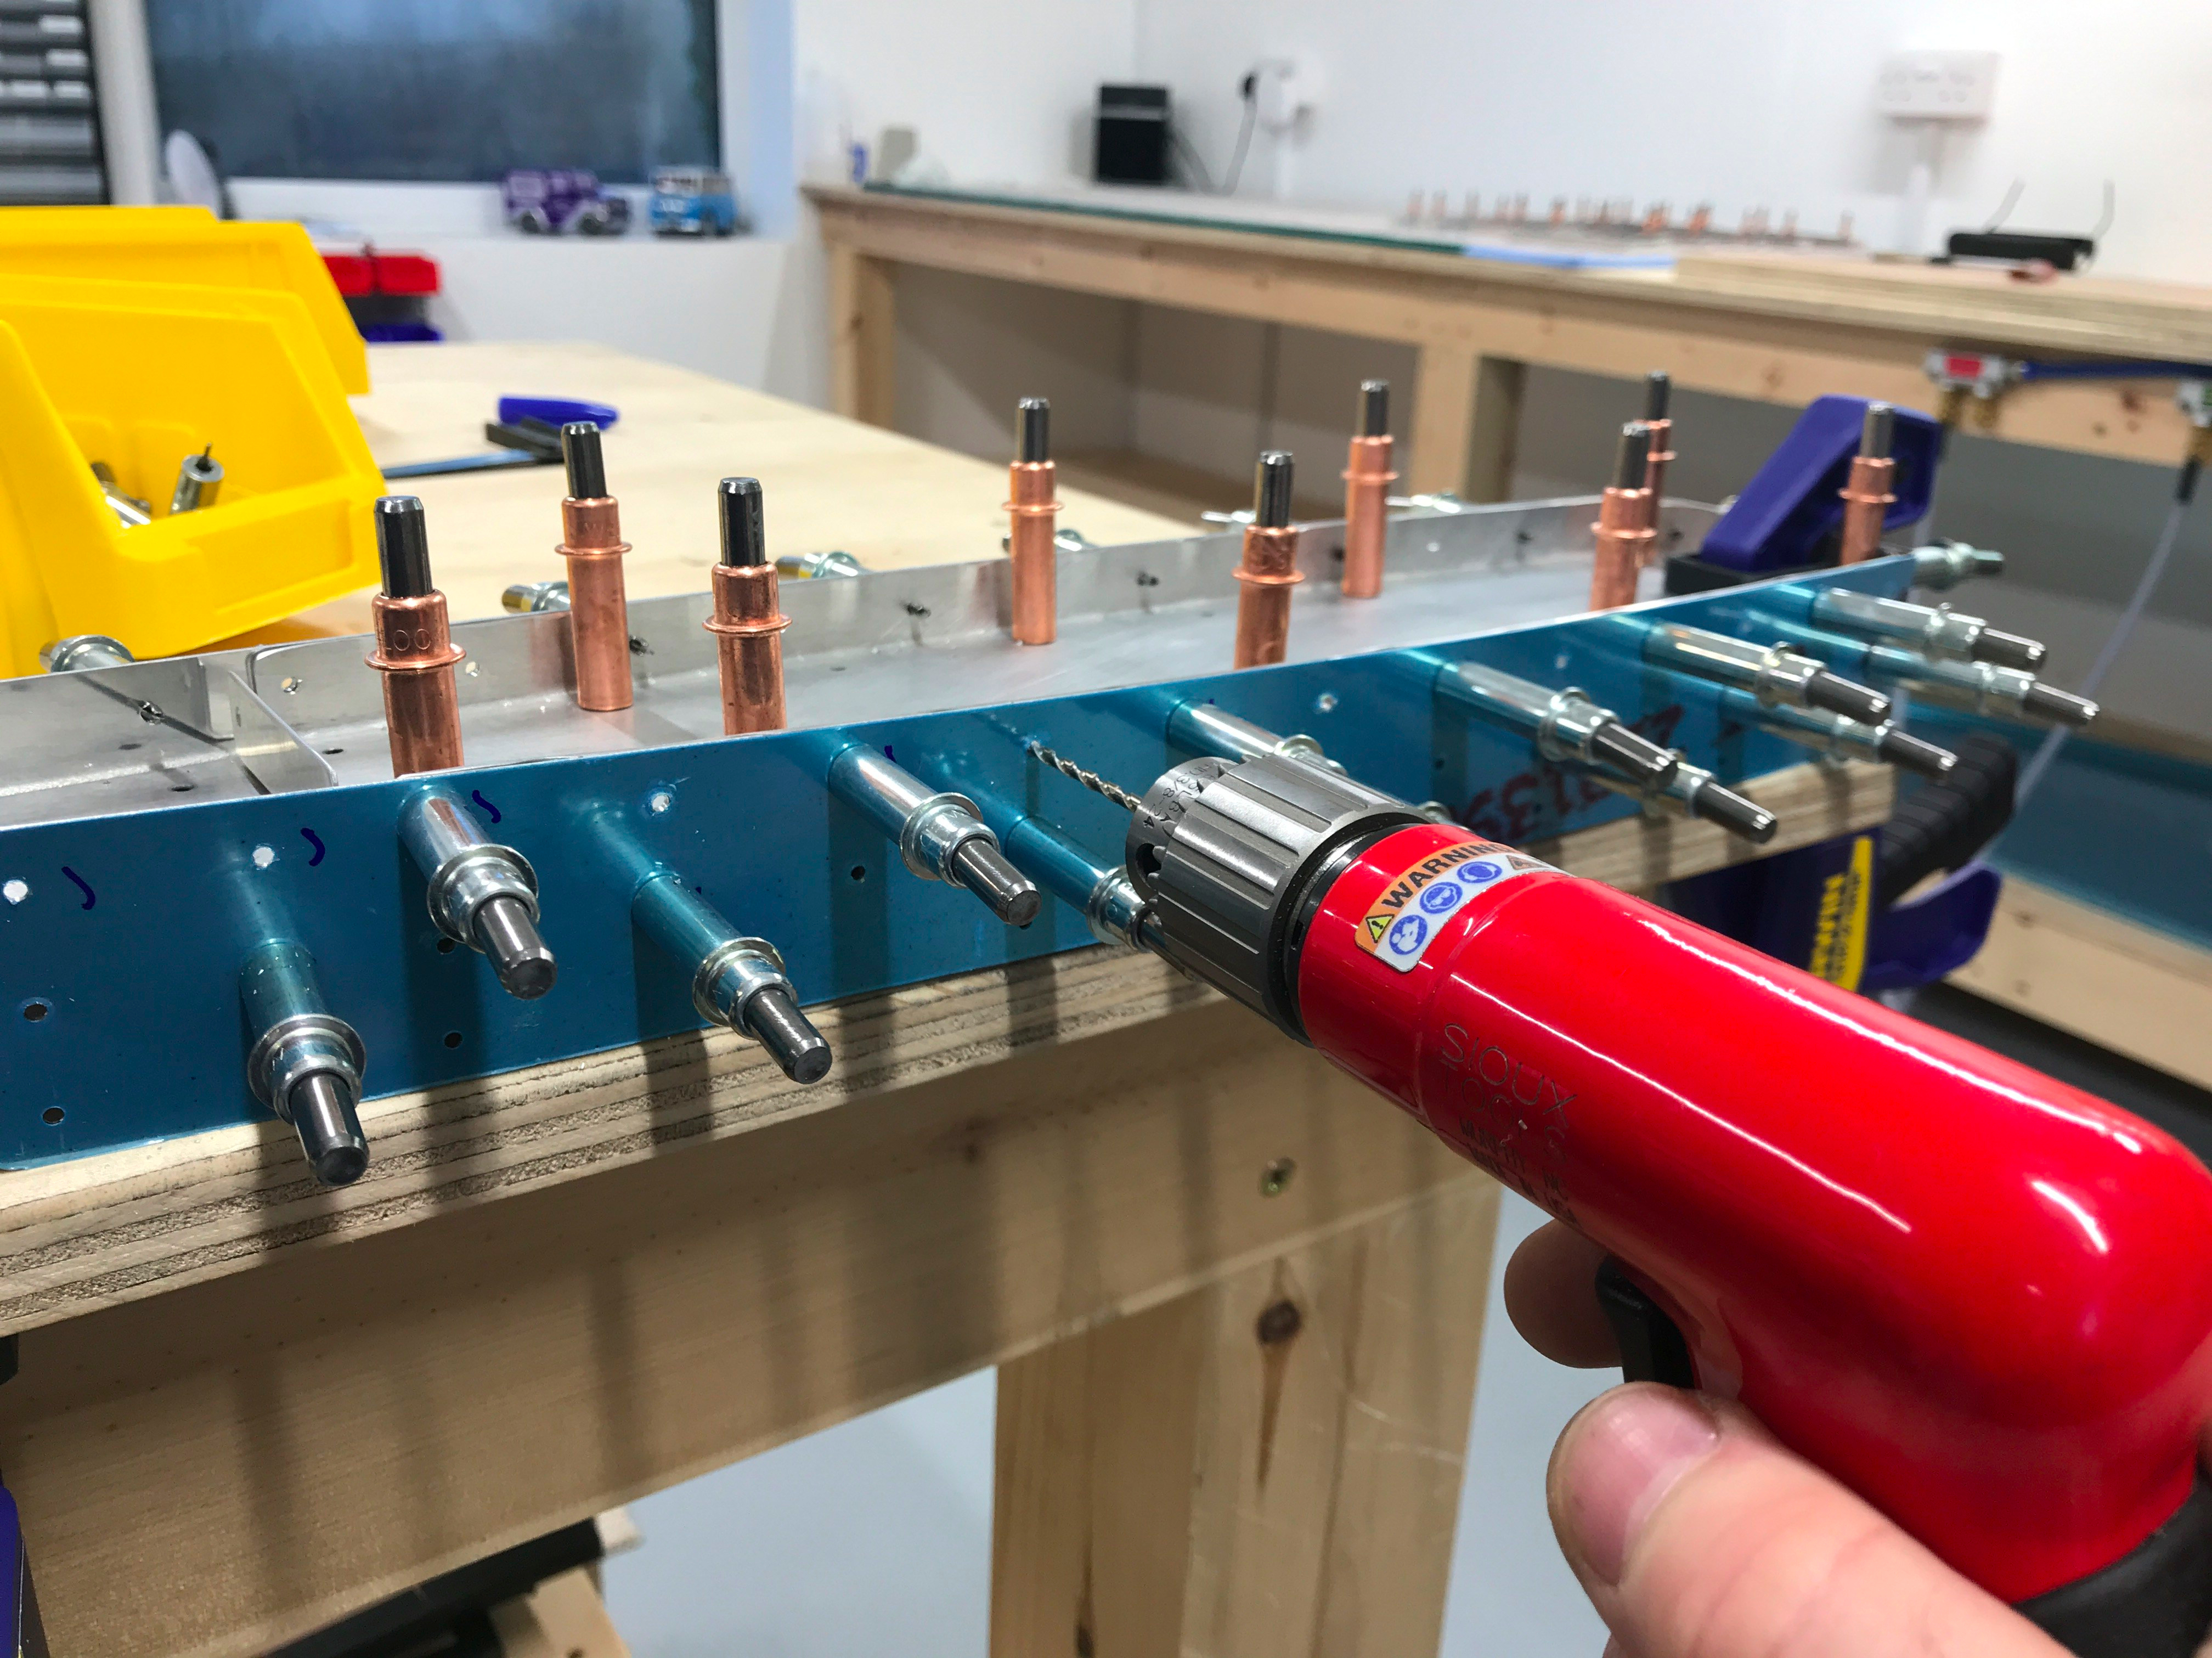
Final drilling the required holes in the tip rib assemblies. You’d think it would be easy to remember which holes you’ve done, but I rapidly found out it’s easier to mark holes once done, then as you remove/insert clecoes you can keep track of things.
Light Scotchbrite Wheel

Using the Light Scotchbrite Wheel for the awkard bits on the ribs, quicker than sandpaper!
So far so good, ribs and tip assemblies prepared and deburred.


One comment on Elevators 09-02
Hi Steve, really impressed with your Blog. I’ve learnt a lot from it please keep the tips coming! The workshop looks great too, wish I had that much space. Atb Mike