
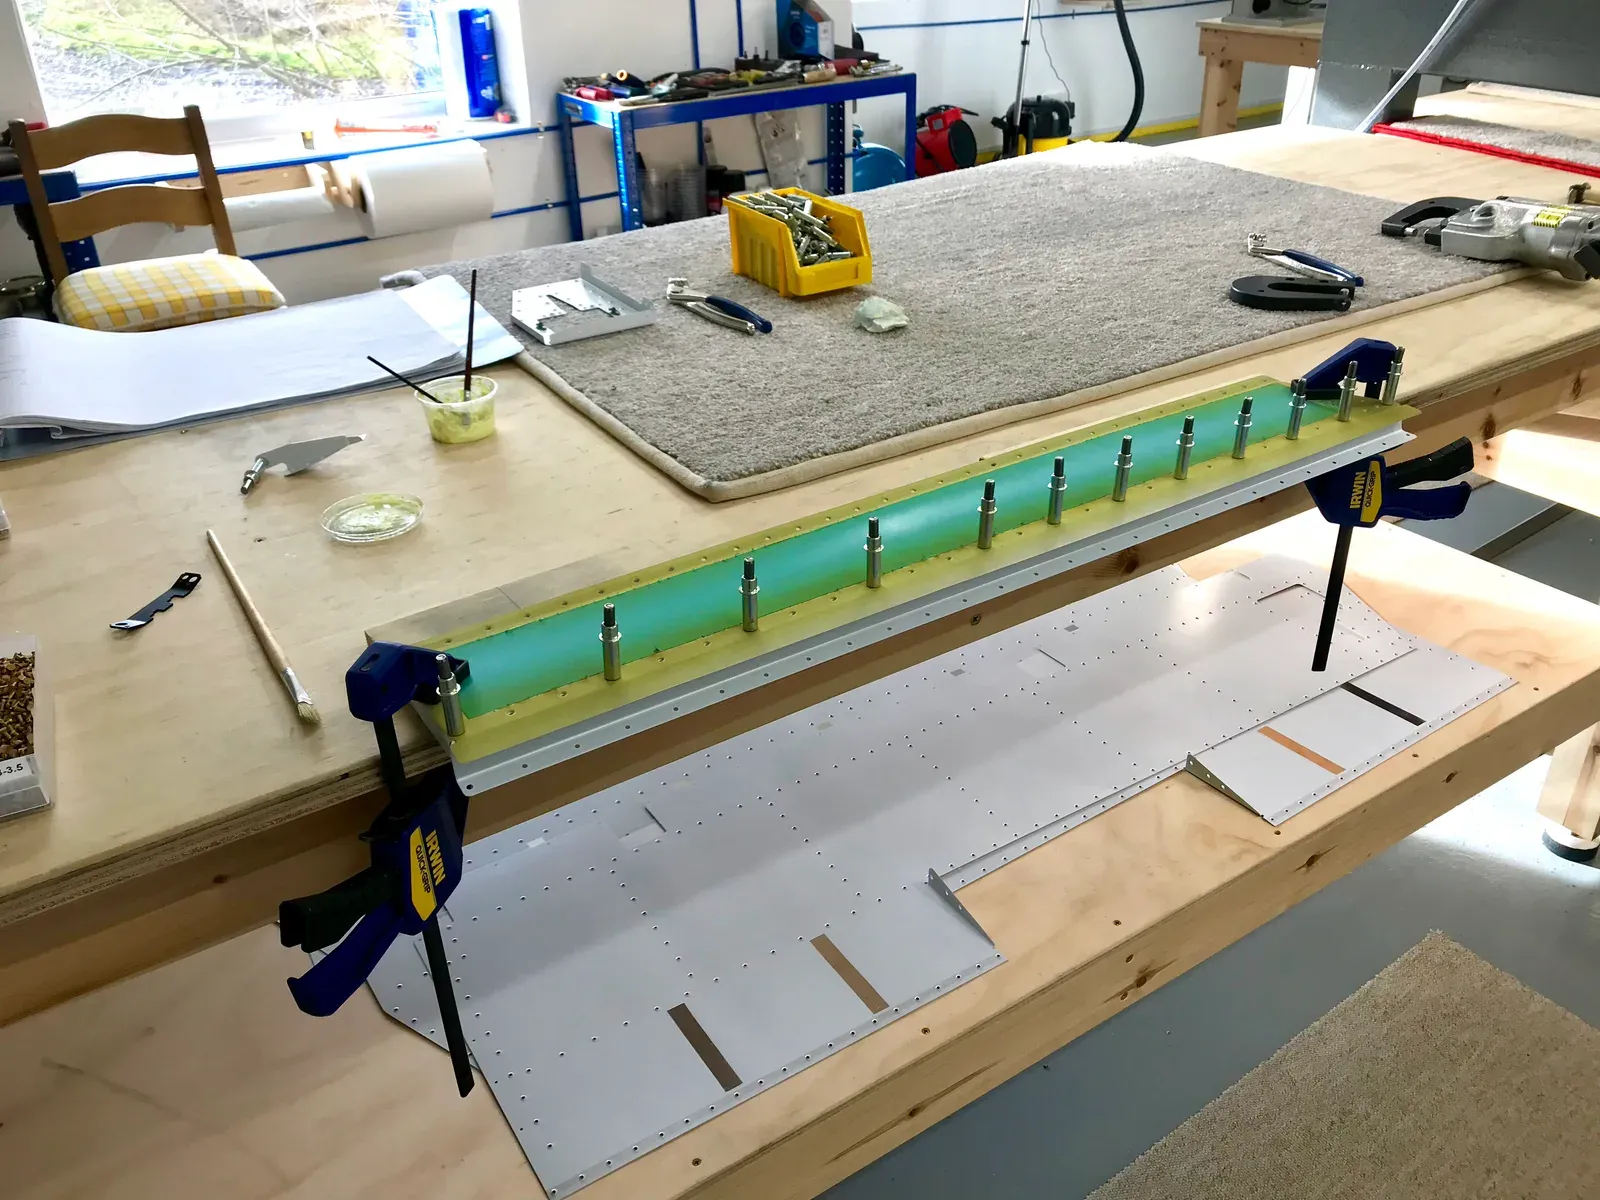
After the marathon prime comes the fun part - riveting it all together. Tim once again helping out with this, much quicker with an extra pair of eyes to make sure the riveting tool is orientated correctly - must avoid those boots!
Left Hand Horn
I riveted the left hand inboard rib to the front spar prior to final drilling the elevator horn. As mentioned previously, planned it this way to avoid possible misalignment after the rib is riveted. Since Vans’ manual asks to do this with skins clecoed in place, I carefully clecoed them on to make sure the holes were final drilled with everything positioned correctly. Can’t do the replacement right hand horn yet, not yet arrived. This is nothing to do with Vans … they sent it really quickly. It’s got as far as LHR customs, and been stuck there since last Monday … grrrr!
Front Spars
Spar reinforcing plates - easy to reach the rivets with the squeezer equipped with the 2.5” Flange-Nose Yoke
Wing Tip Skins
Tip skins clecoed in place. Manual asks you to check for twists prior to riveting. The left side needed no adjustment, the right a minor tweak. Vans don’t tell you how to adjust, so we just used gentle brute force and twisted the assembly the other way … seemed to work.
Straightforward job for the squeezer,as Tim proves in this picture, working front to back, alternating top & bottom. I’ve found that once adjusted the Pneumatic Squeezer is brilliant, but after a few rivets it’s best to check the set hasn’t rotated. I put a little mark on the yoke once adjusted to easily put back to correct setting.
Rear Spars
Again the squeezer came to the rescue.
Skin Back Riveting
Started back riveting the ribs to the skins, being VERY careful not to drive a rivet which hasn’t got the plate underneath.