
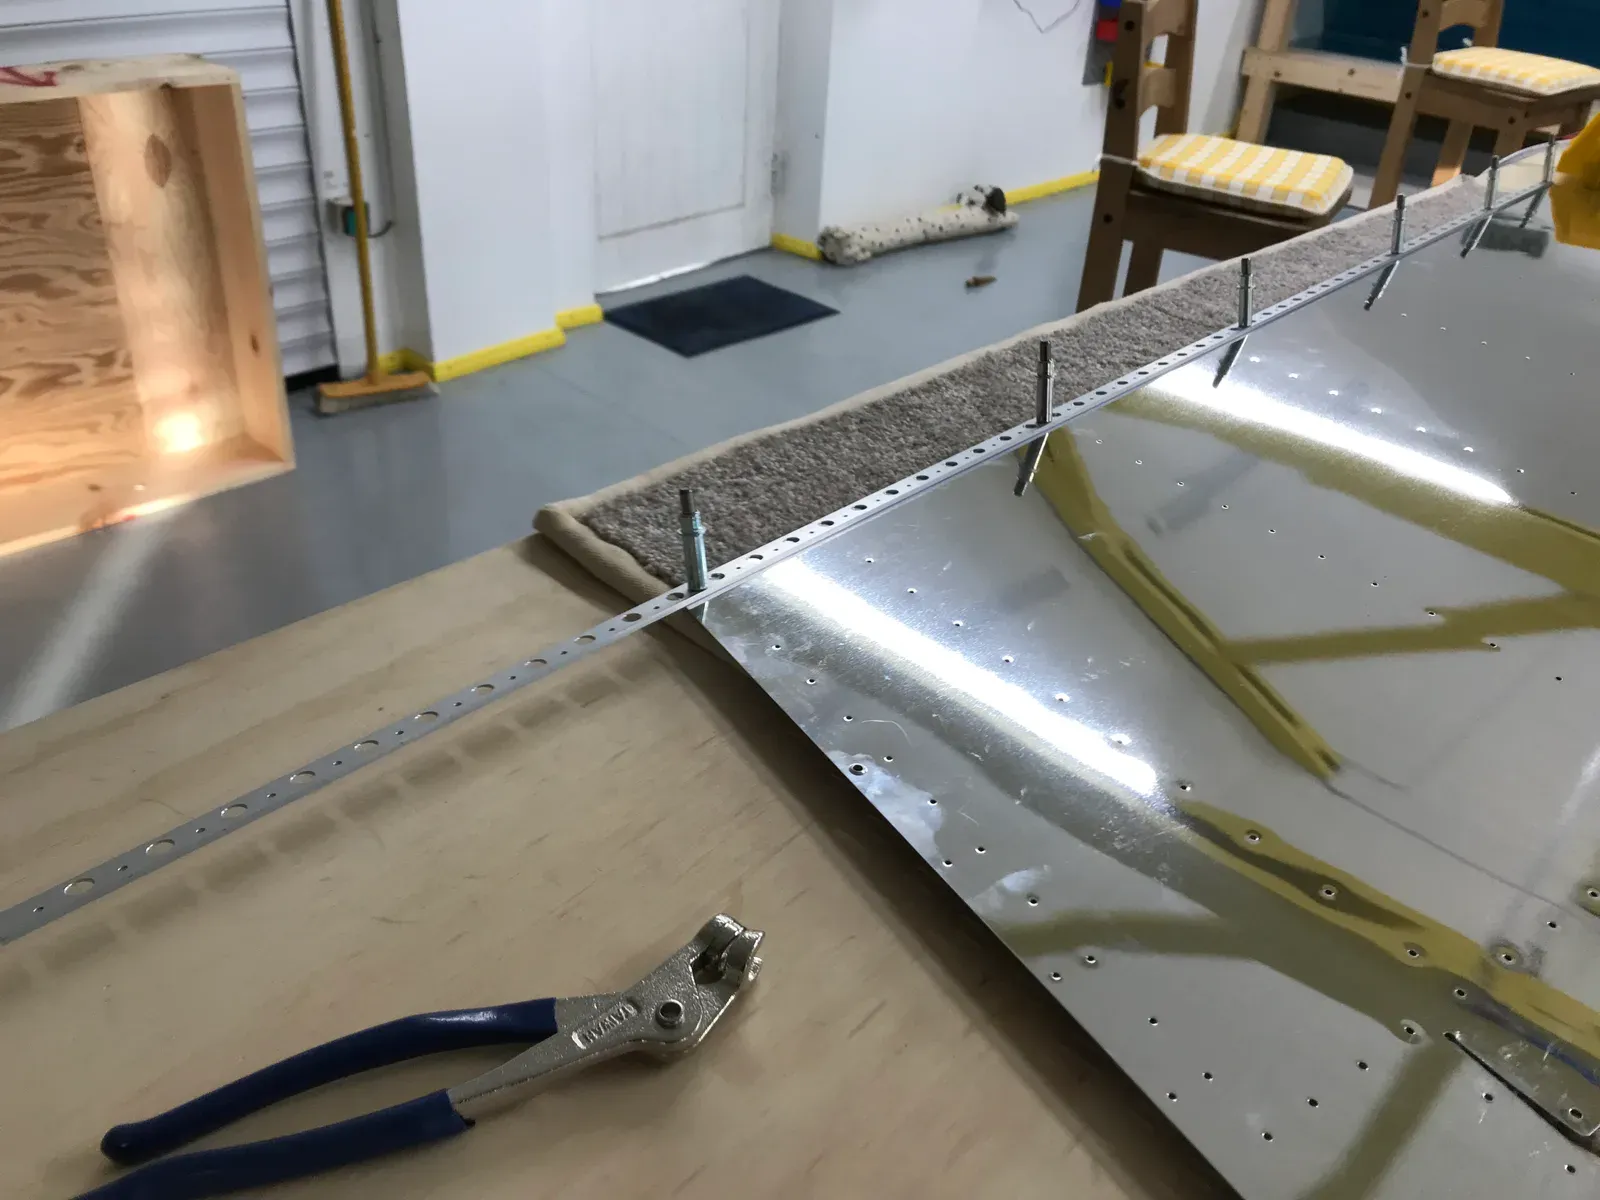
Marking and trimming the TE piece to length.
That Trailing Edge!!
Various other people have deviated from the suggested Van’s method to ensure a straight trailing edge. Namely to cleco the trailing edge to a straight piece of aluminium angle. Seems like a top idea to me, so here’s Tim helping to drill through the skins/TE and so match drilling aluminium angle. Jigged the work and used the drill press to ensure holes 90º to the chord line. Luckily we got away with this, but in hindsight the TE is probably best drilled by eye using a hand drill. But because we needed to ensure holes in the aluminium angle matched perfectly couldn’t think of a way round it.
Countersinking
Made a jig to make sure the TE surface perpendicular to the Micro Countersink tool. By the time you have countersunk both sides there isn’t much metal left!
Edge Forming
Using Cleaveland’s Edge Forming Tool to gently bend the skin edge … this is to help it all sit as flat as possible after riveting. Didn’t really know how much to do, but made a guess and hoped for the best. Need to take your time with this tool and draw it towards you slowly … easy to overdo things or slip! This job needs to be done prior to skin dimpling along the TE or the tool won’t fit correctly.
Dimpling
DRDT-2 coming into its own again dimpling the skins. This tool is excellent.
Squeezing the rib dimples. Need to mark holes that do not recieve a dimple!