
The Beringer 6” wheel axles are attached to the aeroplane with studs rather than bolts, and these have to be screwed into the axles, and secured with Loctite 638.
The axles are handed to allow for the brake calipers to be in the correct orientation on both sides, so care is needed during assembly!
Because we are fitting the Sky Design wheel spats, the two rear studs have to be long enough to incorporate the standoffs for the inner bracket.
And the two front studs have to be short enough to fit in the restricted recesses in the front holes of the U-01421-L & -R Gear Axle Fittings.
The brake calipers are secured to the axles with four large bolts. They are torqued to 221 in/lbs (25 Nm), and are challenging to nip up due to the caliper geometry & also them being so close to the axle … ie crowsfoot needed.
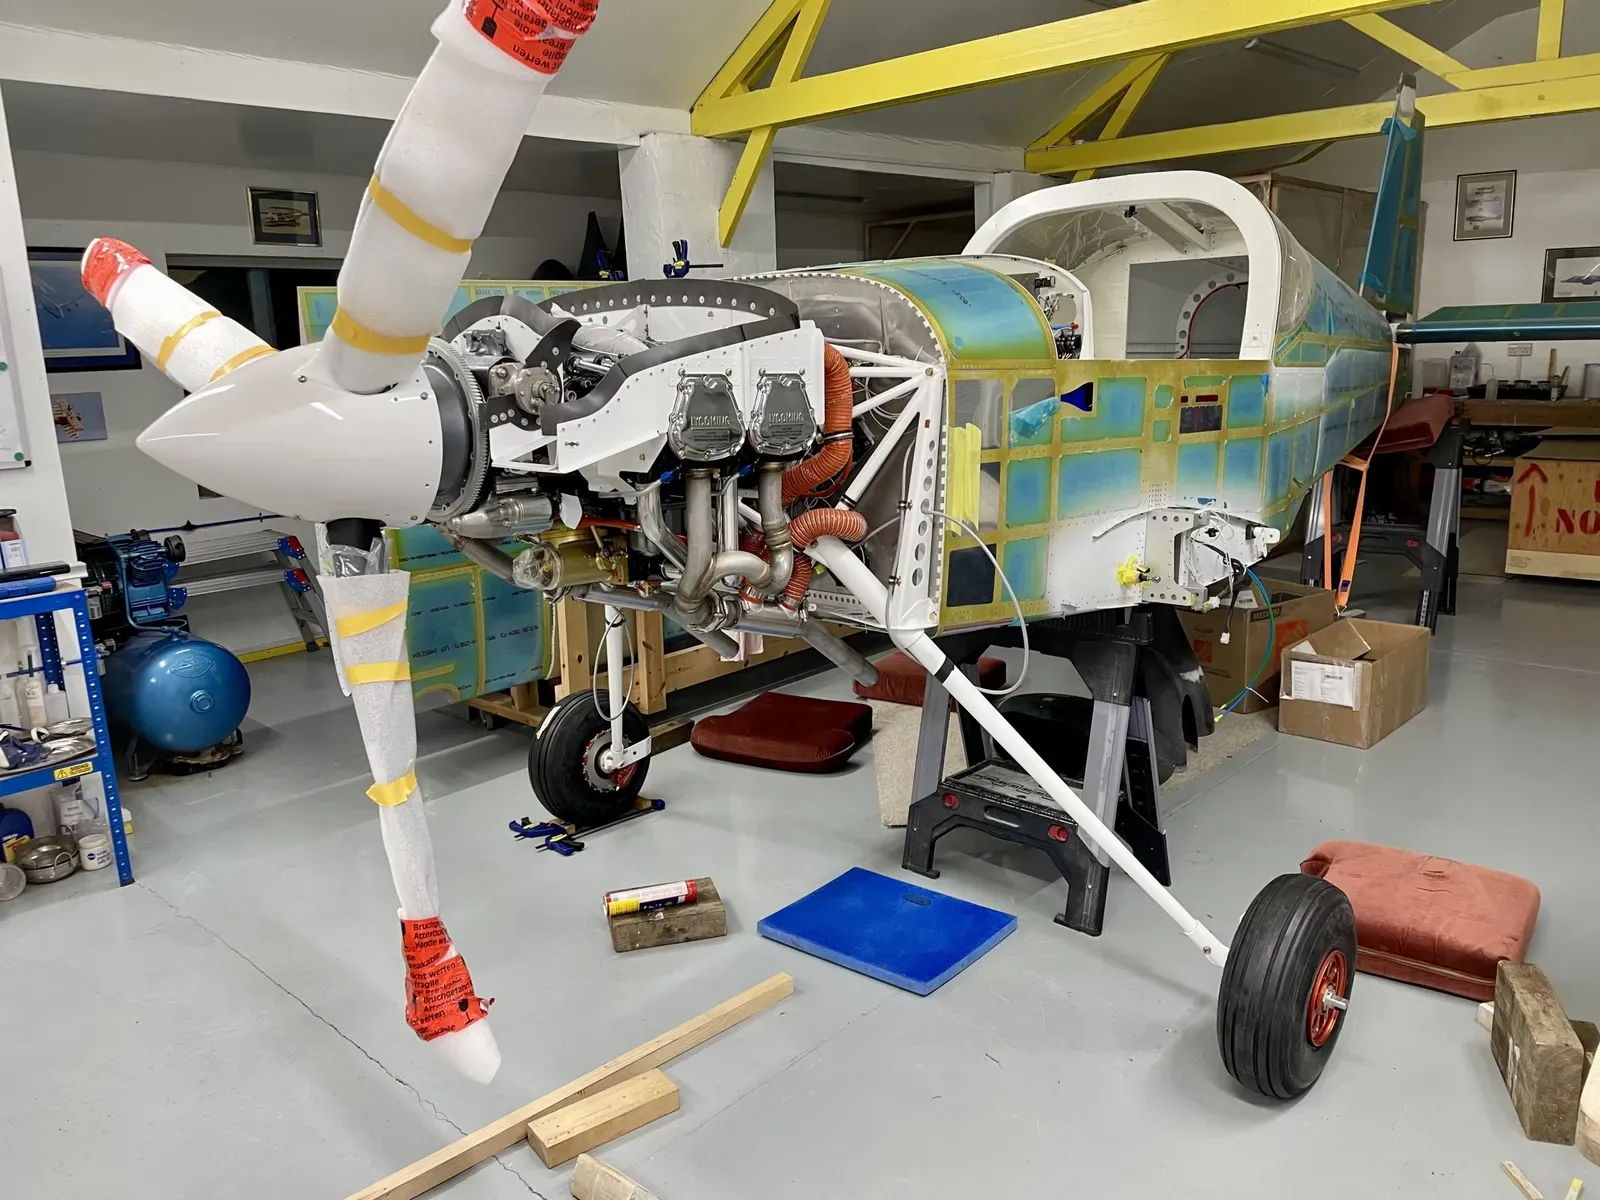
In the picture you may notice the calipers have been torqued up onto the axles without the brake discs in place between the pads … mistake! It is not possible to fit the brake discs once assembled which I discovered too late! I guess you could disassemble the brake caliper pad attachments, but …

Before bolting on the calipers to the axles, fit the Brake Discs!
The Beringer axles fitted onto the Vans Gear Axle Fittings nicely.
You have to wind on the MS21042-4 nuts as you offer up the studs due to the restricted access.
MS21042-4’s are needed by the way, not equivalent larger nylocs … they are too large to fit.
The Beringer axle nut is big! It needs a 1.75” socket, and the outside diameter of the socket should be less than 62mm to fit in the wheel hub recess.
That’s the biggest spanner used on the build … thank goodness! : )
So there we have it … a RV14 perched on 6” wheels.
They look a better size to our eyes, and will certainly be more suitable for our grass strips here in the UK.
It’s hard to compare, but here is an equivalent picture when the 5” wheels were fitted … tiny!
Another view of the 6”.
Now I can complete the fitting of the Sky Design wheel spats.