
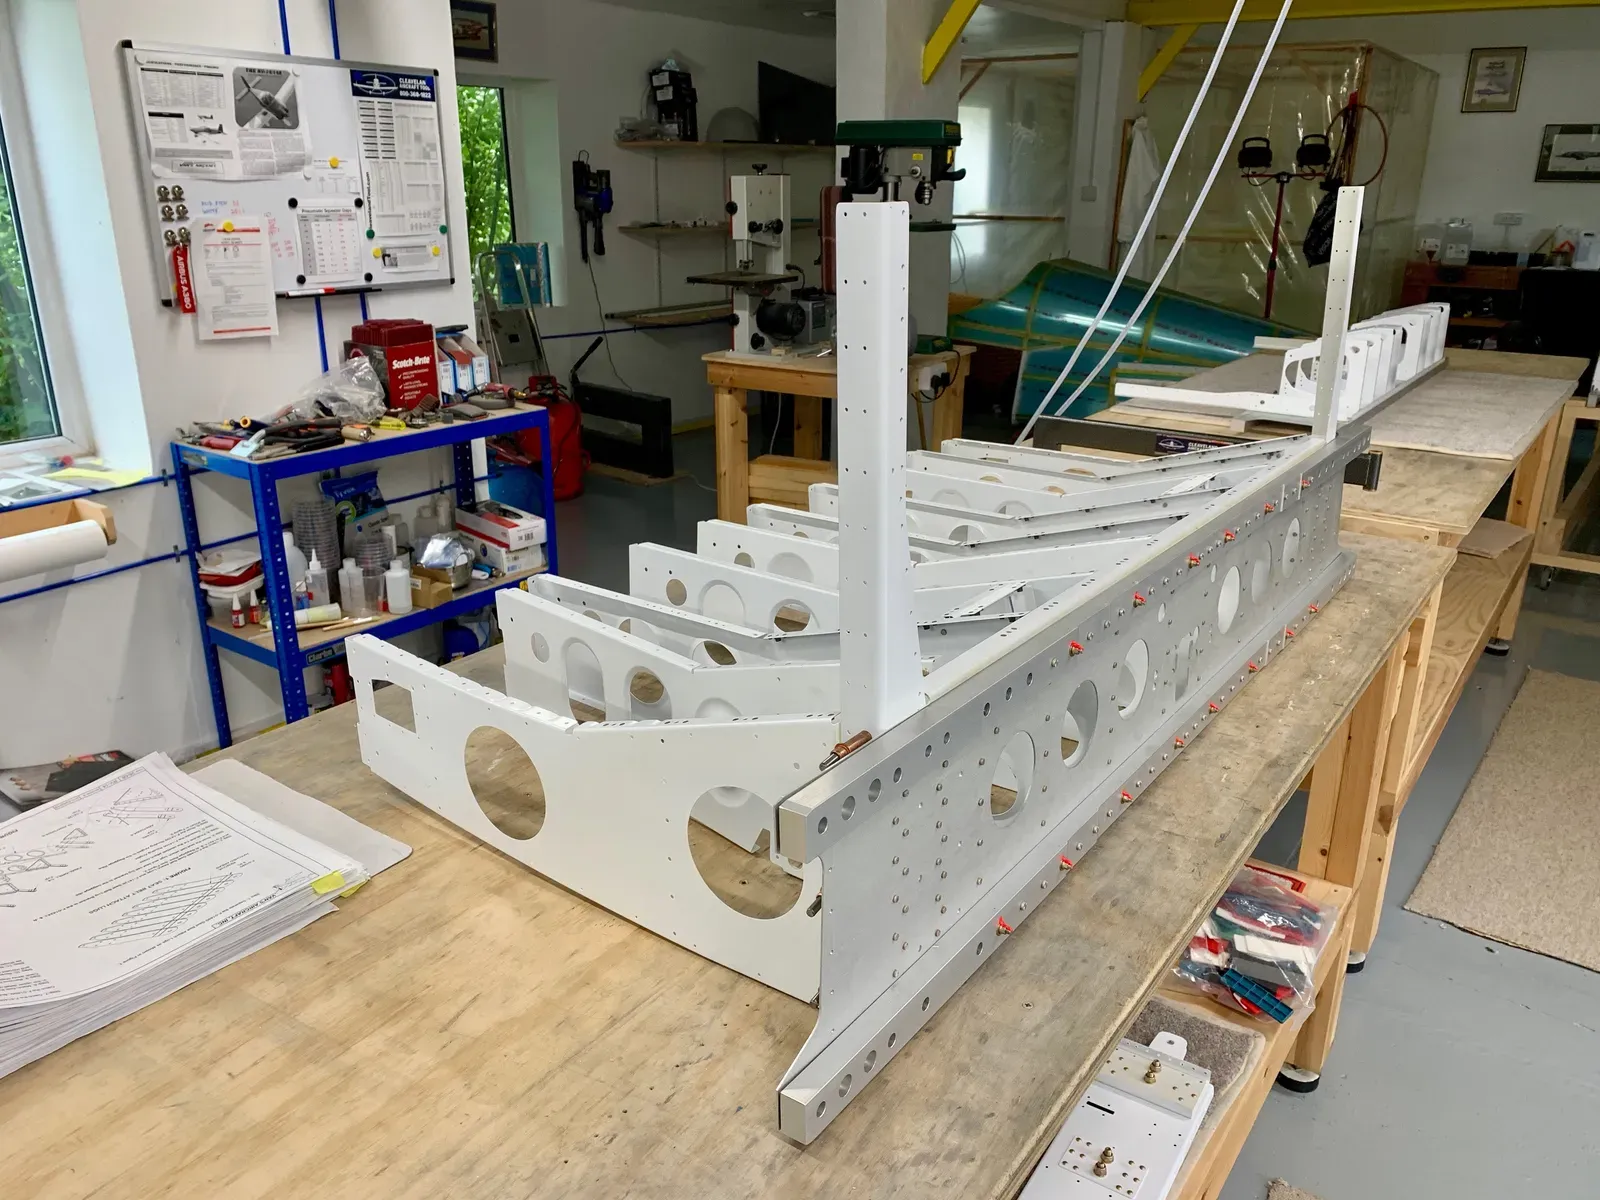
Baggage Ribs
I used the C-Frame to back-rivet the doublers to the baggage ribs.
I reckoned this was easier than anchoring the ribs securely enough to squeeze without the risk of boots caused by movement.
Anyway, it worked well and was quicker than squeezing.
Nutplates
Lots of nutplates, attached with -3 rivets. These were just long enough, but fine to attach the nutplates.
The inboard seat ribs have dimples for the nutplates on the unramped top flanges. But you DO NOT rivet on these nutplates at this stage, which I found confusing until I read ahead to page 32-05 and realised these are riveted on later as a floor is attached.
Routing Angles and Seat Doublers
I back-riveted the routing angles to the inboard seat ribs …
… and the doublers.
Crotch Strap Brackets
I used a block of wood in a vice to secure the crotch strap assemblies firmly enough for squeezing.
I reckoned it was best to put the manufactured heads on the bracket flanges wherever possible. I managed to squeeze all the rivets except …
… this pesky fellow! None of my yokes would reach.
So this meant the manufactured head for this one had to be on the outside to allow access for the rivet gun.
I clamped the workpiece with blocks of wood to secure for riveting.
This is the chap!
Riveting the Seat Ribs
I again clamped and secured the Centre Section Bulkhead with blocks of wood before Tim & I attacked it with the rivet gun!
A long rivet set allowed the ribs to be gently flexed to ensure a straight access on the rivet heads.
One or two of the holes for the AN3 bolts needed a gentle ream through the spar doublers (not the spar!) to allow the bolts to be pushed home.
After a session torquing up the nuts I applied the usual Torque Seal.
Now for some more deburring I guess … oh good : )
Slowly but surely this plane is getting built!!