
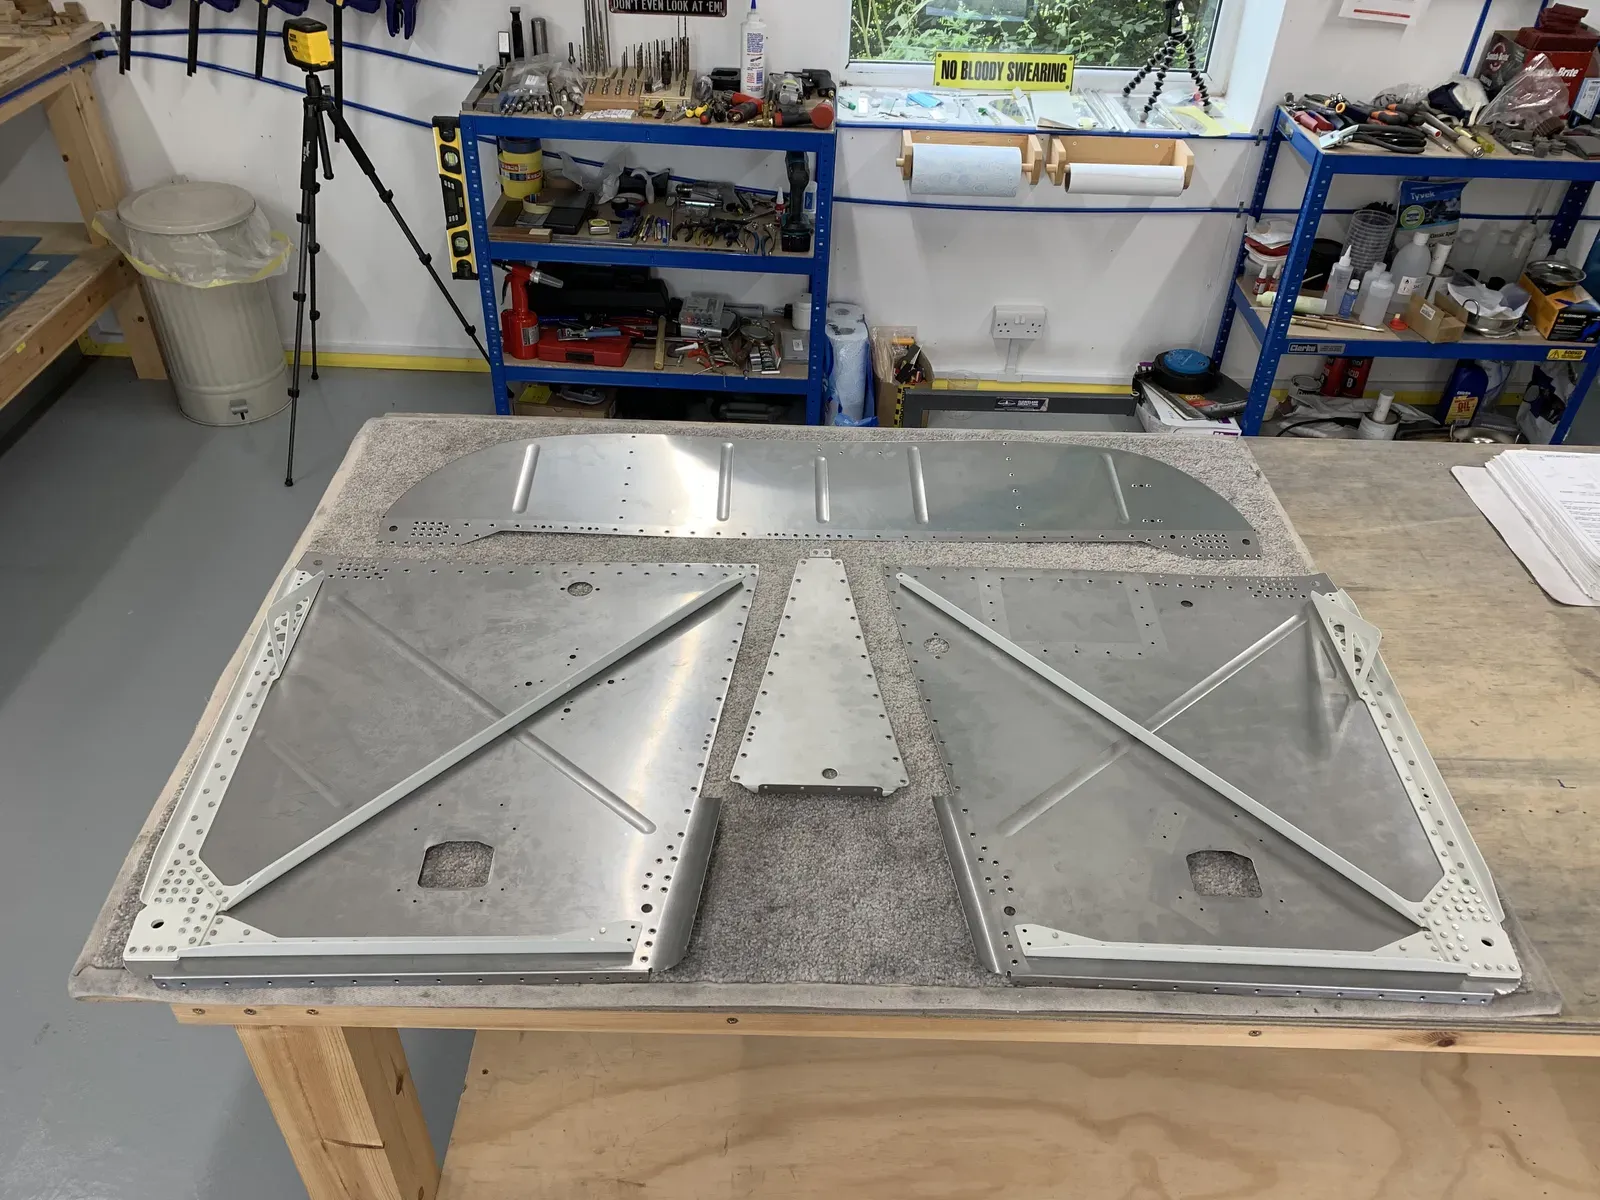
Progress has been a bit slow recently … I’ve had to do lots of DIY in the house.
And of course I had a great week in Oshkosh - at last sitting in Van’s RV14 demonstrator. Great view from the cockpit, just what I had hoped. It’s a lovely aeroplane.
So, full steam ahead : )
The final stages of the Firewall build is to connect the various pieces together. And, joy of joys, the gunge (Proseal) has to be faced once more to seal the edges of the stainless steel components.
Proseal
I decided to connect the Firewall Top and Centre to the Sides in the same session.
I used my pneumatic syringe to lay a bead of proseal along the edges as shown in the manual.
Firewall Angle
The F-01401D Firewall Angle is first attached with 5 rivets each end.
I decided to back rivet, and jigged the structure so as to use the C-Frame. I thought this may help keep the rivet set stable and perpendicular.
Since the workpiece was sitting on a mushroom set, I clamped it securely to ensure nothing moved during the set. I’m happy to report it worked a treat … I ended up setting all the rivets on the firewall this way, and am very pleased with the result. Once set up, it was quick to adjust the C-Frame’s position for the various rivets.
Firewall Centre
The Left and Right Tunnel Side Assemblies are clecoed on ready to attach the Firewall Centre, which also has a bead of proseal.
Firewall Angles & Gussets
The F-01401L Firewall Gussets & the F-01401J Firewall Angle are then riveted.
Again with a bit of careful jigging and clamping I was able to use the C-Frame to great effect.
I set all the rivets attaching the firewall edges whilst the proseal was still setting.
Then I called it a day and riveted the rest when the proseal had set.
These rivets at the bottom of the side tunnel assemblies were detailed as being AN426AD4-4’s. But I found those just too short, and so shaved down some -5’s.
Nutplates
Various nutplates are attached …
… all easily reached with the C-Frame.
Reaming
The engine mount holes are reamed .375 (which is 3/8” of course)
Vans suggest that this is done using a drill press. With a bit of head scratching I managed to jig the workpiece to get it all perpendicular.
Checked with my trusty protractor!
There was no way to get the reamer onto the centre holes from the back, so I resorted to this rather iffy set up! …
… by straddling the workpiece between my two benches it worked out OK. Very little metal was removed during reaming, hopefully a good sign??
Section 27 now all done. All in all, I’m pleased with how the riveting went. I think the C-Frame definitely improved the standard of shop heads!