
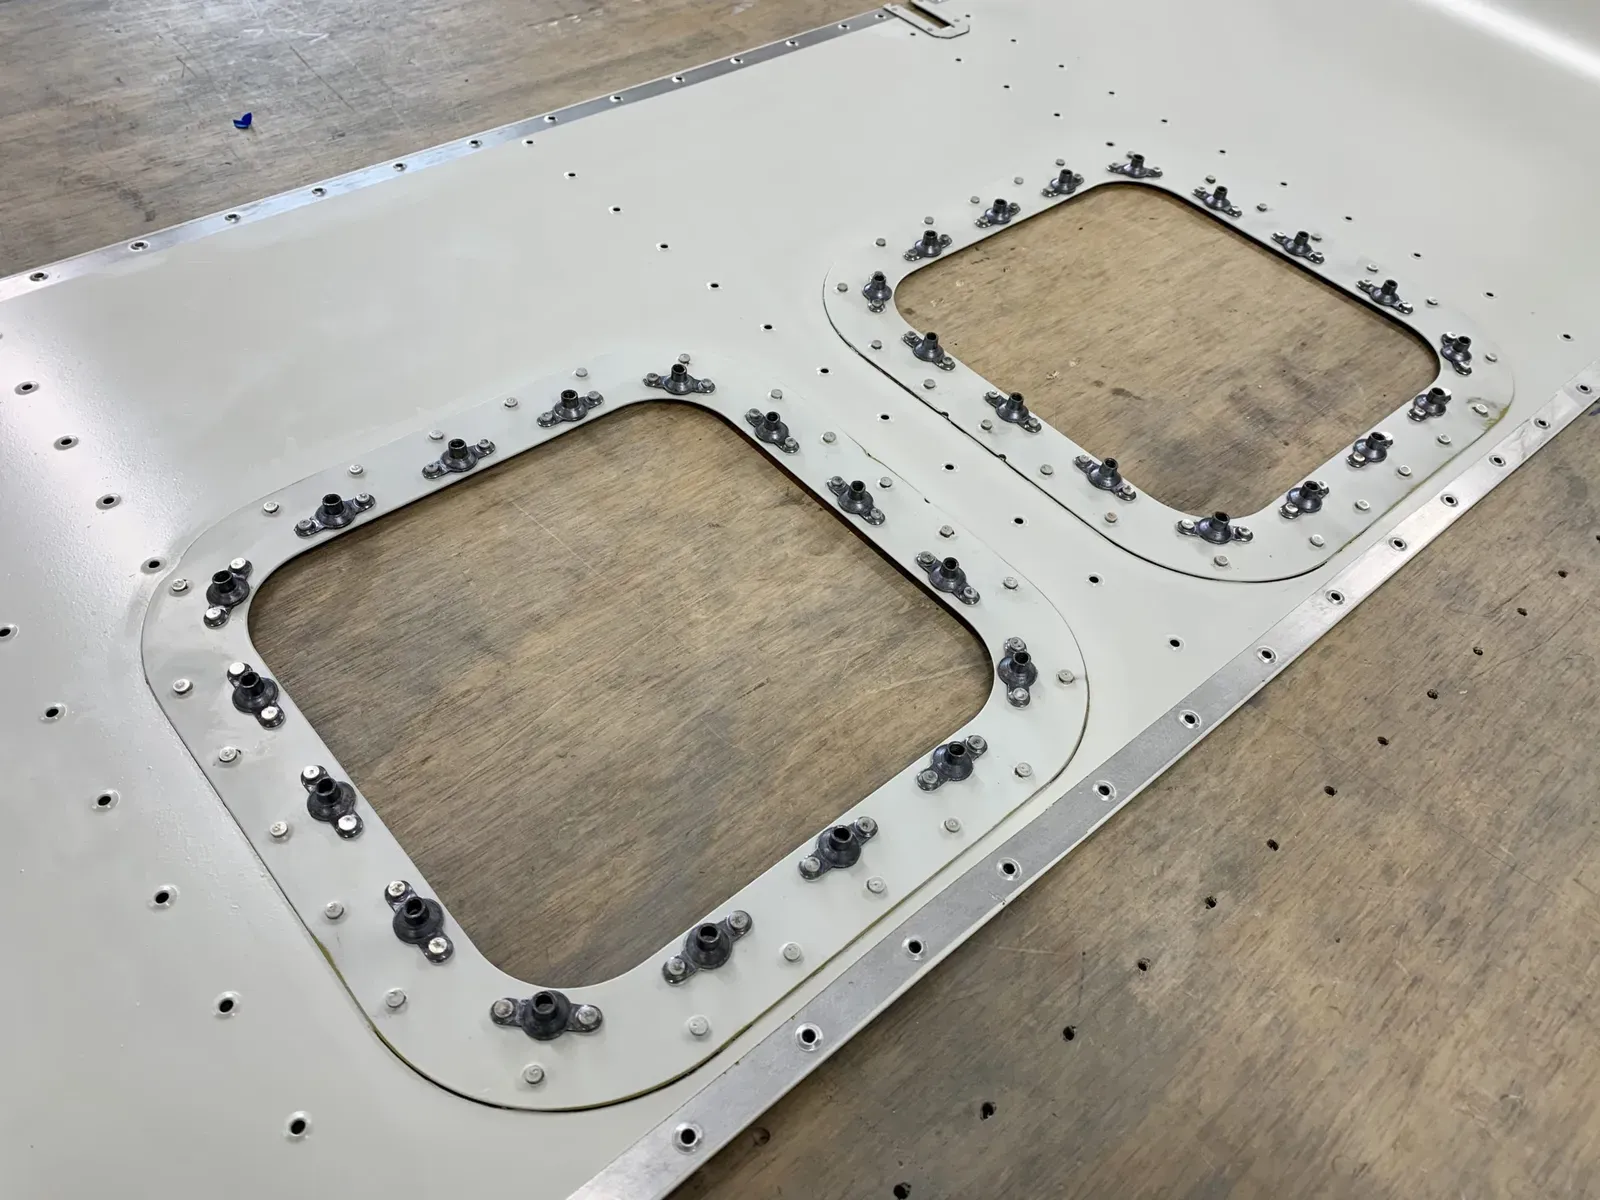
Having looked at the space and number of proposed Avionic boxes to fit into that space, I reckon I’m going to have to use the area in front of the F-01455 Sub Panel.
So I admitted defeat and decided to fit the newly released optional access panels in the F-01471 Forward Top Skin, to help with avionics installation.
Marking Out
The panel kit is designed for several RV models, so a little time has to be spent ensuring the Access Rings are clecoed in the correct position and orientation.
Vans have provided temporary positioning tabs, applicable to the different models, so all straightforward.
The instructions suggest you match drill the screw holes #19 into the skin at this stage.

Consider an initial match drill to #30 in screw holes
This is because the next stage is to cleco on the VA-258B Access Panels to the skin so you can accurately trace around the edges of the access panels with a fine tip marker. Unless you have some massive clecos this will be a difficult with #19 holes!
Update: See comment below suggesting an alternative method of bolting four #8 screws into the first four corner holes drilled to hold VA-258B in place, then continuing with the procedure.
Cutting
I used a Dremel SC409 thin metal cutting blade to make the initial cut.
And then fine tuned for an accurate fit with some elbow grease and a file.
Obviously the closer you risk the initial cut the less filing … but I was a chicken so it took a while : )
Then easy dimpling … if you do this job before fitting the Top Skin!
Trimming
I clecoed on the Top Skin to check everything fitted …
… and as advised in the instructions, there was a small area of the VA-258A Access Rings to remove to clear a rib flange.
I back riveted on the nutplates.
Sticky Stuff
And then another Proseal adventure, so out came the masking tape to keep the sticky monster under control.
I overdid the Proseal I think, but I don’t want rain getting into the avionics bay!
I back riveted the Access Rings to the skins, with the masking tape working its magic.
All finished. It took a few hours work but hopefully will pay dividends later?