
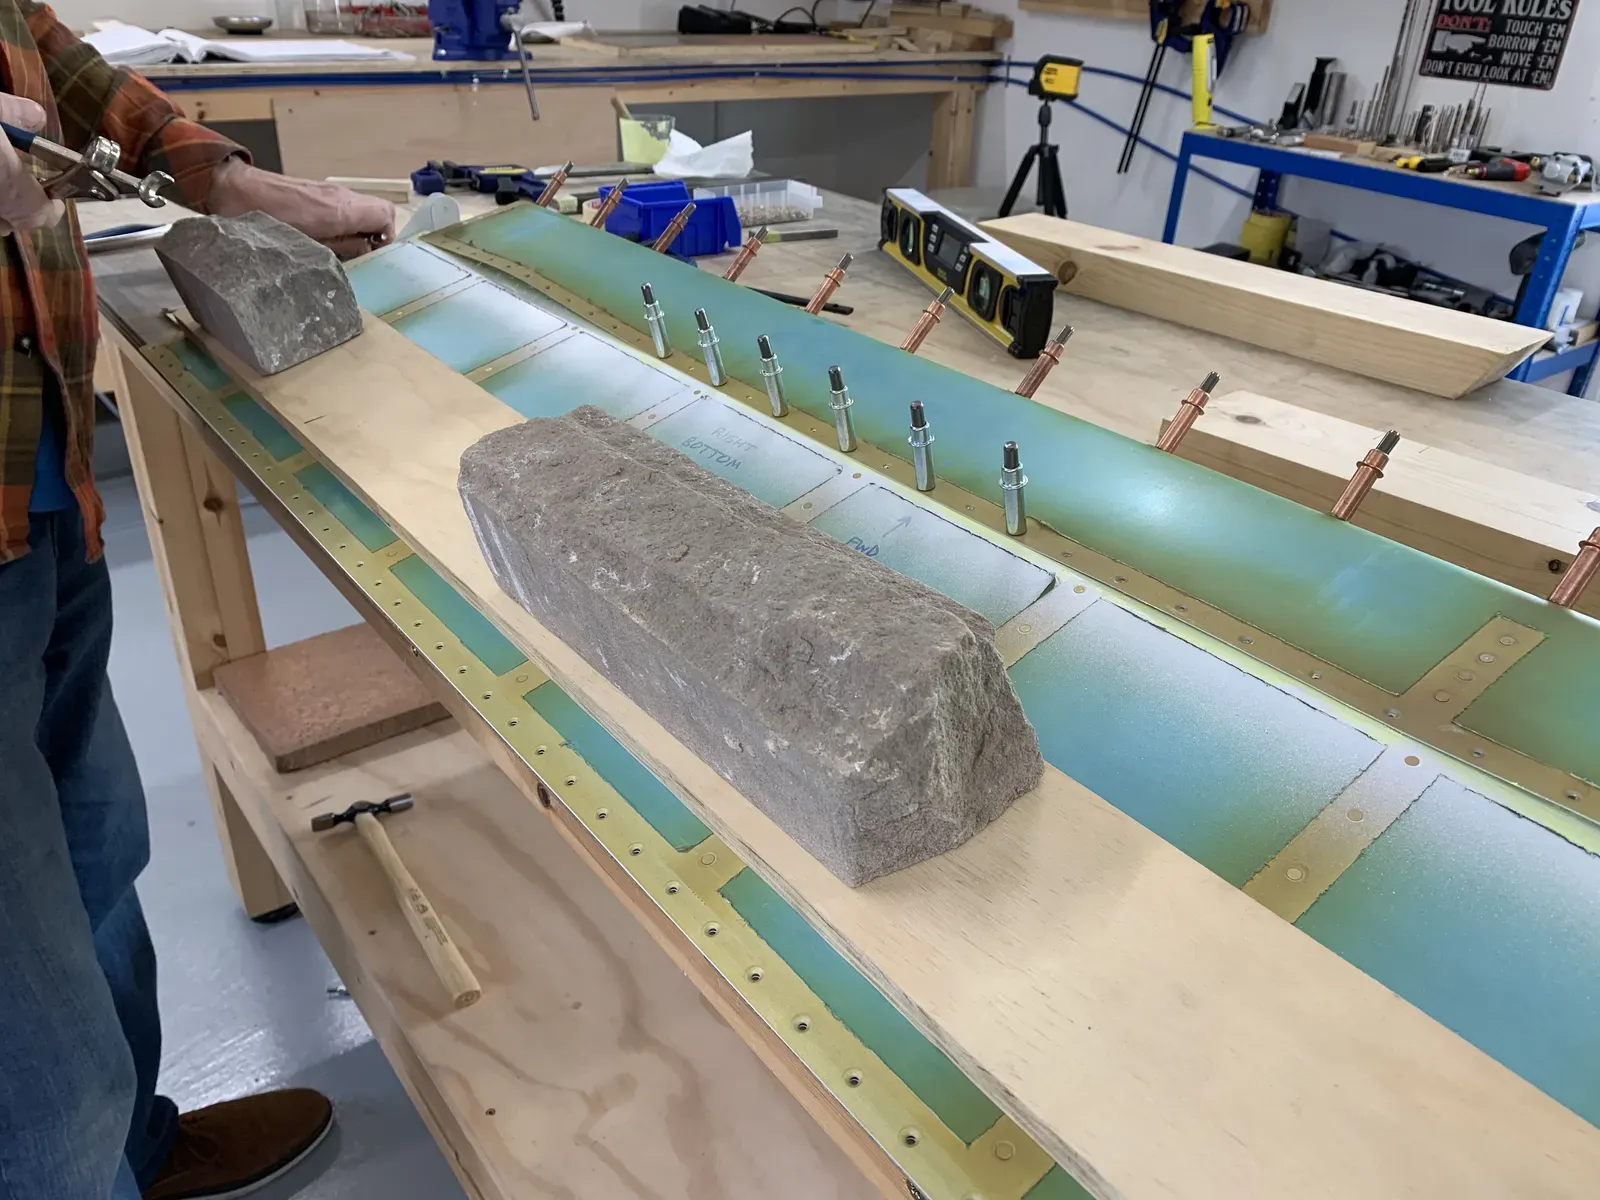
Having riveted on the Right Aileron top skin to bring it up to the same stage as the Left Aileron, the next job is the trickier job of riveting the bottom skins in place.
To try and avoid all twist, I placed the ailerons upside down on the flat workbench, weighing them down as I clecoed the bottom skin to the spar/nose skin.
Riveting Bottom Skins
Having done this, and prior to riveting, we just double checked for any twist with a digital level …
… so far so good : )
We also checked with the laser level as with the flaps.
As suggested in the manual we riveted every 10th rivet first.
We then confirmed zero twist with the laser level before randomly riveting the rest. Our thinking was that there might still be time to rectify any twist.
We used the same technique as with the flaps of a plate on the spar to protect the primer etc, together with the small tungsten bucking bar .
Trailing Edges
I used the same aluminium angle technique that I used on the flap TE’s, since that had produced good results.
Used clecos to align the aluminium wedge as the adhesive tape backing paper was removed.
For the top backing paper I found it easiest to completely remove it whilst keeping the bottom skin separated from the adhesive with the clecos. Then I progressively let it touch by pushing down onto the clecos from the centre outwards.
With everything weighted down on the flat bench, and with the aluminium angle attached, I partially set each rivet with the squeezer. See here for more detail.
And then finished them off by back-riveting with the gun and mushroom set.
To keep everything secure during this process I clamped the steel plate and prevented movement of the aileron with clamped wooden blocks.
Without doing something like this, as you fire the gun, the aileron tends to migrate due to the taper of the TE. Dangerous!
Pop Rivets
Once this slightly nerve-racking step is complete, all that is left is some easy pop-riveting of the main ribs …
… and the counterbalance.
As suggested in the manual, I gently tapped the edges of the counterbalance rivets to form the manufactured heads more closely with the nose skin curvature.
A final check with the laser level of both ailerons showed we had achieved the aim of building both with zero twist!
And with nice straight TE’s.
Phew! Mission accomplished.
With the flaps and ailerons now finished, I decided to temporarily attach them to the wings for safe keeping.
I used all the correct washers etc to check that everything moved with no binding and was aligned. All seem pretty good.
I plan to leave the Sections 19 System Routing, 20 Bottom Skins, 23 Aileron Actuation & 24 Wing Tips until later … these will be best saved until I’ve finally decided on Avionics and associated wiring etc.