Rudder 07-12 Finished!
Trailing Edge
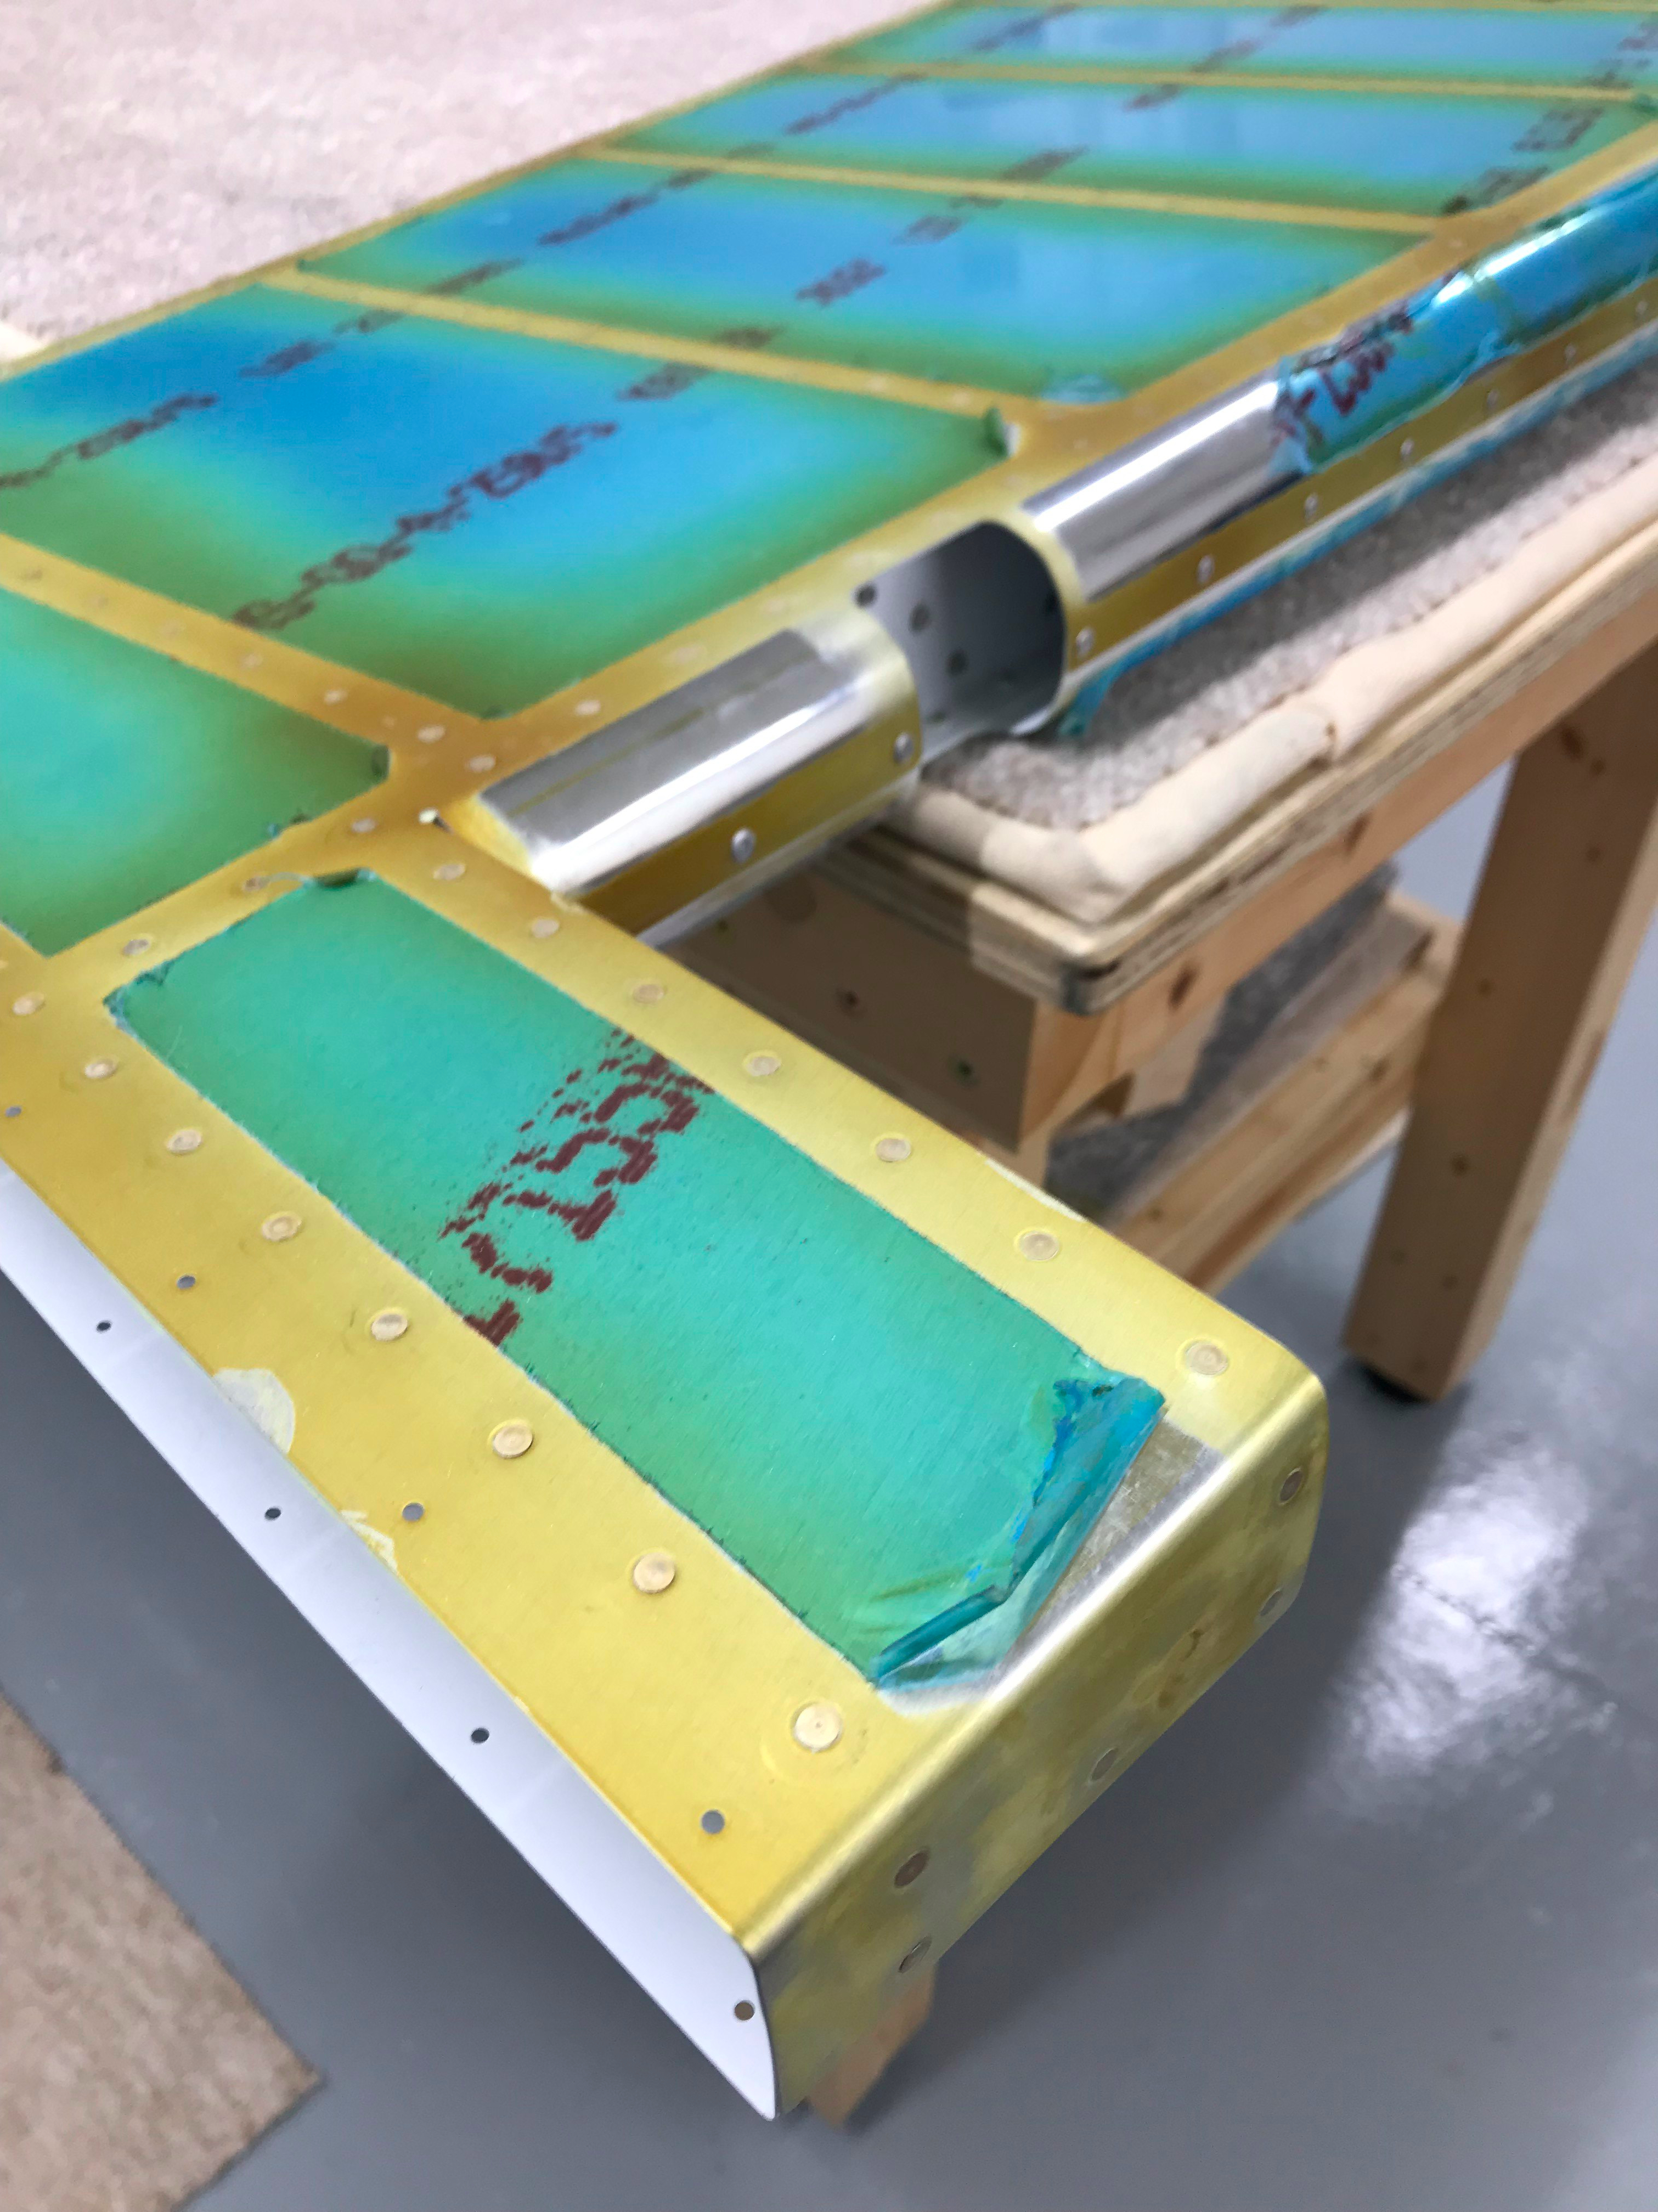
The manual in Section 5 recommends using a small mushroom head on a rivet gun to drive the TE rivet shop heads into the dimples. But others have had success using a squeezer with specially angled dies to achieve the result. That’s the method I chose, since still not very confident with that rivet gun! Although the picture shows the rudder on end, this is just to show the setup. The process was actually done with the rudder flat still clecoed to the aluminium angle. Following some top advice from a Scottish RV14 builder I’d drilled out every 5th hole in the angle to 13mm, allowing for a normal squeezer die to fit into it. As per the manual I partially set the rivets working out from the centre, every 5th hole using the squeezer with normal dies. A bit time consuming but then unclecoed it all, moved the angle along, re-clecoed and repeated the process. Eventually all were partially set.
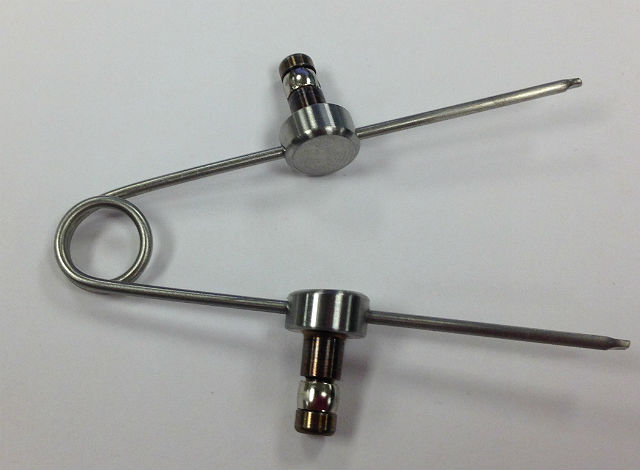
Now I used the Cleaveland RV-14 SAFETY PIN SQUEEZING TOOL but modified it by turning around the orientation of the wedges (the tool is designed for the Elevator TE which has a wedge orientated the other way). Obviously for this to work you have to be careful to set up the squeeze amount correctly, and then because of the taper be consistent in the positioning. I used a wooden block to ensure this. It all worked out quite nicely, and with less jeopardy than by using the gun I reckon. Some people like to alternate the side of the shop heads, but Tim & I decided to have them all on one side … at least then one side will look pretty : )

The final test, a peep down to see how straight it all was … happily a good result!
Rolling the LE’s

Lots of pontificating about how to do this, but the Van’s method of using a broom handle taped onto the skins worked well.

We found it took a while and needed a smaller diameter dowel to form the smaller radius at the top of the rudder. It was hard to get the required shape and ensure the holes lined up with no residual springback. Not perfect, but hopefully OK.
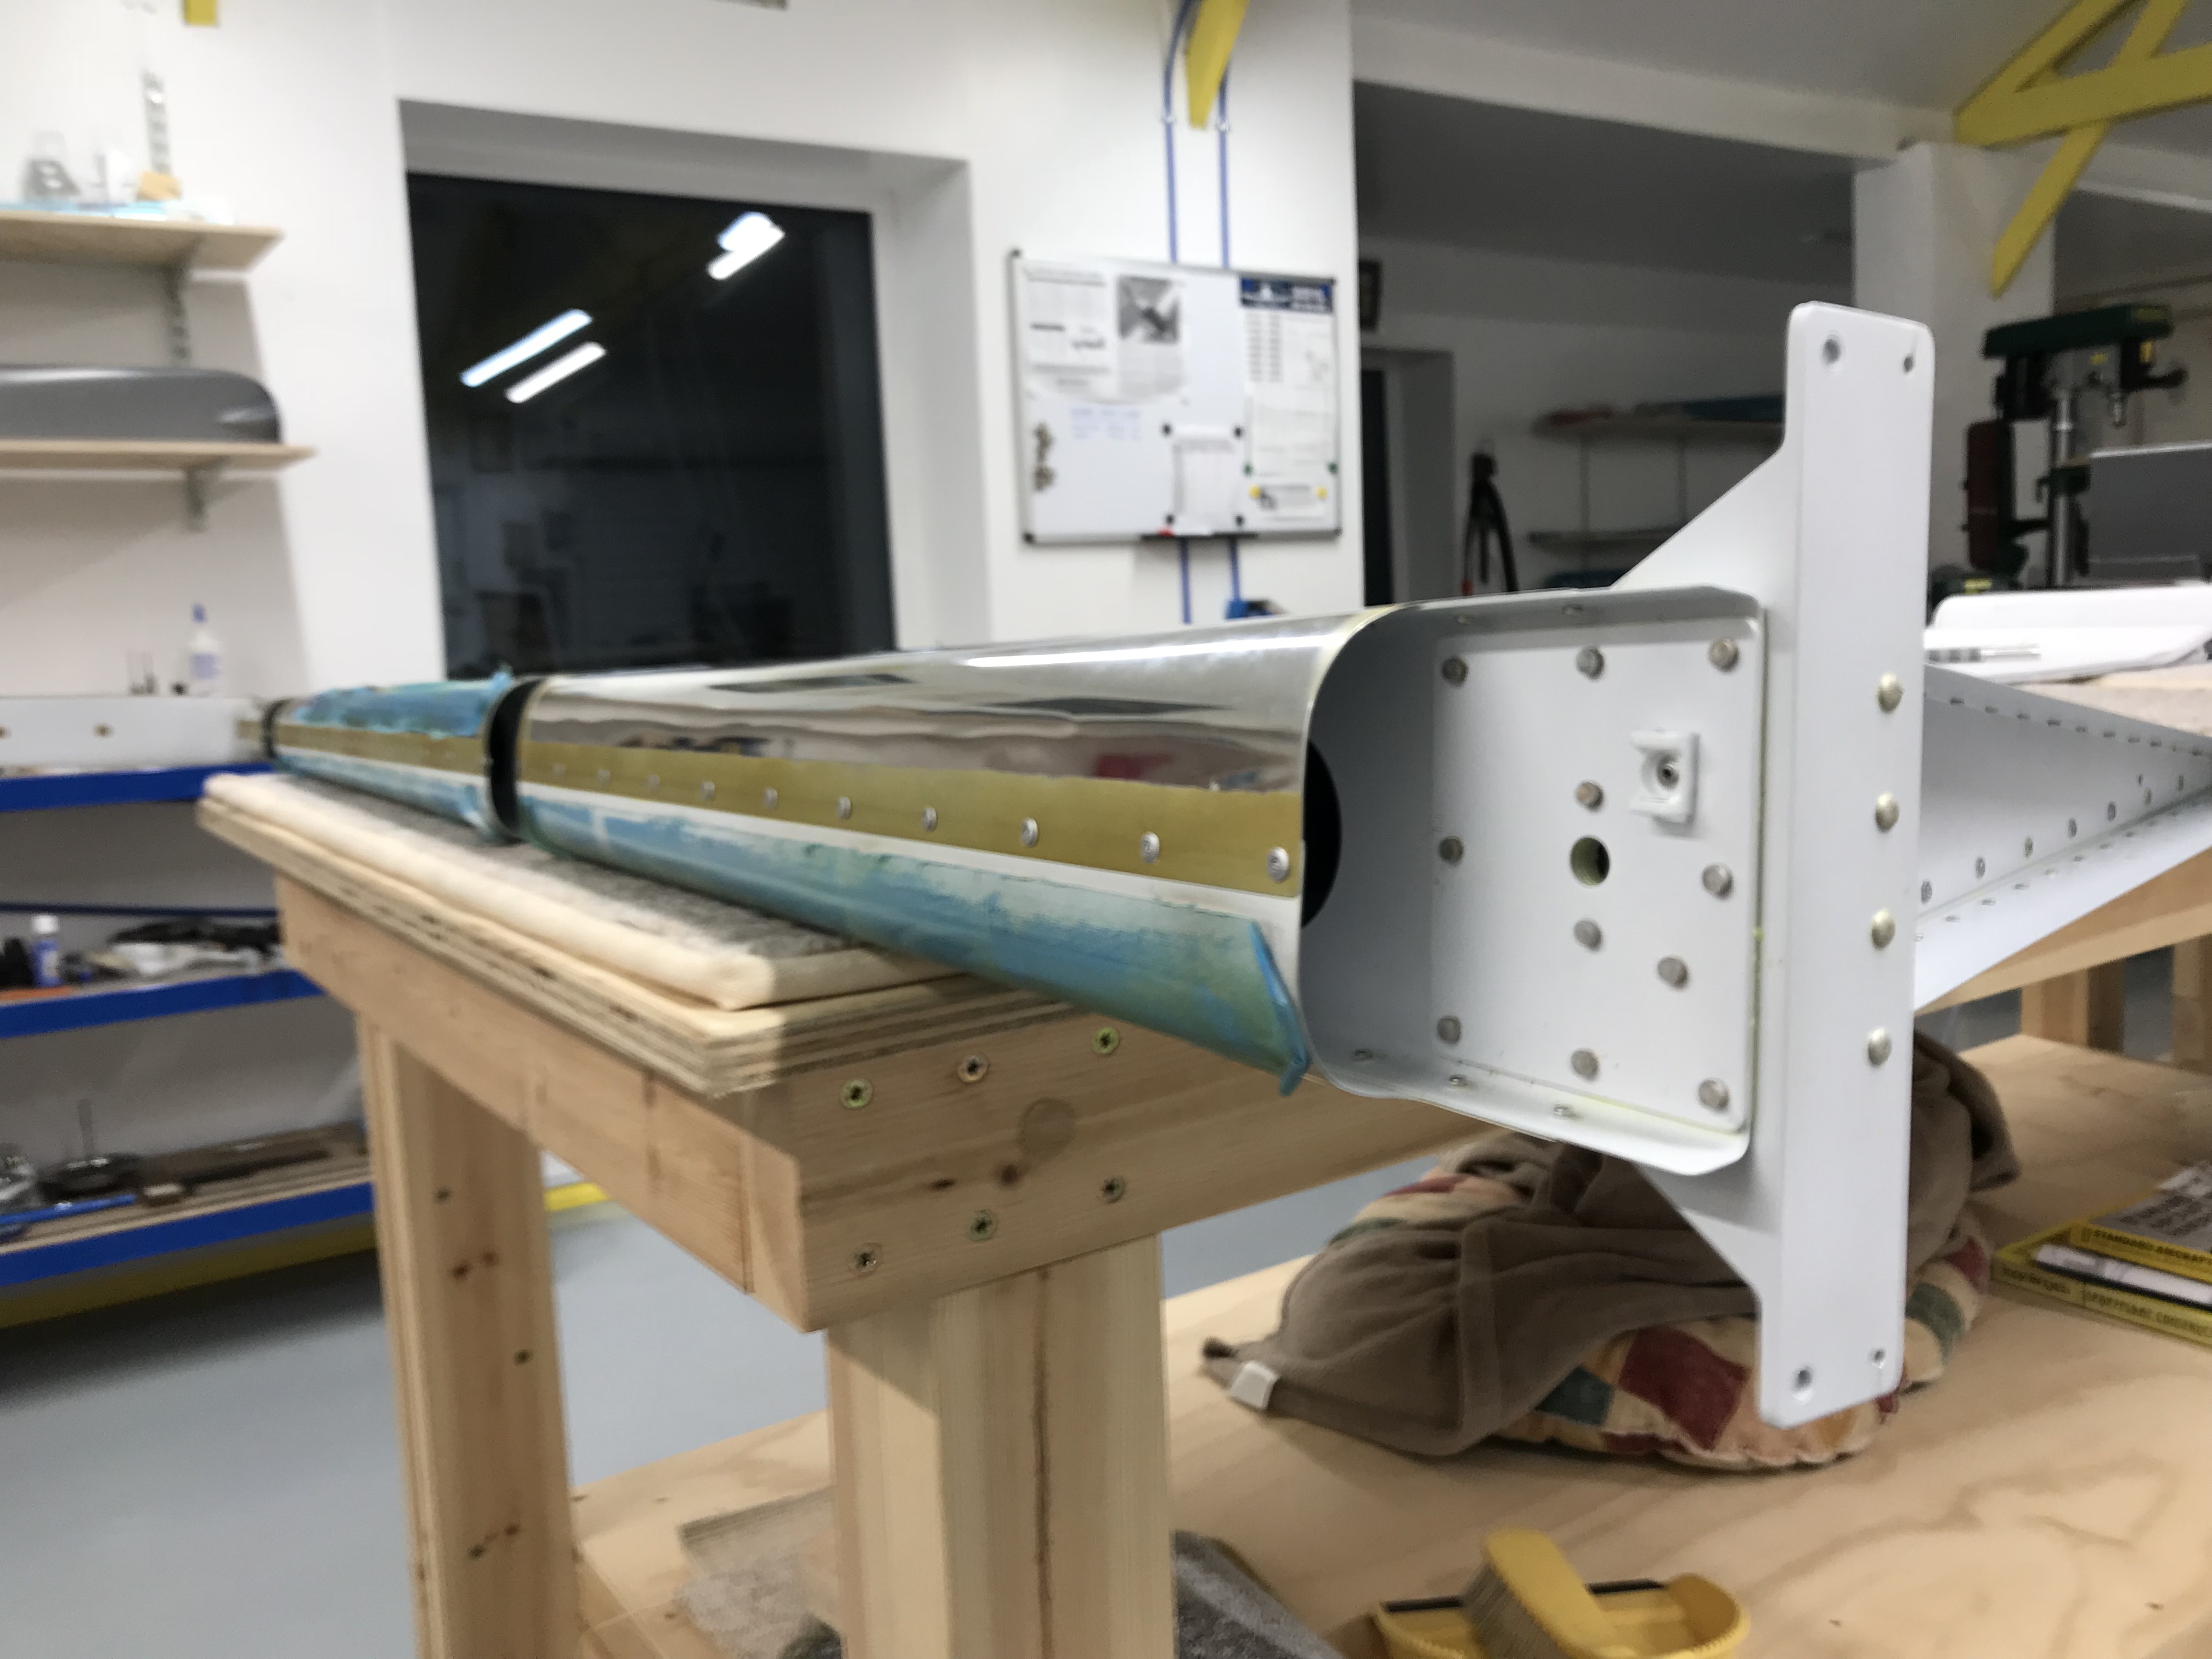
Pop Rivets
The end result. The skin edges needed a small bend with the edge forming tool as normal to help the skins to sit flat on one another after riveting. The manual says do this at this stage, but I wish I’d done this prior to assembly … it was hard to get the tool to the end of the small tab due to the mass balance.
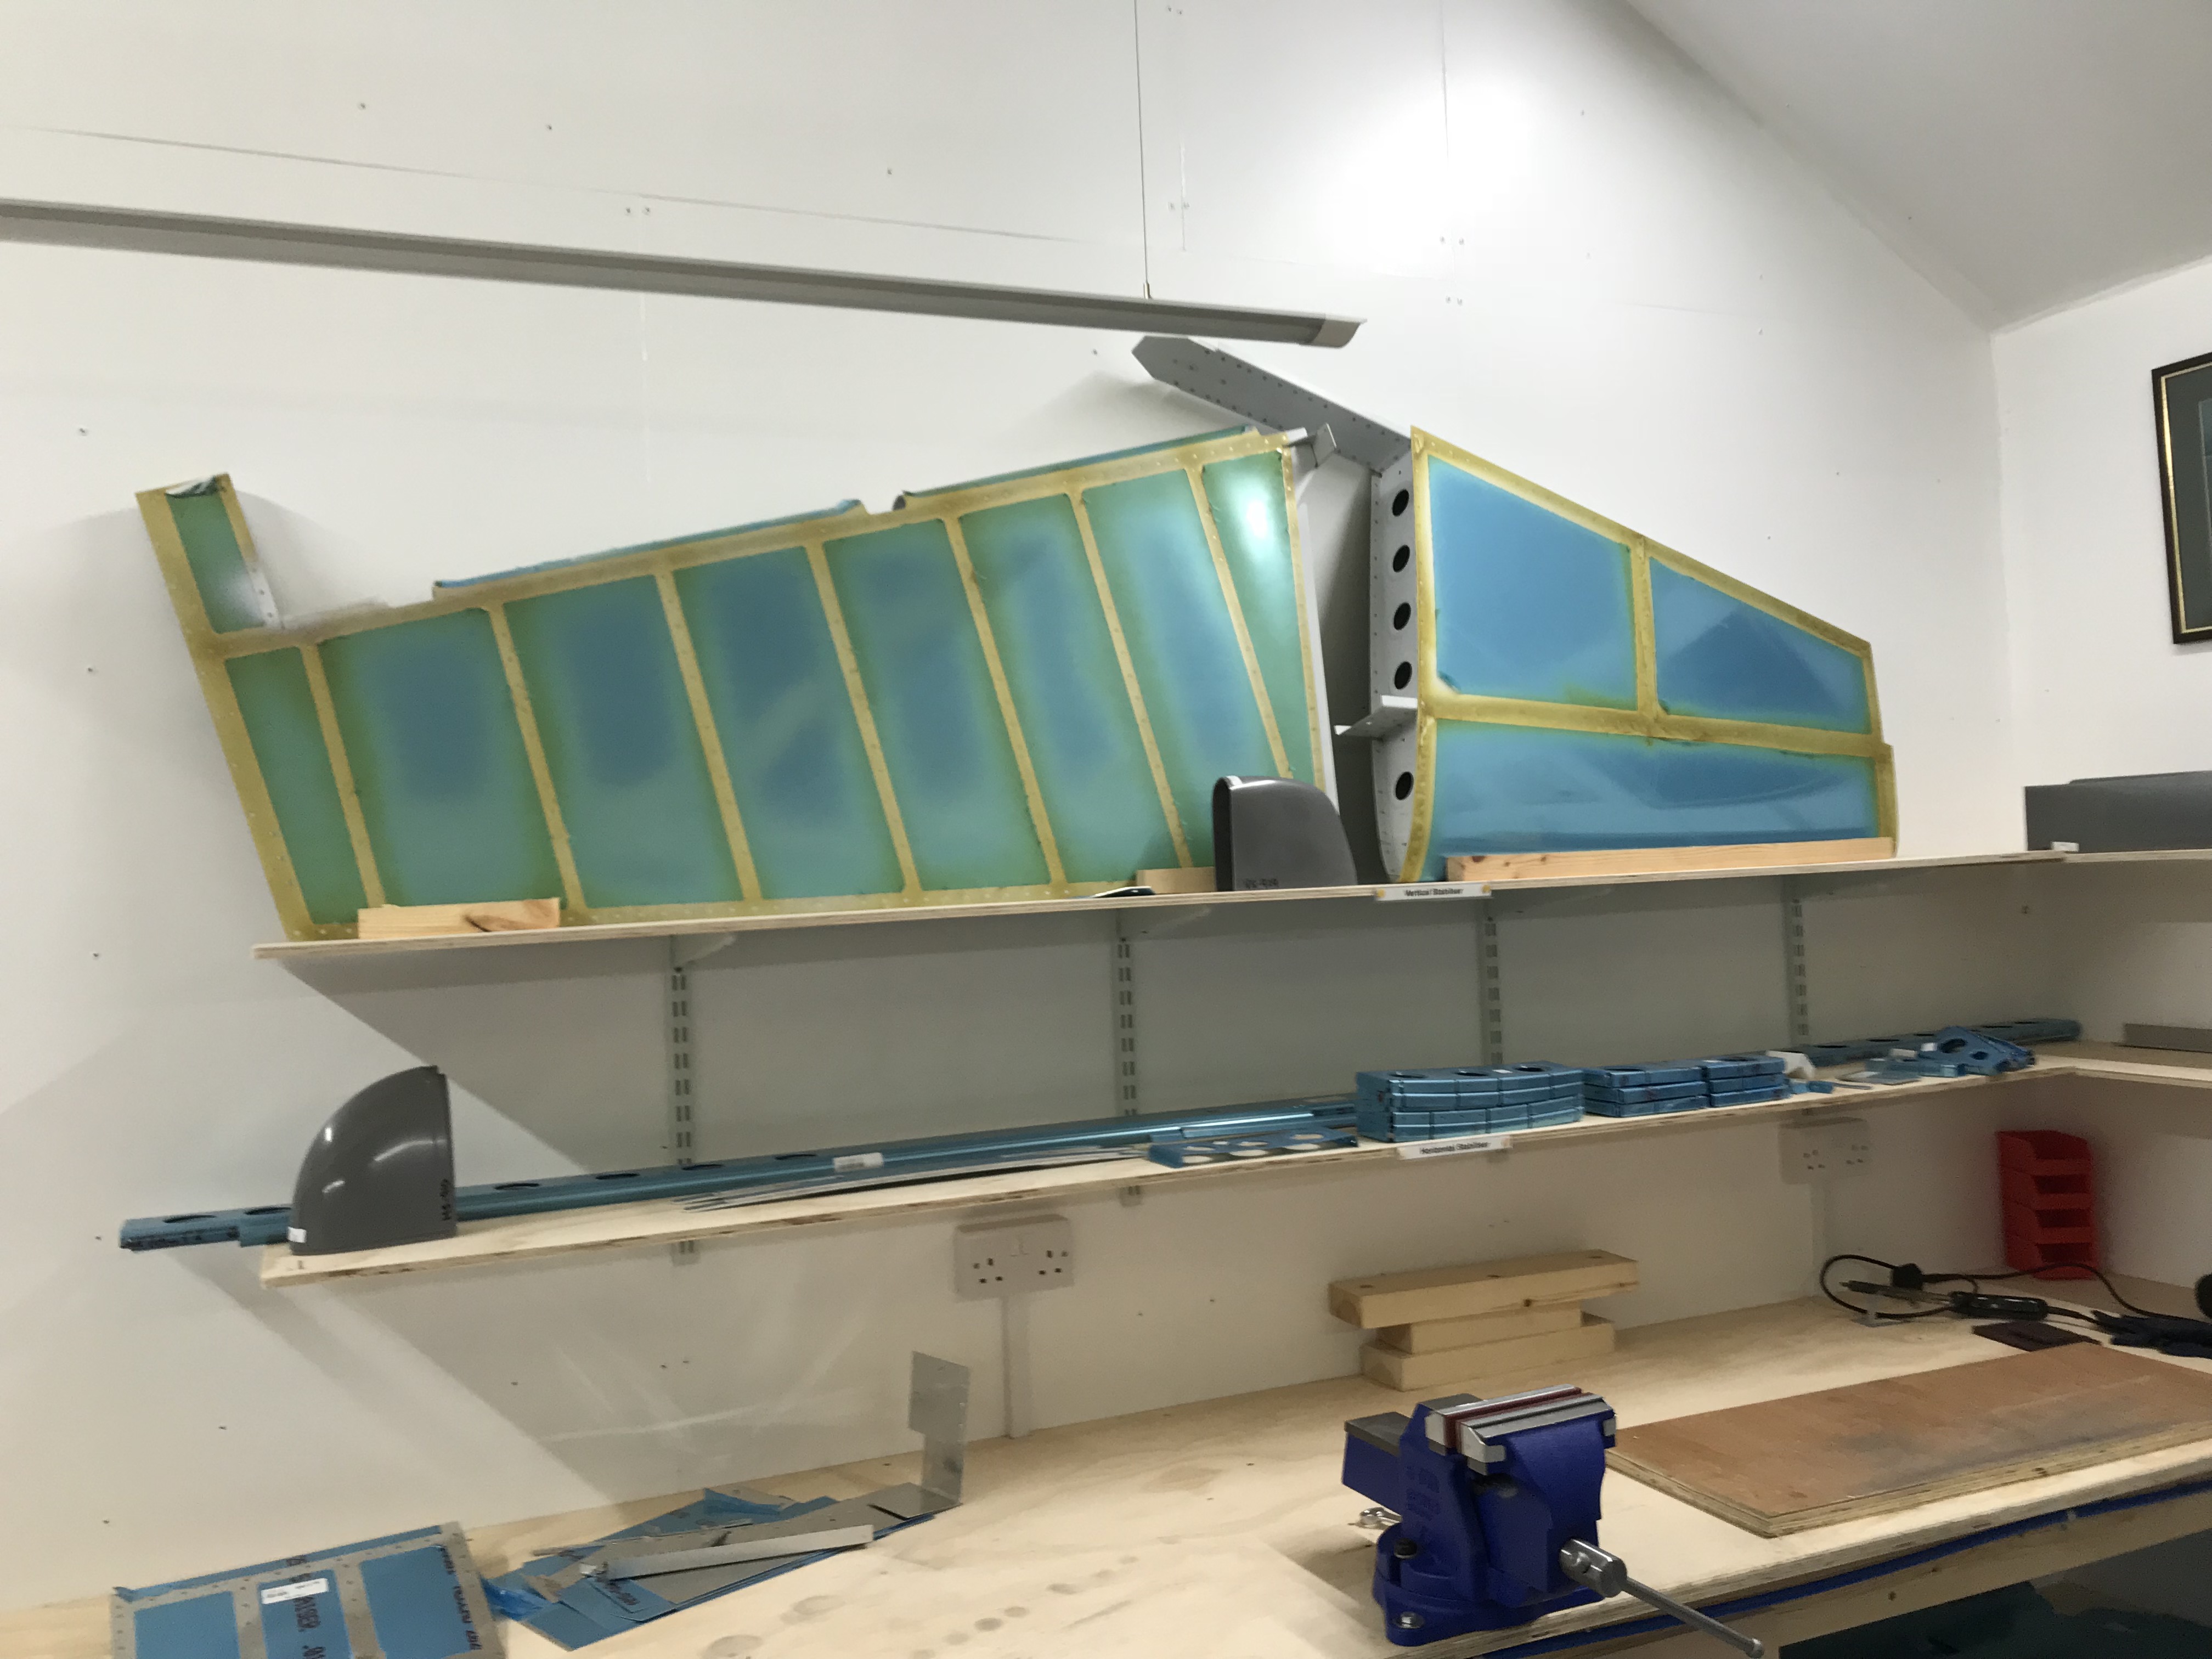
Happy Builders
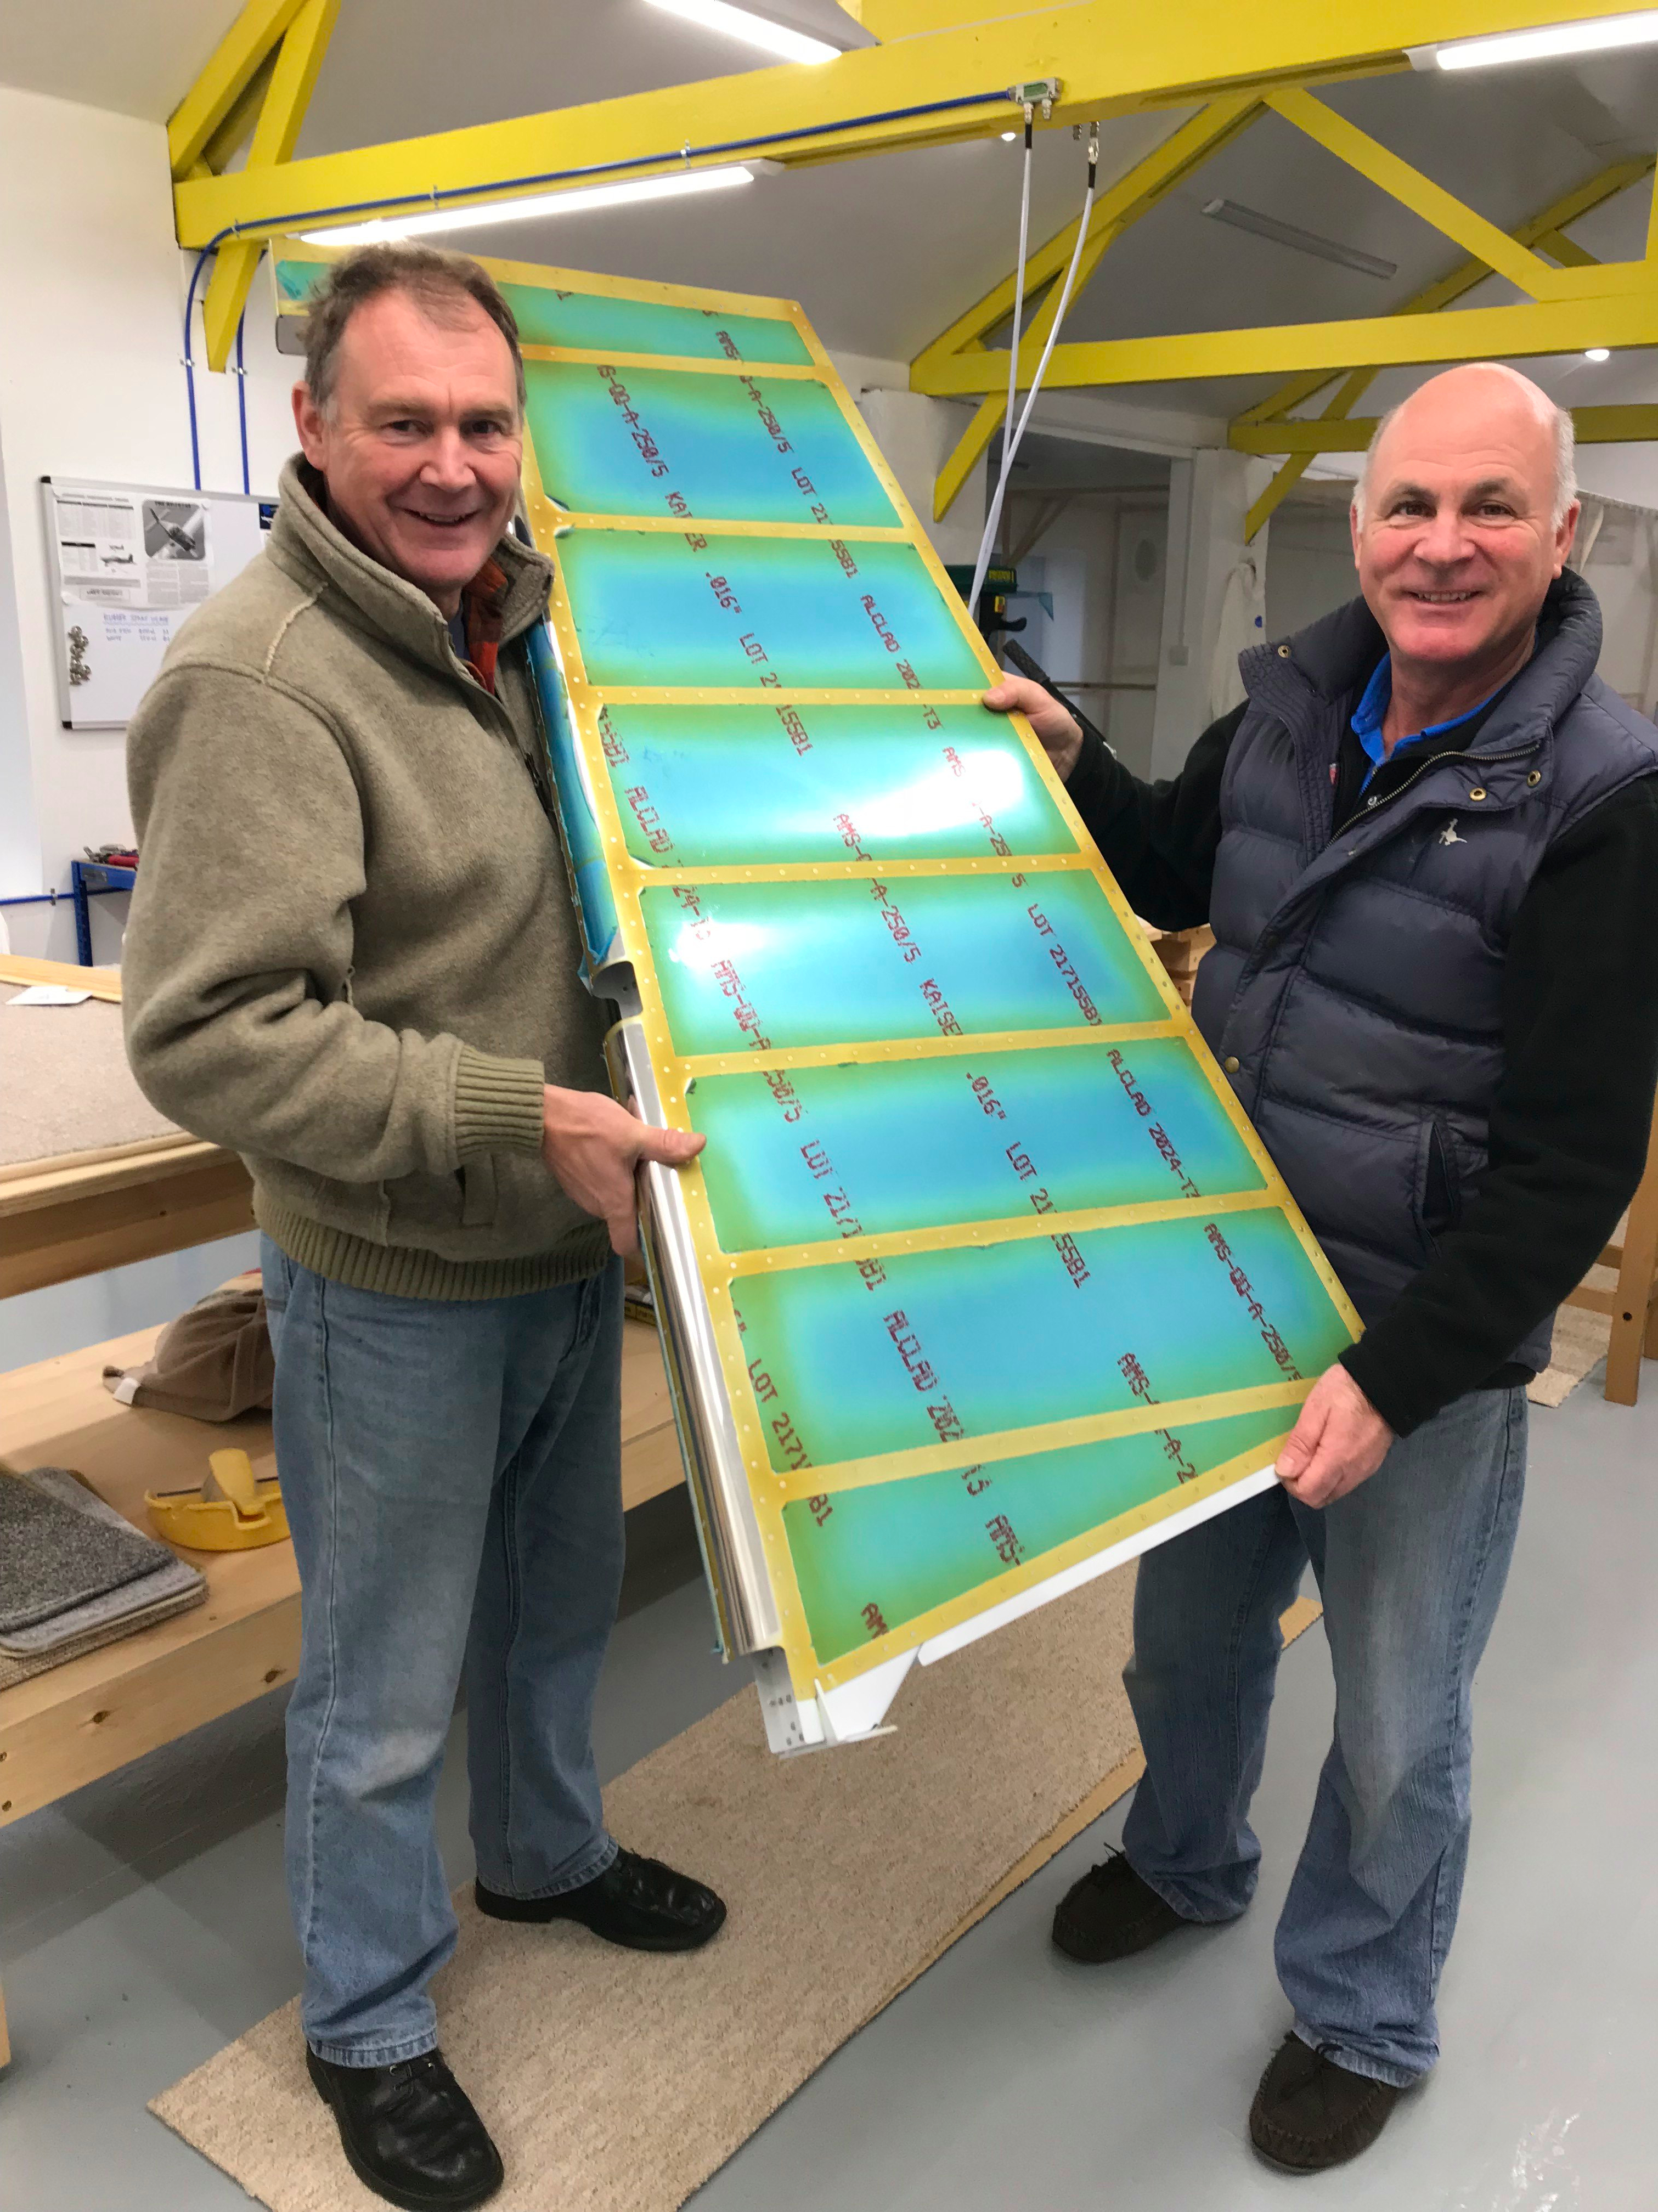
All tucked up safe and sound on the shelf. Found the rudder harder than the fin, but gradually building experience and confidence. Now onto the Horizontal Stabiliser.