
Top Skin
Here are the C-01402 and C-01403 Canopy Frames clecoed together, JC5 on the tabs and ready for attaching the top skin.
See further down in this post to see how I clamped the structure to secure it for riveting.
The riveting with a rivet partner was straightforward using the usual tungsten bucking bars … just a couple of awkward rivets on the hinge assemblies shown here which needed the “Boot” bar.
Once the Frame Closeout is clecoed in place, you have to check that the relevant holes align with the C-01442A & C-01442B Canopy Fixtures without any sideways tension. One of mine needed a gentle tweak to accurately align so the cleco fitted with no resistance.
Then the C-01428 Canopy Frame Splices are final drilled, which I did with a reamer again.
An easy job to set the LP4-3’s, using the usual wedge on the top row.
The C-01404A Support Flange Splice is riveted with NAS1097AD3-3’s. These have a small countersink manufactured head. The manual suggests …
” For aesthetic purposes, position the flush manufactured head on the splice and use a domed rivet set on the shop head”
Hmmm … so I used a 470-3 rivet set to back rivet, and it actually worked out well.
These 4 shop heads will be visible at the top of the instrument panel.
Canopy Frame Closeout
This stage took a while since there is a very specific final drill & rivet order.
In addition Vans recommend you check for zero twist every 4th rivet.
This is the bit of top advice in the manual about this!
The wedge is needed by the hinges.
I tried the squeezer to set the C-01403 rivets, but due to access issues just couldn’t get reliable results.
So I ended up bucking them.
My small Tungsten Bar fitted well.
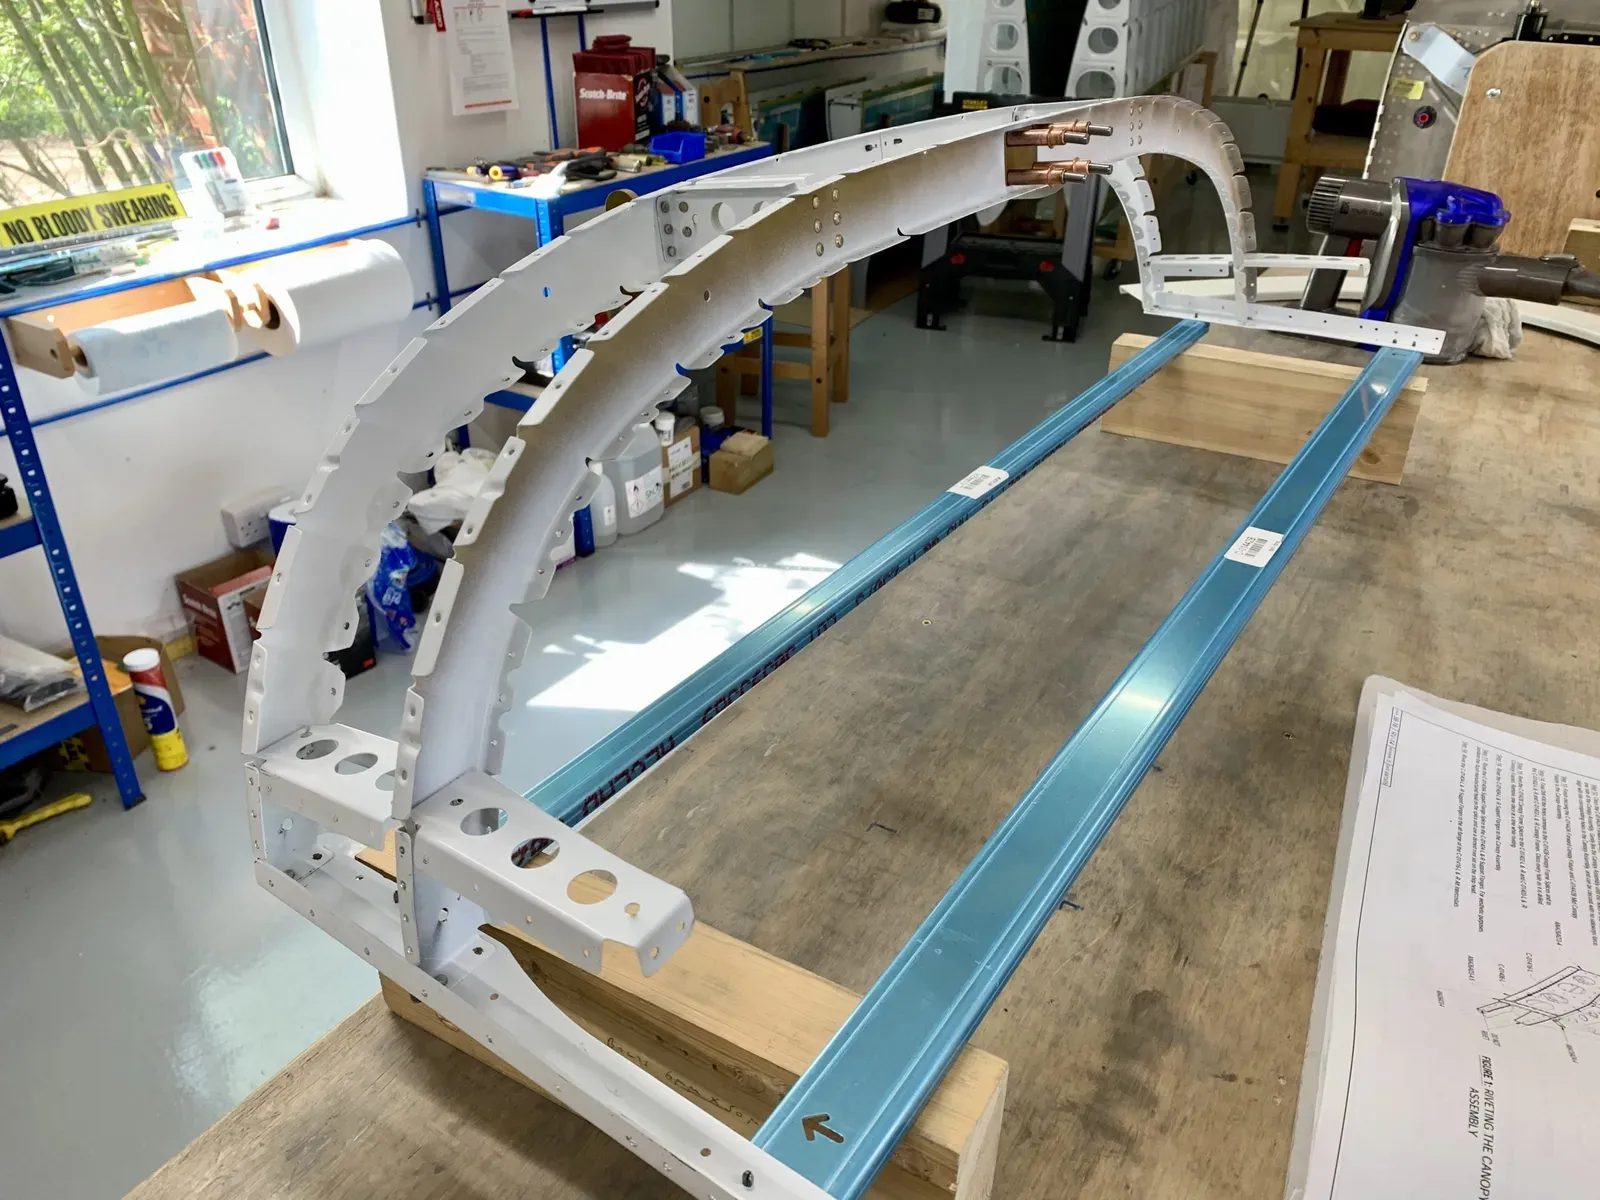
This picture shows how I clamped up the structure for both the top skin attachment and when setting the C-01403 rivets.
The last job is to set the CS4-4 rivets in the Close Out flanges.