
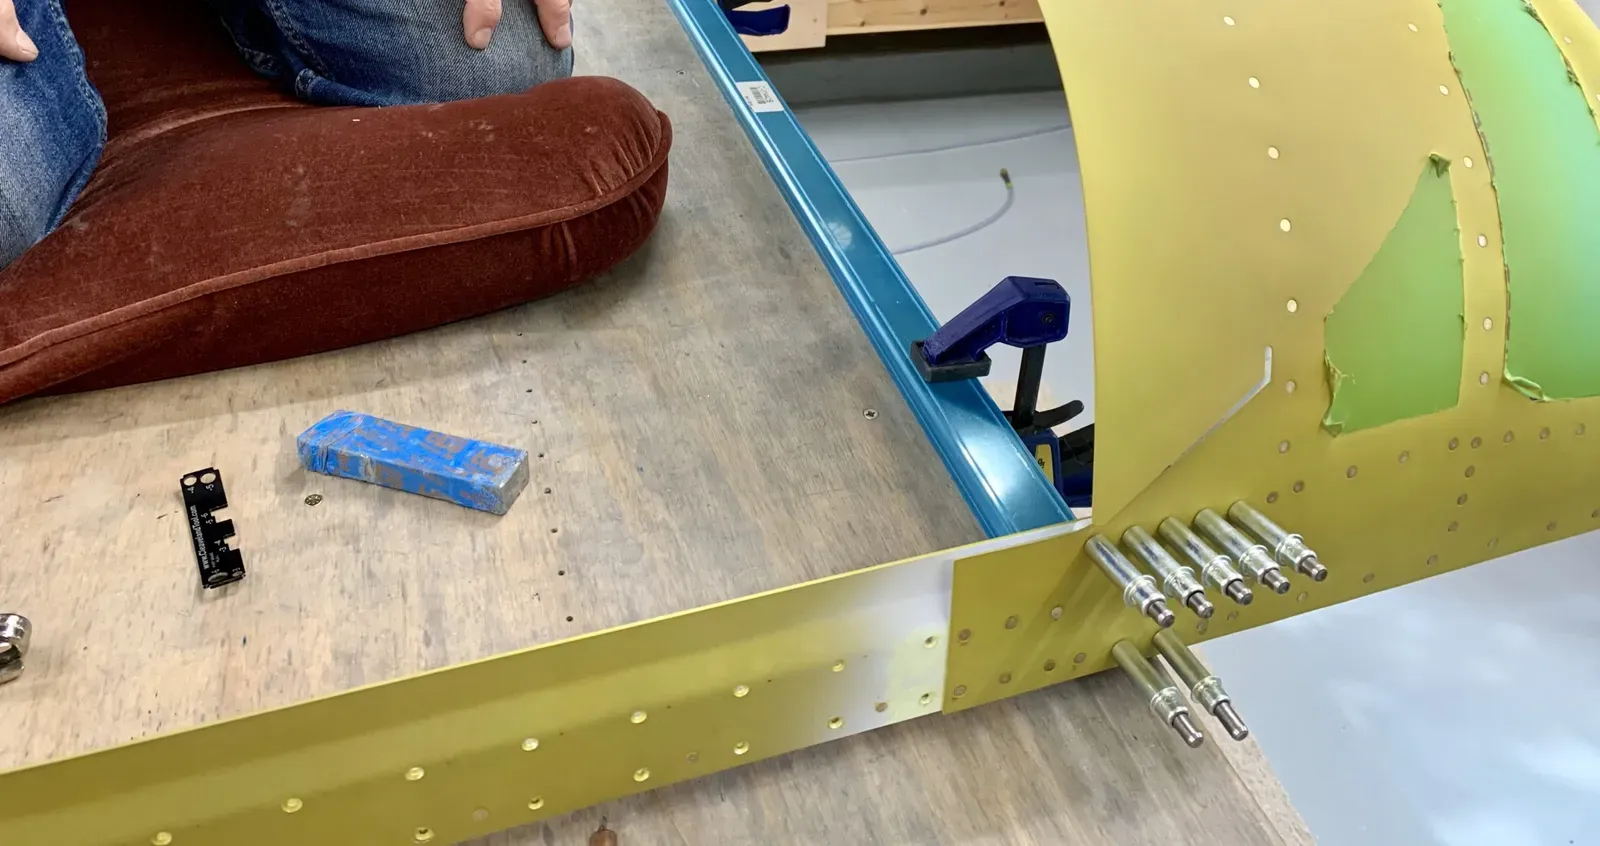
We clamped the structure to the workbench with the Canopy Fixtures clecoed to ensure correct geometry.
We set the the skin rivets with the gun.
I discovered that it was easier to get a tight fit where the lower part of the rail attaches to the Canopy Assembly skin by setting the side rivets first.
Then used the squeezer for the 470’s on the rail flanges.
But the rail tab 470’s easiest with the gun.
A few well placed wooden blocks ensured the bucking bar was positioned correctly for the awkward outer 470.
A long set on the gun worked well.
Pretty straightforward attaching the Aft Frame.
You could probably get most rivets with the squeezer, but because I had some help today we bucked some of the harder ones to access.
With the structure all connected I decided to spray the interior with my Cockpit Grey 2K.
I masked off the top skin since I’ll be painting the glare shield a dark matt colour.
After some head scratching I came up with this way to support it whilst allowing enough access for spraying.
I managed to get paint into all the nooks and crannies without any runs : )
The Canopy Pin Blocks have to be countersunk.
I used my deburring tool to machine the ones nearest the raised portion.
Nice little job to attach the Canopy Pin Blocks to the painted canopy frame.
Well it’s getting close to the time when I’ll have to face the canopy plexiglass … gulp!