Attaching Tailplane 11-05 to 06

Quite enjoyable this part, since you can convince yourself that you’ve nearly built an aeroplane. Hmmm … : )
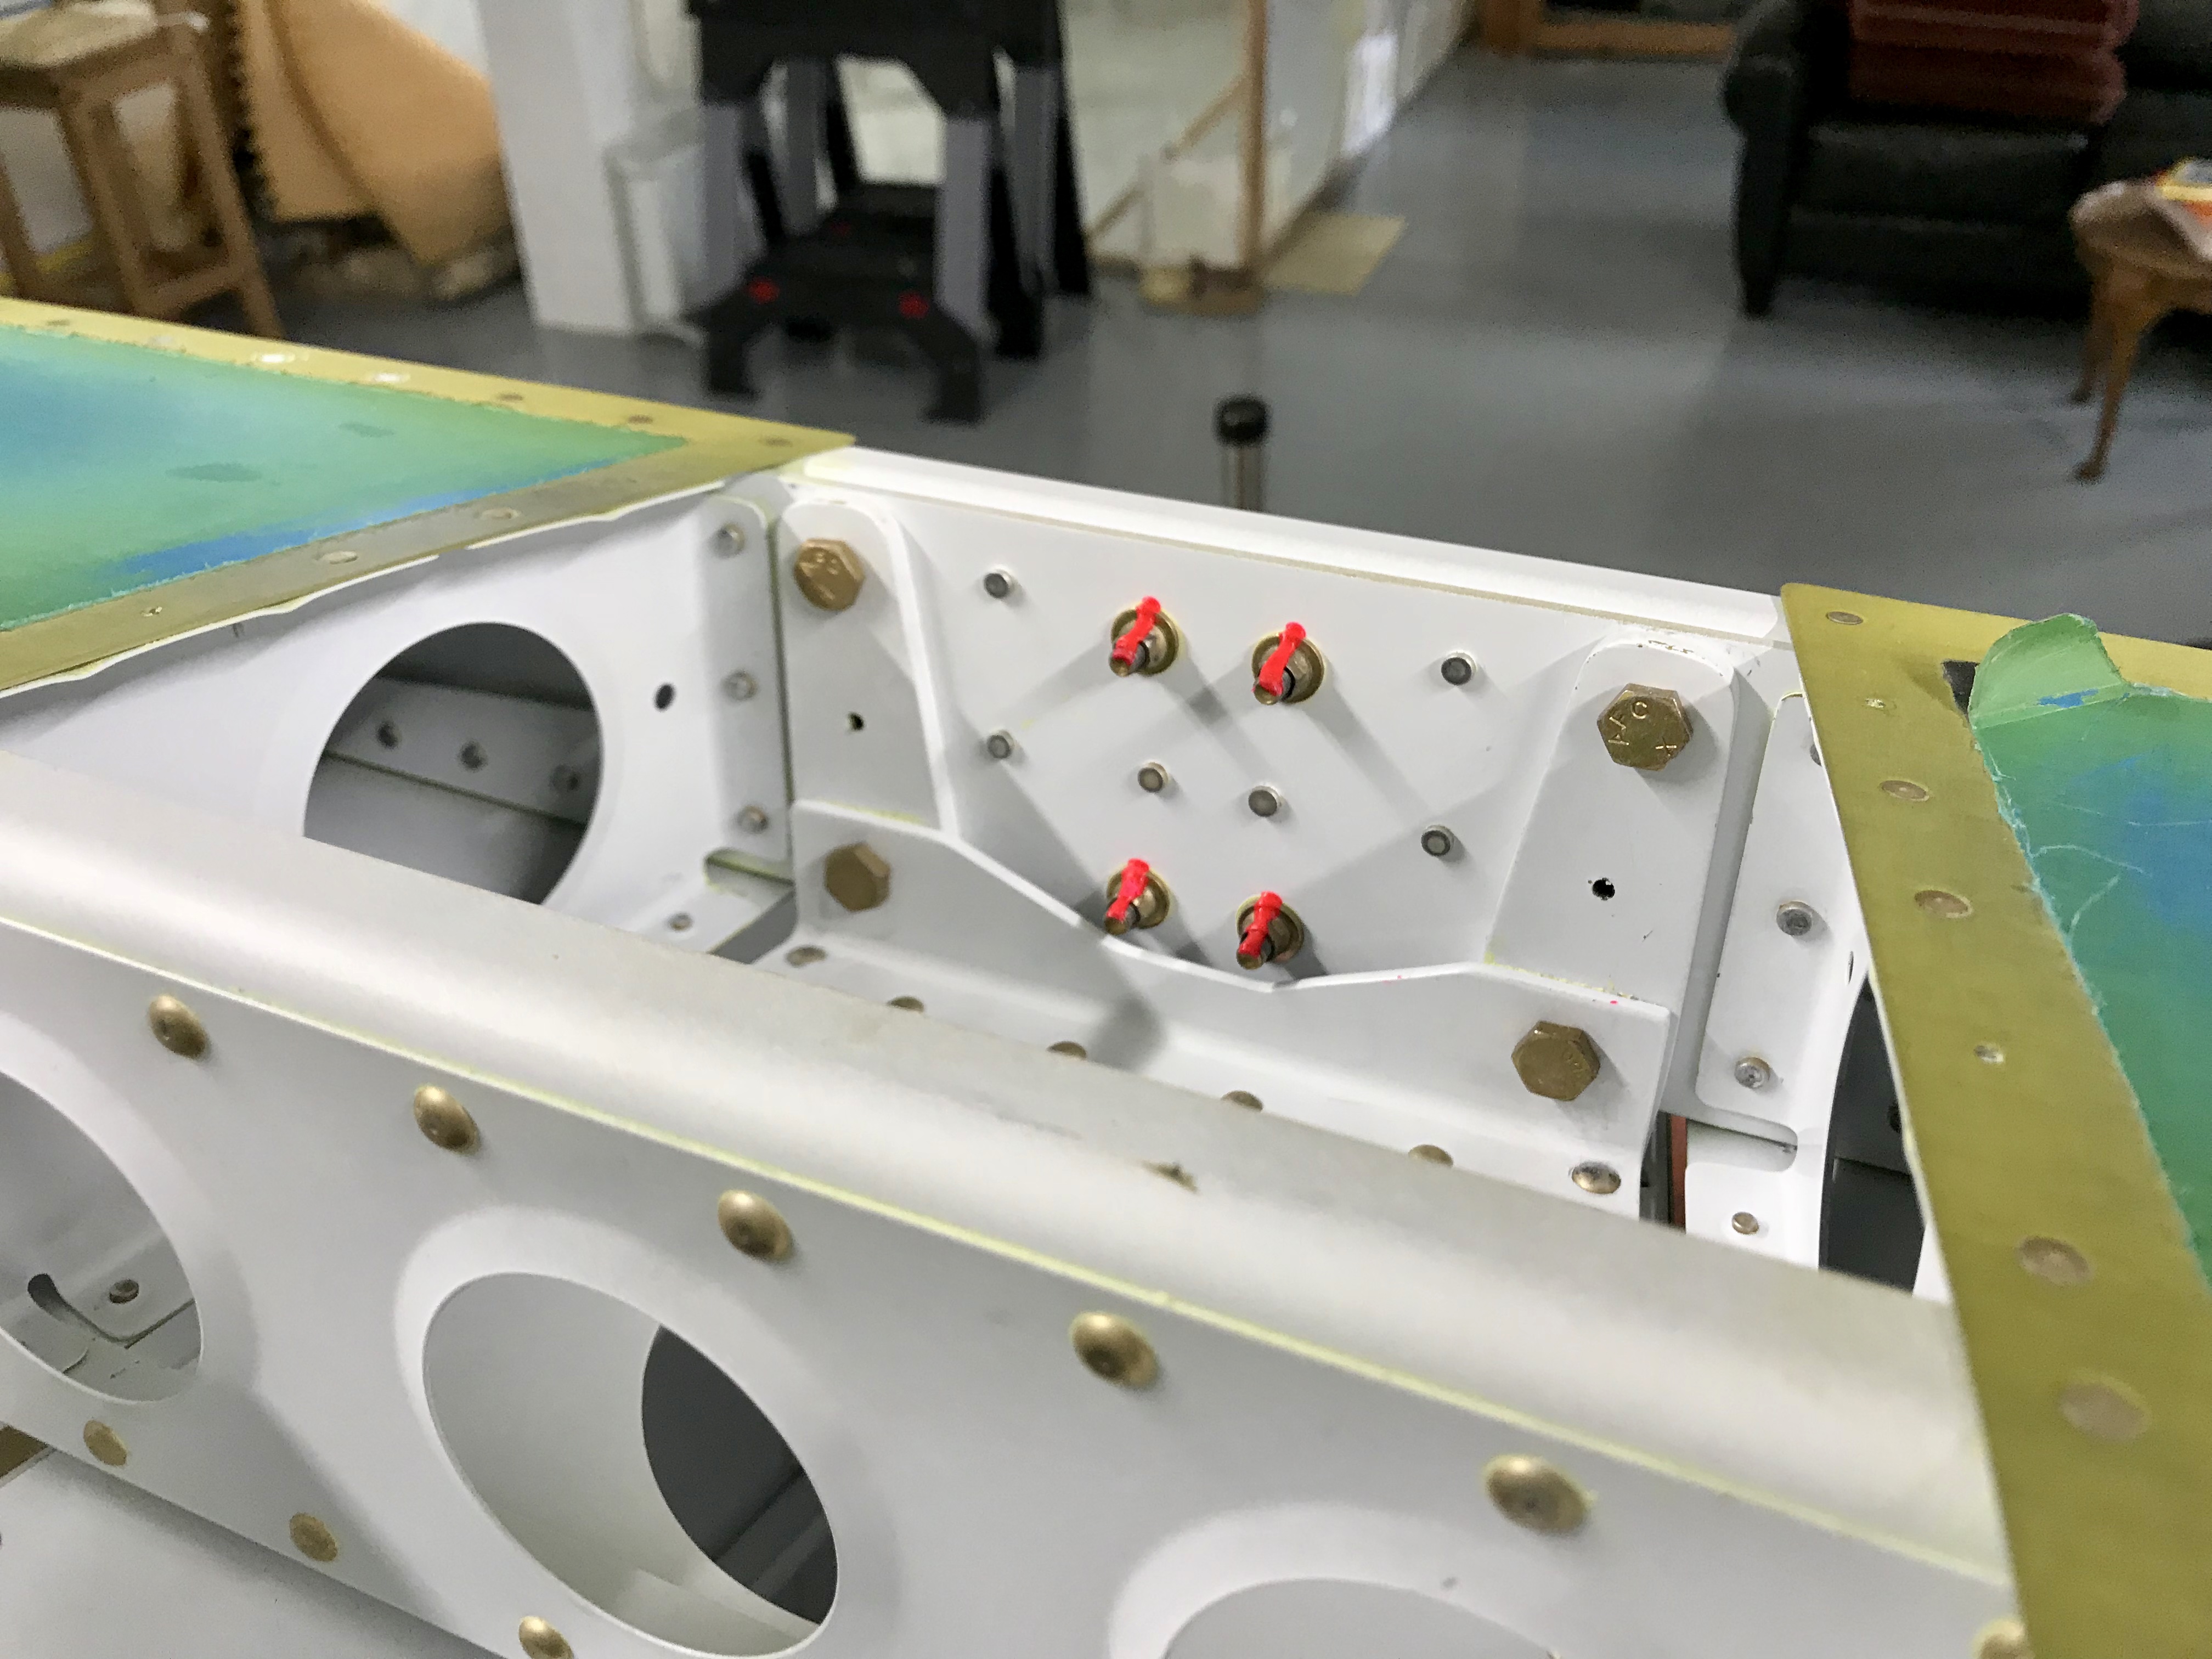
The front attach holes have already been drilled ages ago in a previous step, but happily they fitted perfectly thanks to the accuracy of Vans’ parts.
Match Drilling
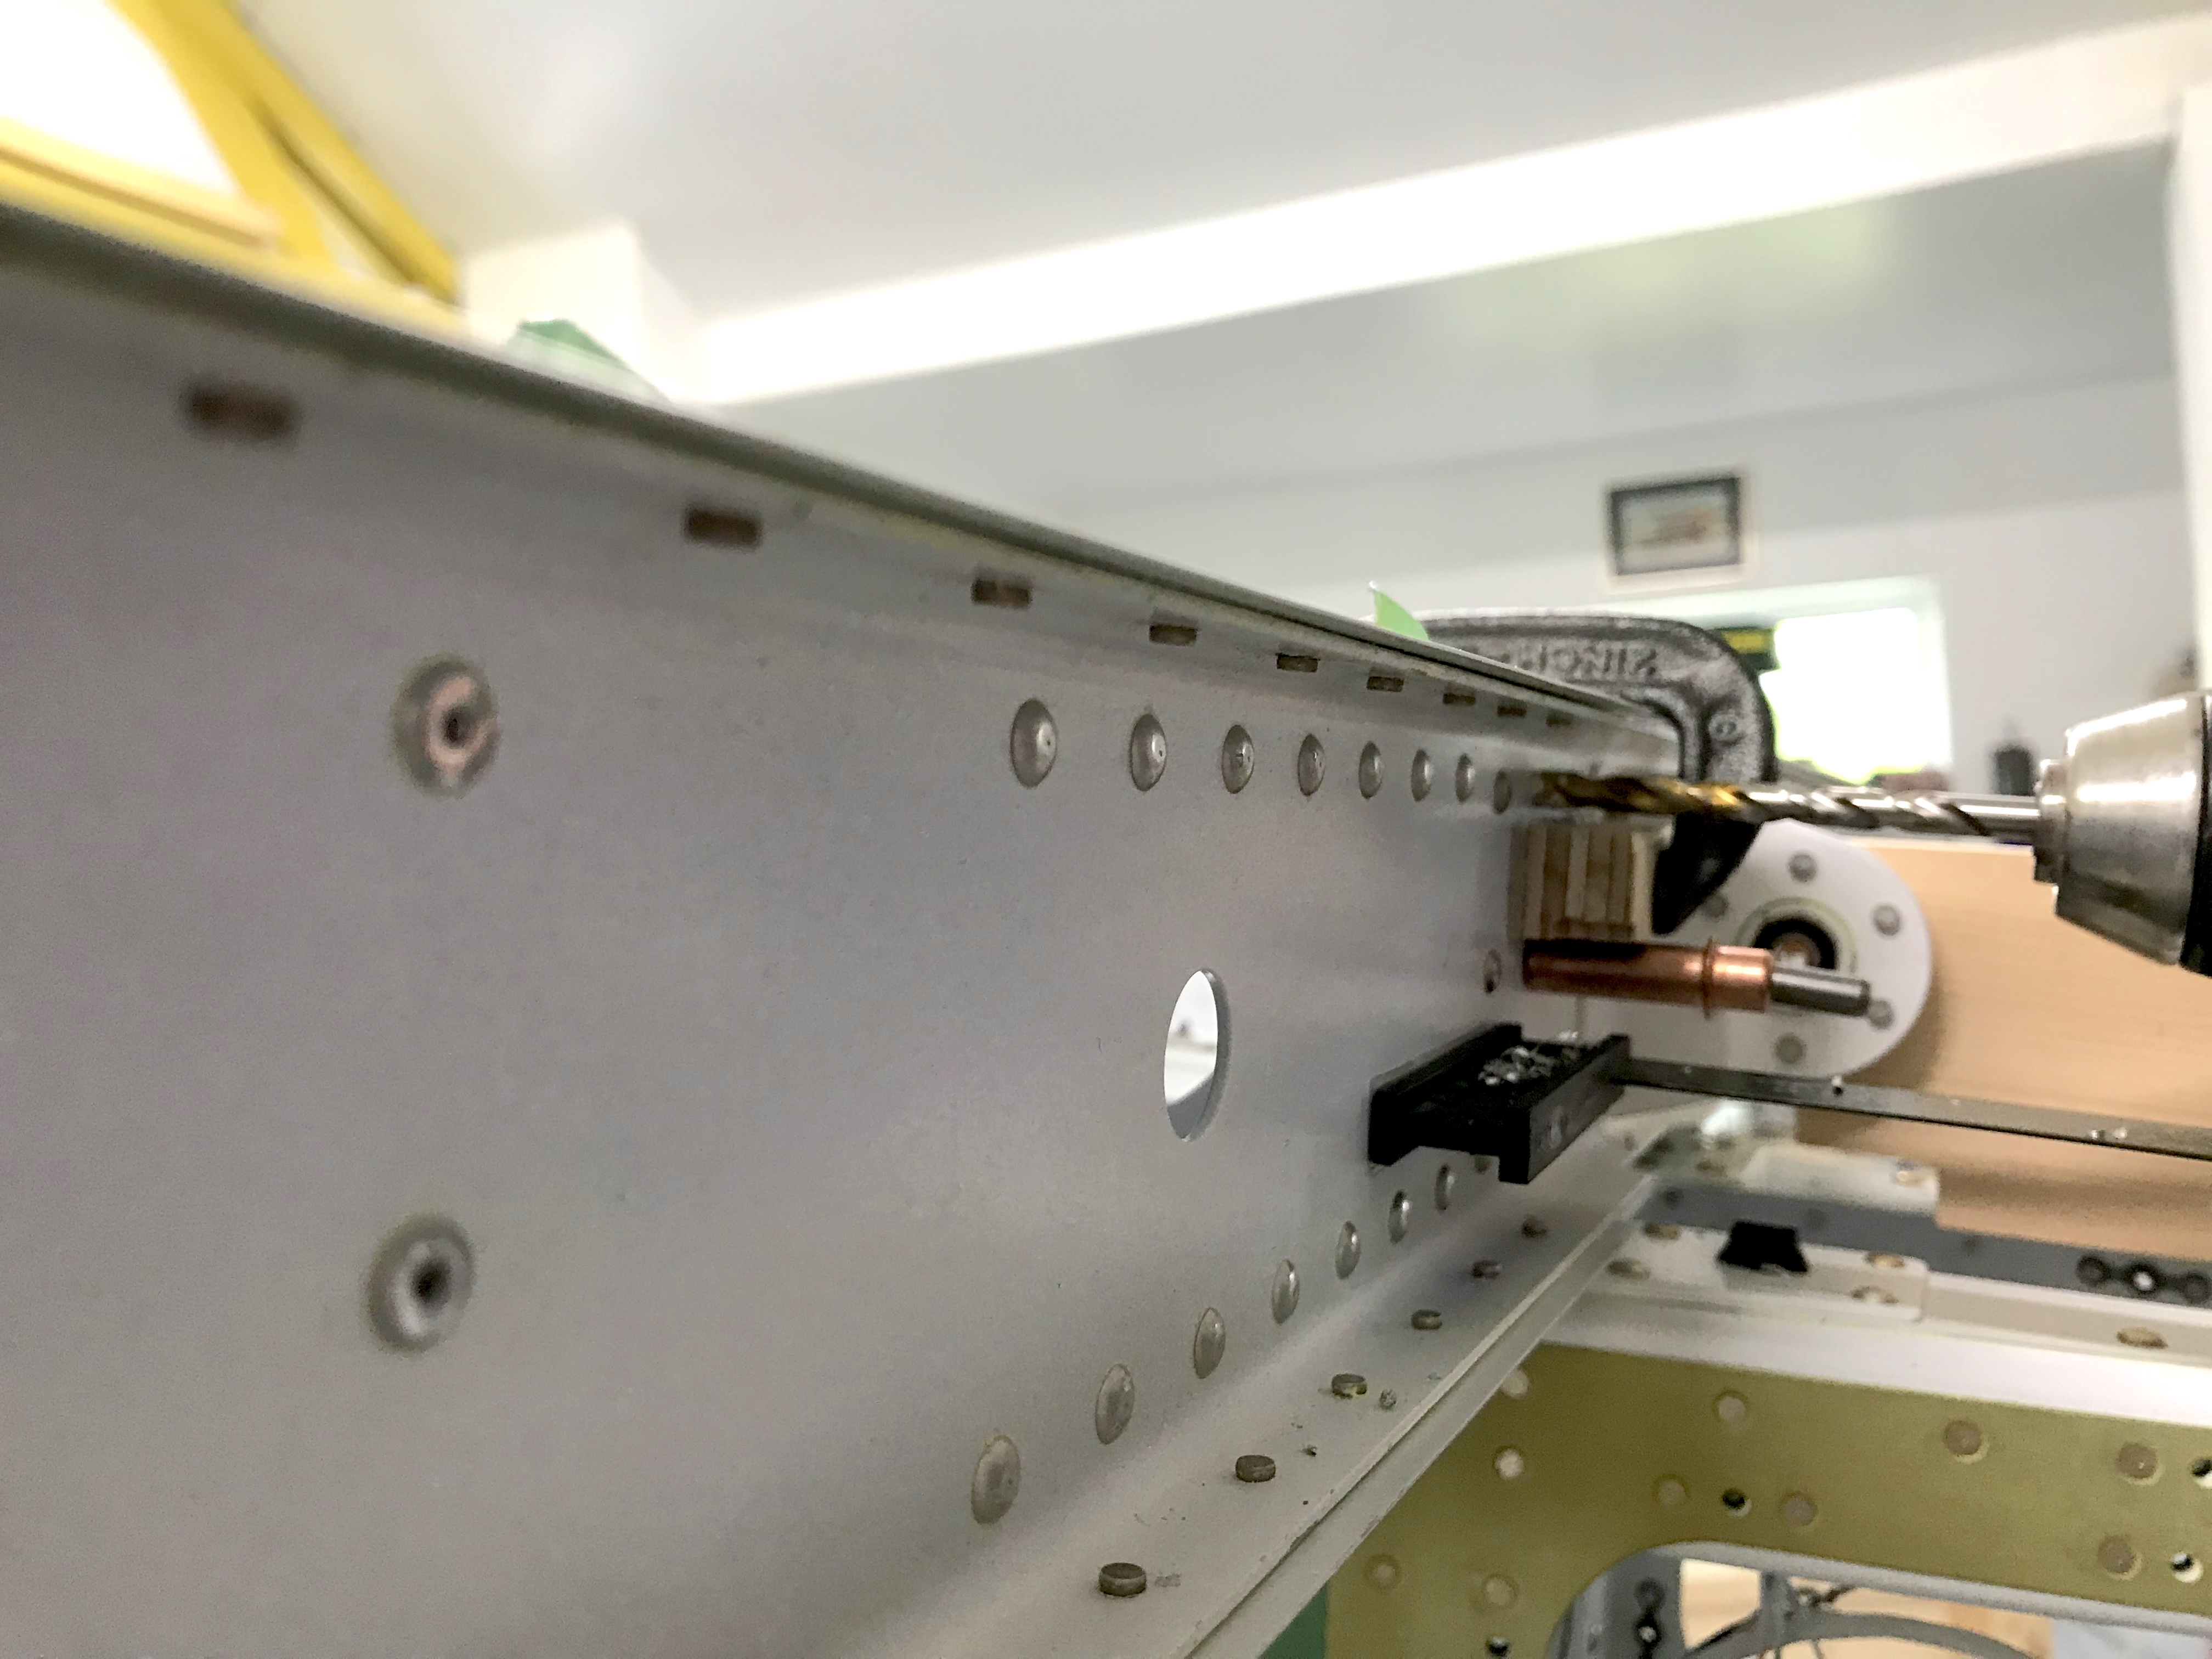
The rear spar is initially located on the fuselage attachment ears with two clecos. Then you have to match drill up from #30 to 1/4″. I decided to step the holes up gradually, since there is a lot of metal to drill through, especially the bottom two since they pass through an angle piece as well. I clamped the F-01411 “Ears” to prevent the drill pushing their tops away from the spar. Of course there is the usual note about “be sure to drill holes perpendicularly”. So I used the small set square attached to the rear spar with double-sided tape to help in one plane, and placed a block of wood behind for a helper to judge the other plane. As previously discussed in Horn Drilling 11-03 & 04 I match drilled 6.2mm, then used a 6.3mm reamer to better fit the AN4 bolts. I’m very pleased with the result, each bolt fitting as snug as a snug thing only snuggier!
Bottom Holes
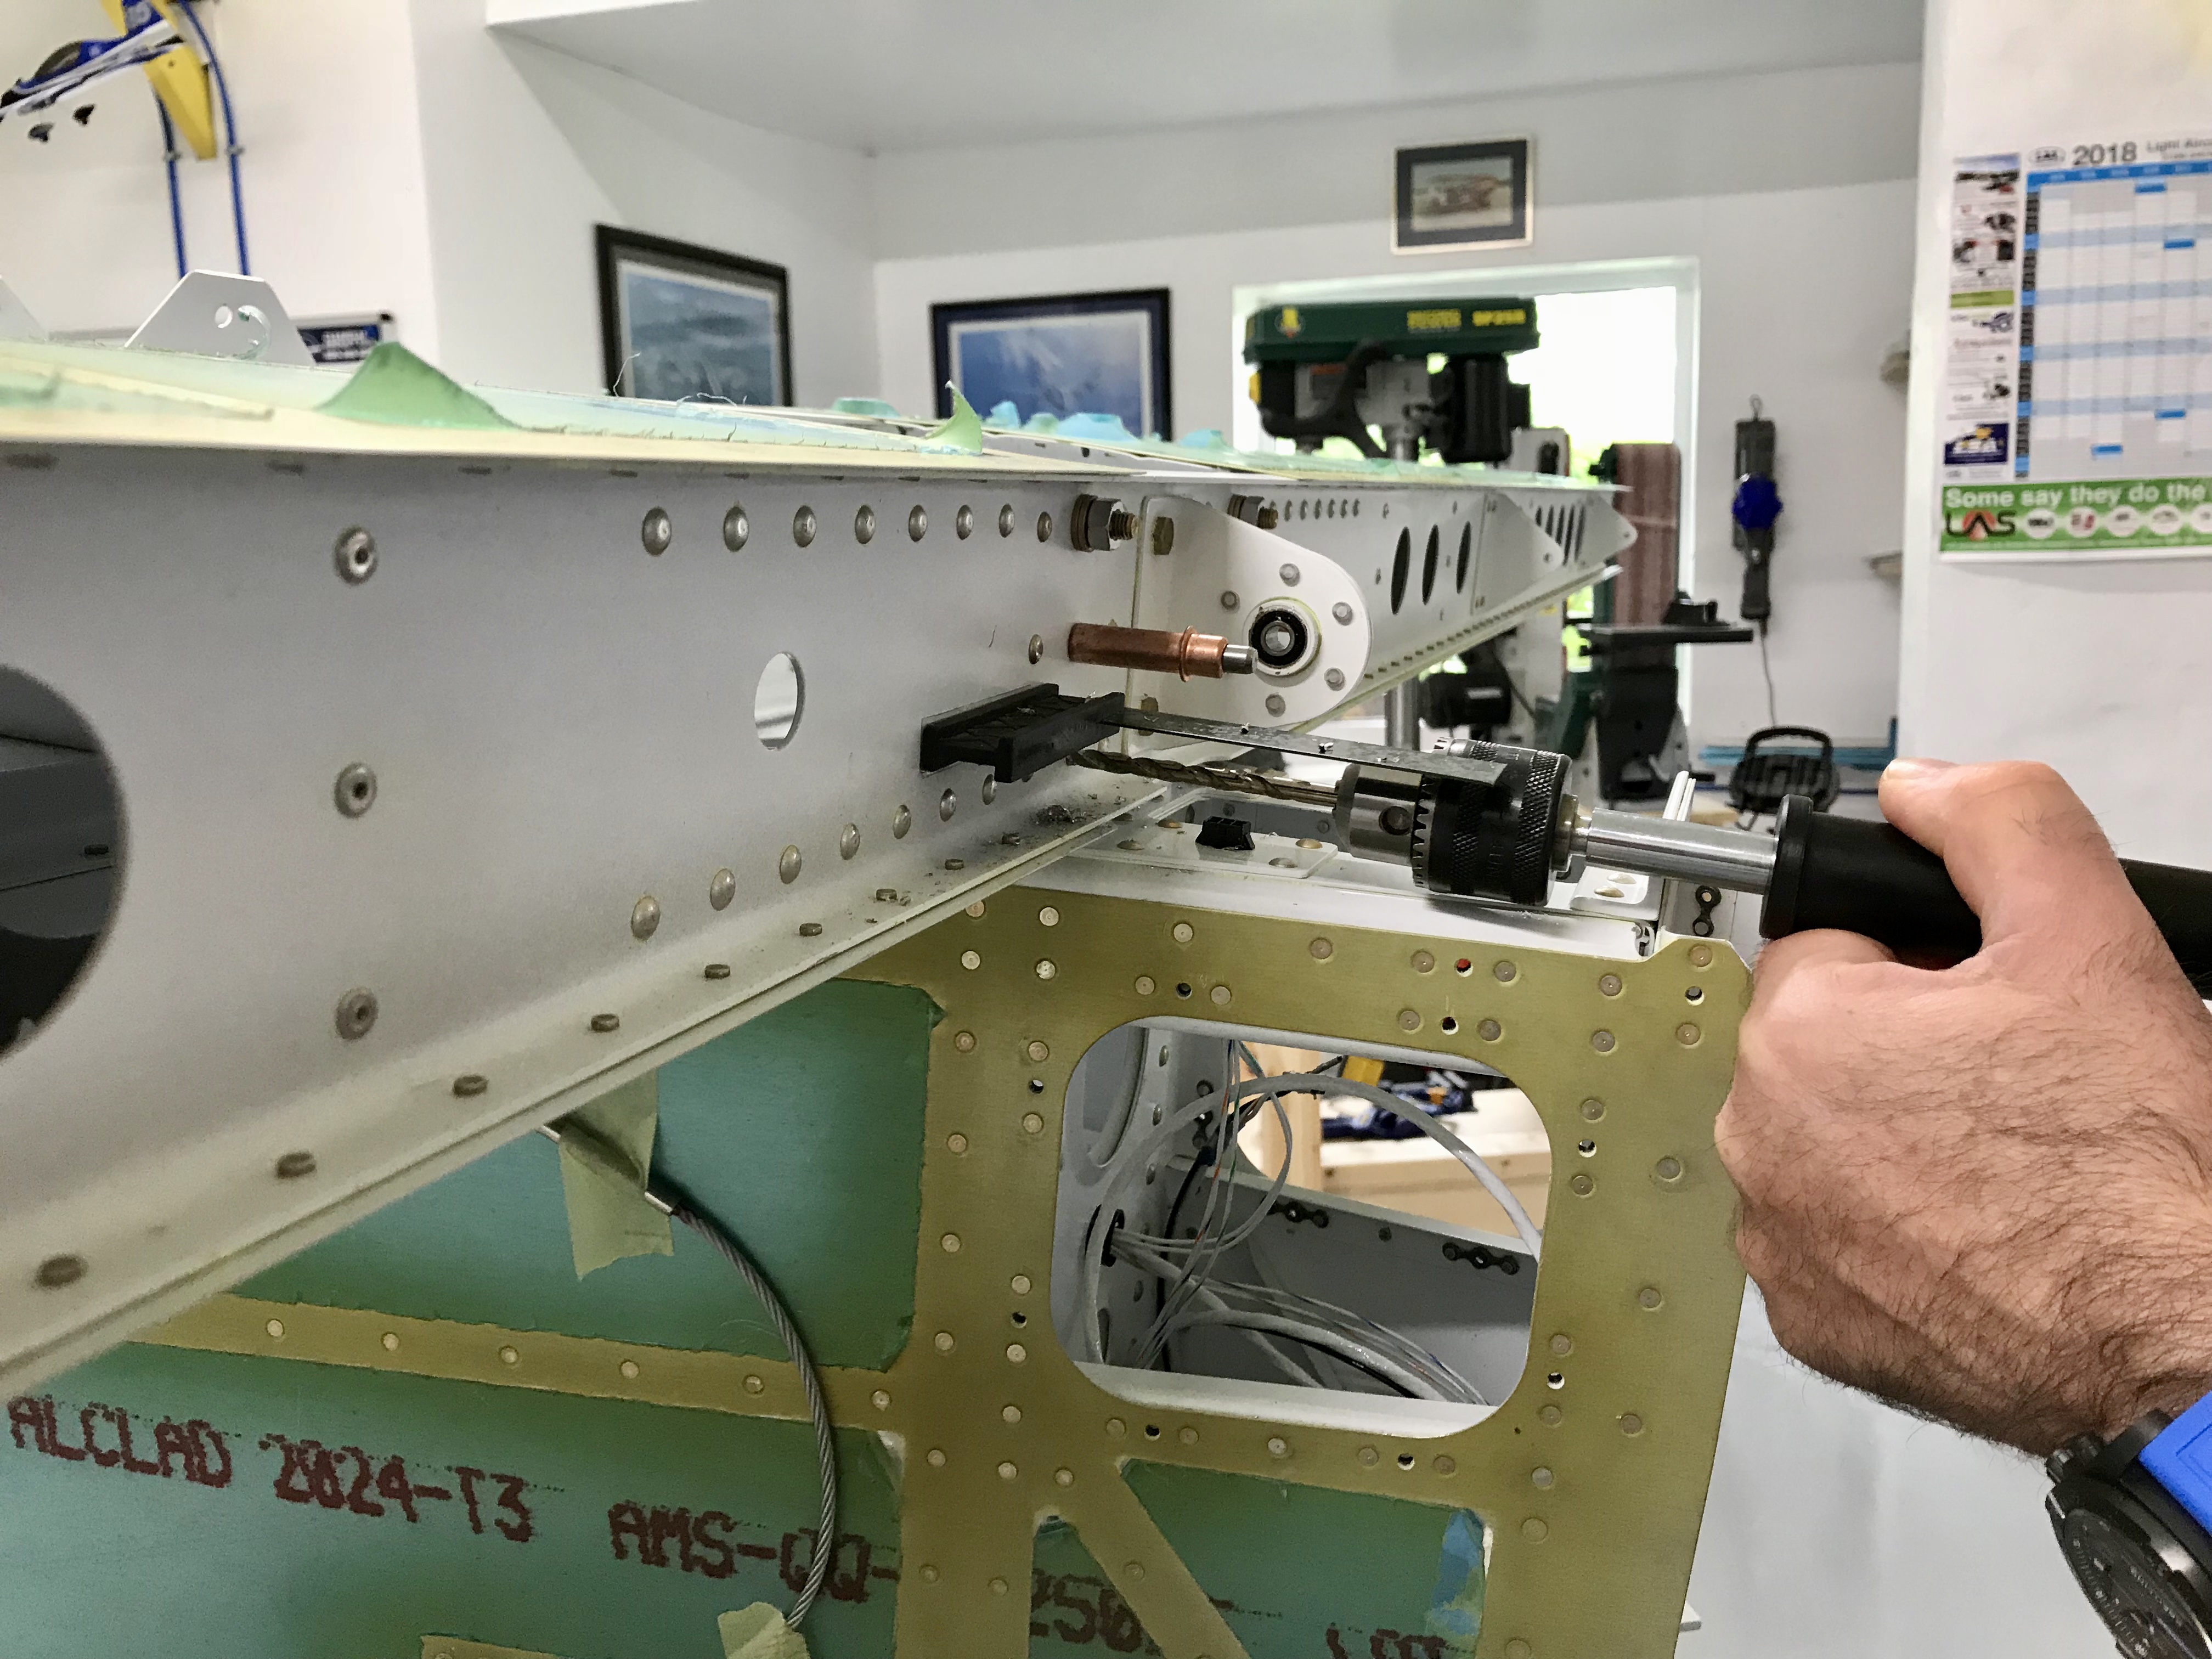
The bottom holes were awkard to access, due to the stern post bulkhead. No problem if you plan to match drill 1/4″ and you have a 12″ length drill bit. But as I wanted to ream the holes, I ended up buying a chuck extender.
Firmly attached!