Ready for priming – Elevators 09-09 to 09-13
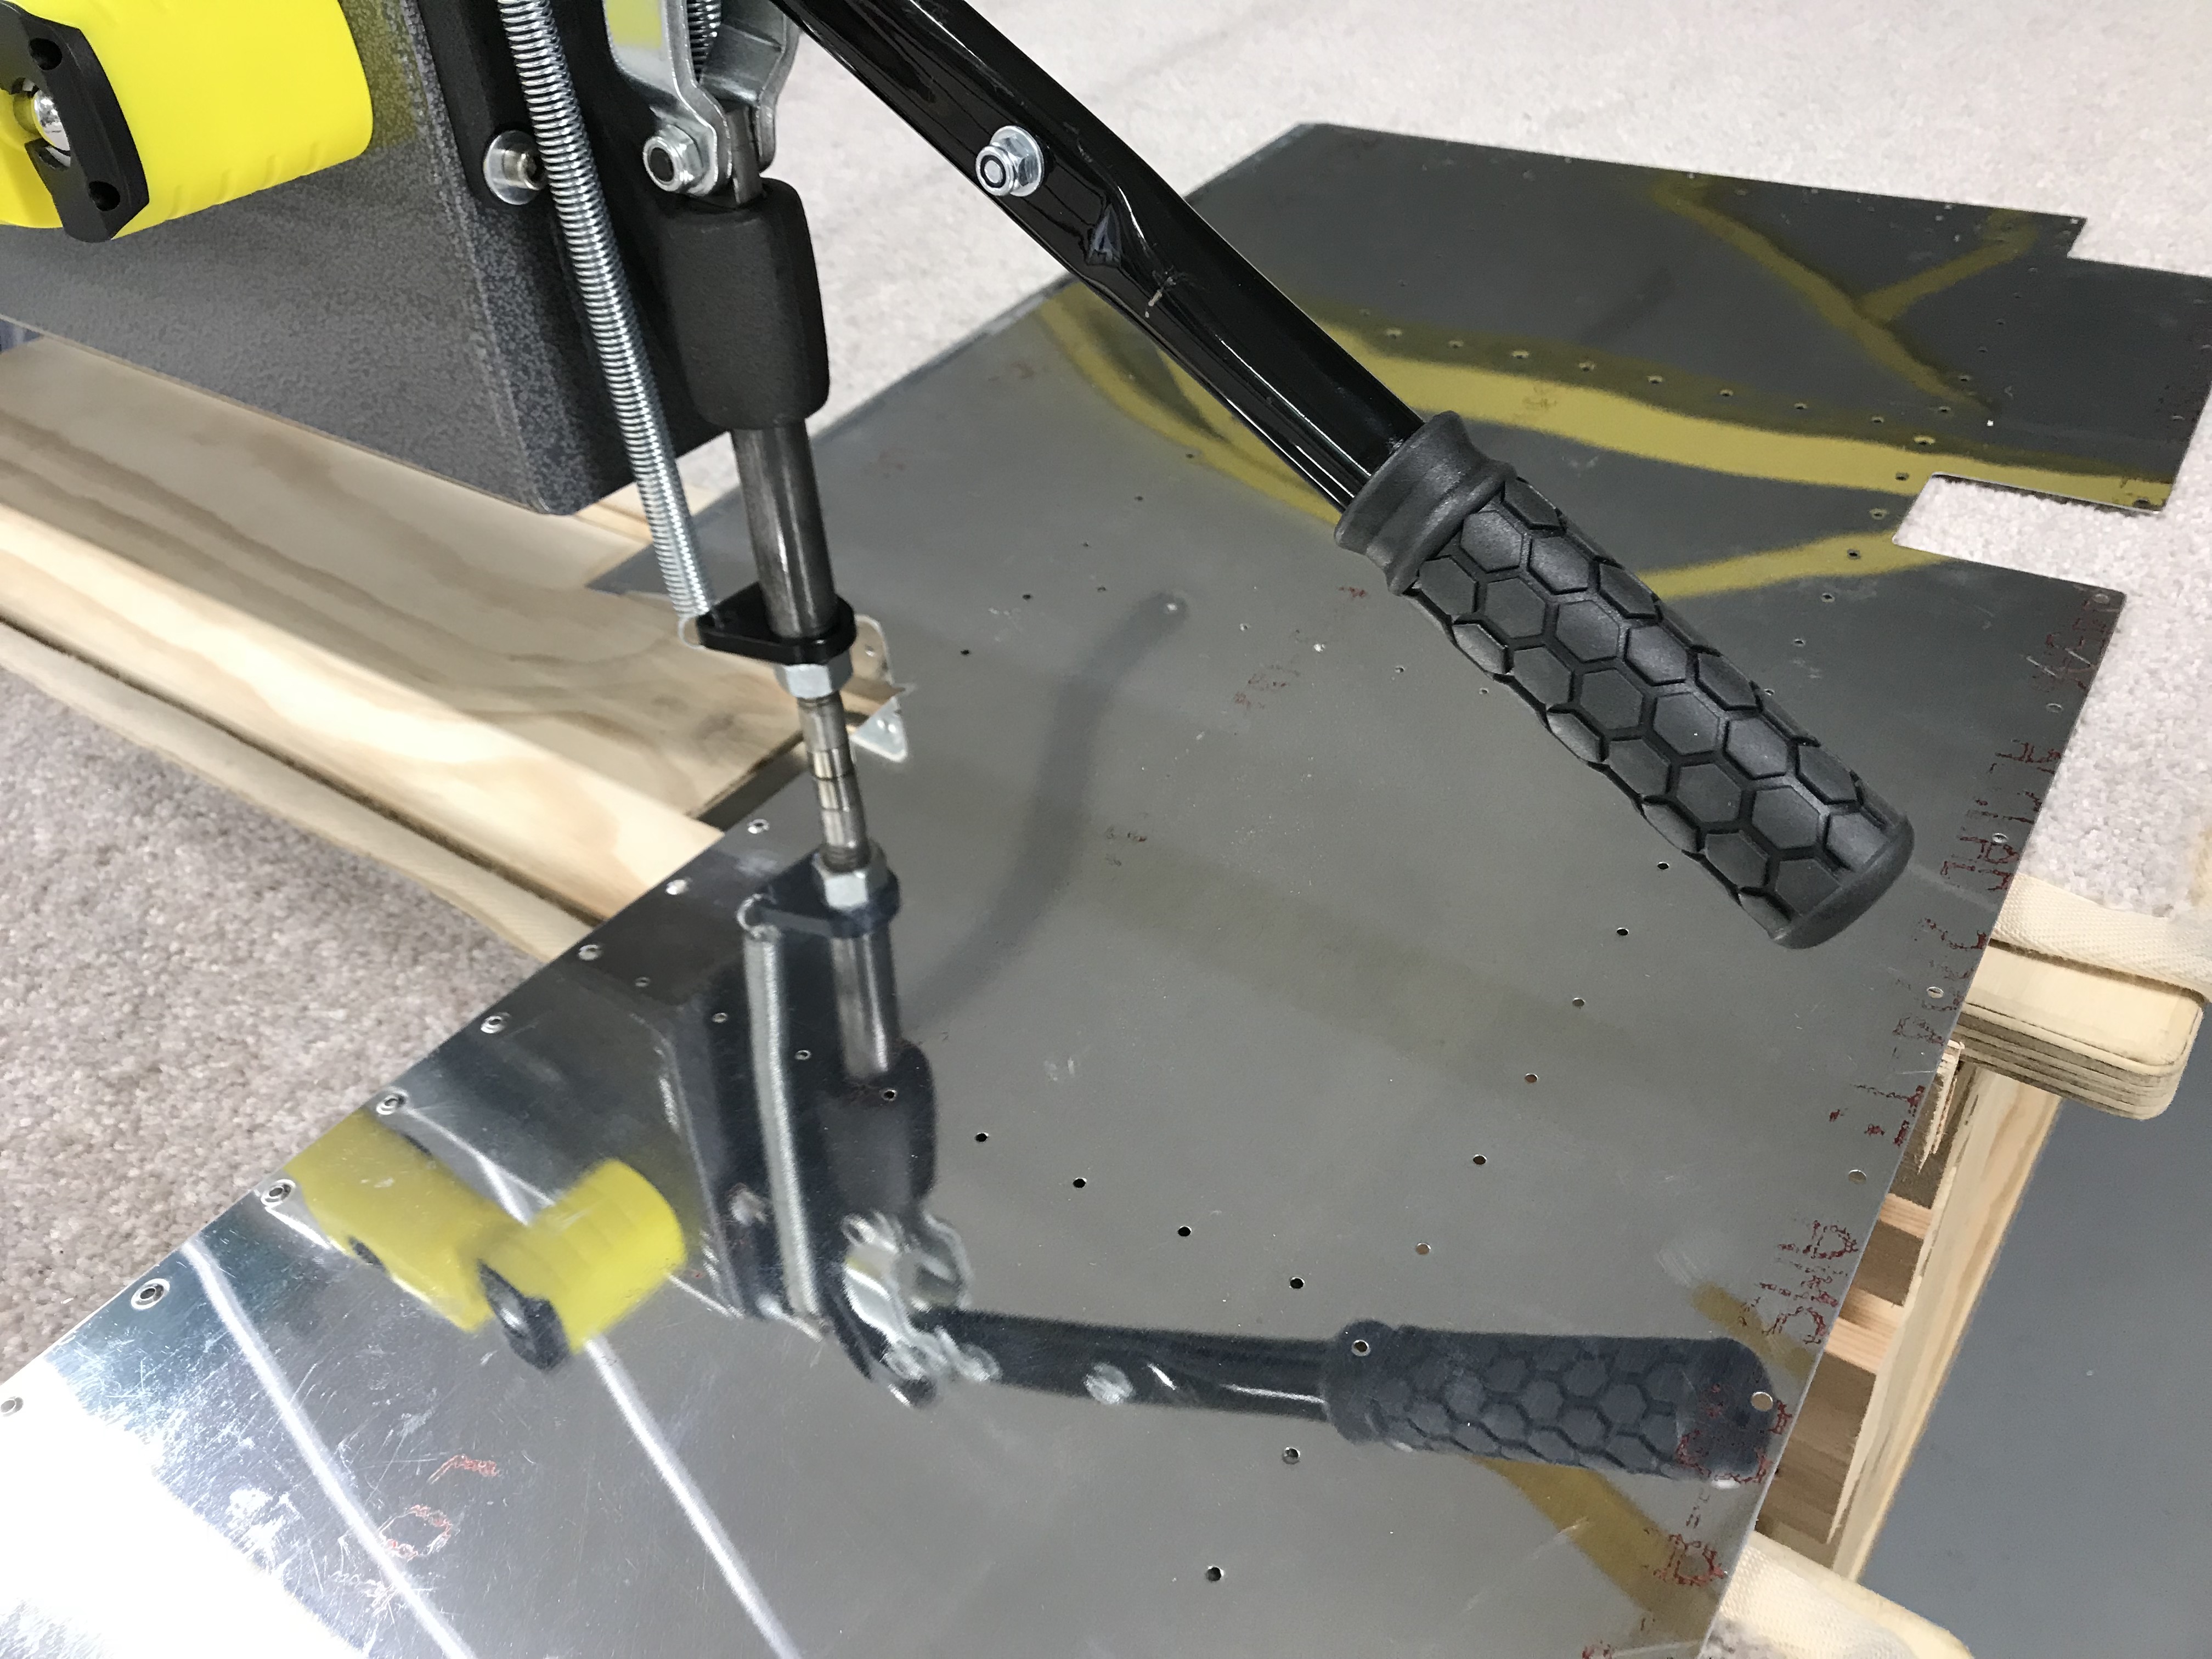
I’ve been gradually working through the various manual steps to prepare each component ready for priming. In other words, reading ahead to make sure all machine countersinking/dimpling/shaping has all been done. This does require jobs are completed out of sequence, so I’m careful to tick off jobs in the manual and highlighting jobs still outstanding. The Cleaveland RV14 Tool Set included a really useful Drill Jig for RV Trailing Edge Wedge , seen above clamped down on the pillar drill table. Made it quick and easy to countersink the TE parallel to the surfaces.The Modified #40 Countersink is used to make sure the holes can be countersunk without the centre pin binding (the #40 hole is 90º to the chord line, whereas the countersinks must be parallel to the surface).
Elevator Horn
A call to Van’s the other night, together with a picture of the suspect powder coating, resulted in a very quick decision to send me another horn FOC. It’s been a pleasure dealing with this efficient company, all little snags generally rapidly sorted.
Hole Deburring

The inside edges of the rear spar awkard to debur the holes (they had been pressed out towards the inside, leaving a small rough edge). Used a bit of wood and the deburring bit on it’s own to gain access … took a while, lots of holes! Might have been better just to scotchbrite the slight burs in hindsight?
Rear Spar Machine Countersinking

Vans ask you to clamp/cleco the trim tab hinge to the rear spar while machine countersinking the holes. Wasn’t really sure why, but having carefully measured the depth (flush 426 rivet + 7 thou) I could see the reason … the metal is quite thin, and the countersink just touches the hinge.
Skin Dimpling
At last a straightforward job, made very easy with the DRDT-2. Just had to be careful to not dimple the holes on the outside edges where the fairings will be attached. That comes later …
Trailing Edge Dimpling

Used the Cleaveland Modified Male #40 Dimple to dimple the TE’s. This ensures the Male dimple does not distort the TE bend. NB I had already “broken” the TE, just a very slight bend towards the inside of the skin to help ensure the skin sits flat after riveting. Once dimpled the breaking roller tool will not fit!!
Trim Tab

A foam rib is temporarily taped in place to ensure the skins sit correctly as the end tabs are dimpled & final drilled #33.
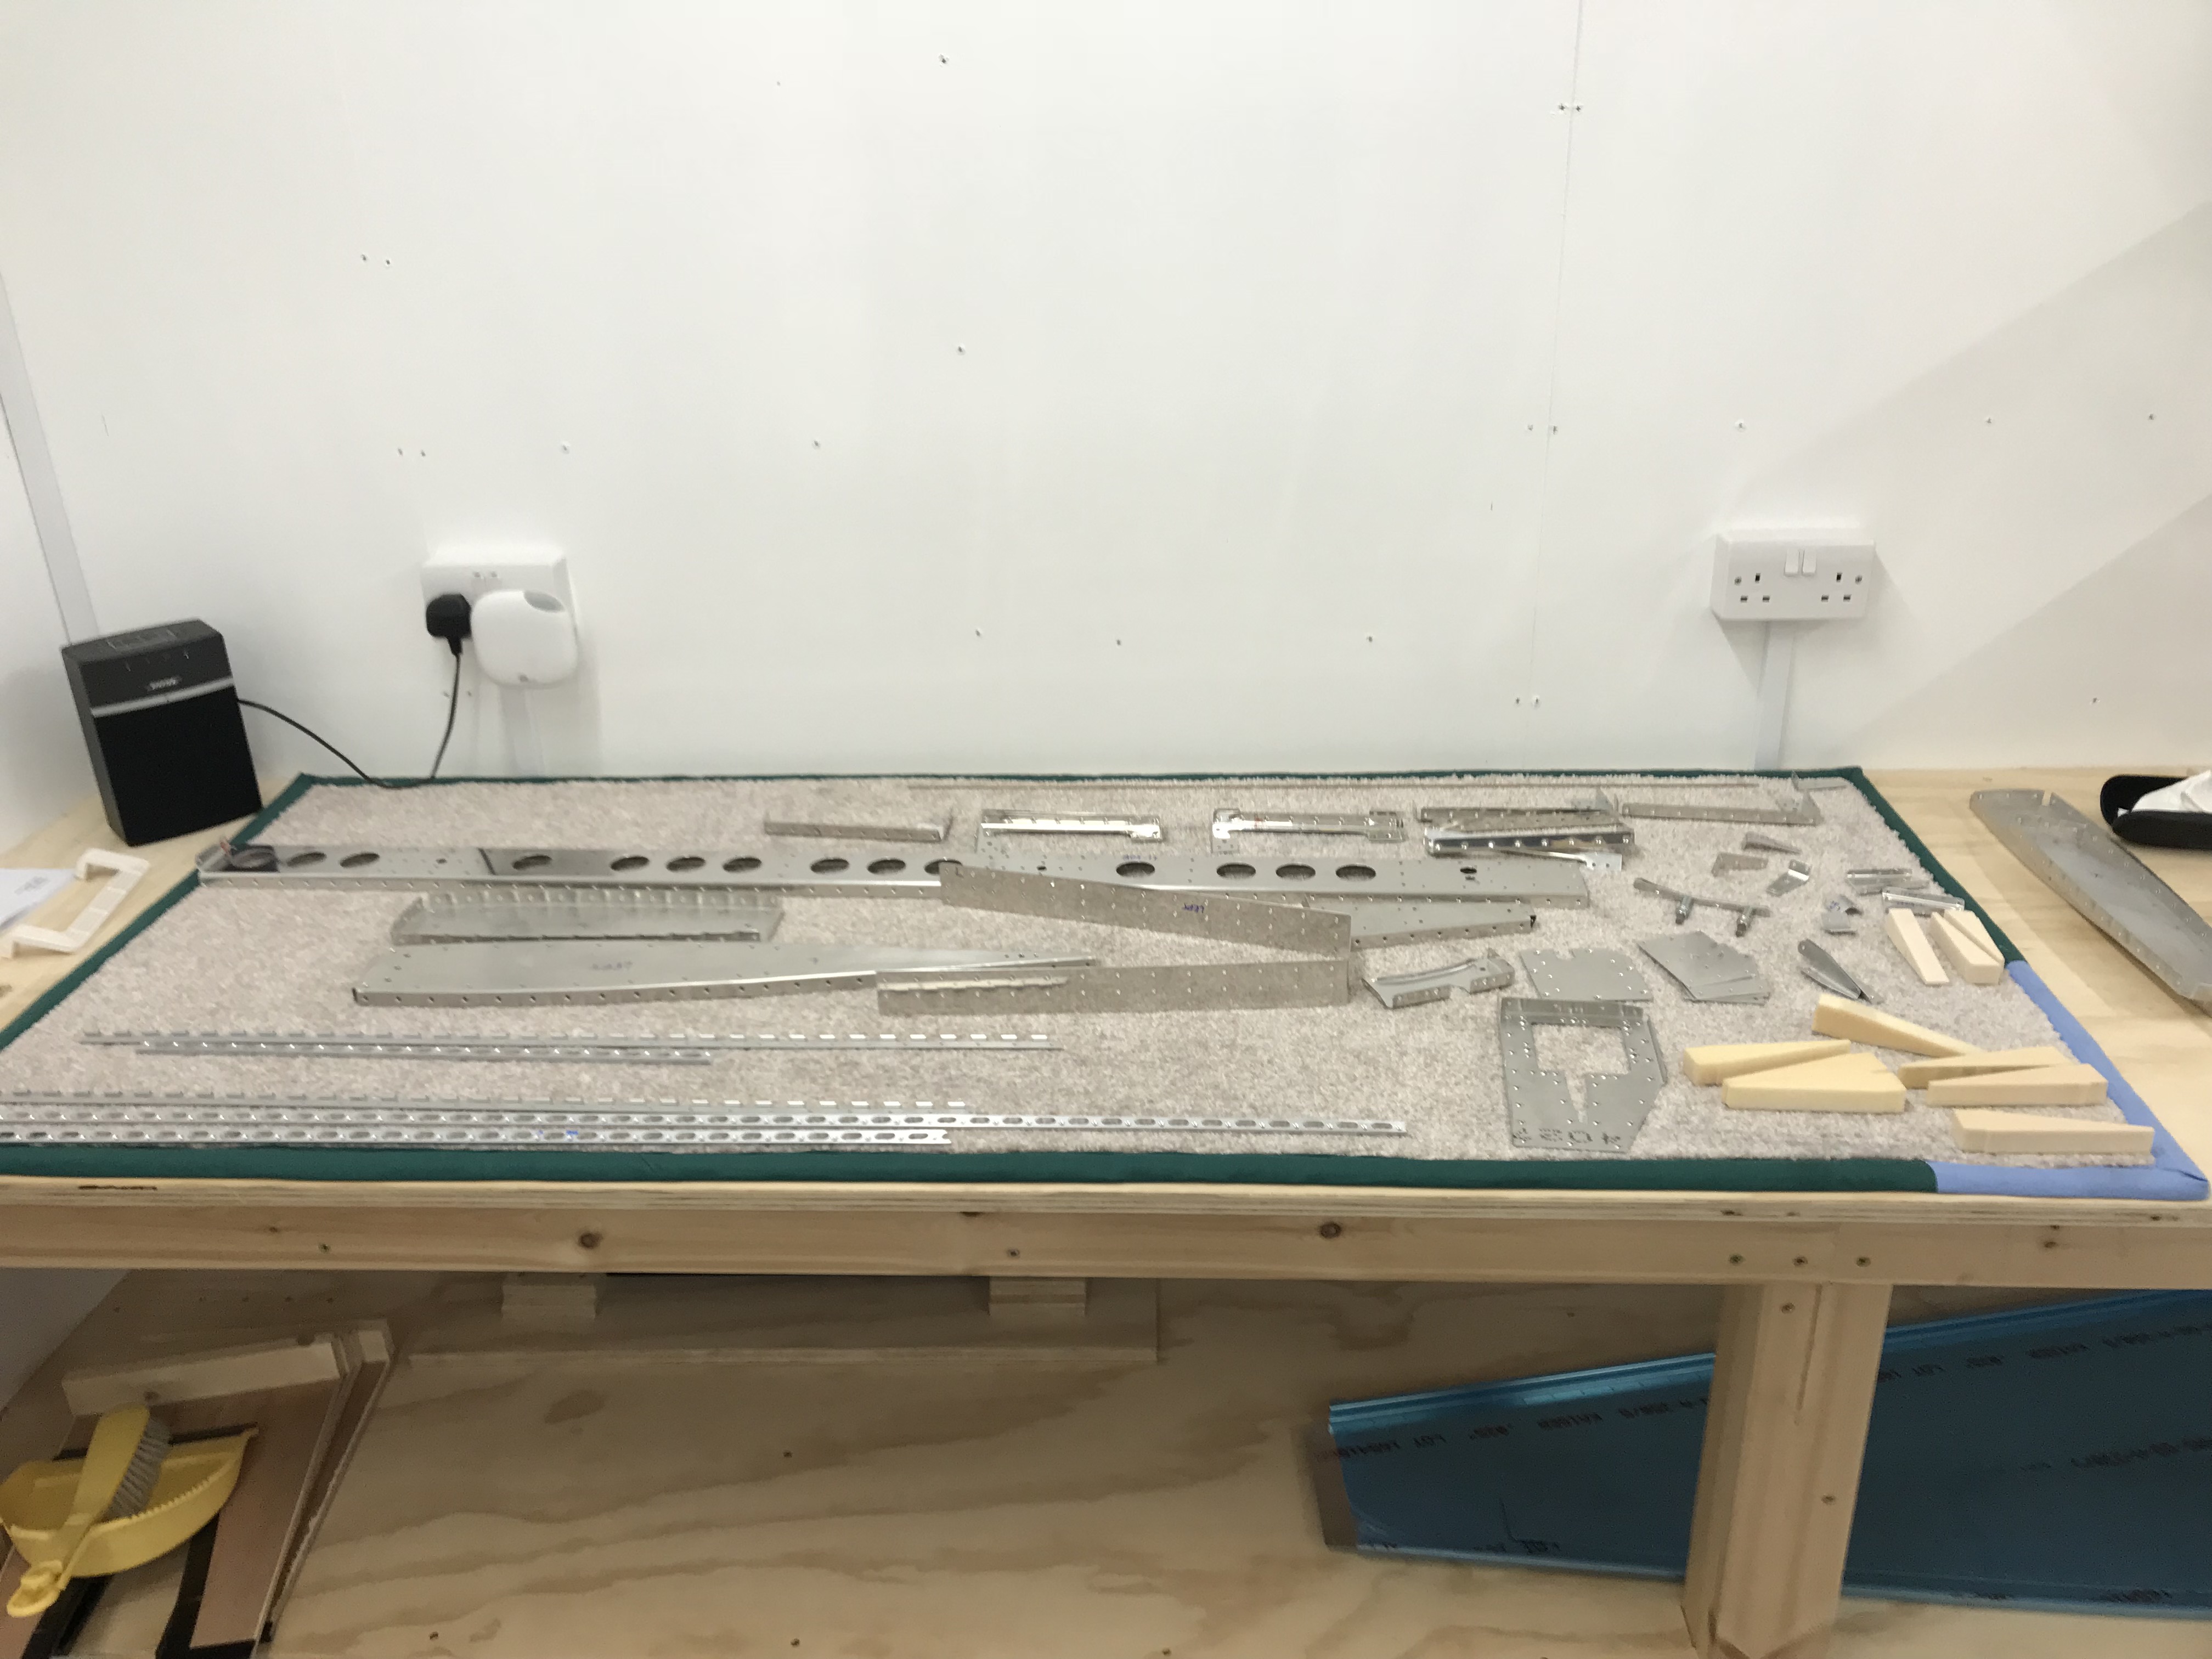
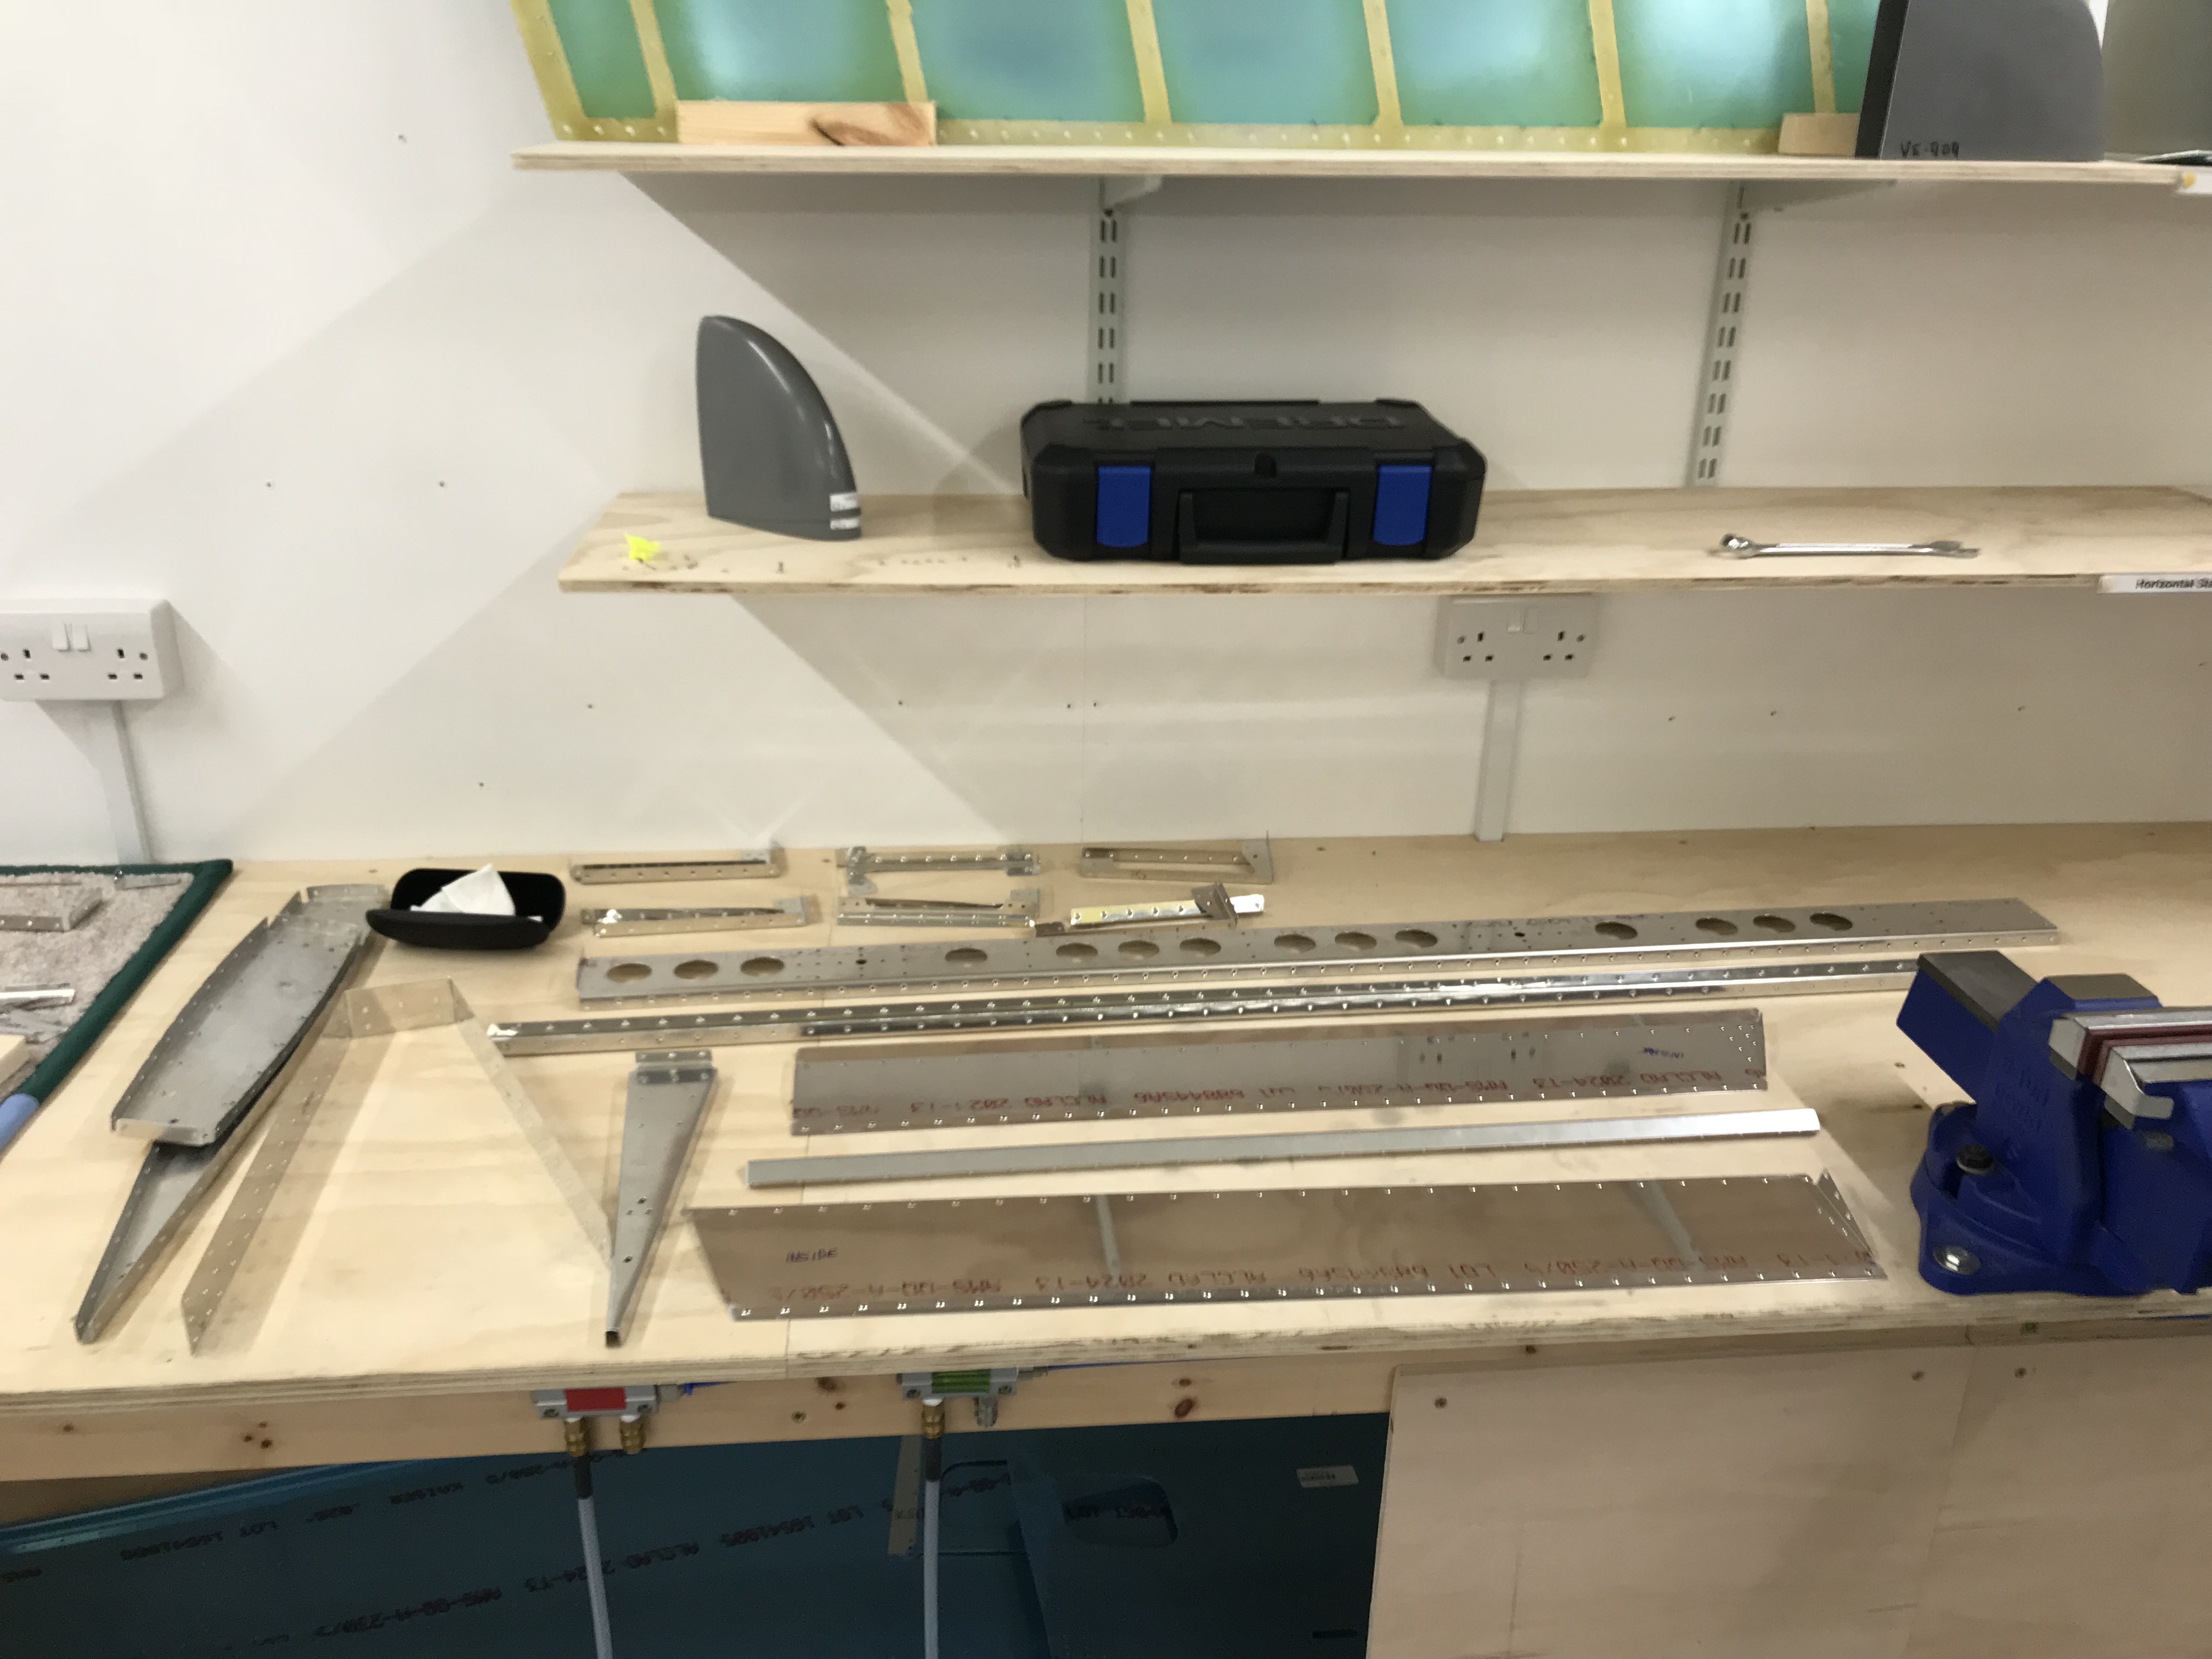
Ready for priming preparation
Lots of parts in the elevators! 4 skins as well. Think I’ll probably have to prime in 2 sessions. Off to work tomorrow, so this will have to wait for the weekend.