


46B-13 to 24 Upper Intersection Fairings
The U-01434-L/R Upper Intersection Fairings are first trimmed to scribe lines, and then test fitted to the fuselage.
They incorporate a flange at the aft edge which is used to cleco the fairings closed … it will be removed later. Once happy with the fit, the flanges are drilled for the clecos.
I found that the natural fit of the moldings was very good, and required little adjustment.
The manual again assumes that you have transparent fairings with no gel coat, instructing you to …
“Drill #19 the inboard-most screw attach hole in the upper intersection fairing that aligns with the outboard-most cowl attach screw hole.”
With gel coated fairings you obviously can’t see this hole. But the fairings do have a molded dimple to mark the screw position, so I just drilled this with my fingers crossed. It lined up well, and actually helped to decide on the fairing’s fore/aft position.
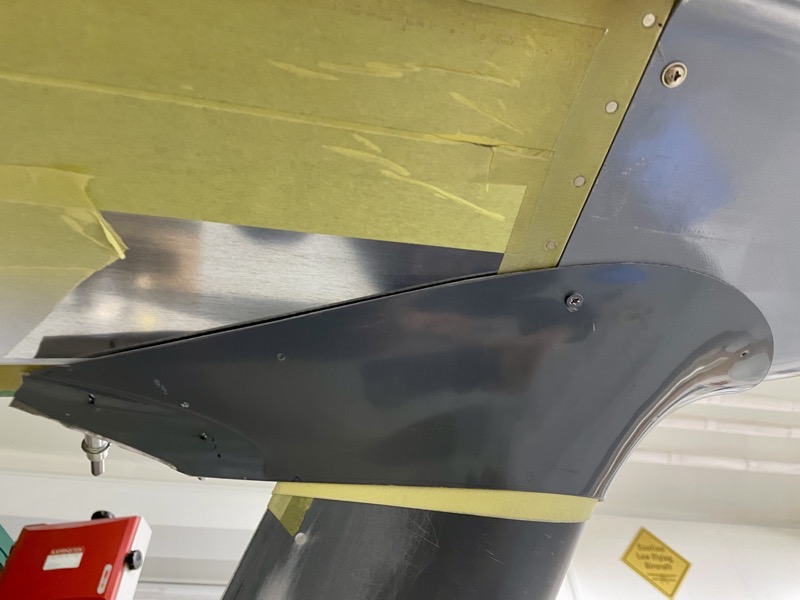
I used 8 layers of my masking tape to get a snug fit between the fairings and the gear leg fairings.
A snug fit ensures the fairing is in the correct place as the remaining holes are match drilled.

My fairings needed a firm tension to keep them formed correctly against the fuselage profile.
Once the holes had been drilled, and clecos inserted, I removed the tape, checking all was still in the correct position.

My right fairing needed more encouragement to fit snuggly.

Nutplates temporarily screwed into position on the outside to match drill.

Rivets squeezed on the cowling with easy access …
But the nutplates on the fuselage underside needed a helper with a bucking bar … thanks Coral! : )

The fairing/fuselage interface has to have epoxy/flox added, to provide a greater bearing surface and more material for the screw countersinks.
I used thin parcel tape as a release agent.
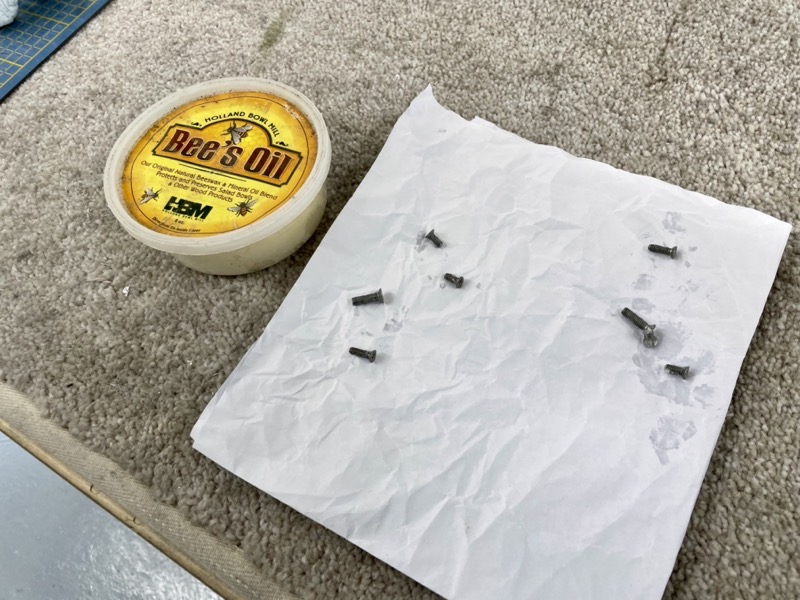
Beeswax as a release agent on the attachment screws.

I dispensed the epoxy/flox mixture from a plastic bag corner.

The hardest part of this little operation was finding the first screw hole through the epoxy mix, without sliding the fairing around too much and thus disrupting the carefully applied epoxy/flox.

A view from underneath with the excess epoxy cleaned off.

Once the epoxy had set the fairings easily came off, the parcel tape acting as a good release agent.
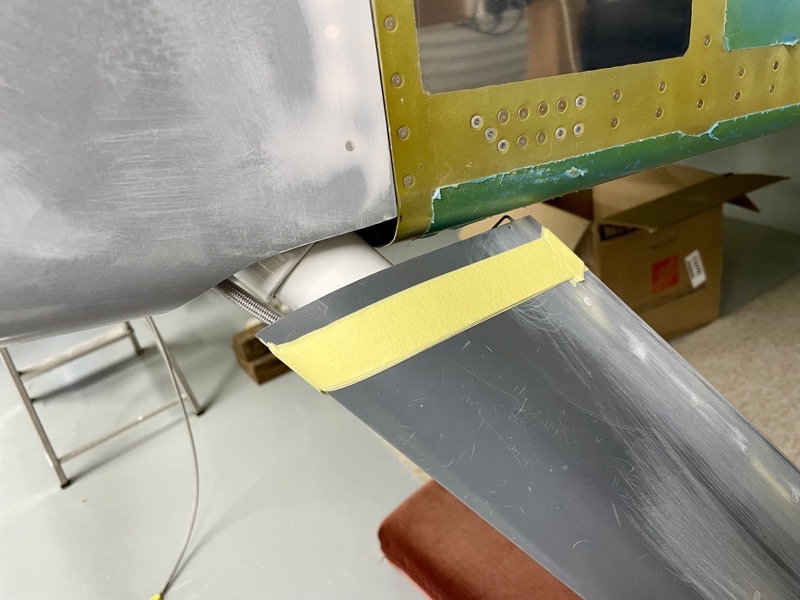
I used tape to mark the aft postion of the leg fairings.
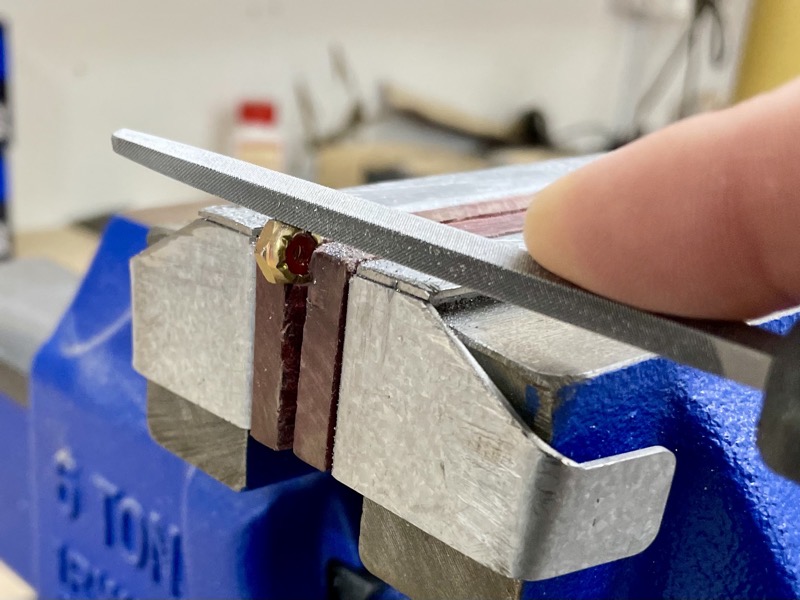
The next stage involves embedding a nut in epoxy/flox.
So I scuffed the nut surface with a file for added adhesion.

More parcel tape to prevent the outboard screw side of the fairing bonding to the nut attachment side.
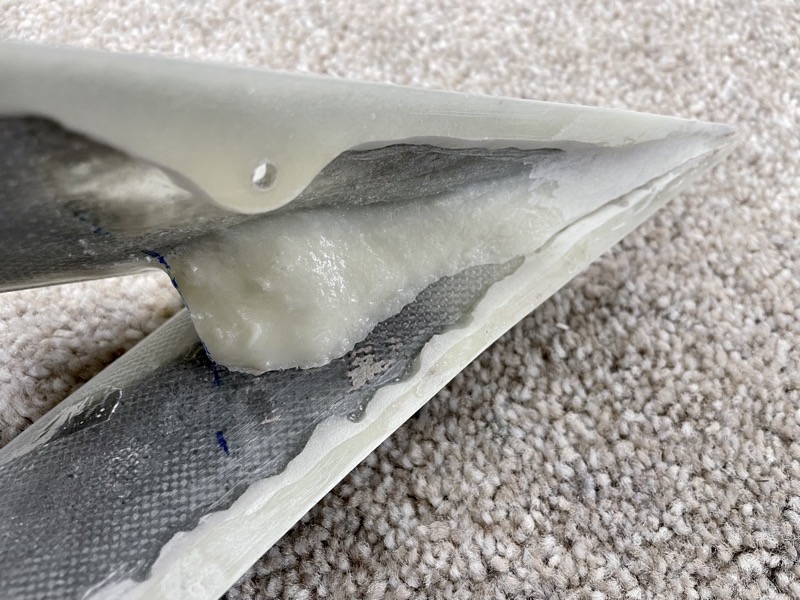
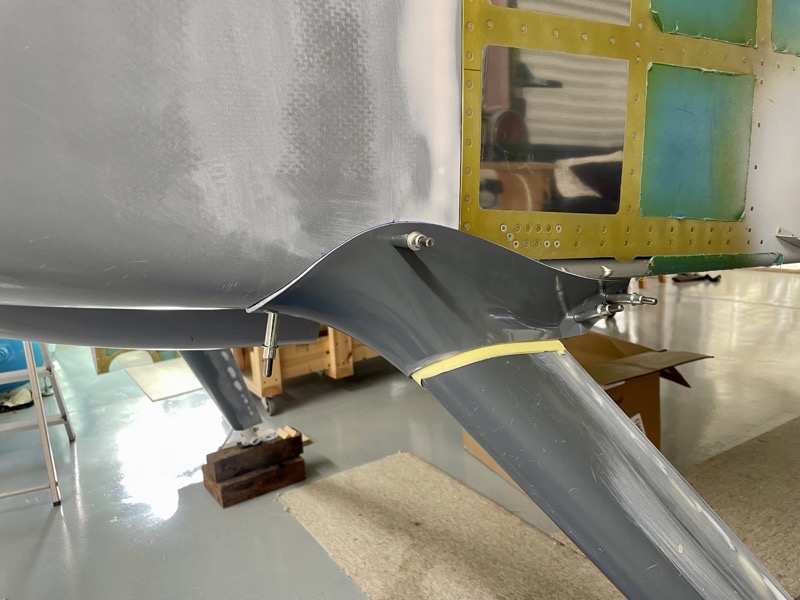
Here’s the result after encapsulating the AN365-632A nut and forming a fillet in the aft fairing join.
After the epoxy set, I trimmed the front portion back to the marks made for the aft gear fairing edge, using a Dremel drum sander.
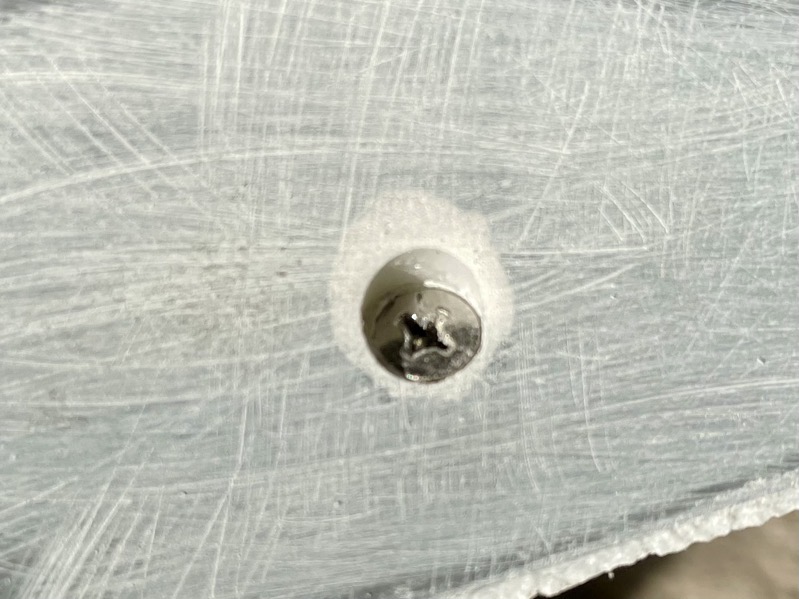
Even when using a reduced diameter #40 countersink, I found the resulting holes for the screws were very big.
So I filled the excess gap by …

… adding Microballoons filler, around a suitably sized tube with packing tape wrapped around to act as a release agent.

I trimmed off the excess epoxy flox with a Dremel drum sander.

The aft flange is trimmed, ensuring enough remains to sand to a nice taper.
Upper Fairings all done now … there was quite a lot of work in these, due to the many epoxy/flox processes.


