


18-09 Wing Tank Leak Test!
It’s been about 18 months since the fuel tanks were completed, so I guess the Tank Sealant has hardened by now!
No more excuses, it was time to pluck up courage and test for leaks : )
Also I need to fit the tanks to the wing ready for the Bottom Skin and Aileron Actuation sections.
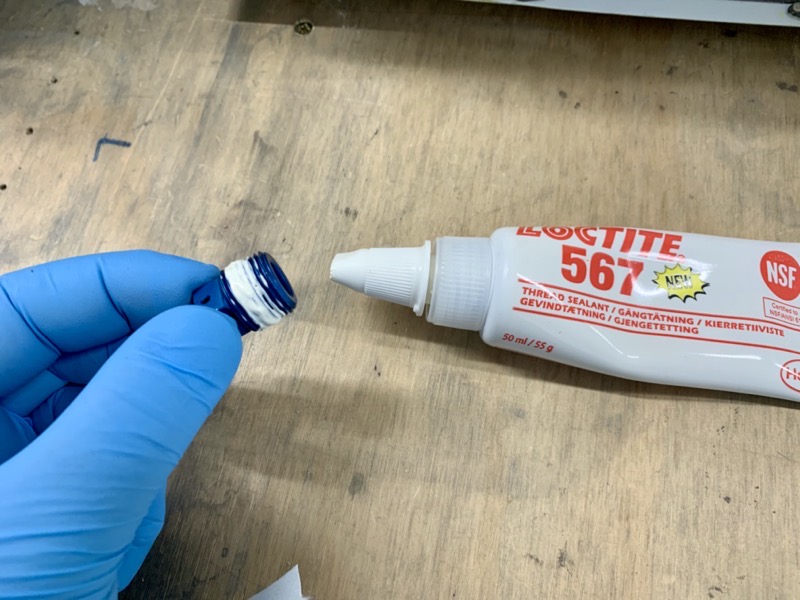
Lots of different advice on the internet about the best sealant to use for the tapered fuel fittings … I opted for Loctite 567.
So I applied Loctite 567 to the the AN913-3D Plug Fitting and …
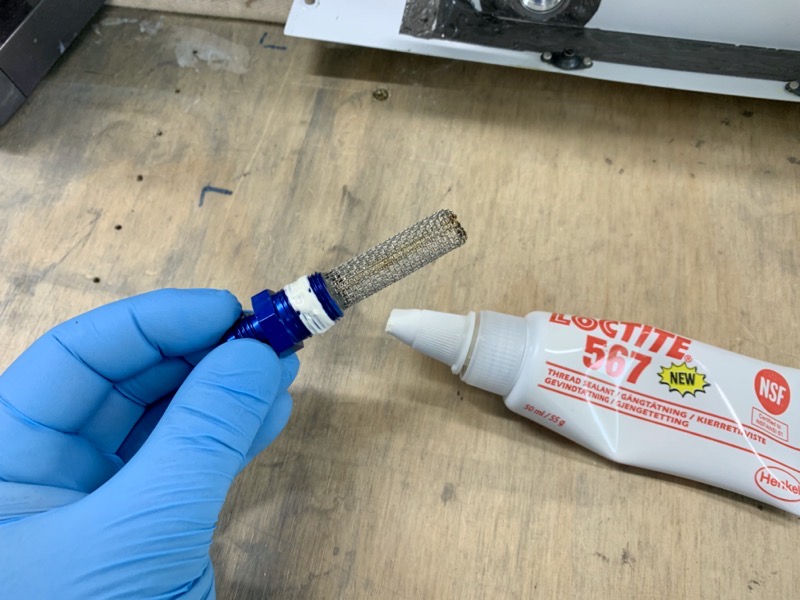
… and VA-261 Fuel Strainer, leaving the first 2-3 threads clear.
And then inserted them into the tank fittings. They are NPT tapered threads, so we just tightened them by feel to be snug.
I remember reading a forum post about a poor chap who obviously tightened his fitting too much, which resulted in it shearing off! That wasn’t going to happen to me!

The manual shows a different configuration for the leak test than the leak test kit itself.
I decided to use the test kit instructions … which meant inserting the temporary air valve into the fuel drain fitting, blanking off the VA-261 Fuel Strainer with a supplied plug, and attaching the balloon to the fuel vent fitting.

We wrapped an elastic band around the vent fitting to provide a good seal for the balloon.
The supplied plug for the Fuel Strainer sealed fine without any help.
To seal the the air valve we used some teflon tape on tapered thread … being careful to remove remnants afterwards since fuel tanks don’t like teflon tape apparently?
I didn’t want to use any sealant on the drain fitting yet since it would have to be cleaned off ready for the CAV-110.

Then we secured the balloon onto the vent fitting with a cable tie. This needed to be quite tight to prevent a small leak, even with the elastic band underneath.
The other hole that needed sealing was the Tank Filler cap of course. By adjusting the tension on the over-centre lever by nipping up the nut underneath, we found they sealed just fine with no other help needed.


Stretch and inflate the balloon to loosen it up before fitting to the tank!
Because we hadn’t done this, on the first attempt the bike pump needed quite a few pumps before anything happened … in fact I began to think the vent tube was blocked!
But suddenly there was enough pressure and the balloon rapidly inflated. Having stretched the balloon for the second tank the process was much gentler and less stressful : )
We then used Snoop, a sensitive leak detector. Soapy water would probably work just as well, but the neat tube applicator allowed us to place a drop on each rivet head & tank joint fairly quickly.
Phew, success!
Attaching Tanks to Wings

Having built up confidence that the tanks were leak free, we attached them onto the wings.
Hopefully the tanks will not be coming off the wings again, and since every other faying surface on this plane has got JC5, the tanks got the treatment!

When designing my wing stands I had allowed enough access to slide in the tanks from the ends.
I had already test fitted the tanks a while ago, with the wings horizontal on the bench, but with Tim helping they easily clicked into position whilst vertical.
This is where you find out if the attach brackets have been assembled in the correct way.
Luckily mine had, and all the bolt holes lined up : )
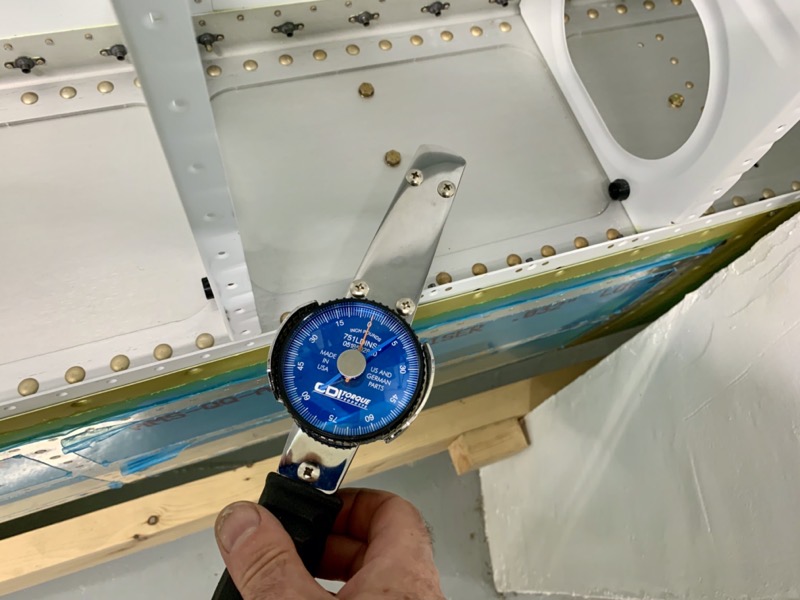
I measured the residual torque to rotate the bolts in the nut plates …
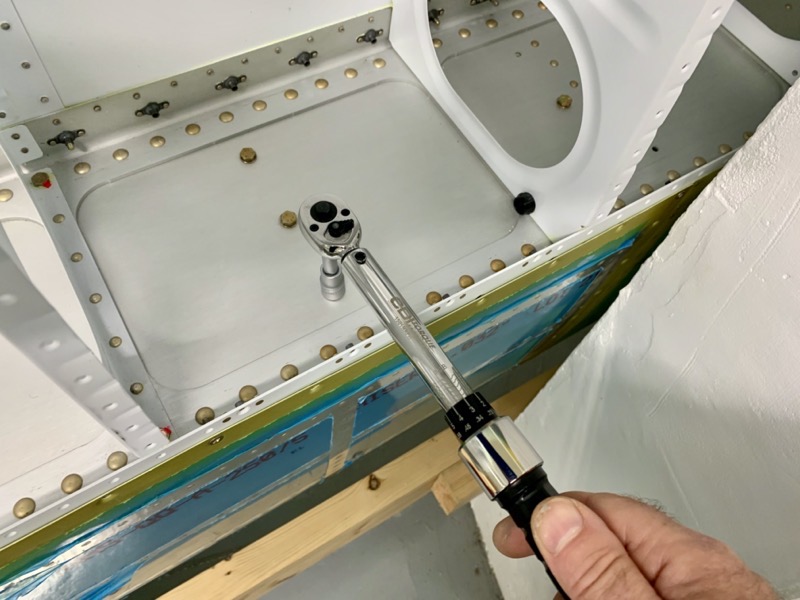
… and then torqued accordingly.
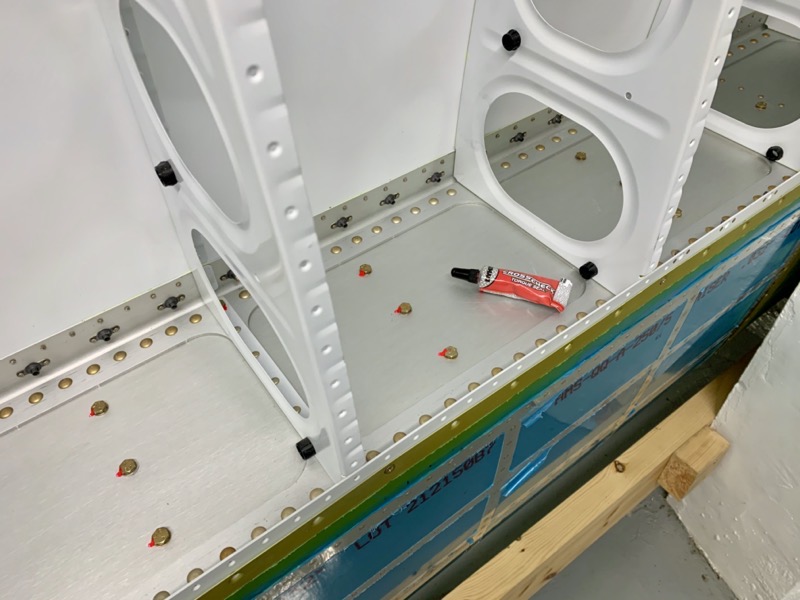
The usual Torque Seal to mark the completed torquing … there are a lot of bolts.
We attached just a few of the AN509-8R8 screws in the skins, just enough to ensure everything was true before nipping up the AN3 bolts.
When the plane is painted I plan to remove these screws to avoid covering the heads. If the tanks ever have to be removed, not painting the heads gives the best chance of not damaging the finish I’m guessing?
I plan to assemble the aileron torque tubes with the wings in the stands … but this where I hadn’t thought ahead! I discovered that to be able to do this I had to cut a couple of slots in the wing stand cross brace to allow clearance.
Although the balloons are not meant to be the final indicator of a leak (hence Snoop!), I couldn’t resist leaving a balloon on each tank over a couple of nights as a final check. I used a “control” balloon inflated by the same amount to compare sizes the next morning, to allow for ambient pressure changes etc.
This was a result on a following morning … yet another Happy Dance!


