


22-05 to 07 Back Riveting Stiffeners & Match Drilling TE
Back Riveting Stiffeners

After the usual JC5A on the contact surfaces, the main aim is NOT to miss the back riveting plate!
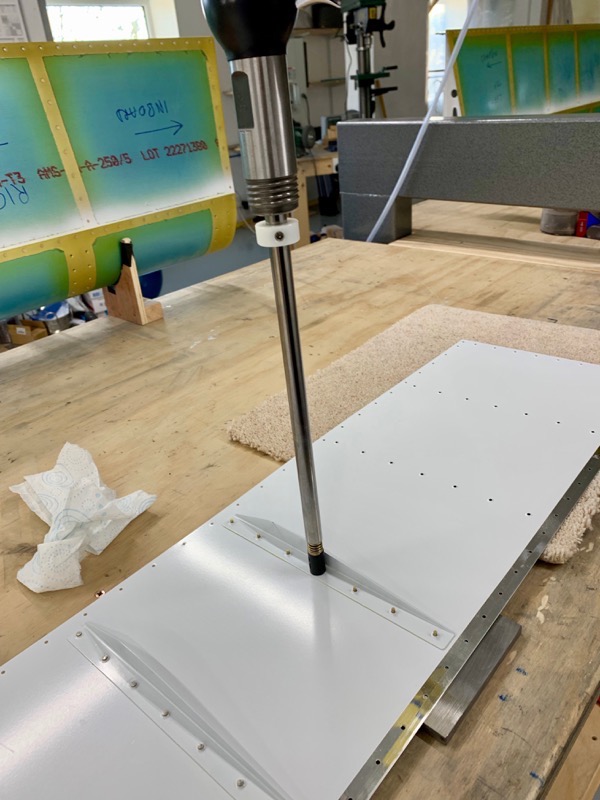
But it’s a straightforward little job, taking care not to get overconfident and indeed missing the plate.
I don’t know why, but I find it easier to get consistent rivets using a long rivet set on the gun when back-riveting … I guess any misalignment of the gun has a reduced effect at the shop head.
The gun does need the air pressure increased a little bit due to the extra mass of the long set.

All done, ready for trial assembly.
Note that the end ribs are not yet riveted onto the top skins … this is because I have yet to prime the hinge brackets and attach them to the end ribs.
Match Drilling TE’s

The nose skins take quite a bit of force to wrap around the nose ribs … clecoing from the front to back of the ribs seemed to work best.
Once all clecoed together I placed a weighted board onto the structure to ensure everything was as flat as possible.
As per the manual, hanging the clecos over the edge of the bench works OK. But due to the weight of the counterbalance inside the nose skin you have to be careful not to let it topple off the bench … the weighted board soon sorts that problem!

Because of the force needed to form the nose skin around the ribs, there is a tendency for a slight balloon along the top between the ribs.
A ruler to check for flatness after gentle forming by hand quickly sorts the problem.
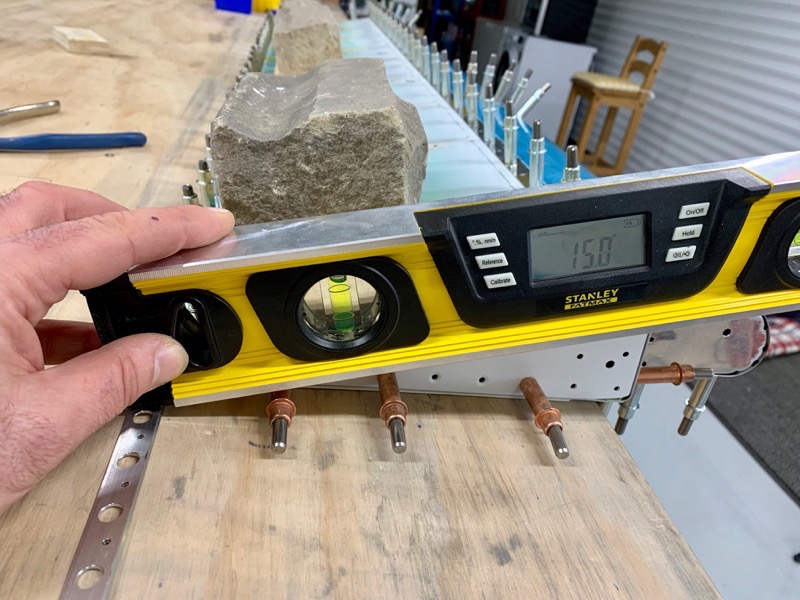
Since I don’t want any tendency to twist built in at any stage, I just checked both ends of the structure with a digital spirit level …
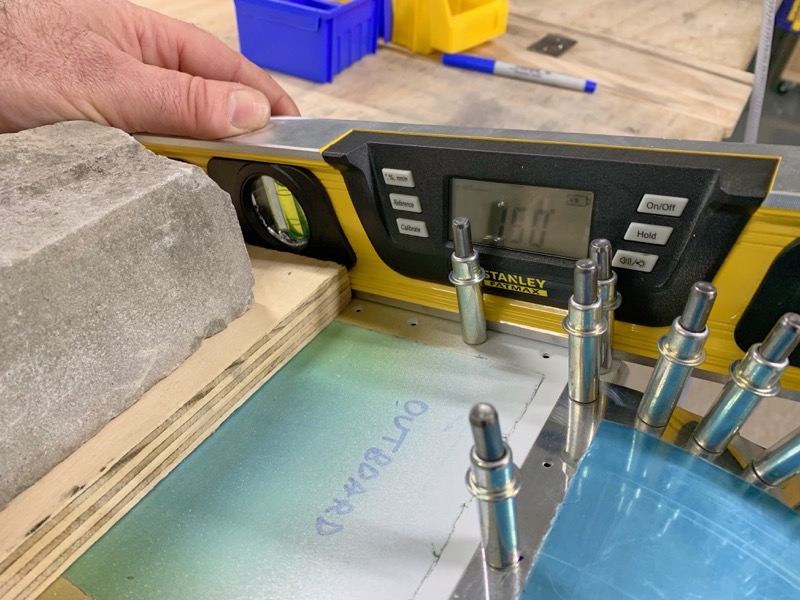
… happily spot on. If the bench is flat, it has to be!
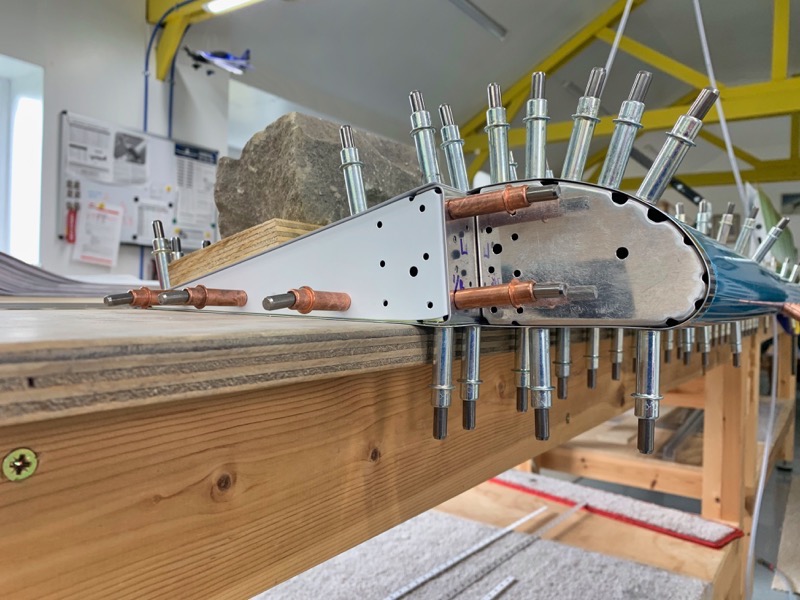
I made little marks on the bench through the holes in the skins, and then drilled little holes in my nice bench : (
I couldn’t think of any other way to secure the TE for match drilling other than clecoing down into the bench.
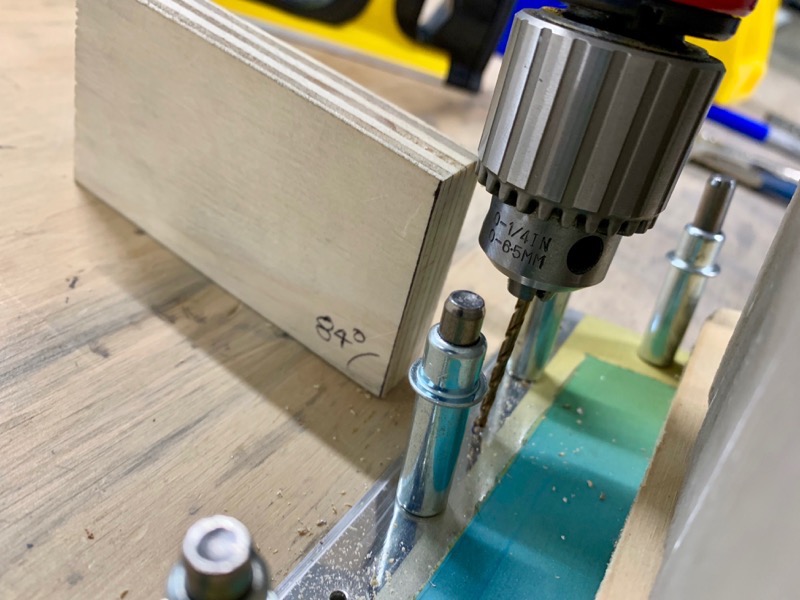
I used my 84º block jig as used on the flaps to judge drilling through the TE perpendicular to the chord line.
I match drilled between each cleco, then moved them all along one and completed the job.


