18-05 Tank Stiffeners
Semco Pneumatic Sealant Gun

As I mentioned in my last post, I bought a second-hand Semco Pneumatic Sealant Gun from eBay … they are pricey new! I bought some spare cartridges and plungers.
I mixed up some sealant, and eventually managed to get the stuff into the cartridge.
Anyway, it’s definitely worth the effort, the gun works a treat, providing a nice flow of sealant whilst the trigger is pressed. MUCH easier than forcing out of a mechanical syringe … I found that hard work. Setting the air pressure to about 30 – 40PSI worked about right … low side of range at the start of the session, ramping it up as the sealant gets a bit stiffer after about 1 1/2 hours.
Attaching Stiffeners
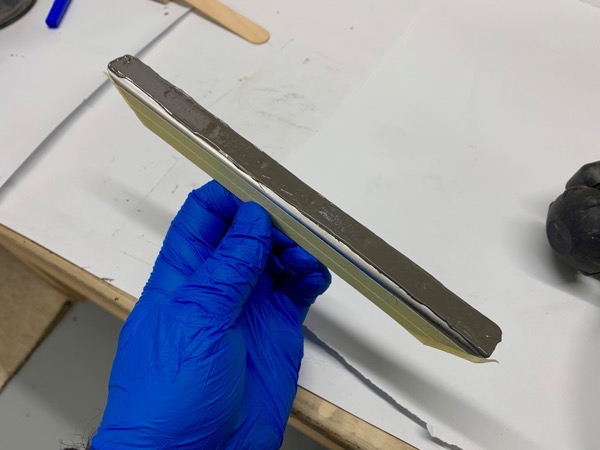
After using the gun to apply a bead of sealant to the stiffener flanges, I used a wooden spatula to spread it out.
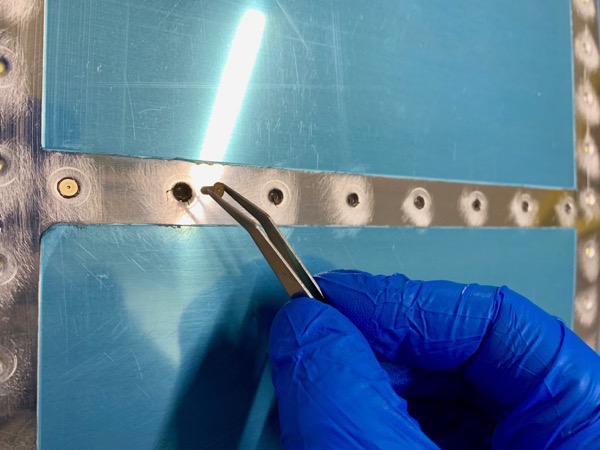
After wiggling it into position, the dimples had quite a bit of sealant in them … I used a stick to spread this more thinly in the dimple before inserting the rivets.
Then I cleaned off the worst of the sealant from the rivet shop heads prior to back riveting.
I marked the position of the backplate on my workbench to help ensure the plate was actually under the rivets!!

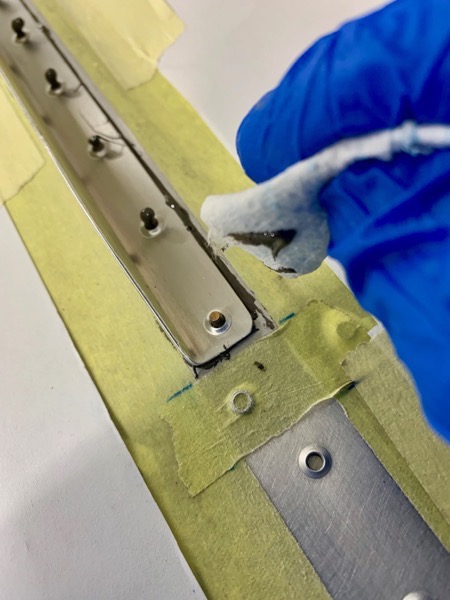
After setting the rivets I used the gun to apply more sealant to the shop heads and flanges, smoothing off with an acid brush.
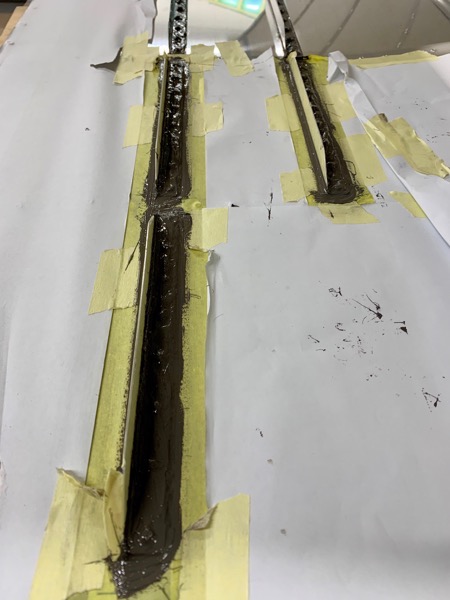
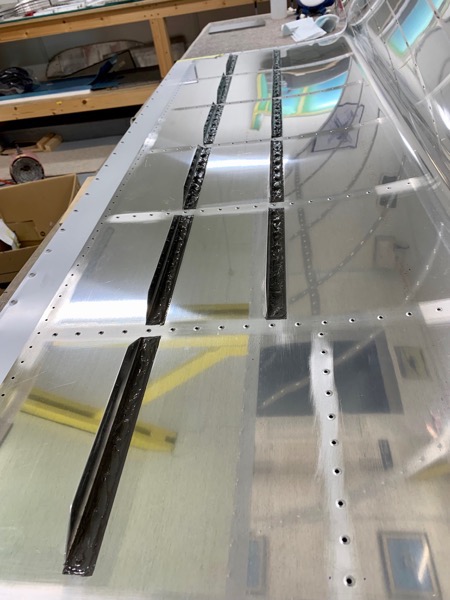
All covered and ready to remove the masking. I decided to remove it whilst the sealant was still wet just in case the tape got bonded.
I did the stiffeners in two sessions, and it worked out I needed about 10g of sealant per stiffener. I found that 4 stiffeners was about 1 1/2 hours work.
Well that’s the left tank stiffeners done … I plan to do the fuel drain and Fuel Cap Flange next so one skin is ready for rib assembly … then if Tim gets a chance to come over to help, I’ll be ready to start riveting the ribs.
Here are the stiffeners with the masking removed. So far so good, I hope … !!