


21-10 Riveting Bottom Skins
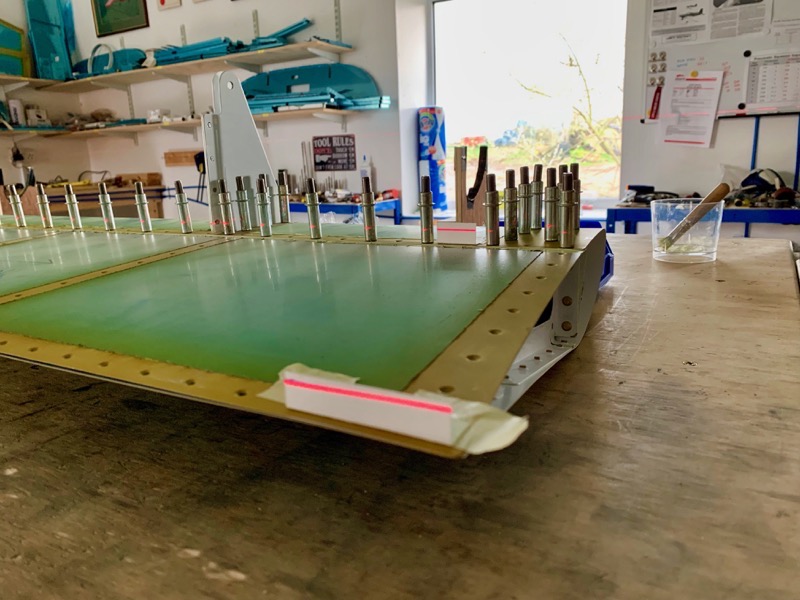
The manual suggests that you cleco the bottom skin in place and check for unwanted twist by placing a digital level on the rear side of the hinge assemblies. But I found it very hard to measure the angle without moving the whole structure, hence making a comparison impossible. By just “eyeballing” the hinge rear edges everything looked pretty good but not perfect.
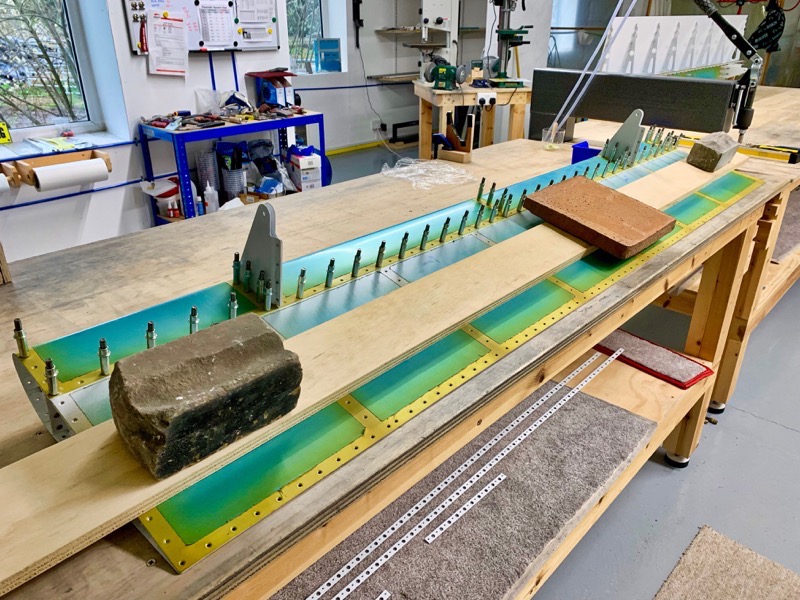
So I removed the clecos, laid the flaps flat, weighted them down, and put the clecos back in place.
Then I used my laser level, as described in a previous post, to check for any twist.
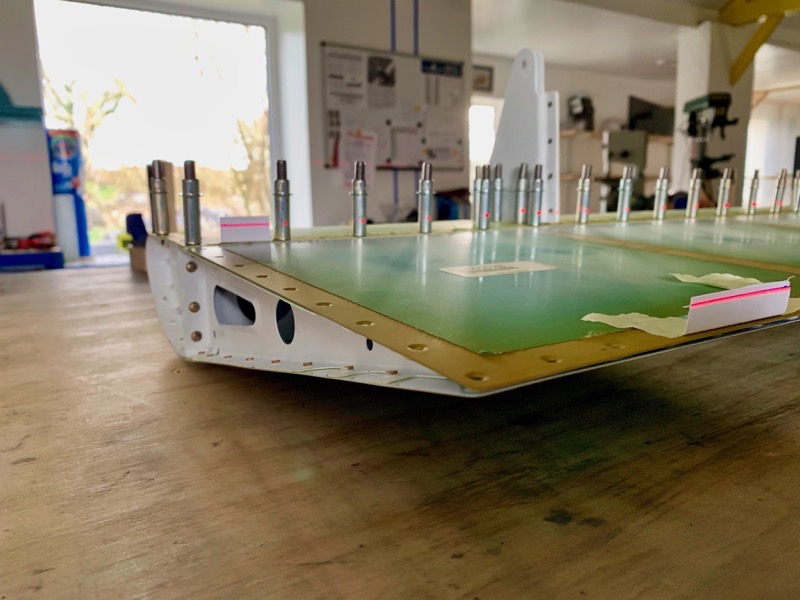
This worked a treat and both flaps were perfectly true.
Back in the cradles for riveting. Restricted access made it harder to position the bucking bar etc.

So we made a little plate to protect the primer on the spar, and taped on a strip of wood to position the plate at the correct angle to ensure the bucking bar face was perpendicular to the rivets. The plate also offered protection in case the bucking bar got dropped!
Tape on the bar and plate edges helped to lower and remove them in the confined space.
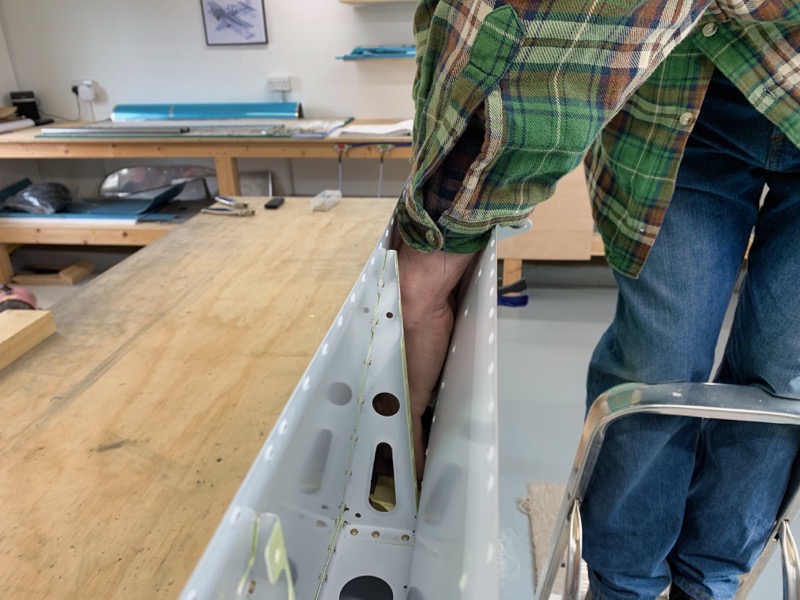
Once some of the rivets were set in the random fashion as per manual advice, we checked again for twist before setting the remainder.
All was well and both flaps came out with no twist : )


