


Aft Fuselage 10-02 to 10-11
There is something nice about finishing a section, and embarking upon a new stage with a “clean slate” so to speak. So here I am starting the Aft Fuselage, which as usual begins with deburring, and then more deburring. My plan is to prepare components and then prime, so planning ahead is required and leaving manual instructions to rivet until later. The challenge is to work out when all the dimpling/final drilling/countersinking etc is complete for a given part. The bulkhead flanges need corners rounded off to prevent faceting, so I used a half-round file for this.
Scotchbrite Wheel Finishing

I found that the Light Scotchbrite Wheel is very good for finishing off the flange outside surfaces. The edges of the bulkheads can be done on the Medium Scotchbrite Wheel.

But the inside edges of the flanges are a fiddle, and I haven’t come up with a better plan other than fine sandpaper. Depending on how the bulkheads have been pressed out, ie inside to outside, then the inside needs little deburring. But not all have been done this way.
Longerons and Stiffeners
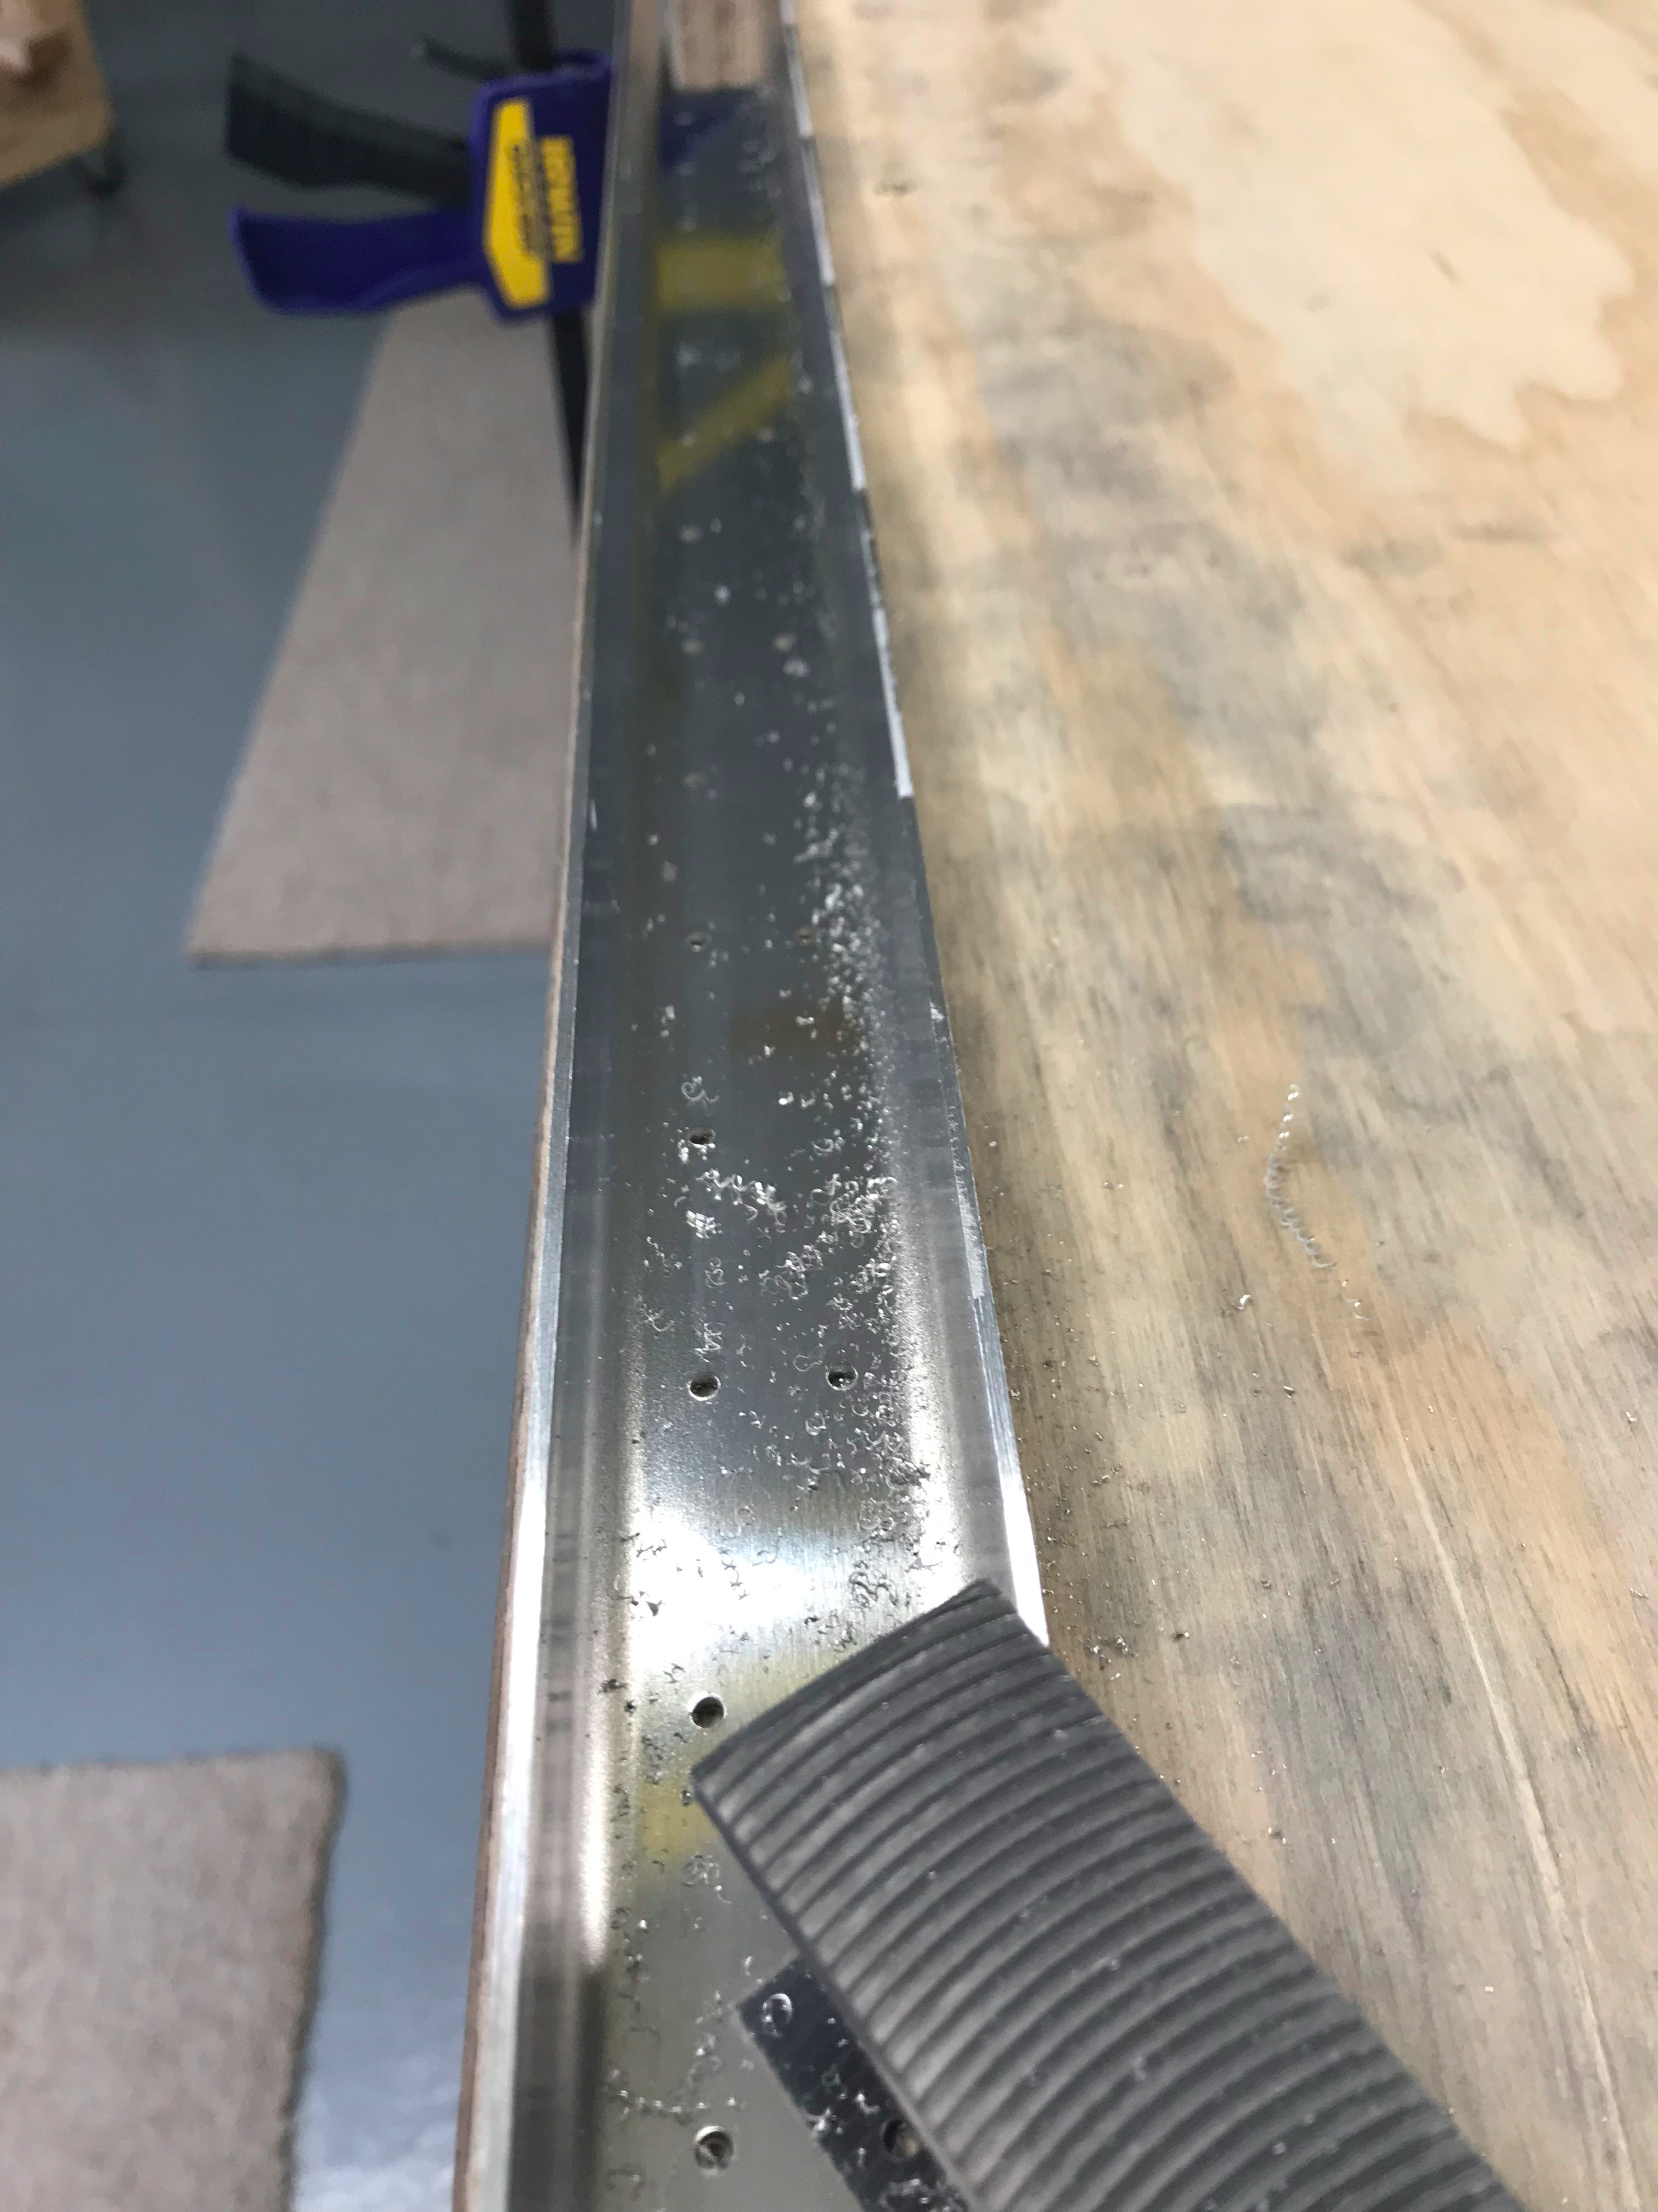
The longeron and stiffener edges are quite jagged as supplied, so a few strokes with the Vixen File quickly sorts this, followed by the Medium Scotchbrite Wheel. It’s useful to have your grinding wheel placed so that long pieces like this can be positioned without interference.
Fabrication

There are a few pieces which need fabrication from angle stock if you need a break from deburring! I cut these slightly oversize on the bandsaw, then used my band sander to fine tune. The angles on these pieces are quite tricky, so needed some thought prior to cutting. The two rudder stops have the holes machine countersunk, but of course you cannot get the microstop cage on the holes nearest the angle corner. So I used the cage on the outside ones, and then used a Cleaveland Deburring Tool with a 100º angle to cut the problem holes, using the size of the outside ones as a reference and going slowly.
Vertical Stabiliser Final Drilling

The rear bulkheads are sandwiched together, after being VERY careful to dimple them flush on the correct side so that the Vertical Stabiliser rear spar fits flush. Then several holes need to be match/final drilled, with a worrying note in bold from Vans impressing on you the importance and vital requirement to drill these 90º to the spar.
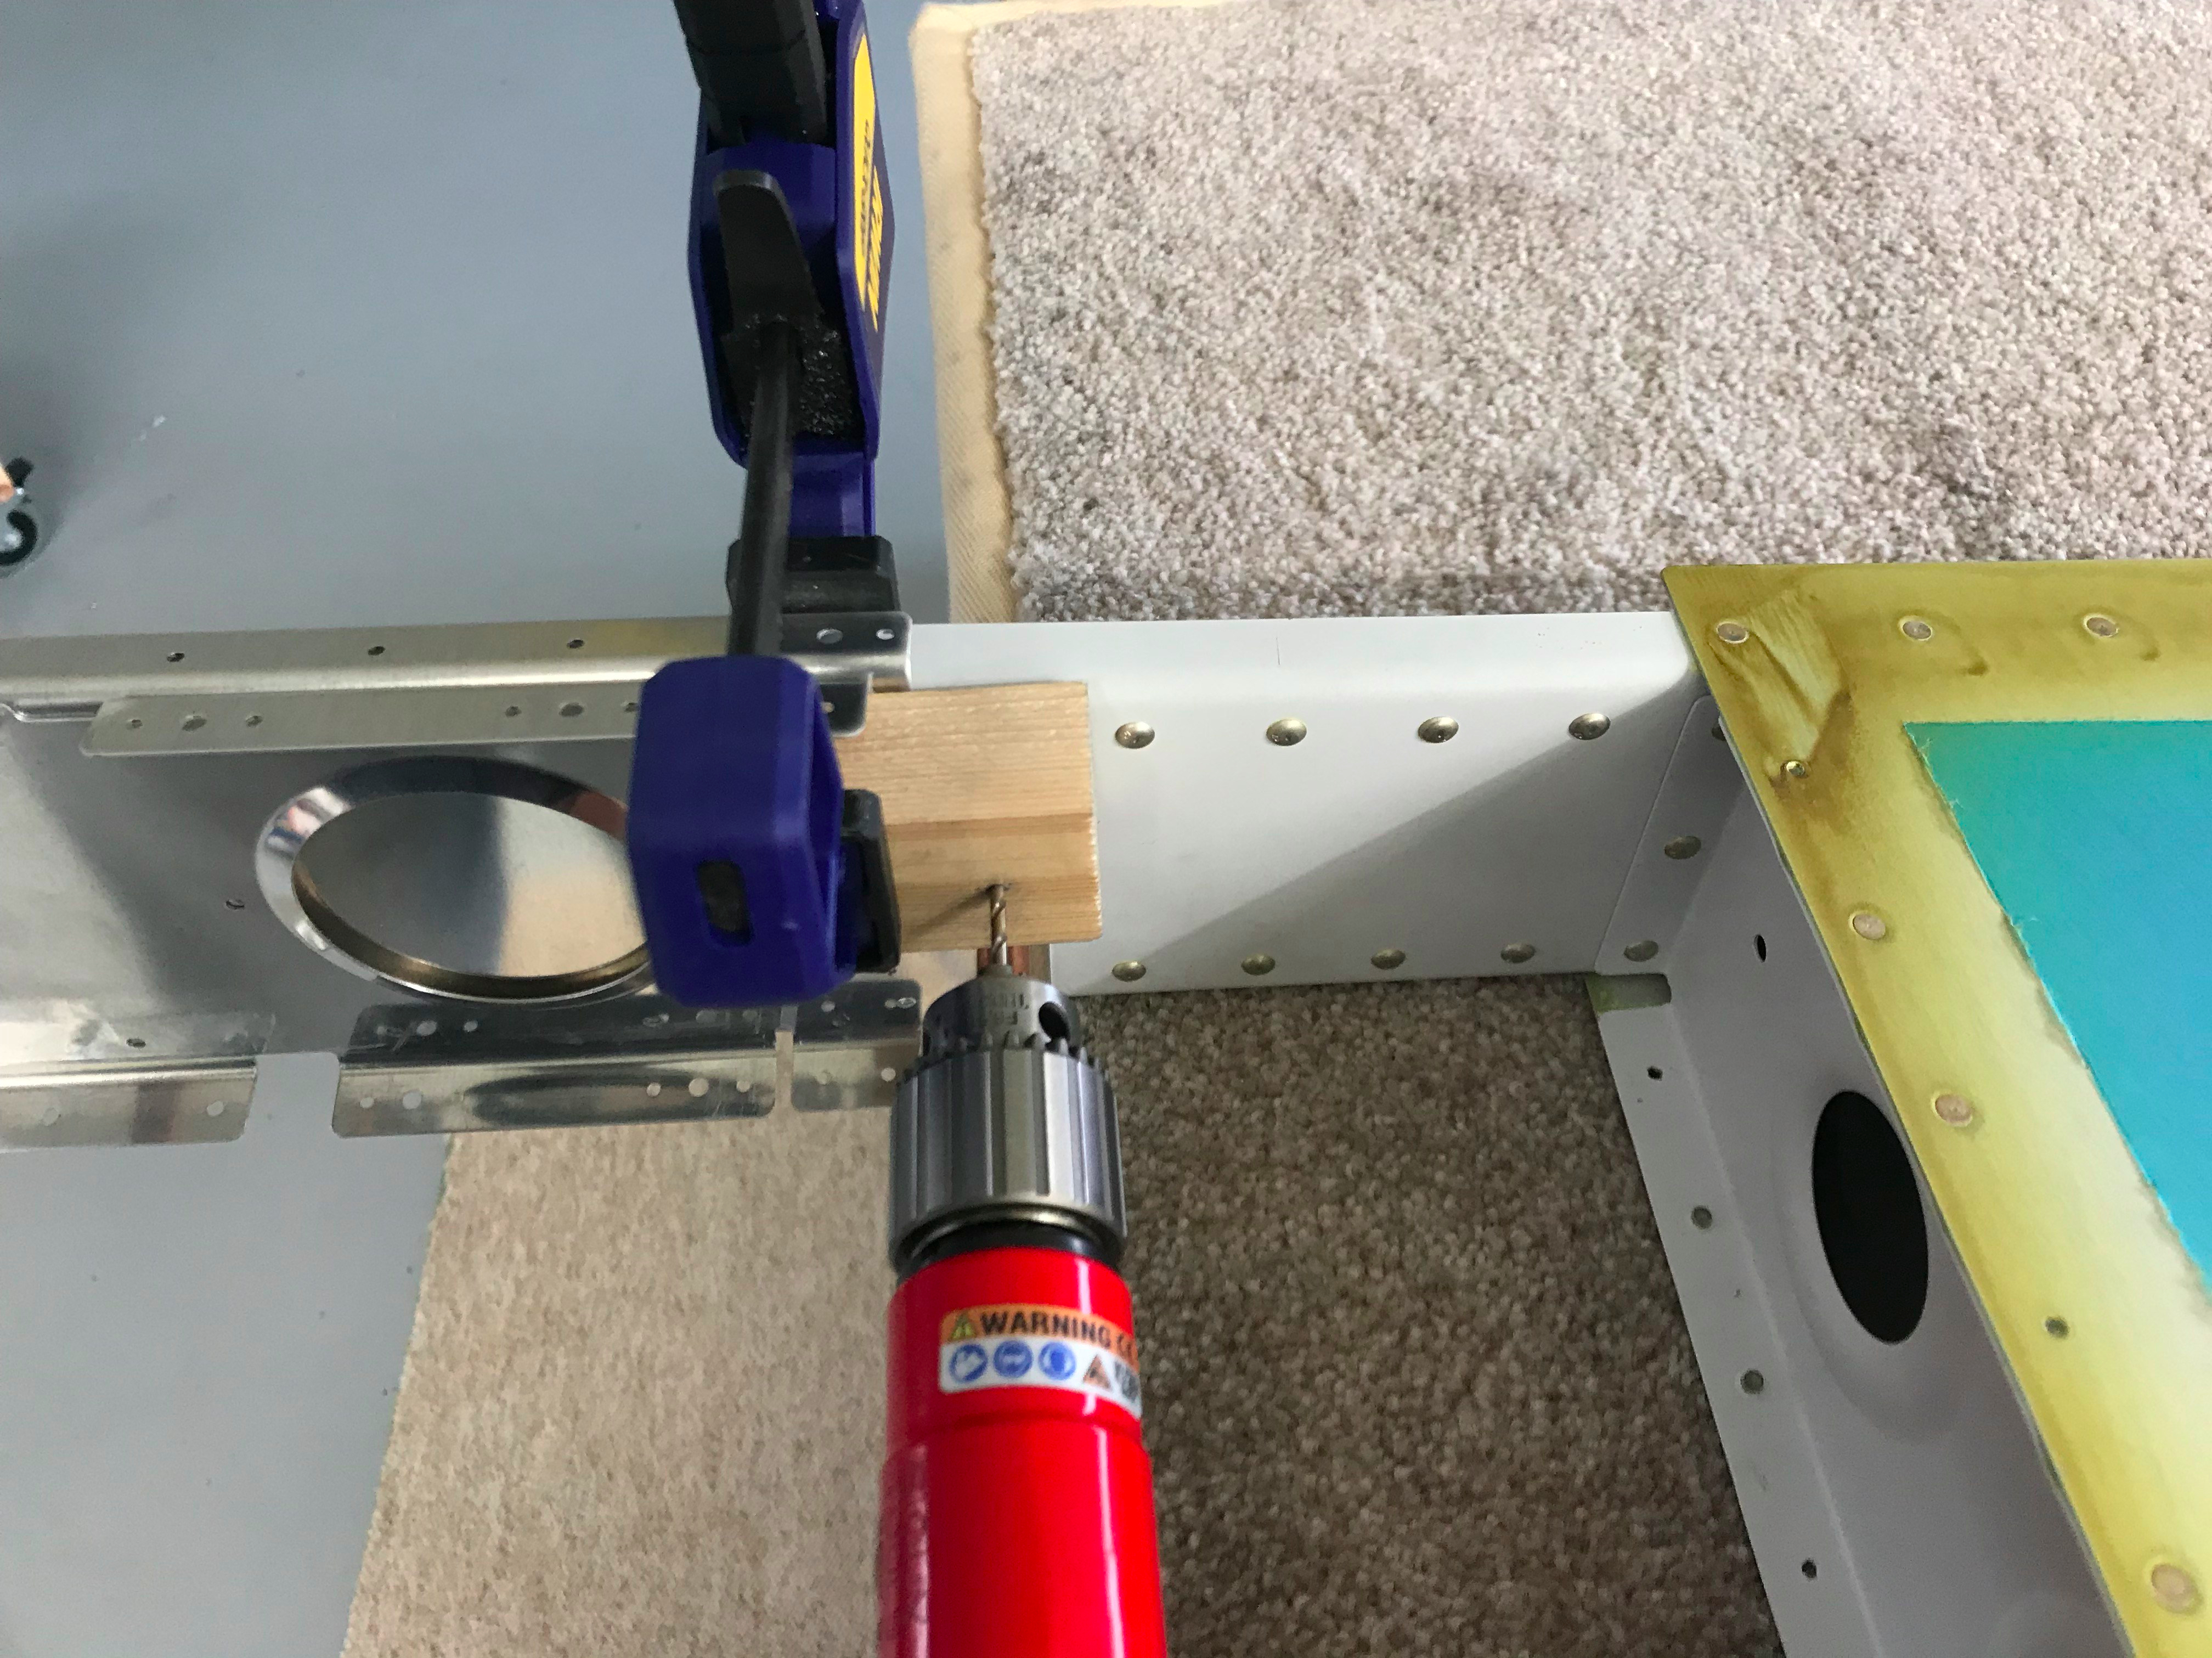
So I drilled a hole on the drill press 90º to a scrap block of wood, then used this to ensure a perpendicular cut. I inserted the drill bit just proud of the hole, wiggled it to ensure it sat firmly in the hole to be match/final drilled, then clamped the block prior to drilling. It seemed to work pretty well.
Final Drilling
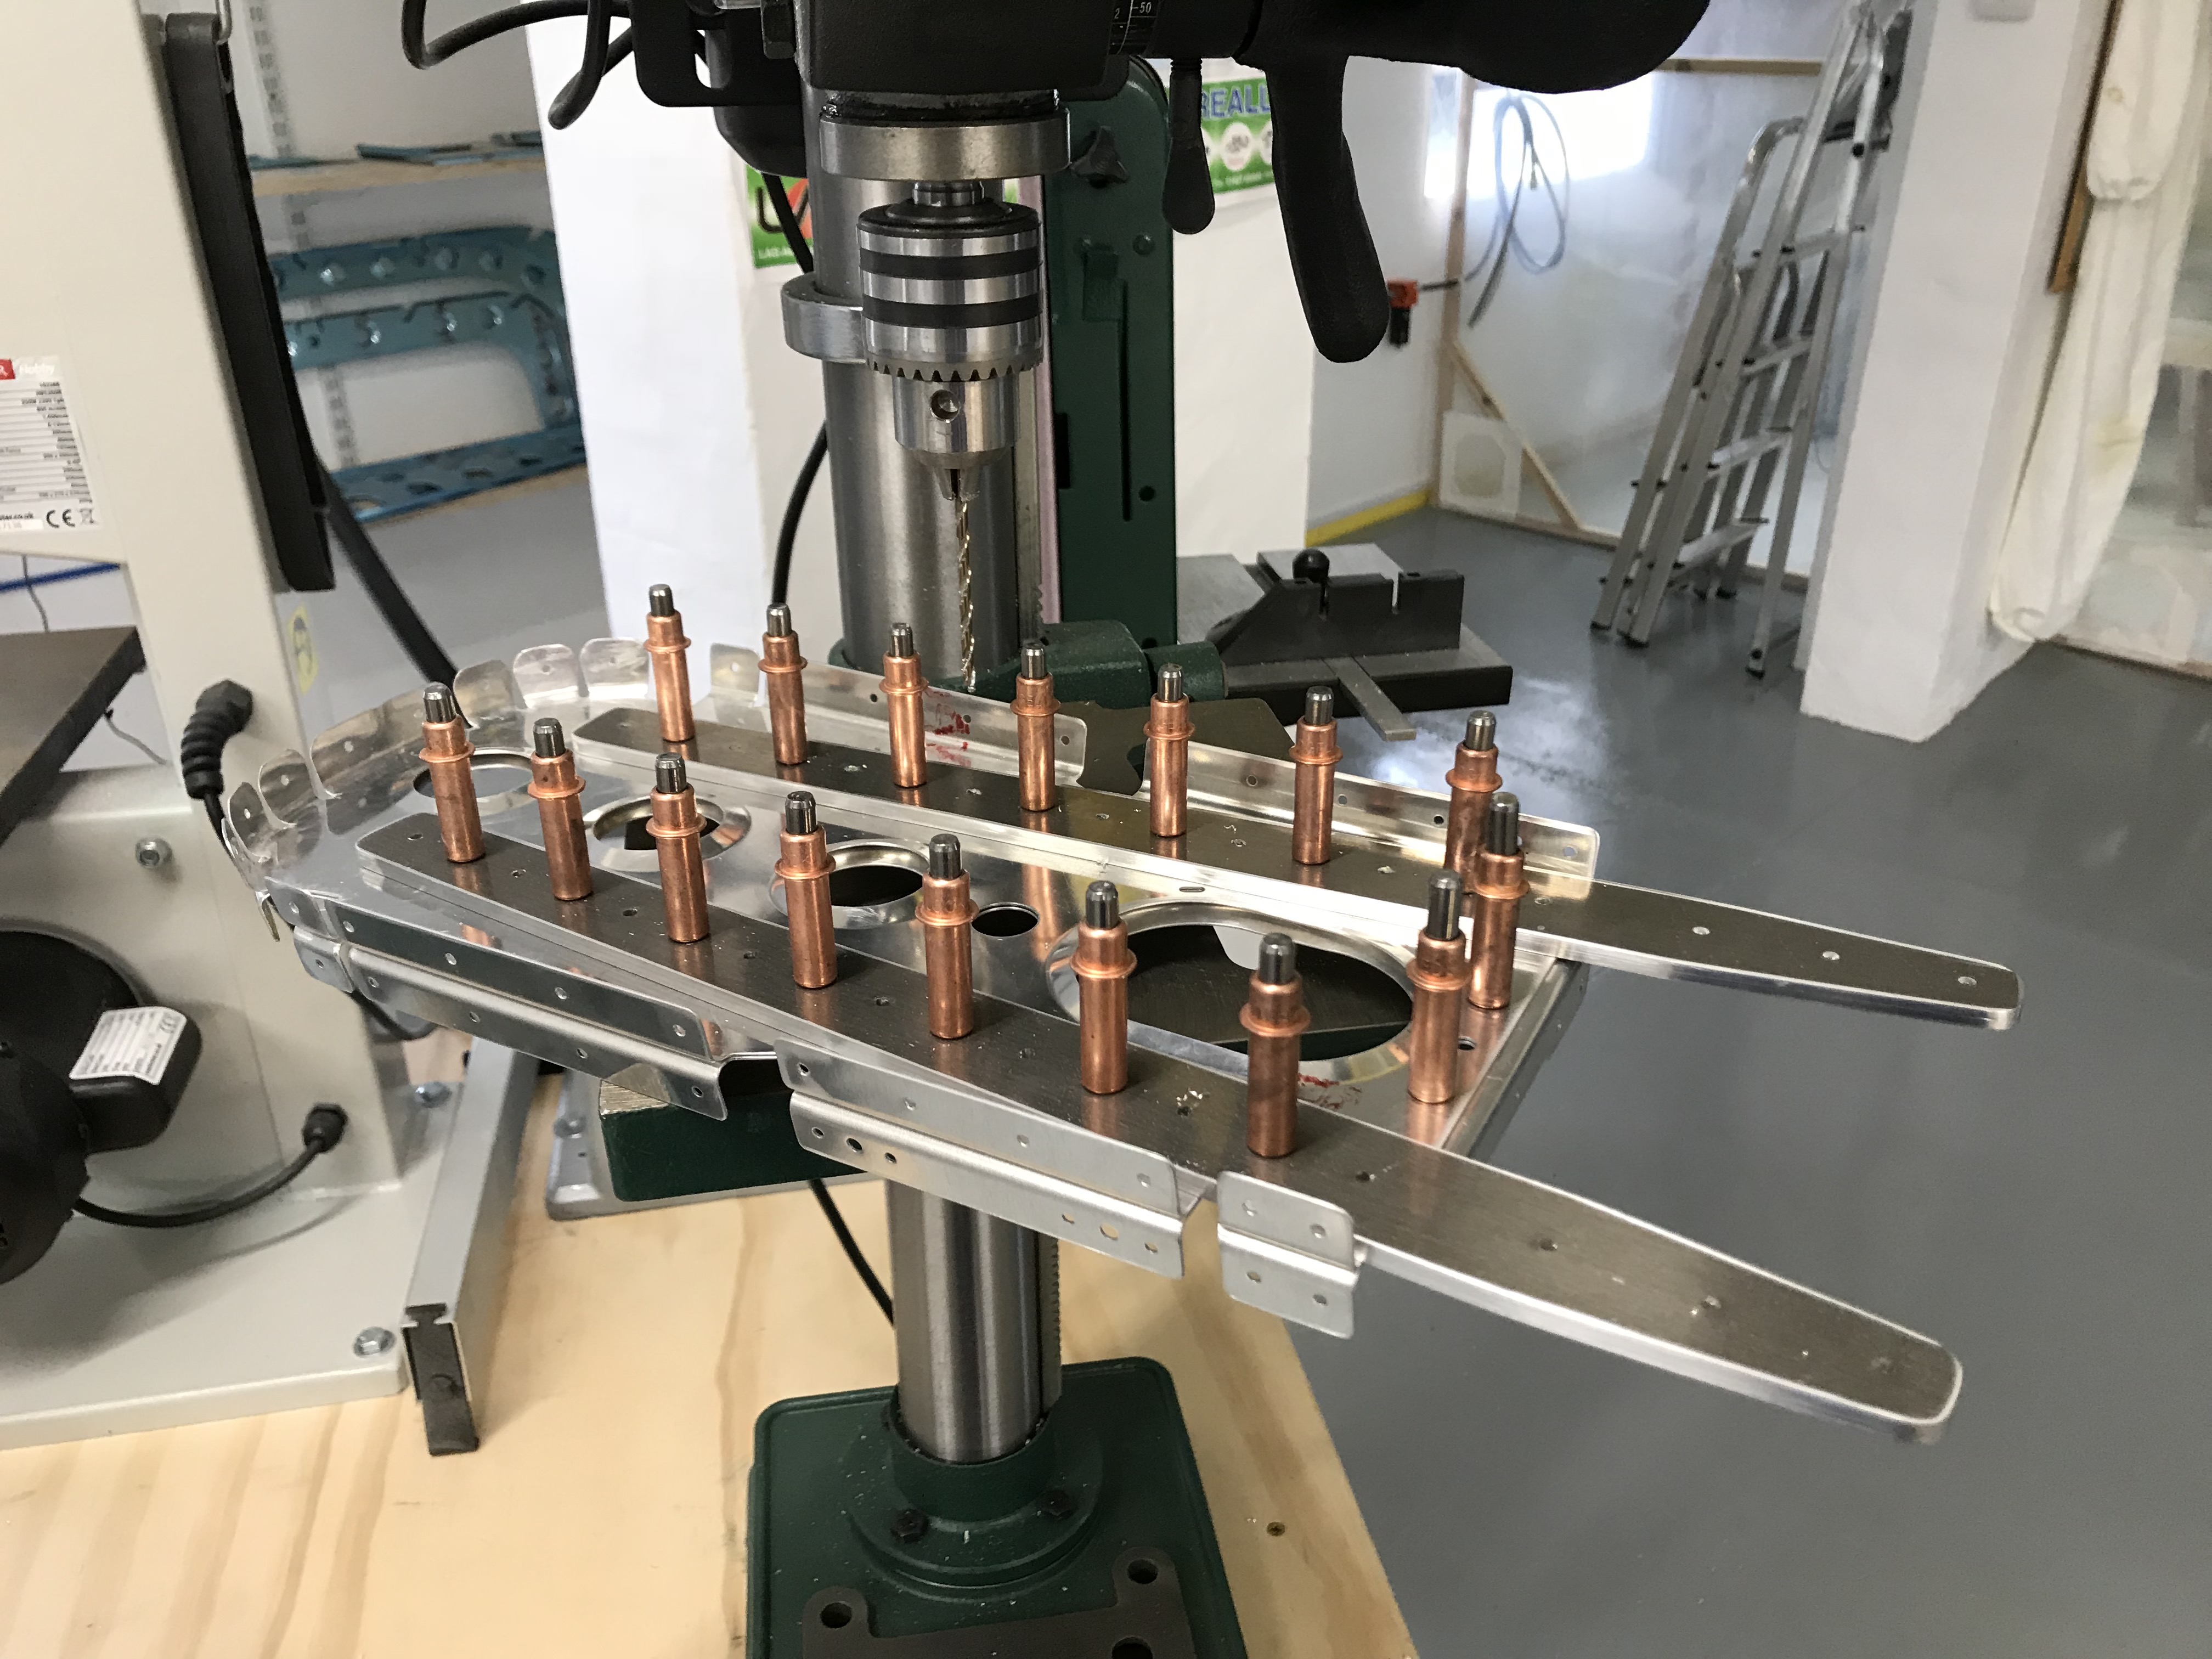
The manual asks you to final drill the rear horizontal stabliser supports to their bulkhead, so I did this on the drill press.
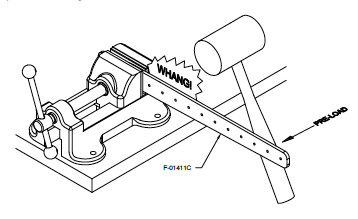
This was after using the Vans WHANG! technique to straighten them, which worked well.

For some strange reason, or omission, the manual mentions nothing about final drilling the front HS supports. I tried a rivet in the holes, and there was no way it would fit. So I final drilled them as well.
Fluting??
The manual suggests fluting the flanges as required to ensure a good fit, so I did a trial assemble to see what they meant. I couldn’t find any need for fluting, so I haven’t!
Dimpling

The flange holes on the bulkheads need dimpling, and it was easy to position on the DRDT2. Some holes do NOT have dimples though, so some tape stuck on these prevents tears.
A bit more deburring and dimpling on a few more components, then I’m going to have a mega priming session : )


