


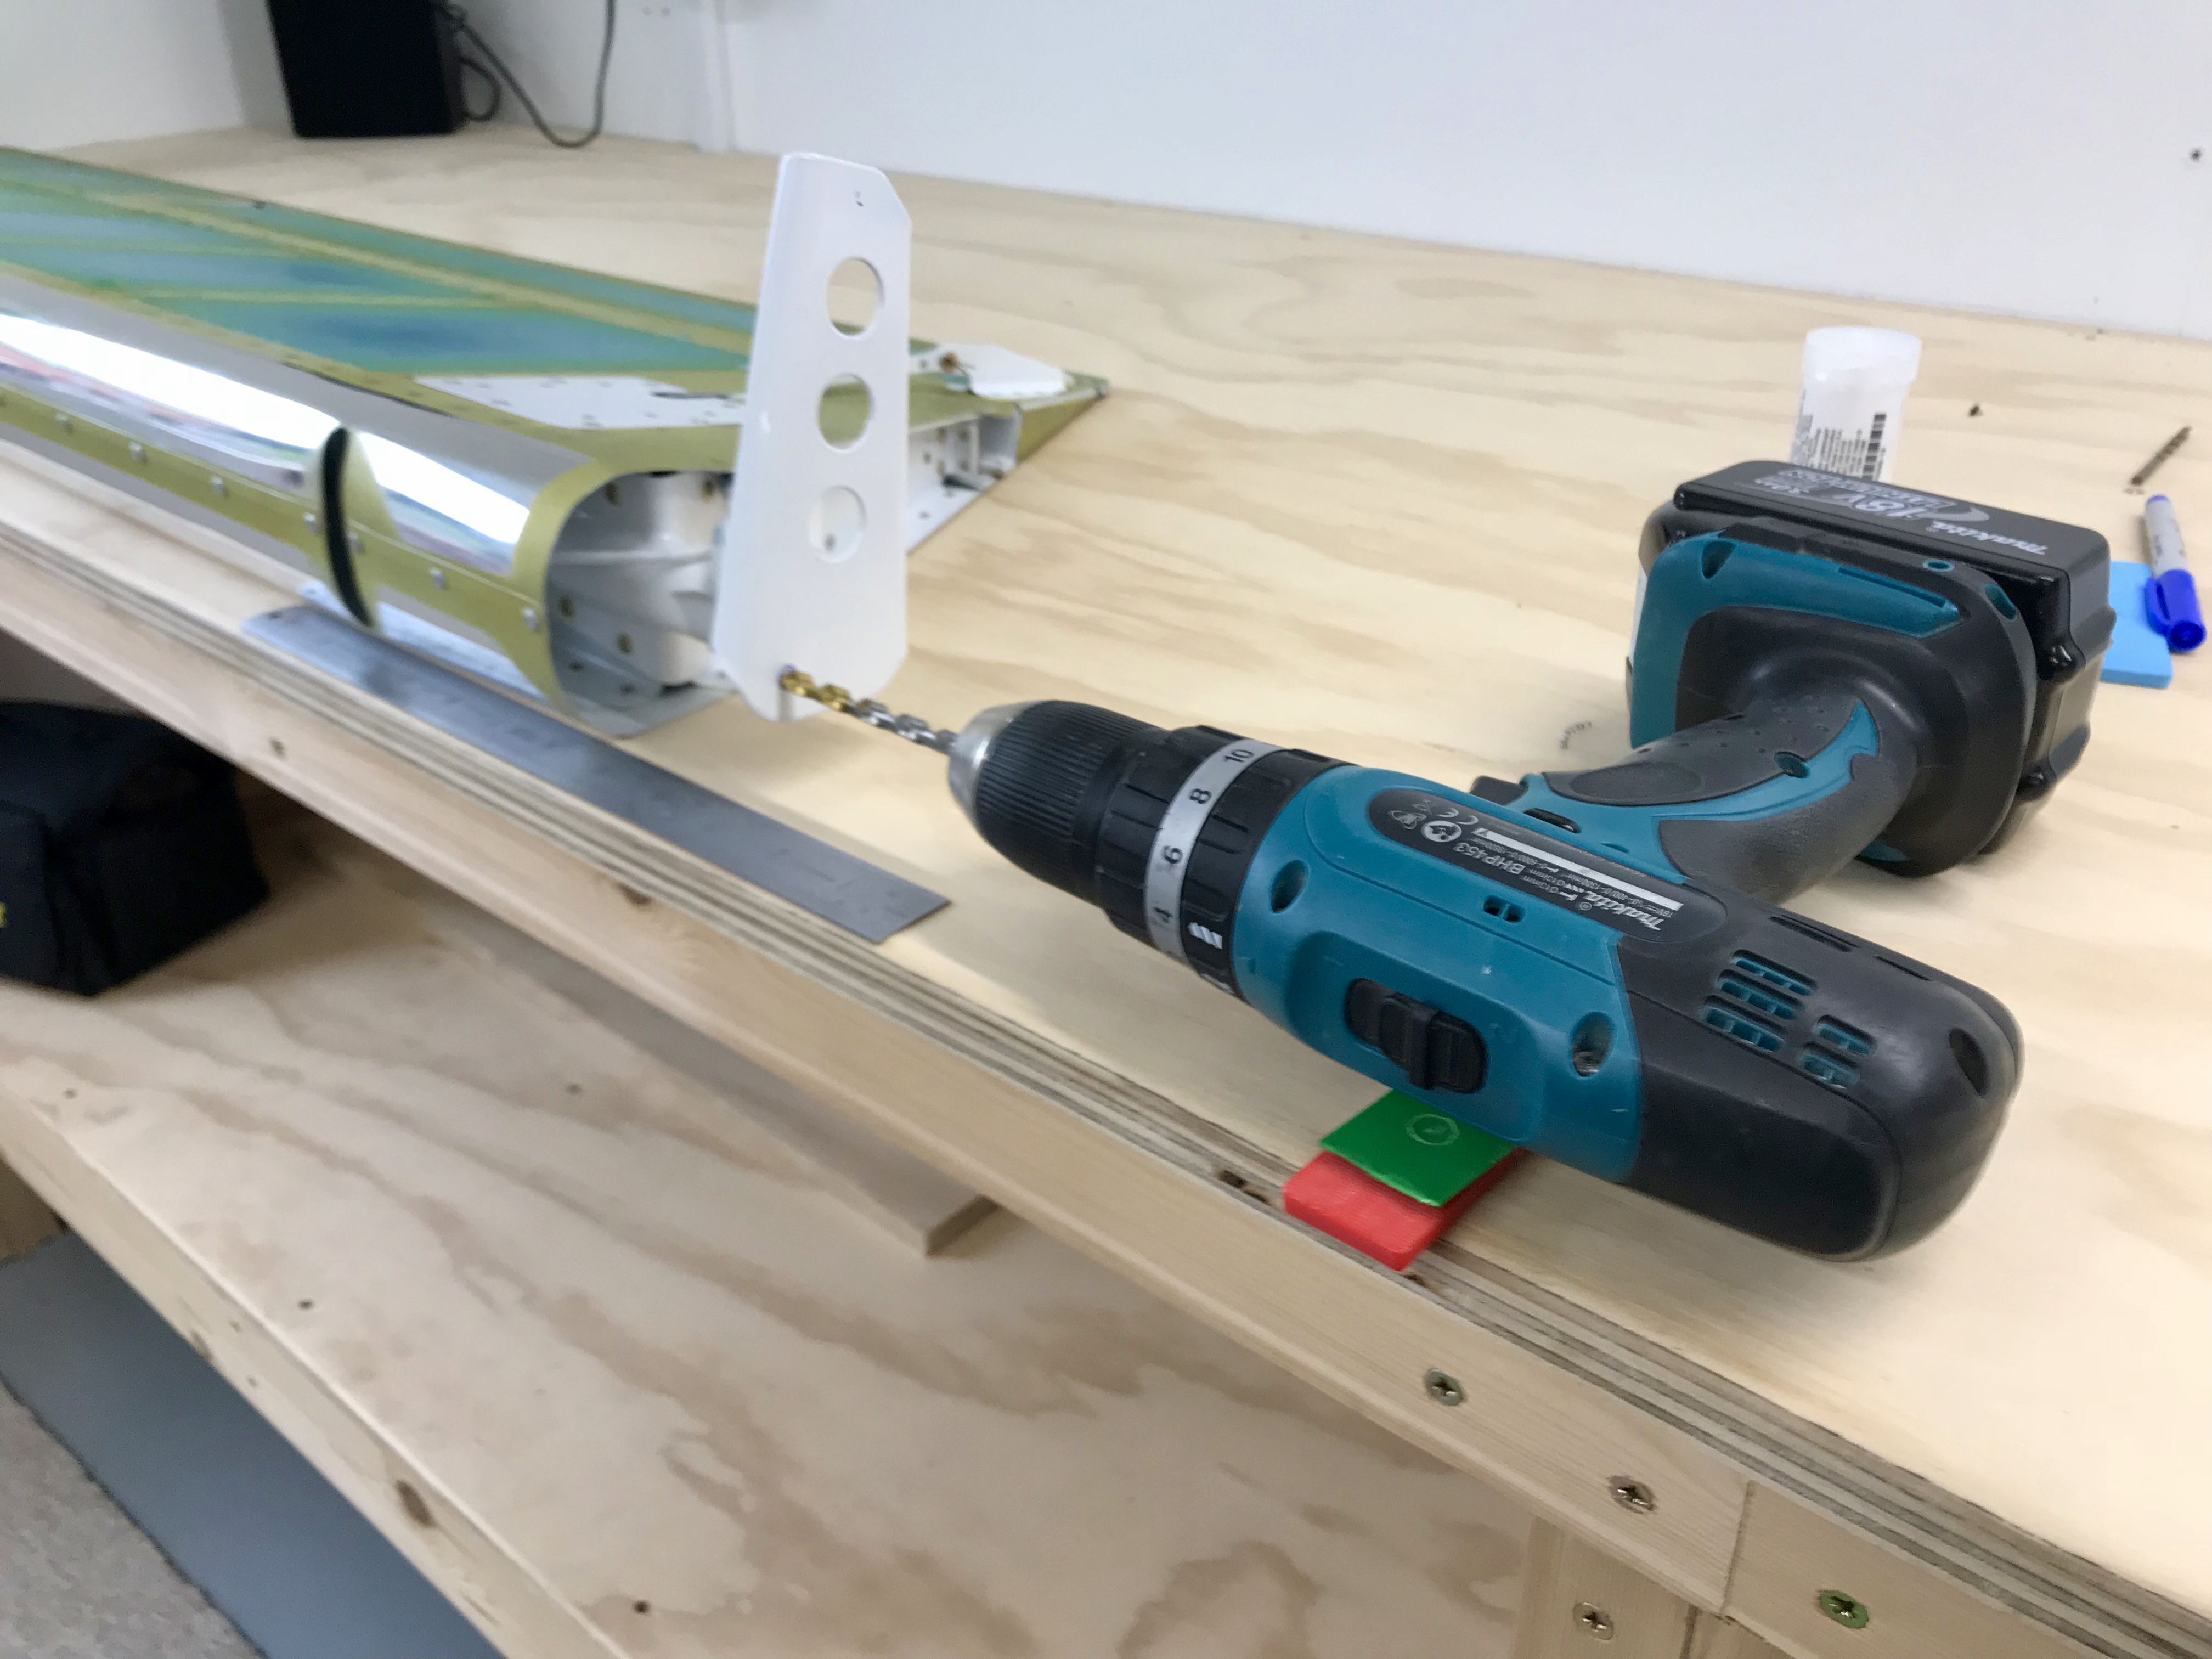
Horn Drilling 11-03 & 04

Having carefully set up the elevators the next job is drilling the horn pivot holes with a #30 drill bit. Having clamped the elevator mass balances to align with the tailplane, the horns are clamped one at a time to the hinge bracket. A shim to pack out the gap between the horn and bracket is not visible in the picture, but on my setup was different left/right side due to the horn fabrication tolerances … and I’ve already mentioned my left horn is not very good. Vans supply a little tube to help with ensuring a perpendicular and accurate hole. It needed gentle filing as detailed in the manual to fit in the bracket bearing hole.
Hole Enlargement
Then the #30 hole is enlarged to 1/4″. I decided to use a reamer for the final size. Now Van’s say 1/4″ hole to fit AN4 bolts, which is just fine. However it appears that AN4 bolts are manufactured to be between 0.246″ and 0.249″. My bolts seem to be 0.246″. Probably an overkill, but I decided to try and get a better fit by using a 6.3mm reamer, which is 0.248″. In the picture above I am enlarging the hole with a 6.2mm drill bit, ready for the 6.3mm reamer. Anyway it seemed to work nicely and I ended up with a nice snug fit for the AN4 bolt in both horns. I purchased the reamer & drills from AccuGroup, which have been very prompt and efficient.

The horns are shimmed with washers to ensure no binding when the AN4 bolt is tightened. I needed two on the left plus the large flat washer, and just the flat washer on the right.
Drilling the Pushrod Hole
Having carefully aligned both elevator mass balances with the tailplane by clamping, I then drilled the horns with the preliminary #40 drill pilot hole. The hole is drilled laterally in a fixed postion on the Aft most horn, and vertically on the SAME horn but relative to the upper horn. This sounds complicated, but is just to ensure proper edge clearance on both horns and fairly obvious when it’s in front of you. As it happened my aft most and upper horn were the same, so easy to measure, mark and centrepunch.
I used a hardwood block of wood cut to fill the gap between the horns, and then drilled through on the drill press to ensure the drill passed through to the other horn absolutely perpendicular. This was not as easy at it sounds, since because of manufacturing errors in the powder coated horns the flanges were not a perfect right angle to the axis of the tailplane. I must have drilled about 8 holes by trial and error before I was happy that the drill was going to be parrallel to the tailplane rear spar in both axes. It would have been a lot easier if Van’s Elevator Horn supplier had jigged and welded the flipping things to a better tolerance!
Anyway, the actual drilling was quick once the block had been made. Van’s suggest the first hole is enlarged to #12 prior to match drilling the second hole to #12, but I decided to match drill to #40 first and enlarge. I reckoned I’d probably get a better alignment that way, but I’m nor sure. So the next job when I get back from work is to enlarge the holes to fit a AN3 bolt. Like the AN4 bolts, AN3 bolts have a tolerance of 0.186″ to 0.189″. A #12 drill is 0.189″, whereas a 3/16″ drill is 0.1875″. My AN3 bolts are 0.186″, so I’m going to ream the holes to a final size with a 3/16″ reamer to get a better fit.


