


Rear Deck Preparation 10-27, 28 & 29

As usual I deburred the rear deck parts before test assembly and match drilling.
Match Drilling
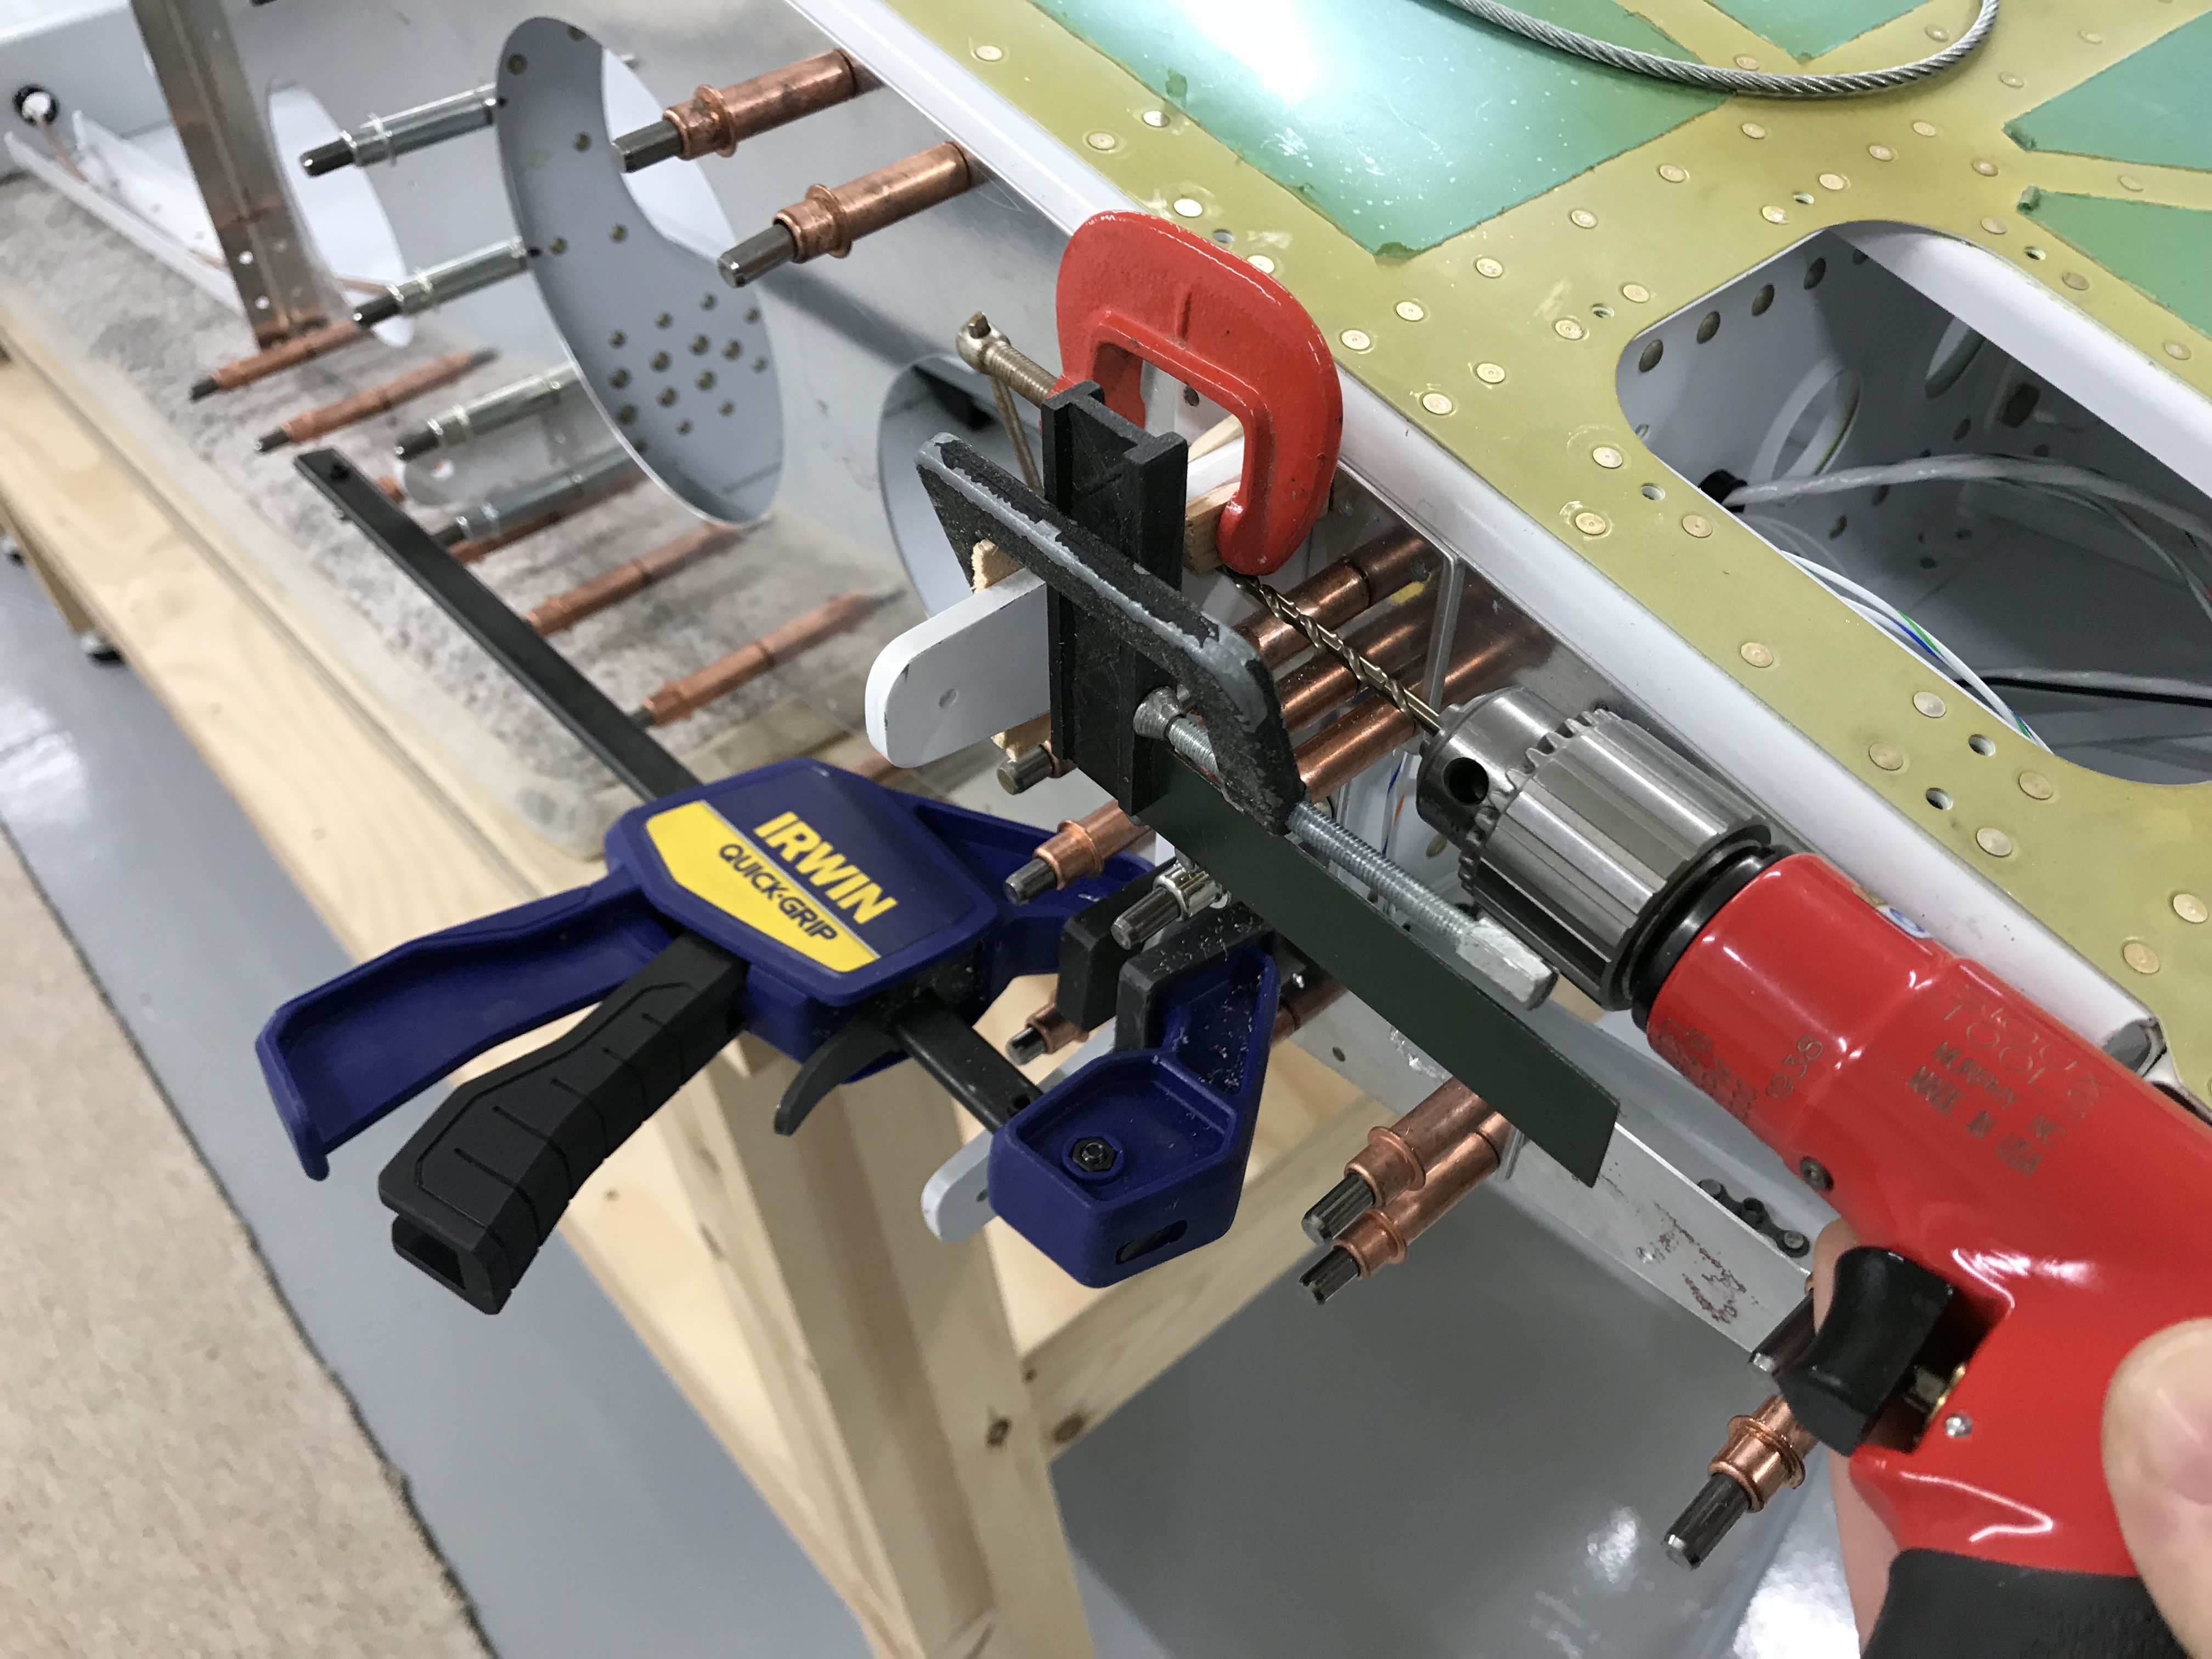
Two deck angles have to be clamped in place while match drilled. Just enough room to get my drill at the correct angle for a perpendicular hole. I was having trouble judging 90º so I clamped on a little set square to help. As with lots of the build, preparation takes much longer than actually doing the job!
Dimpling

The edges of the top skin have to be “broken” … must be done prior to dimpling! Here is the top skin with broken edges and holes scuffed prior to dimpling.
Priming

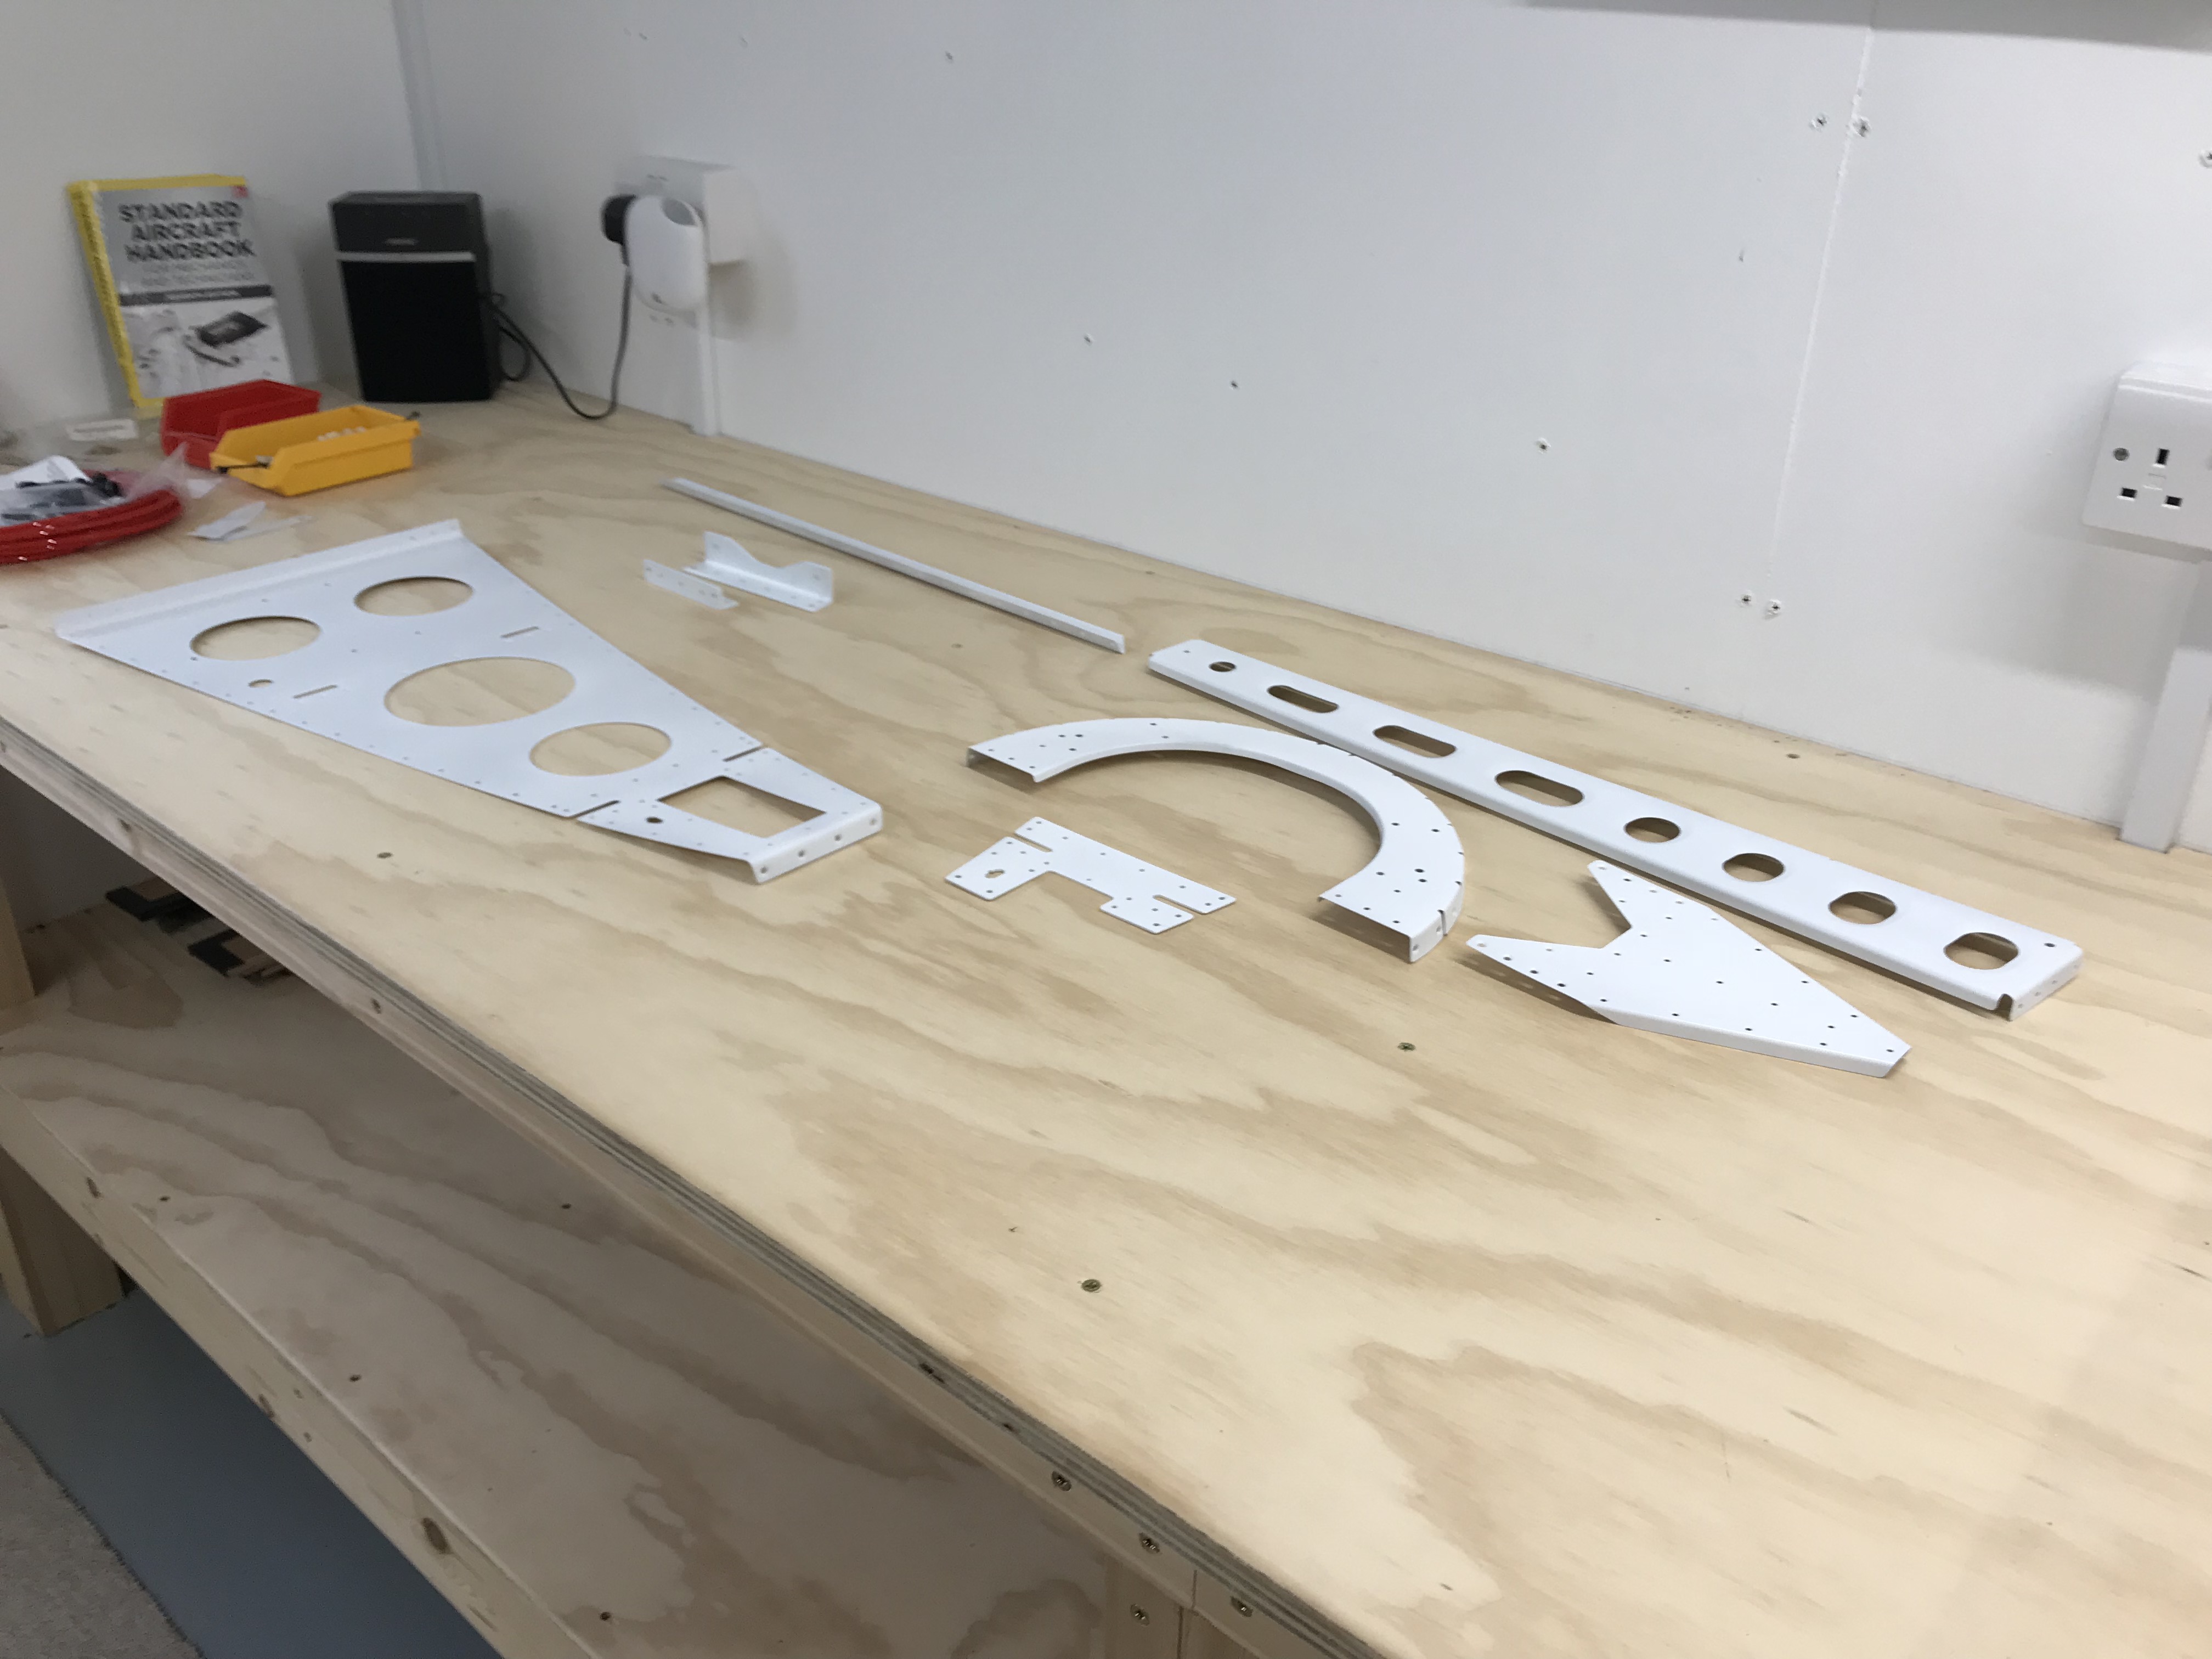
I primed these pieces before preparing the top side skins … they will require a separate session due to their size.
Top Side Skins
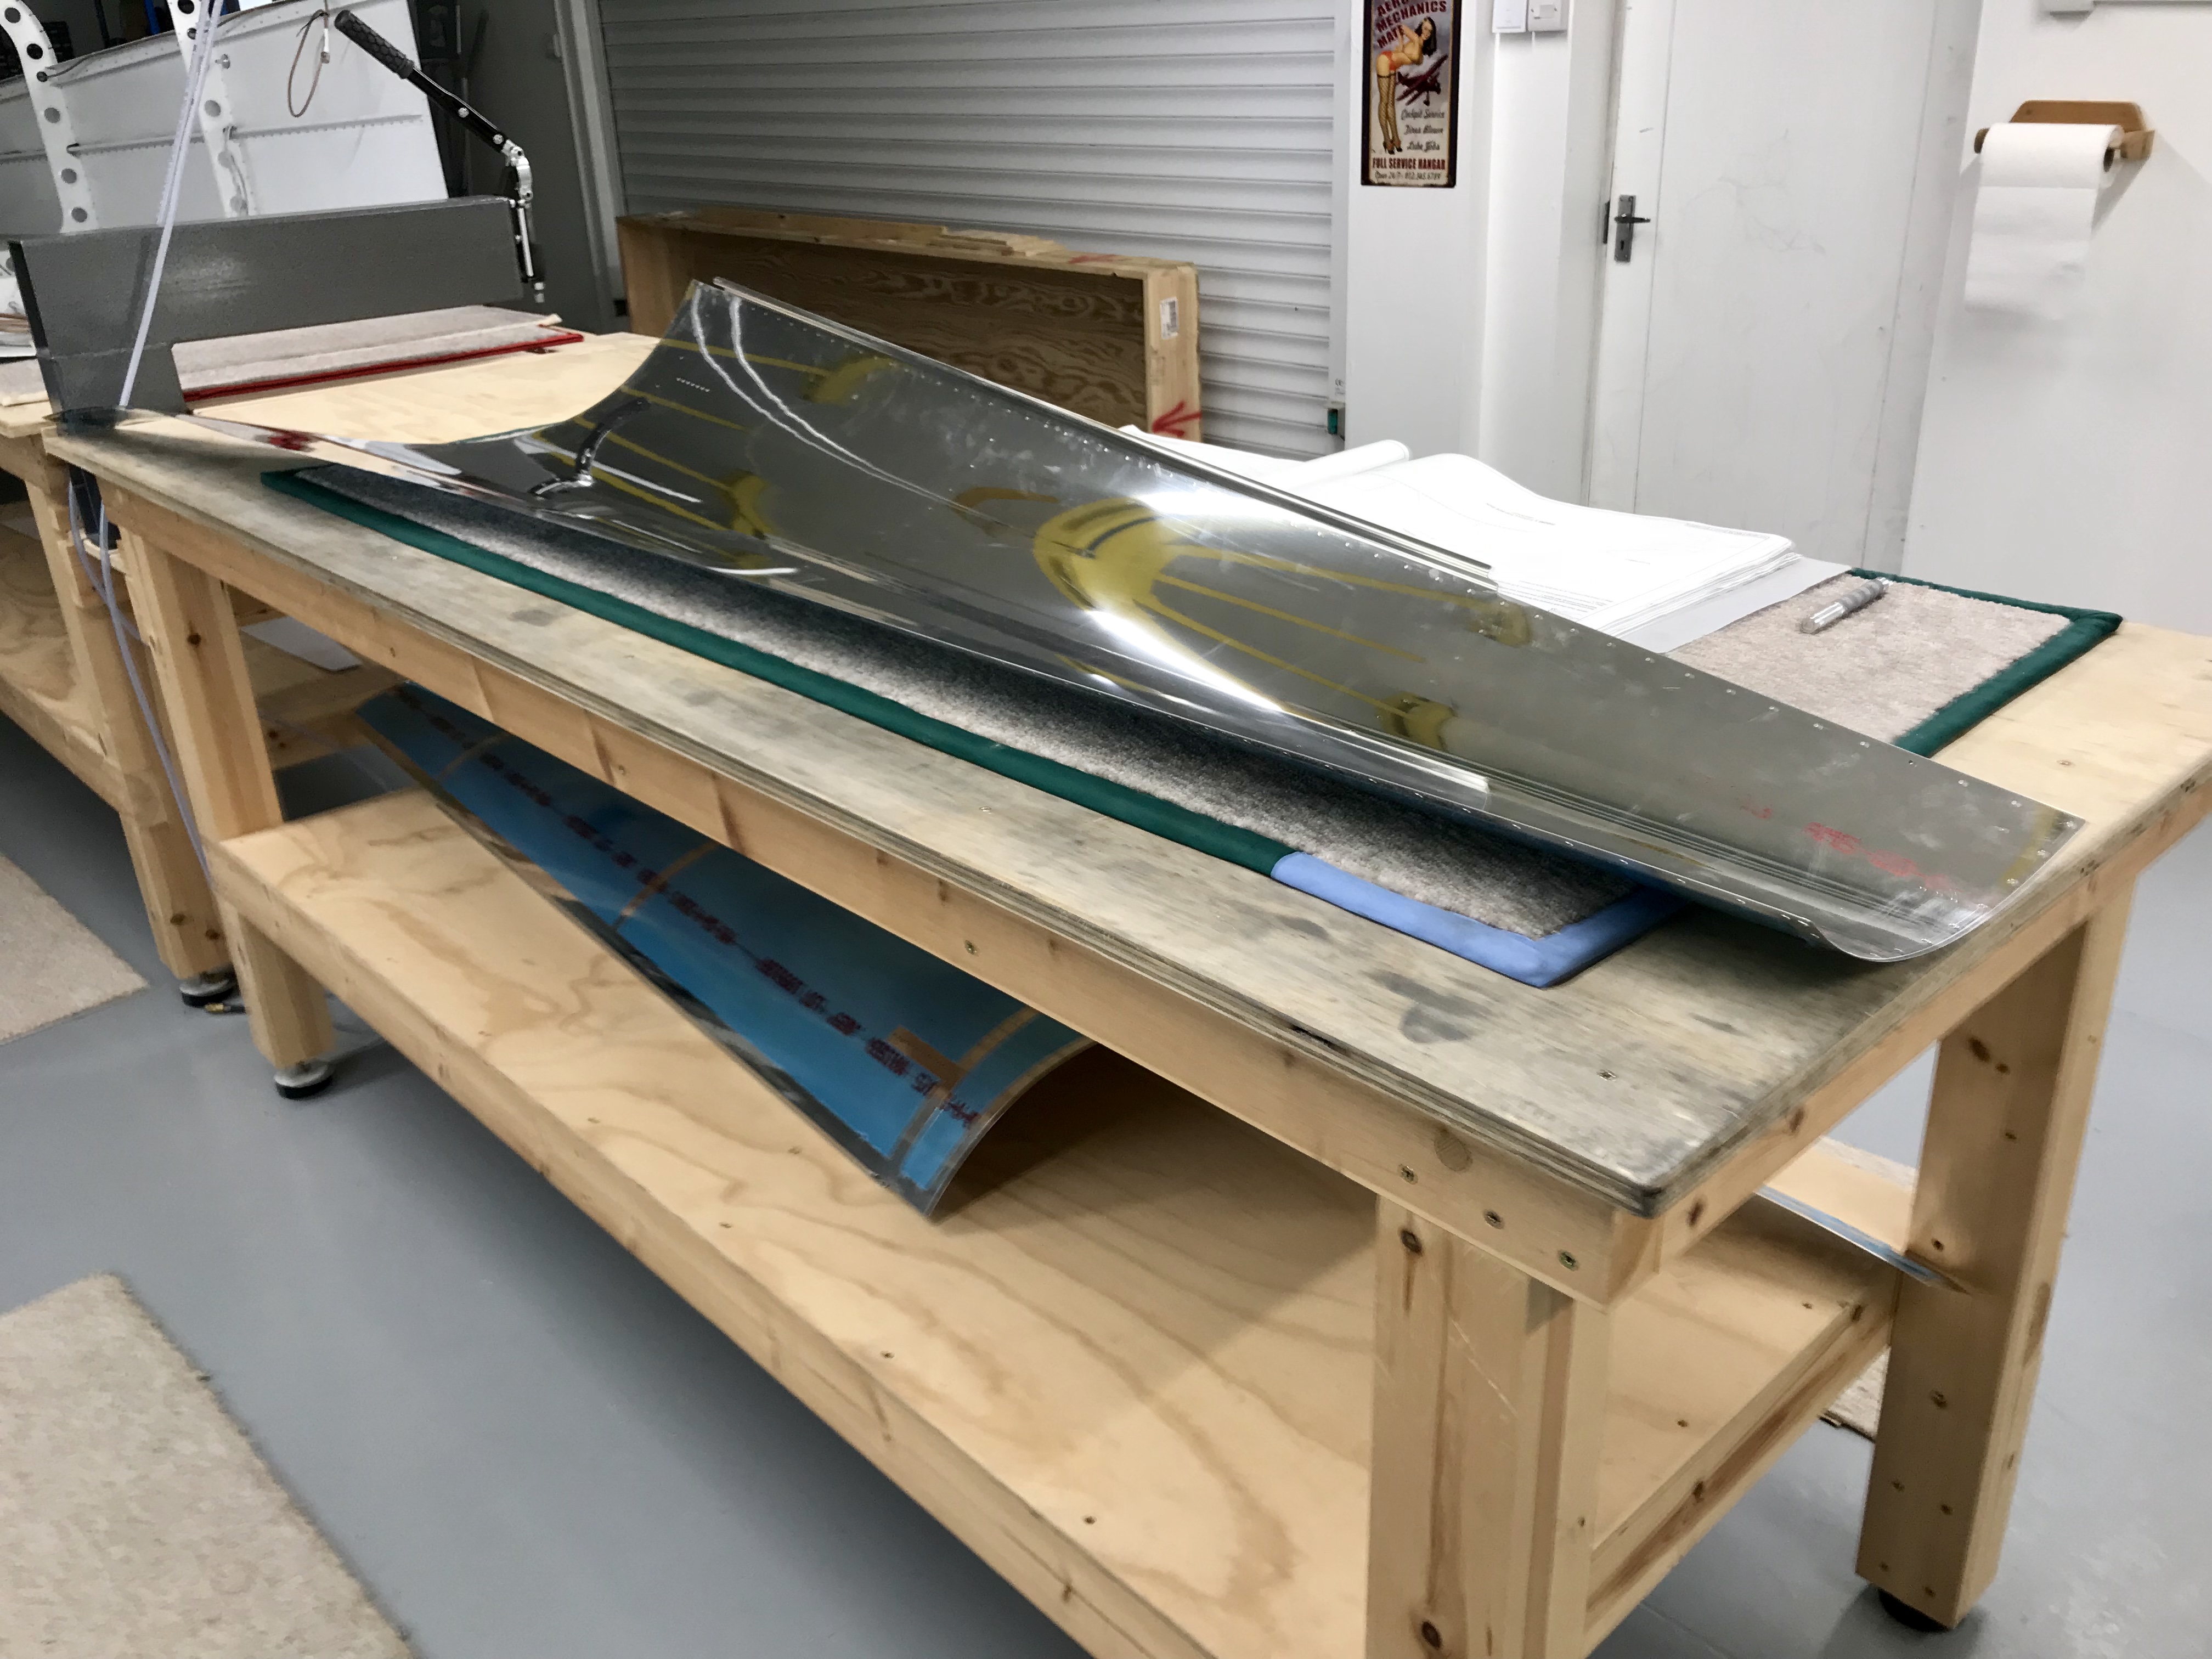
I spent this afternoon deburring the top side skins. They are curved so a bit awkward to clamp etc. Edges were a bit jagged as usual, so needed careful filing to get rid of them. I wasn’t brave enough to use a small scotchbrite wheel on the angle grinder, so resorted to the sanding block.
Paint Decision
The front curved section of the top side skins are inside the baggage area of the cockpit. So really I need to decide on a suitable paint for the cockpit area so I can paint these areas as I prime the rest. Some research required to find a hard wearing yet flexible paint system.


