


38-05 to 06 Canopy Latch Assemblies
After the Canopy Latch Assembly parts are prepared and painted etc, a quick little job to connect together … or so I thought!
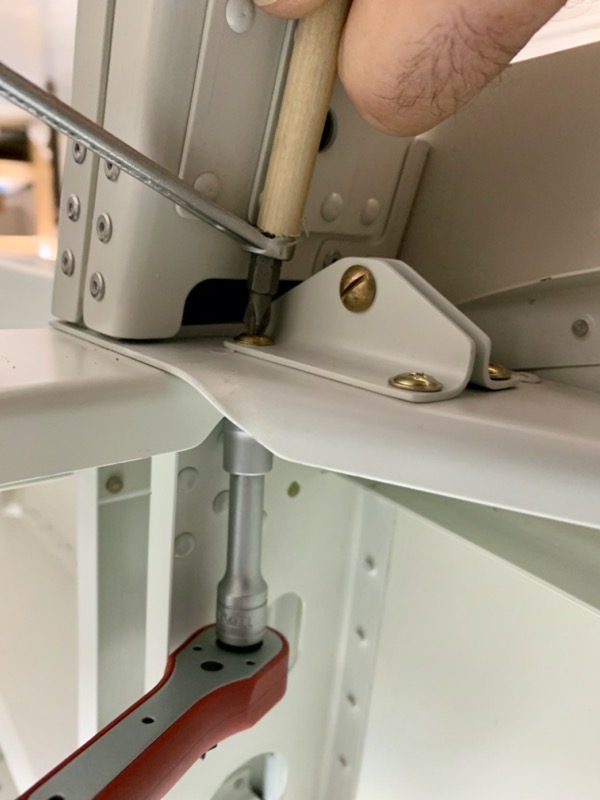
Because the Rollbar slants backwards, there is no room to get a screwdriver on the front screws when torquing the Latch Bellcrank Angle hardware.
More head scratching … in the end I resorted to a screwdriver bit, ring spanner and wooden dowel to keep it pressed onto the screw head.
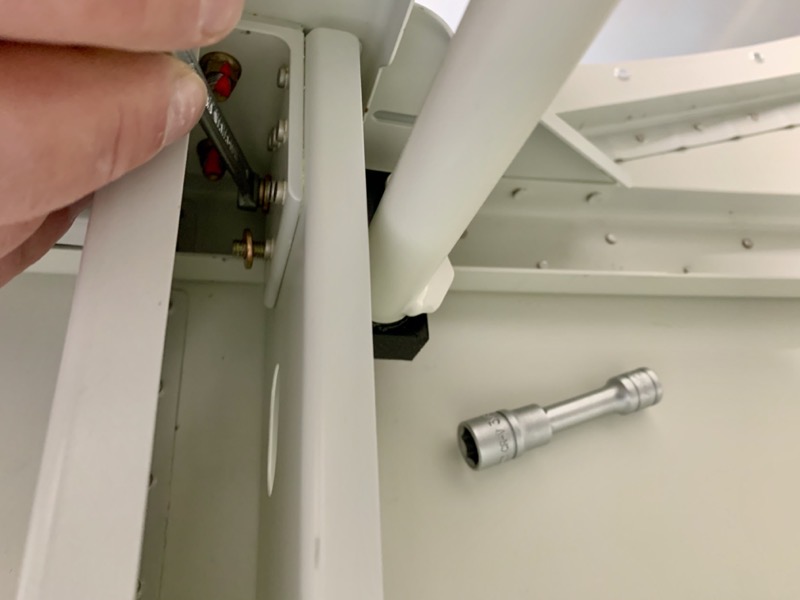
A bit easier to nip up the Canopy Latch Torque Tube Block hardware.
It is not torqued, just tightened enough to snugly locate the plastic blocks.
Due to the length of the Canopy Latch Torque Tube you have to offer up both sides at the same time : )

The right Canopy Latch Pin slid easily into the RollBar bronze bushes.
But the left one was binding just too much. Foohey Foohey Fudge Cake!

In hindsight it would have been a good idea to have had these pins inserted as the bronze bushes were riveted in place to ensure perfect alignment. But this was back on page 37-06!
Anyway, all was well. Luckily I had a reamer the same diameter as the pin (3/8″), and gently rotating the reamer by hand through the bushes was enough to free it all up.
I’m intending to fit an interior by Classic Aero, and this will come with a different Canopy Latch & Pushrod Assembly.
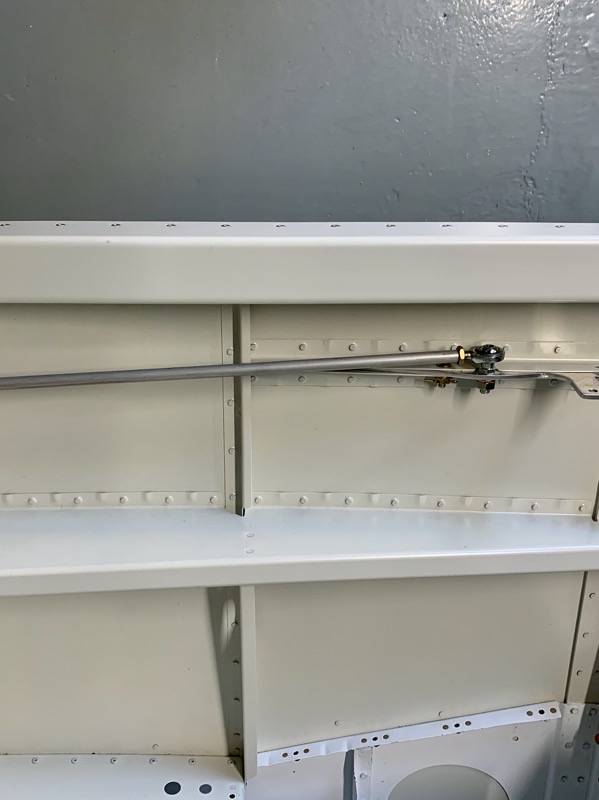
But I temporarily fitted the kit system so I could test the canopy latching.
And also to be able to open the canopy when the plexiglass is installed!
Well, it all took a bit longer than expected as usual, but I’m pleased with how it all operates.


