


38-26 & 27 Canopy Side Skins, Seals & Wear Strips
Canopy Side Skins
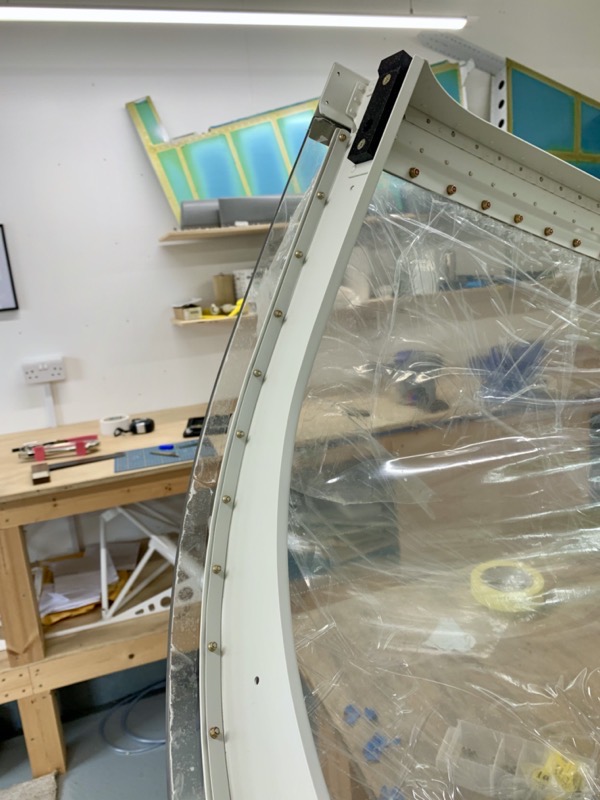
Now the glareshield is painted, it’s time to permanently install the precious canopy onto its frame.
The match drilled holes along the top of the Side Skins are dimpled, but don’t forget …
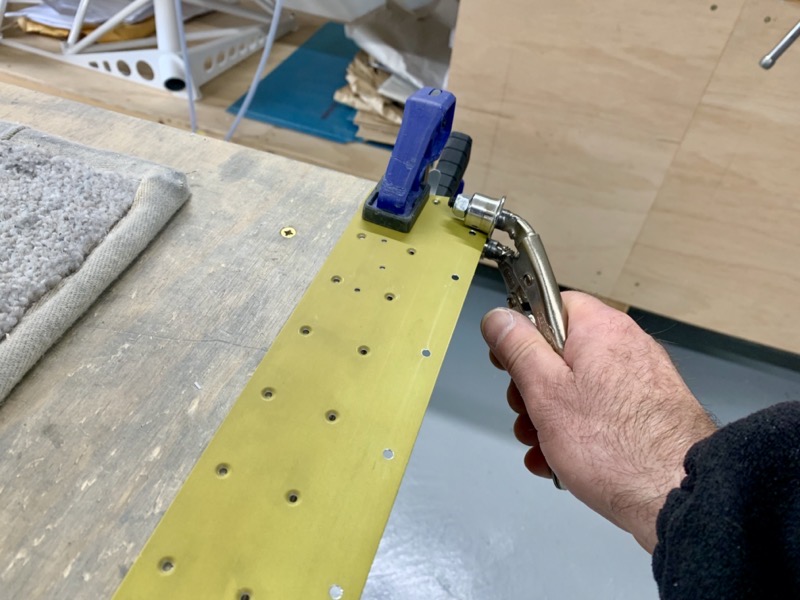
… to “break” the edges first!
Vans suggest you “break” the lower edges of the slots in the C-01418 Canopy Skins as well.
Not that easy, but I did my best with the hand seamer.


Consider installing the two 22g wires for the canopy latch micro switch before installing the Side Skins!
Section 61 Canopy Harness involves pulling the wires through if you haven’t done this … and reading various blogs this can cause a few headaches.
Some people are concerned about accidentally riveting the wires, but I found that by keeping the wires taut there is very little chance of this happening.
After riveting you can tell everything is OK if the wires freely slide : )

The manual isn’t very clear whether to rivet the Side Skins in place with the canopy on or off the fuselage.
I decided it was best to entice a helper to get inside, and rivet with the canopy closed and latched to ensure everything stayed true.
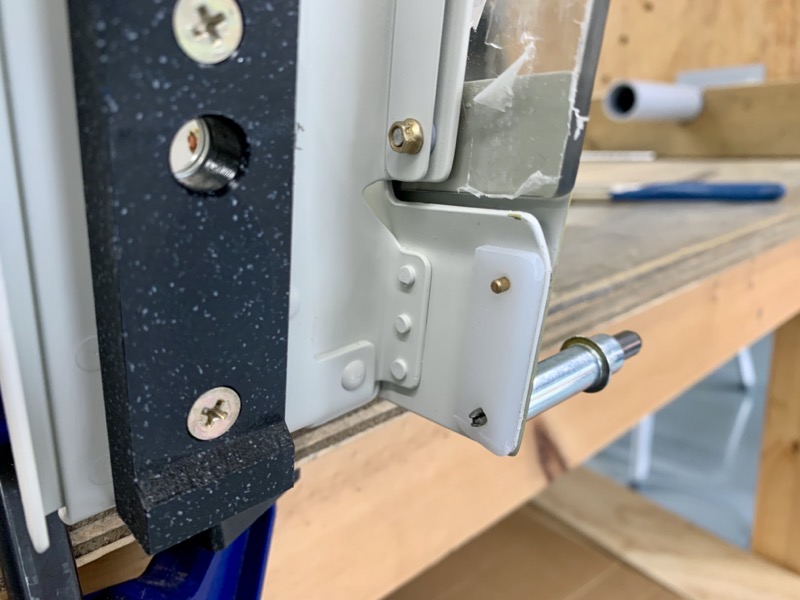
The canopy screws are loosely installed in the Side Rails prior to riveting.
Handles need to be clecoed in position after the two rivets immediately above them have been set.

The Handle centre rivet is very tight up against the handle flange.
I used a small flat set placed in the C-Frame rivet set holder to access these pesky fellows!
Canopy Seals
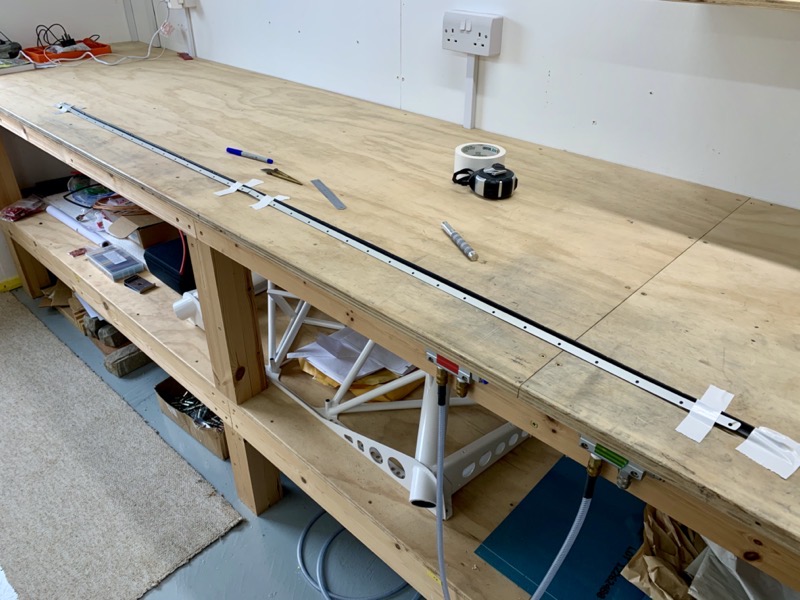
You have to cut slots in the Rear Seal to match the holes in the Seal Retainers.
I taped the seal to the bench to keep the thing under control, because it has a mind of its own!

The manual suggests using a paper punch to help cut the notches … luckily Coral has a crafting paper punch which proved perfect for the job : )
Because the seal is black, I initially couldn’t see the marks … so I ended up using a white marker pen … thanks Coral!

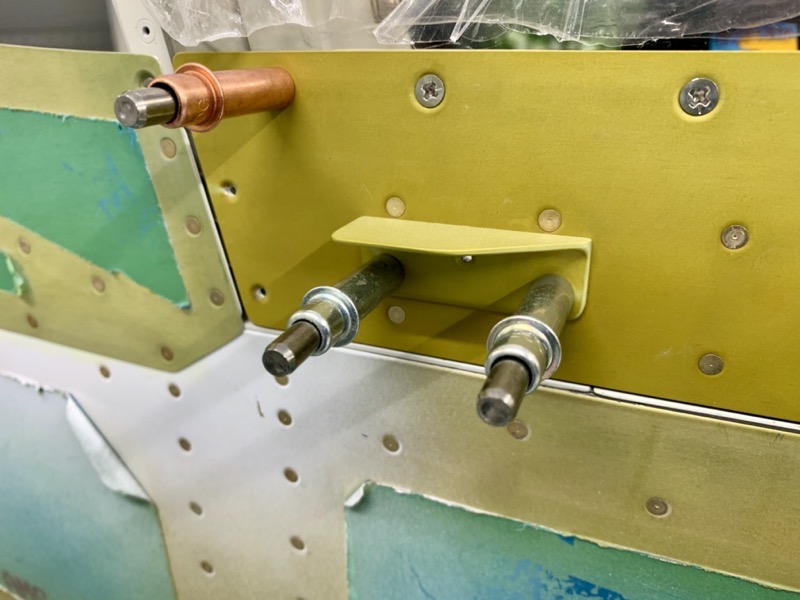
The screws along the aft canopy frame are inserted, then the canopy flipped upside down to loosely install the hardware.
Once I’d found “Washers-0007” I realised they have been specially fabricated by Vans from aluminium.
Since I’ve primed every other bit of aluminium in the plane, I thought I’d better do the same with these prior to installation.

A moment of panic here when I thought the holes weren’t going to align with the screws ….
… but all was well.
Of course they only fit perfectly once the Seal Retainers are accurately following the internal curve of the frame.
It’s probably best to begin installing the Seal Retainers from the centre of the Aft Canopy Frame curves.

After flipping the canopy back upright you tighten up a subset of the Aft Canopy Frame hardware (Zone 1).
This comment in the manual gets your attention : ) …
Use caution to prevent canopy cracks due to overtightening.
Wear Strips

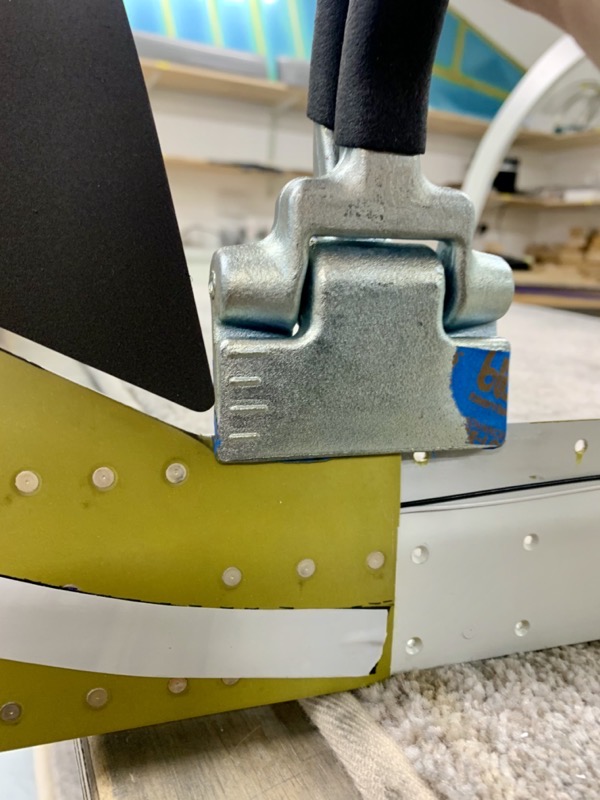
The two C-01410 Canopy Wear Strips are fabricated from a piece of PS-UHMW-125X1/2X5 strip.
This wasn’t that easy to find on my shelf, especially since I didn’t really know what I was looking for!
Anyway, once you’ve made them holes are match drilled and countersunk.
Then the rivets are set so that the Shop Heads flatten into the countersinks.
I found that as they are set the UHMW squashes slightly, so after setting the shop heads were nicely below the level of the wear strips as specified.
All set now for the next job … installing the clips along the front of the canopy.
Tomorrow.


