


45 – 21 Lower Cowling Screws
Because we are fitting the EXP119, OP 62-10 & 11 manual pages are releveant. This is because the lower cowling has a different profile due to the twin exhaust.
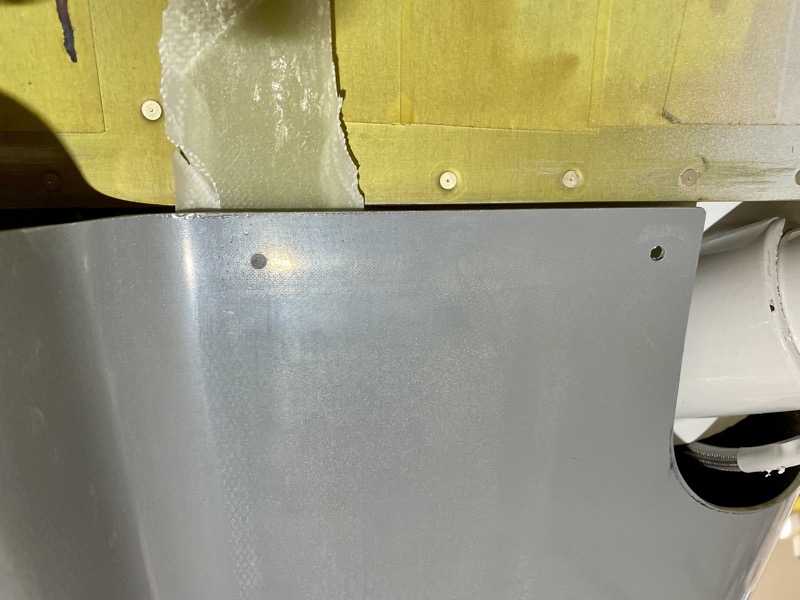
After installing the entire cowling to ensure precise location, the lower screw holes are match drilled into the lower cowling.
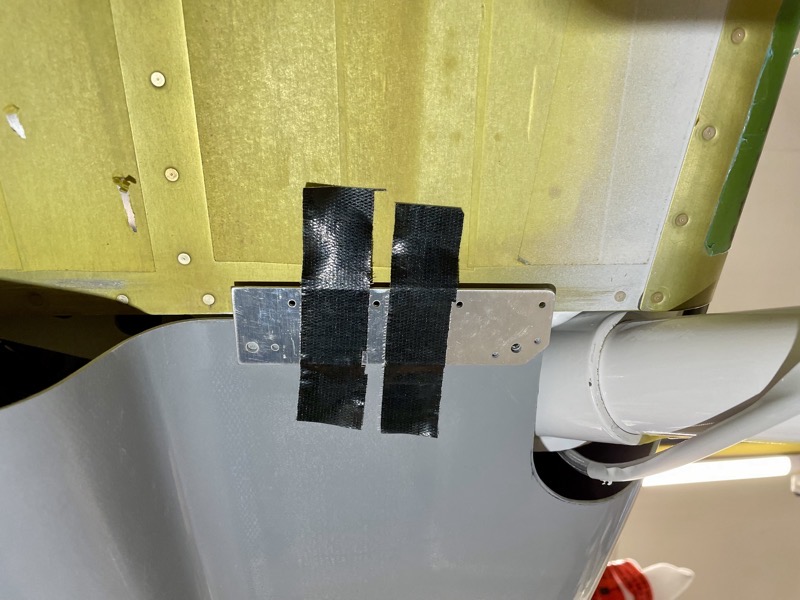
Vans supply a template to help match drill the required holes in the cowling to the already installed nutplates outboard of the exhaust exits.
Working on your back and reaching up, it’s not easy to keep everything stable. I found it best to shine a light from below to clearly see the rivet dimples used to position the template.
Tape helped, but really you end up drilling whilst holding the template stable.
Vans warn about drilling too far and damaging the nutplate.
Rather than risk this, I just drilled enough to mark the hole locations, and then finished off without the template by placing a piece of scrap fibreglass behind the hole to protect the metalwork.

The screw holes in F-14132 cross brace also need match drilling. No template here, so you’re on your own!
Since the engine mount means there is no good access from above, another method is required to find the holes.
I had one of those ingenious hole finders, but only for #40 holes. But I wrapped some tape around the little locating lug on the tool, just enough so it fitted snuggly into the #19 holes in the F-14132.
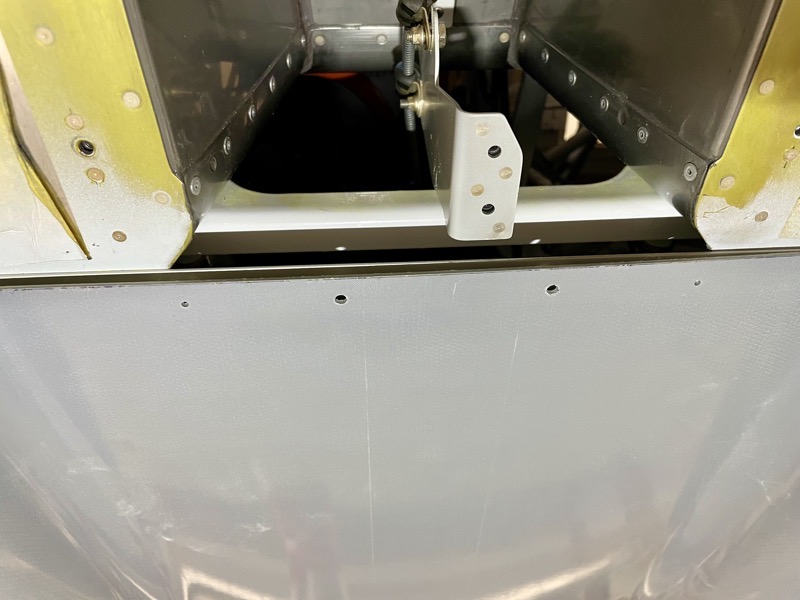
Then after match drilling #40 through the tool, I final drilled the cowl to #19.
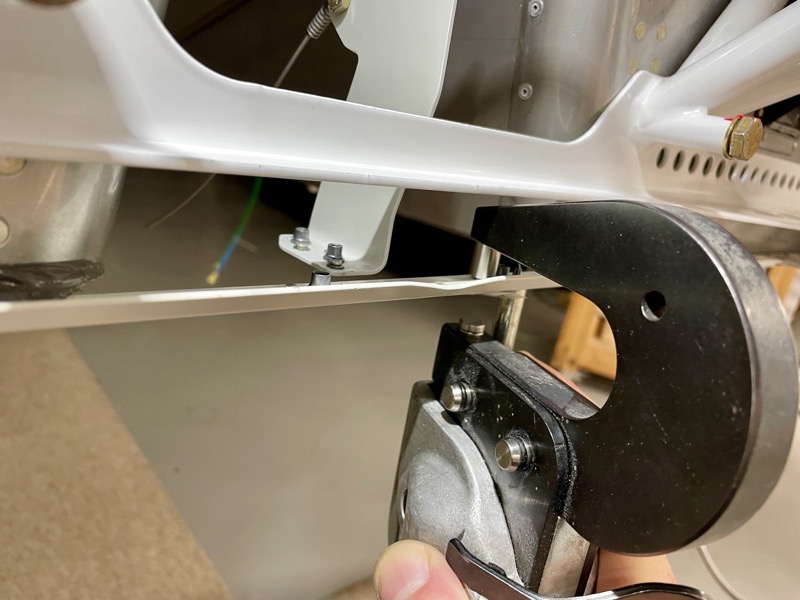
Luckily the squeezer just fitted under the engine mount, allowing an easy nutplate installation after the match drilling.

Nutplates installed, all ready for the lower cowling attachment screws.
Vans suggest some RTV to prevent chafing between the hinge pin and the aircraft structure.
I put on some heat shrink tubing for good measure … colour coded, of course! : )


